Blanco Bungalow Kitchen Renovation: Week 7 - Micro Cement Floors & Sink Installation

Kitchen Renovation Update: Week 7
As we continue our kitchen renovation journey, it's time for an update!
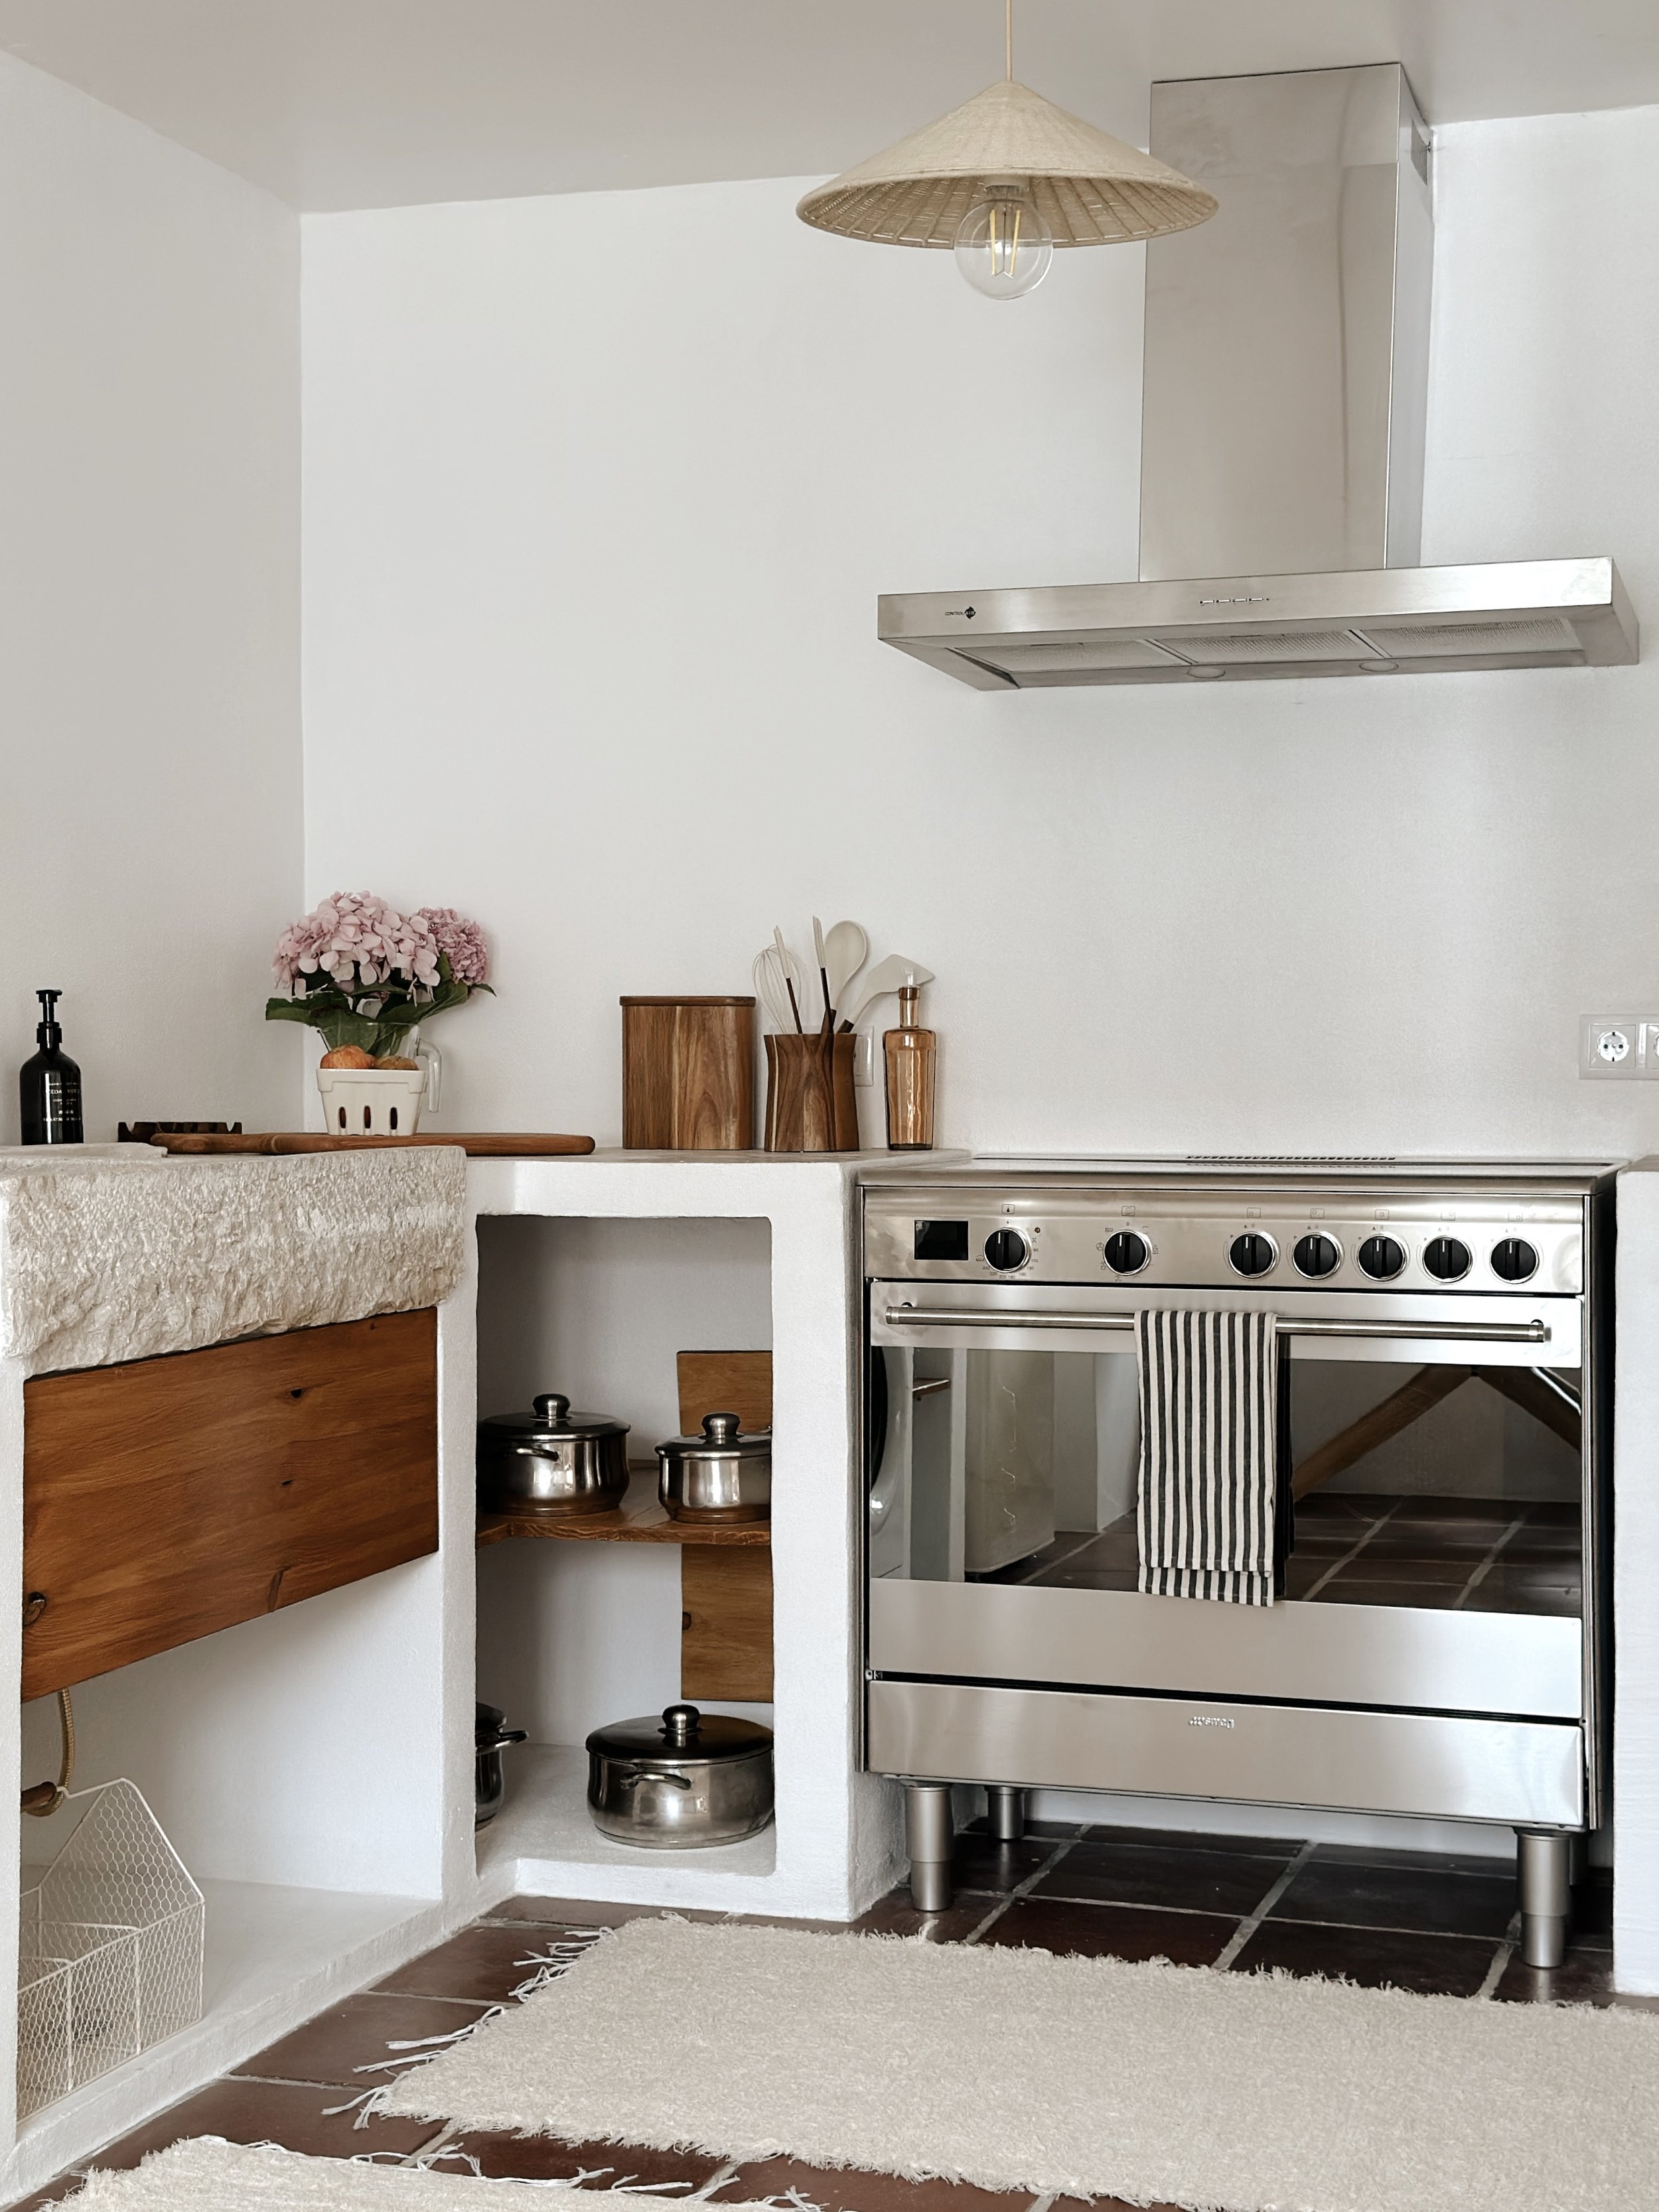
Our cabinet bases have been constructed, but still require several layers of microcement and sanding.
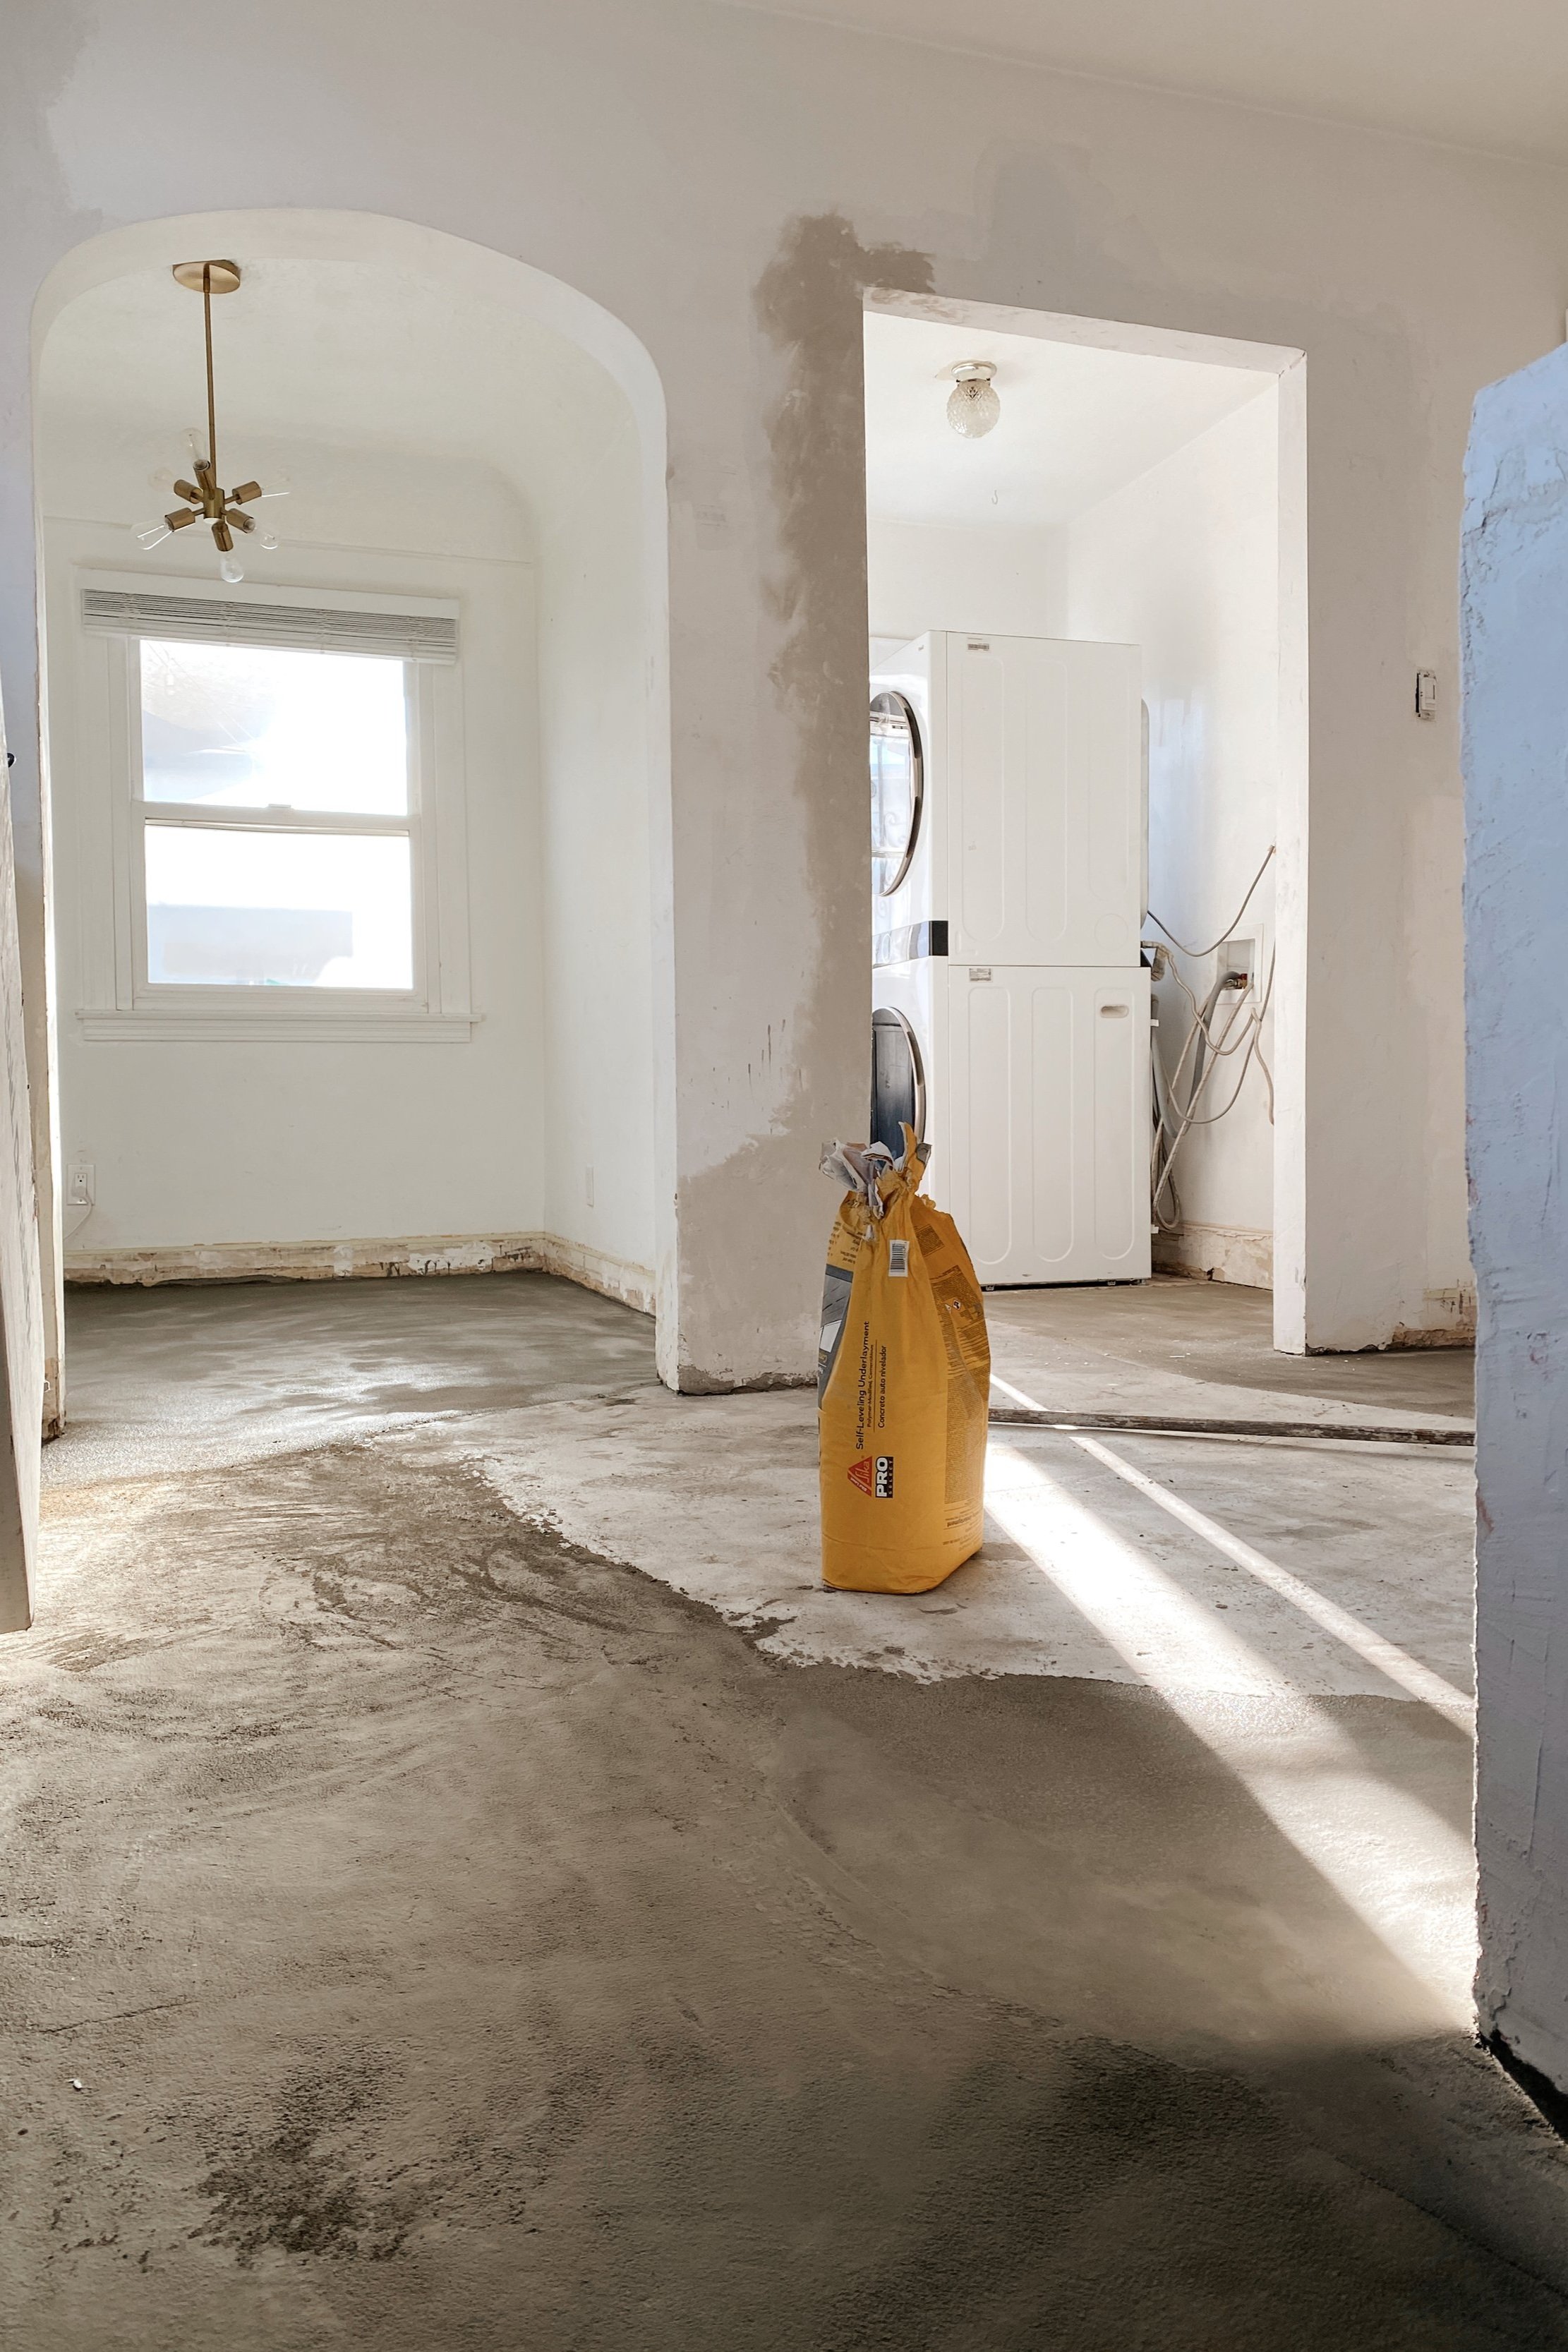
We've also been contemplating what to do with the flooring. Initially, we were thrilled to discover wood beneath the unsightly Home Depot Tile, but after removing the tile and glue, we realized that the wood was actually just a subfloor and not enough to stand alone. Our options were limited to new wood floors, tile, or micro-cement due to our budget constraints and the need to match the original wood floors in the rest of the home.
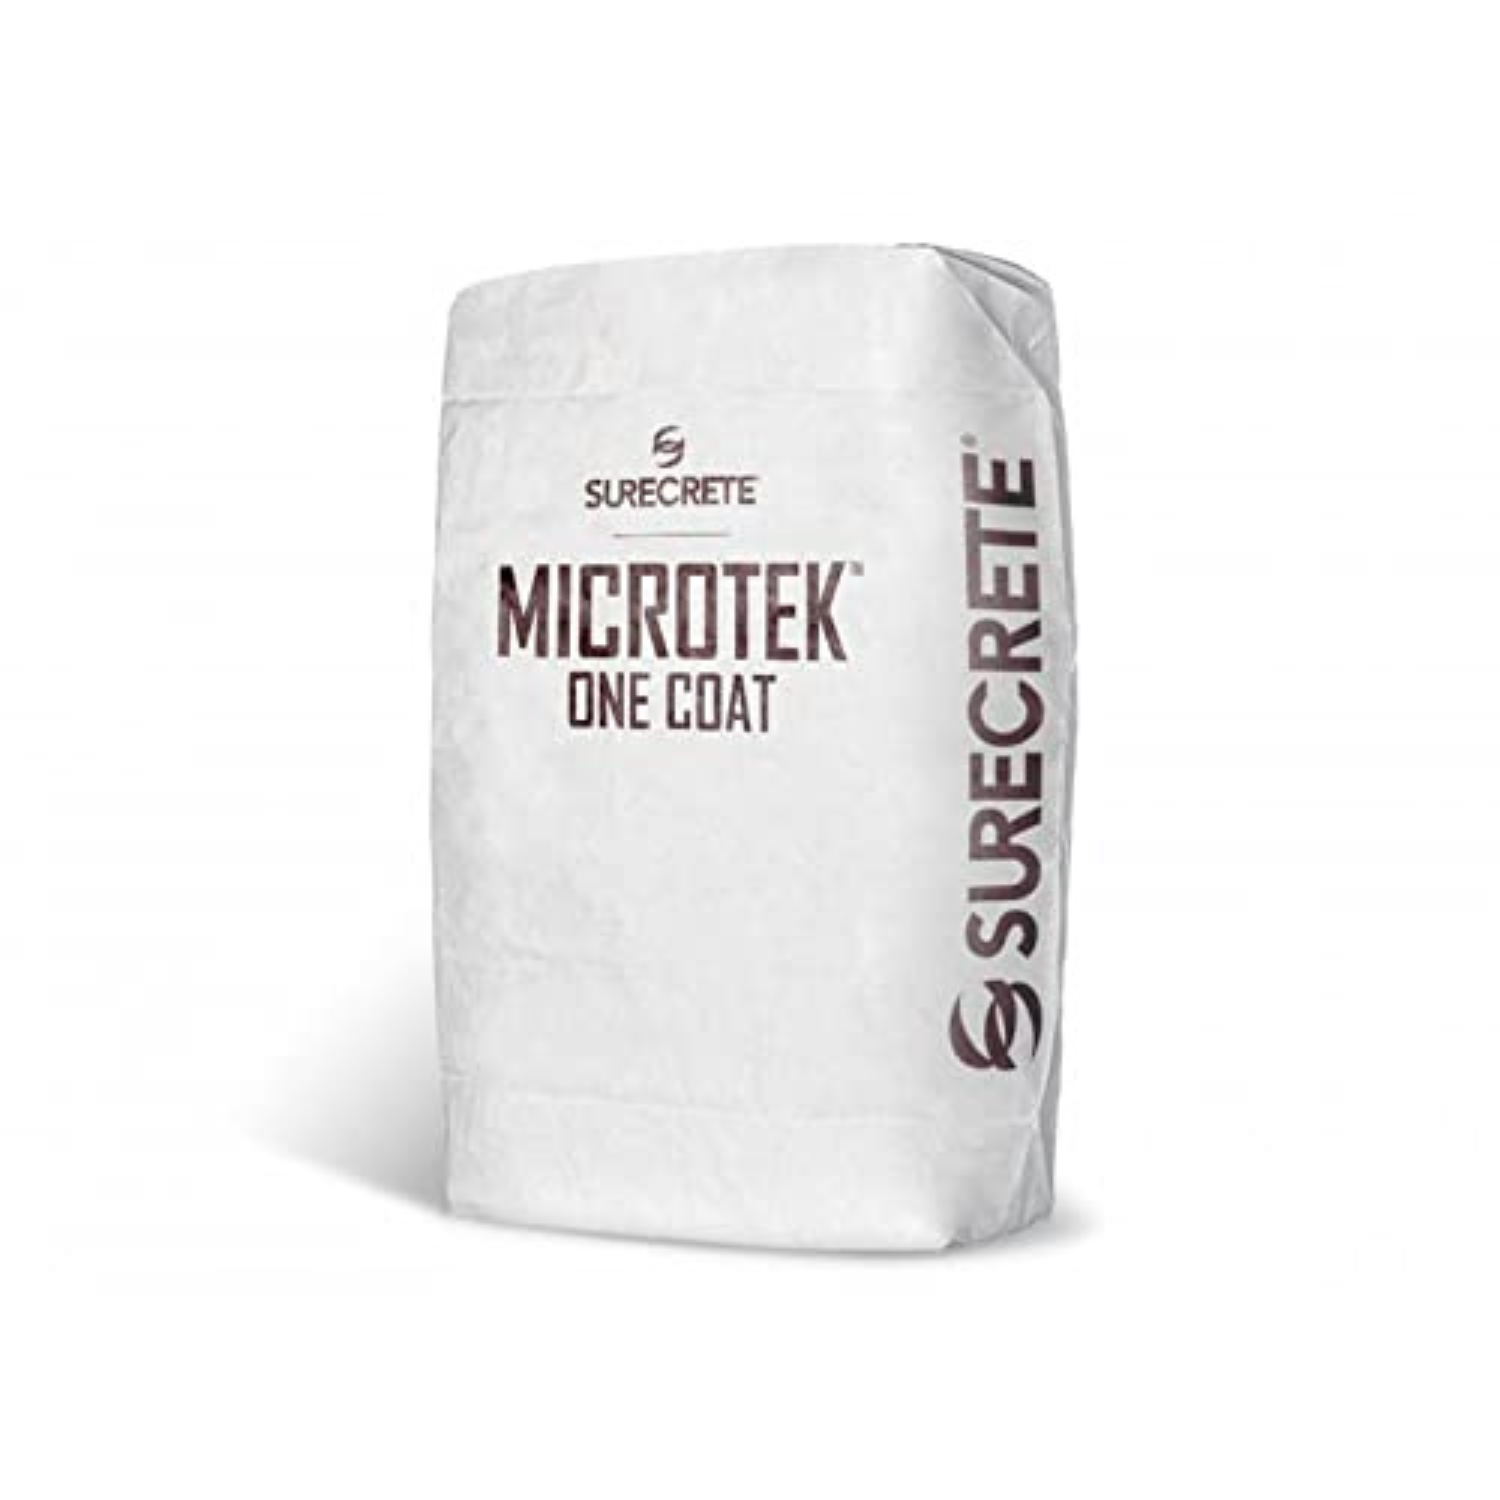
After much research, I suggested we try microcement. Bardo, our handyman, stayed up all night watching YouTube videos to learn more. I'm grateful for the collaborative approach we've taken throughout this renovation, from the initial cabinet design I drew up, inspired by Moroccan concrete cabinets to the micro-cement flooring decision.
Our focus this week is on completing the floors.

Before we begin working on the floors, we must clear away any debris.

As I look at these beautiful wood floors, it pains me to think about getting rid of them. Nevertheless, I'm looking forward to trying something new by replacing them with microcement.
Wish us luck!

To fill in the gaps between the boards on the wooden sub-floor, we have to first lay a layer of smooth concrete.

In most renovations, flooring is usually tackled first.
However, our project has been a bit unconventional, so we're currently working on the floors while in the middle of the project.
Gotta love the spontaneity of it all!

The lengthiest and most challenging part of this project, by far, has been the curing time required between layers. For each layer of concrete, cement, and micro cement, a minimum of six hours is necessary before applying the next coat and sanding.

I’m scared! Is it too late to change my mind??
No turning back now.

Layers and Layers.
Although it may appear a little rough around the edges, I am obsessed with the organic look.

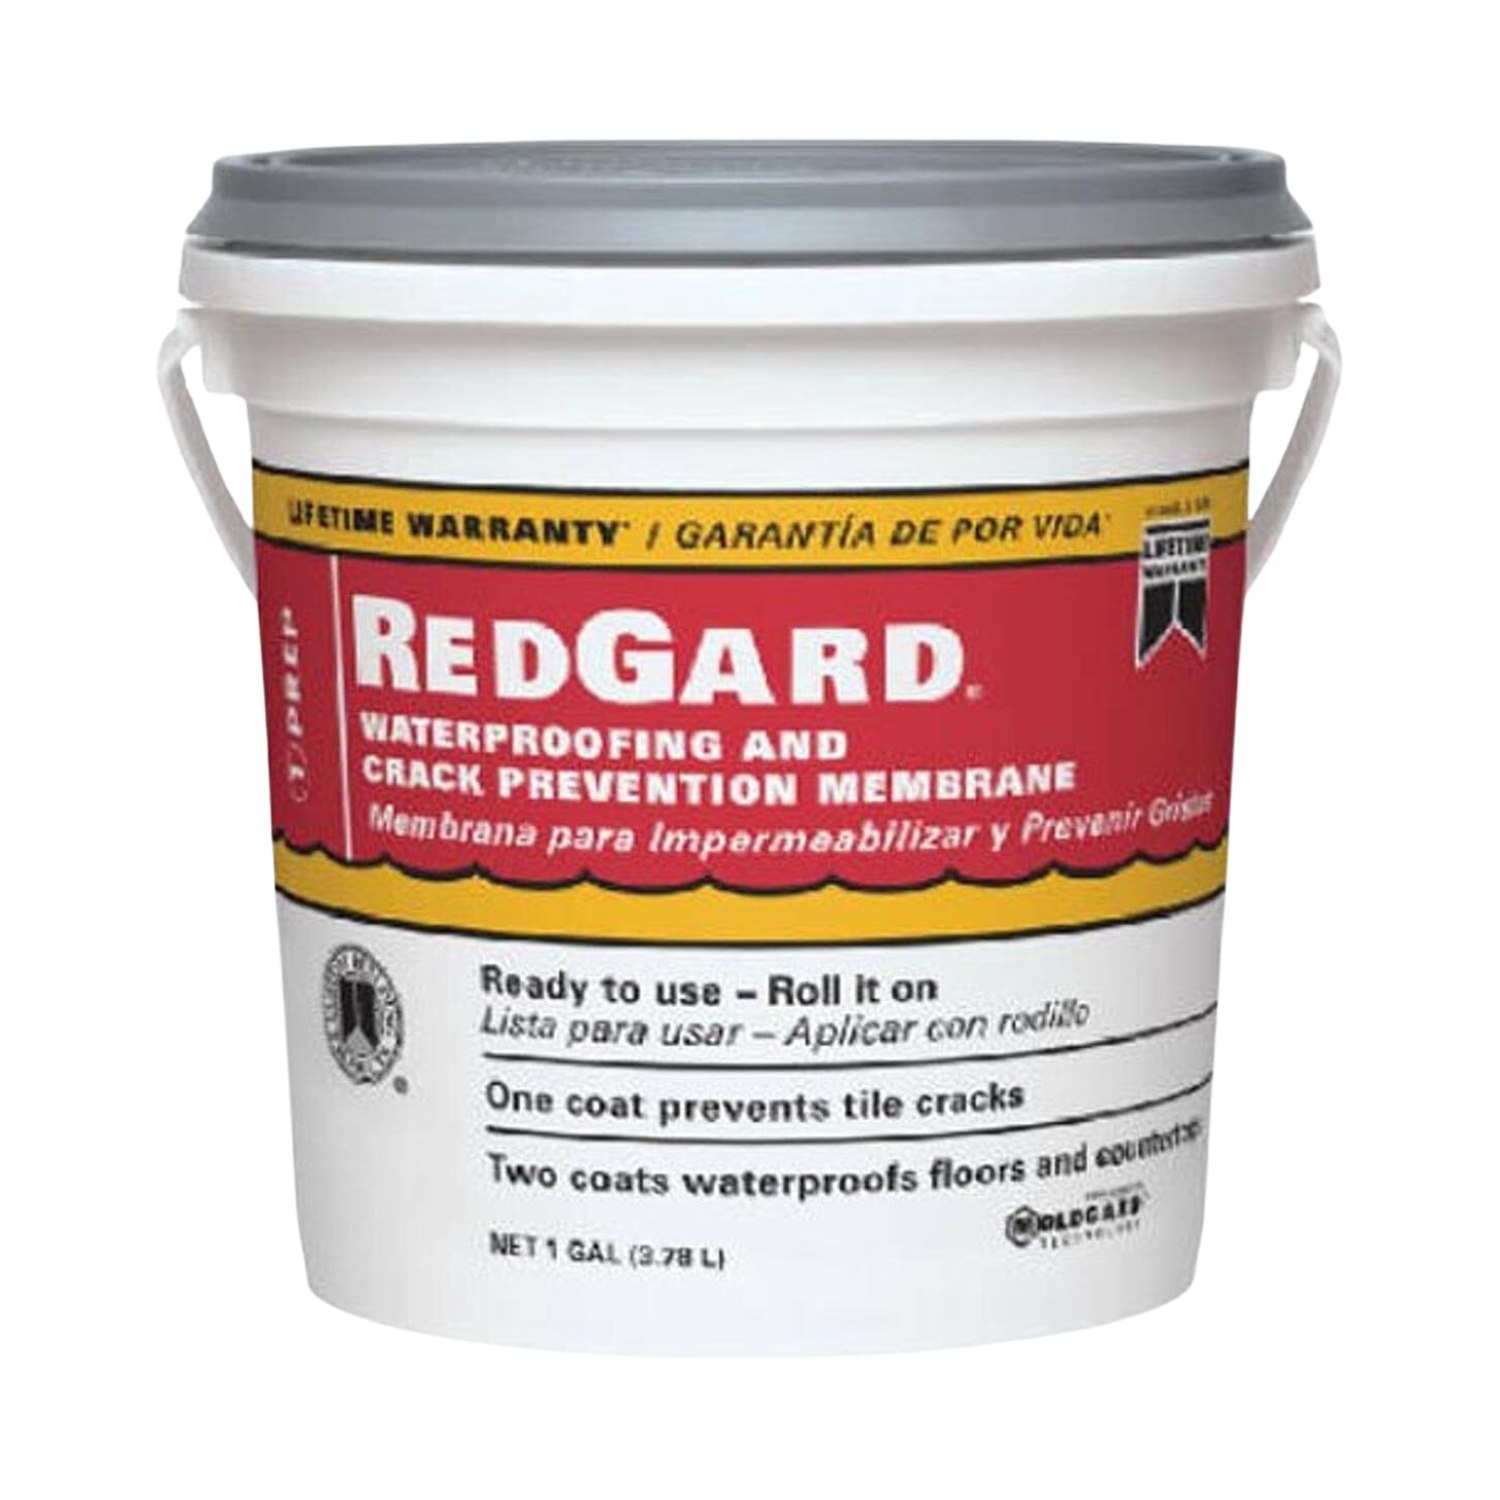
Bardo is truly amazing at his job – he's currently jumping from one area to another, expertly applying layers and layers of microcement to the walls and floors. To account for movement within the concrete, he is using redgard – a rubberized membrane that is painted between the base layer and microcement, and prevents cracking.


Although this photo might not show it, the back wall is already looking much better. We've patched it up and started applying microcement.
Now, we're moving closer to the fun stuff - hardware!
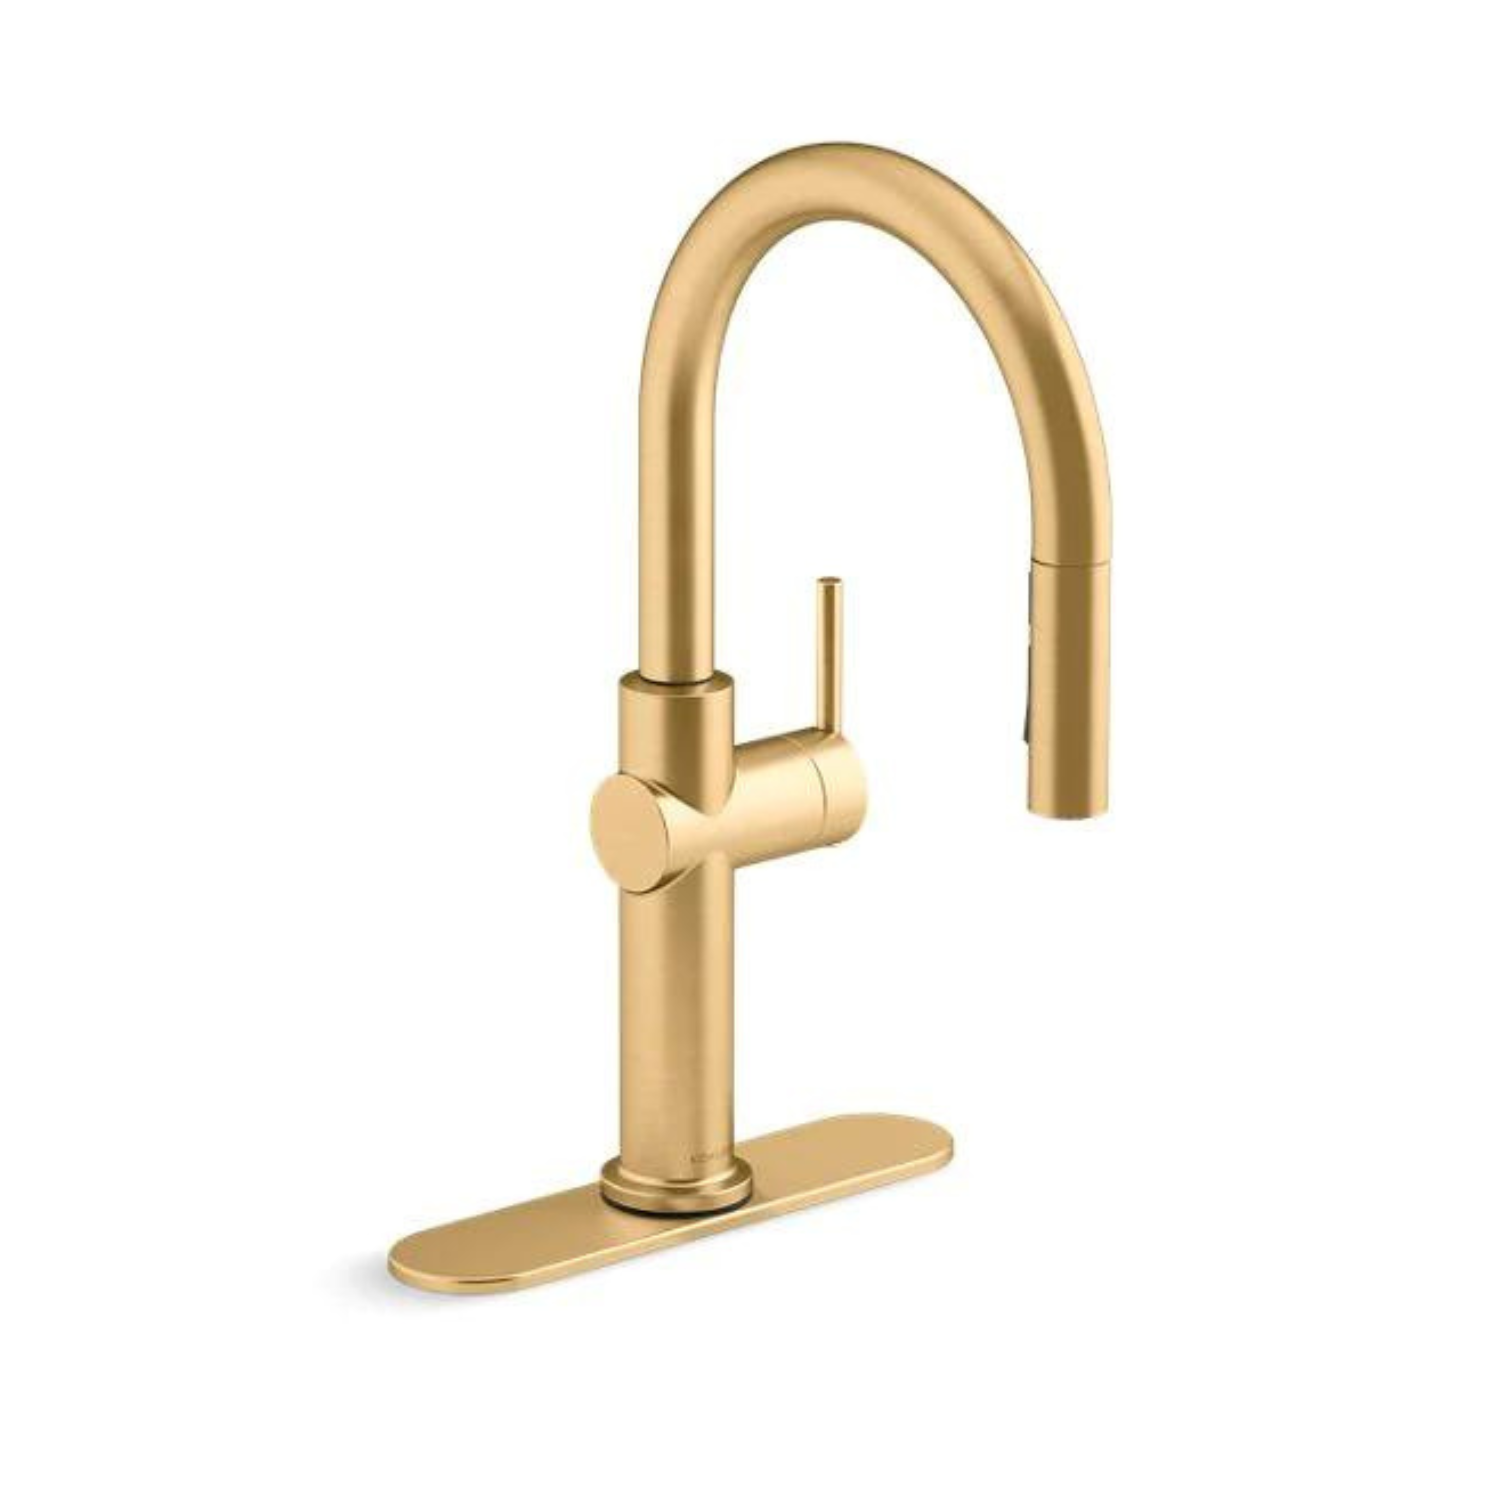
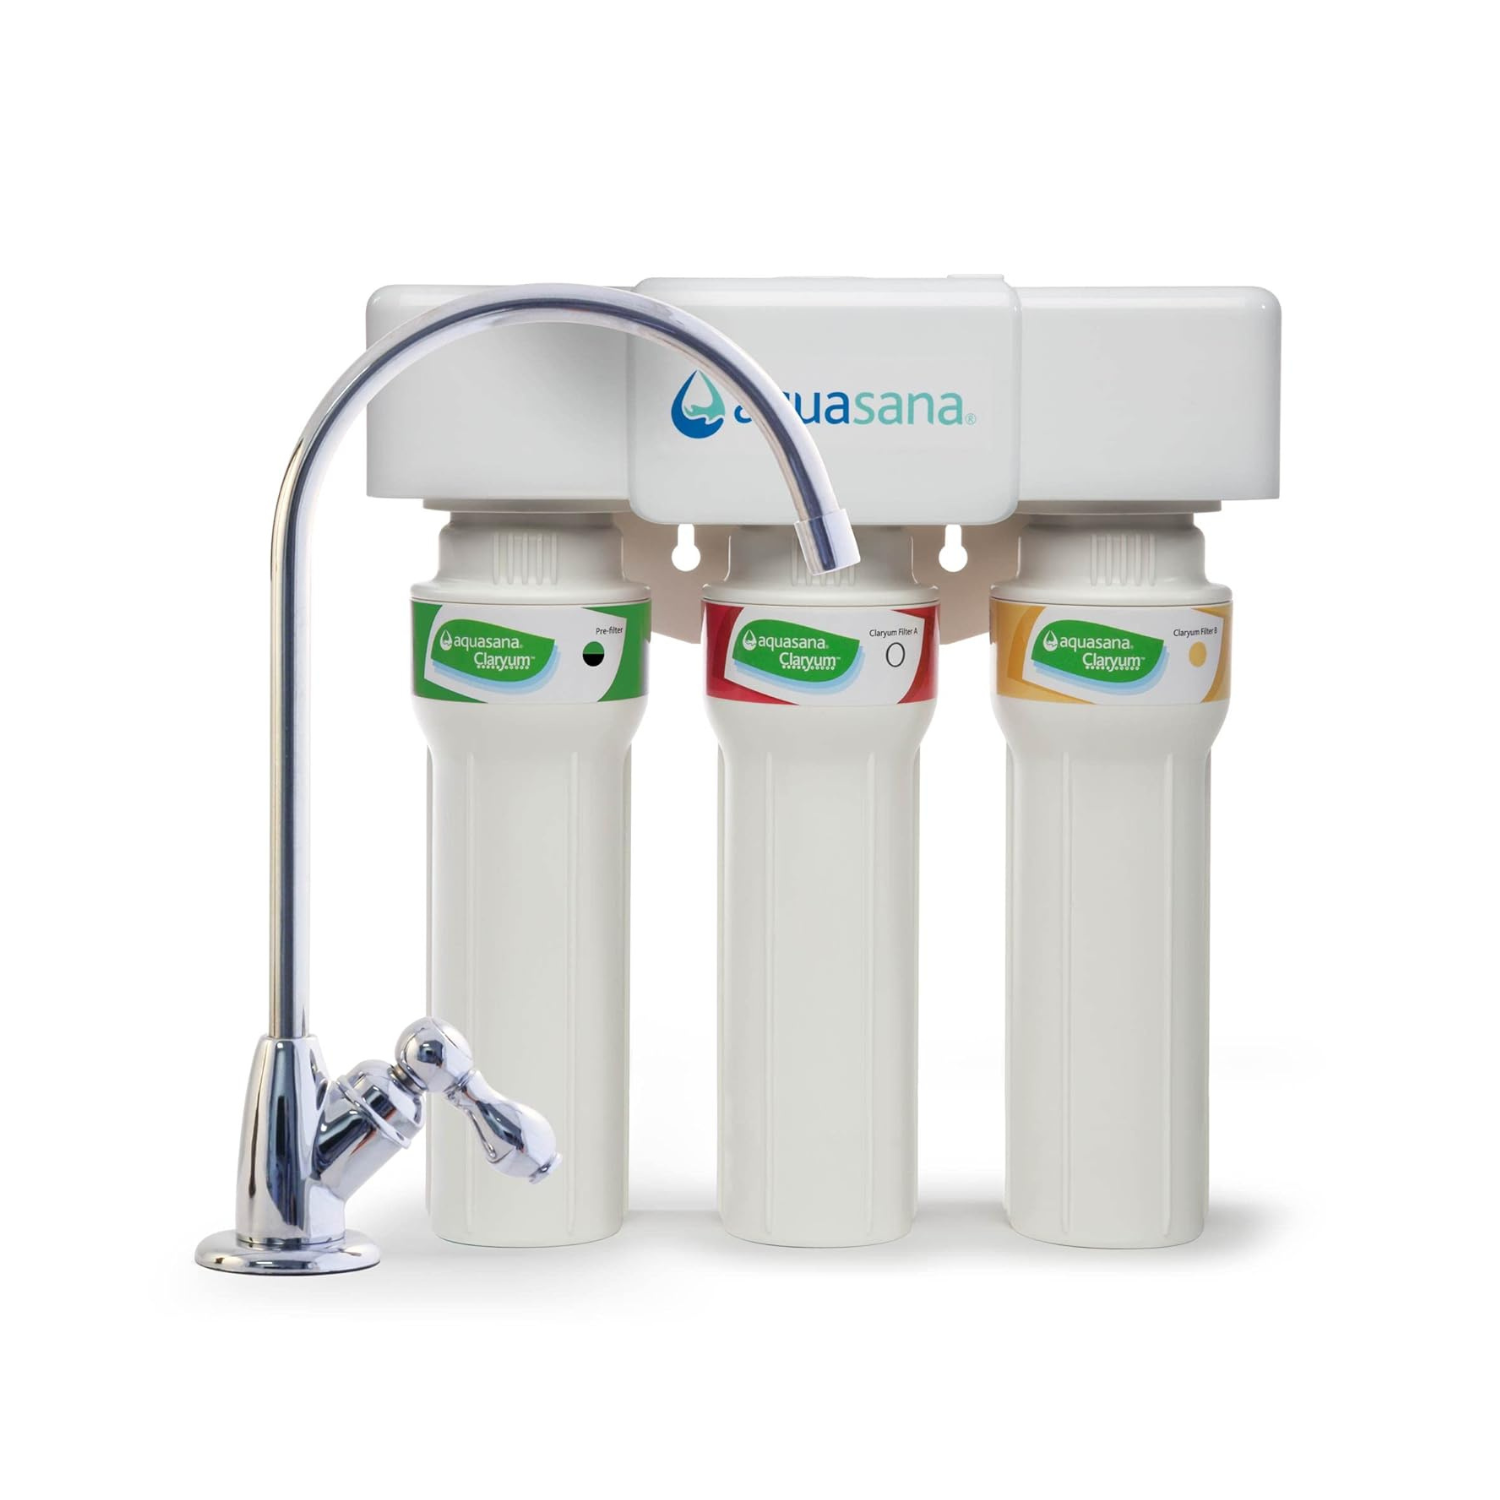
In particular, I've chosen the Kohler Crue faucet in brushed brass, which looks stunning. We're also installing an Aquasana under-the-counter water filter under the sink.
However, Kohler doesn't make a filtered water faucet, so I've tried out a few options from Amazon. Although the curves don't match perfectly, the tone is the closest I've found, so we're going with this one from Aguastella.


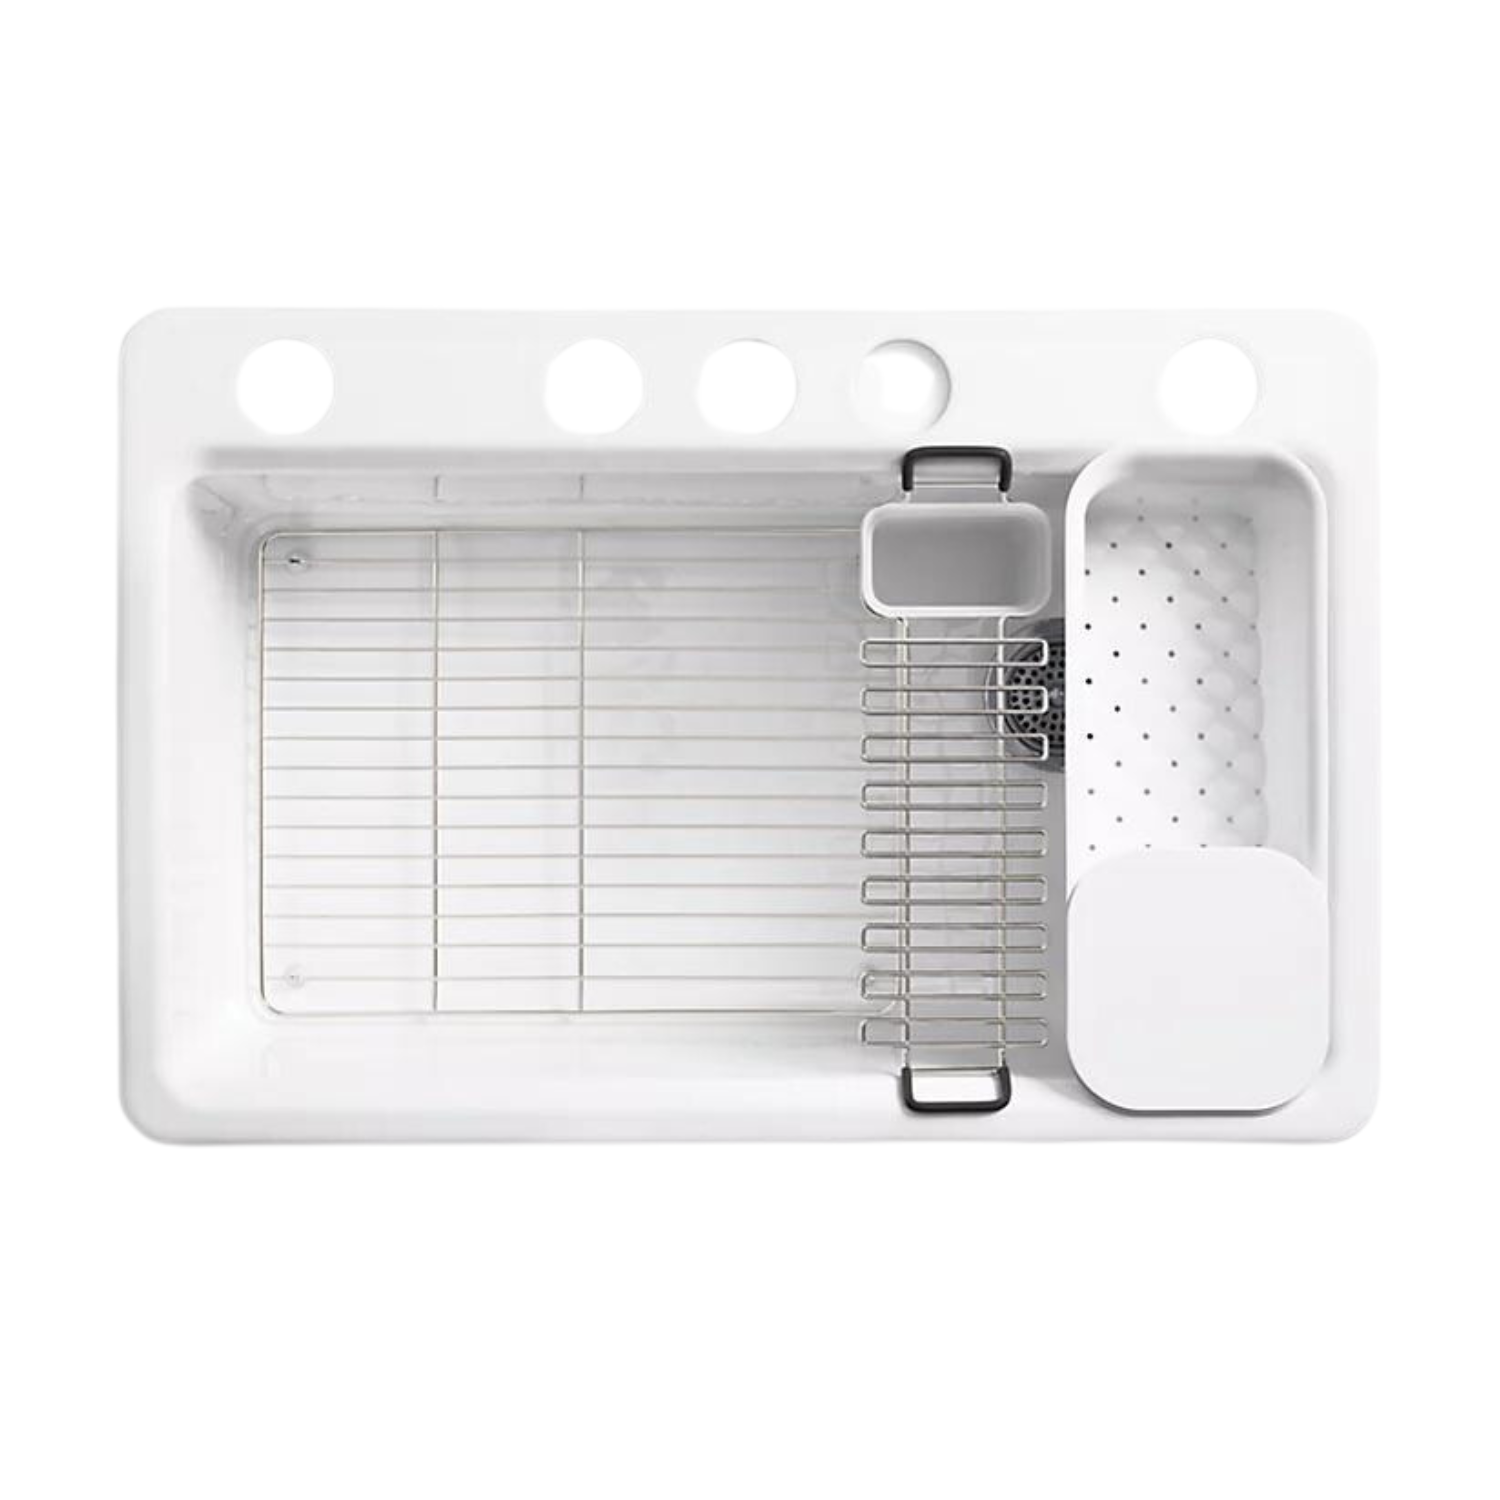
Exciting Sink Upgrade: Kohler's Riverby 33"
I'm thrilled about my new sink! It's the Riverby 33" from Kohler, made of cast iron with a side drain. I had considered the double sink option, but with the help of my Instagram followers, I decided on a single basin sink. Can't wait to start using it!

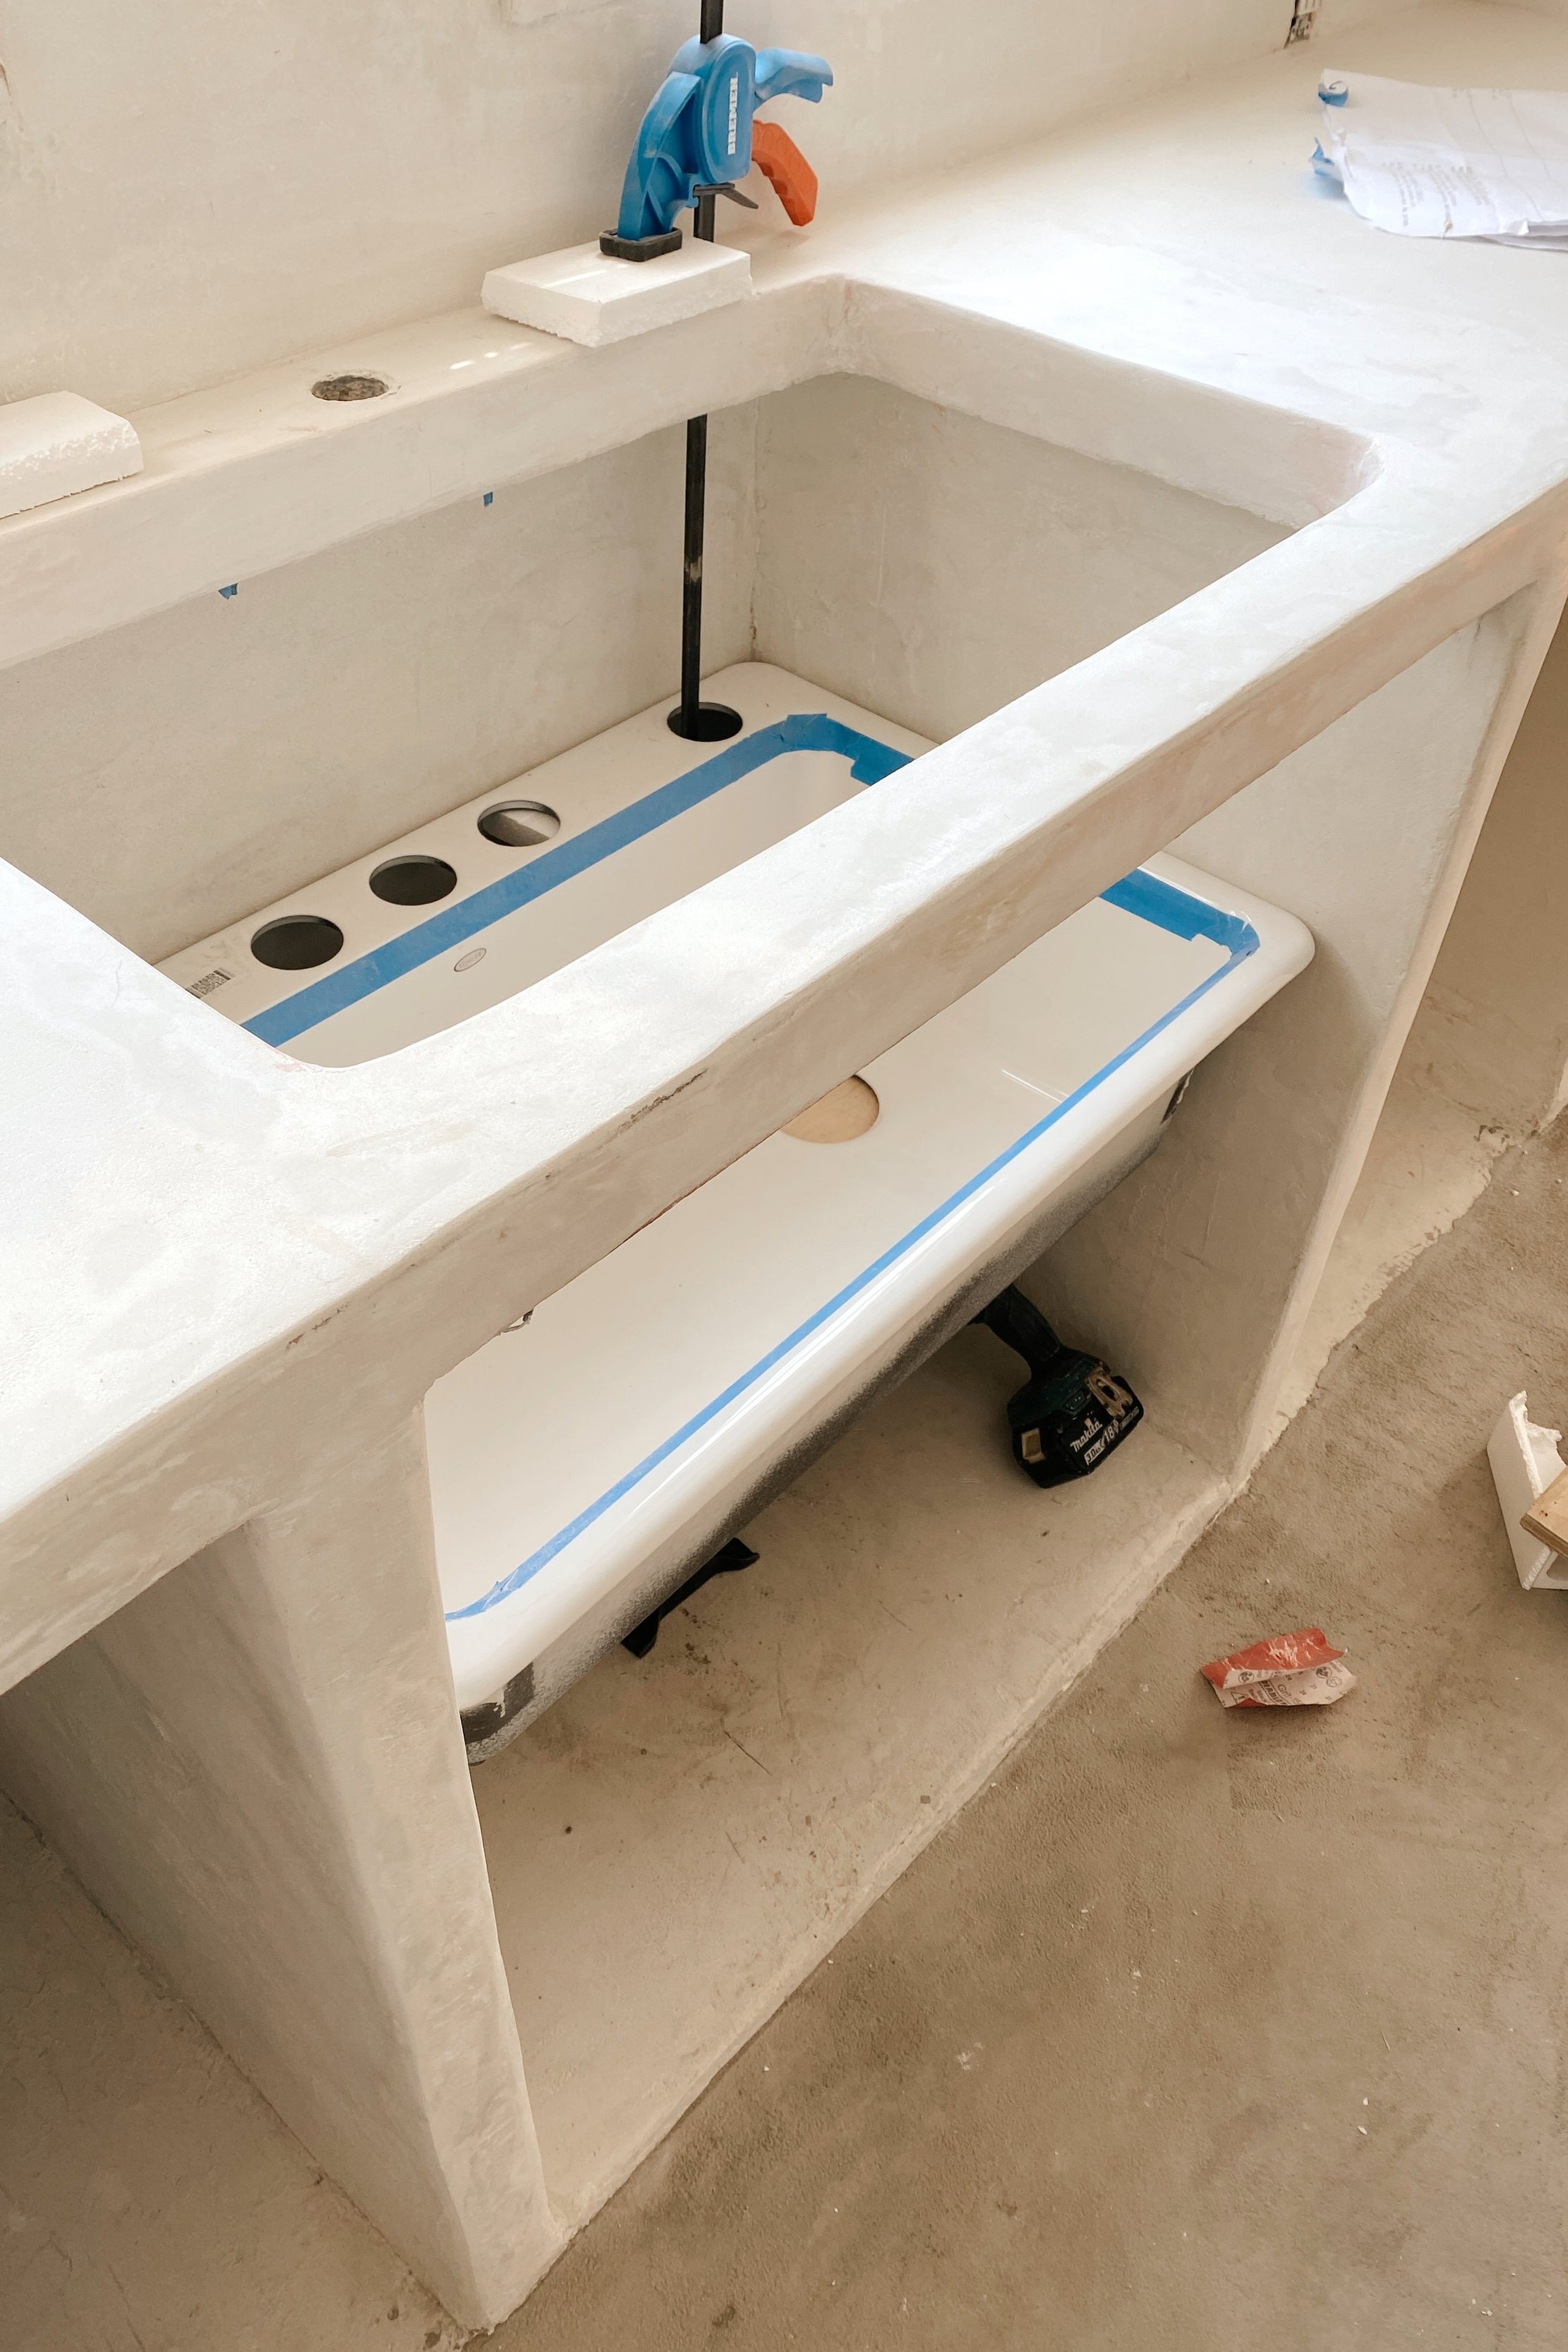
Bardo is using silicone adhesive to attach the sink to the underside of the cabinet and clamps to hold it in place while it dries.

He’s also using a jack and some foam pieces from the sink box to support the sink while it dries.


It's hard to fathom how such a heavy under mount sink can stay in place with just silicone and tiny clips, but apparently it works.
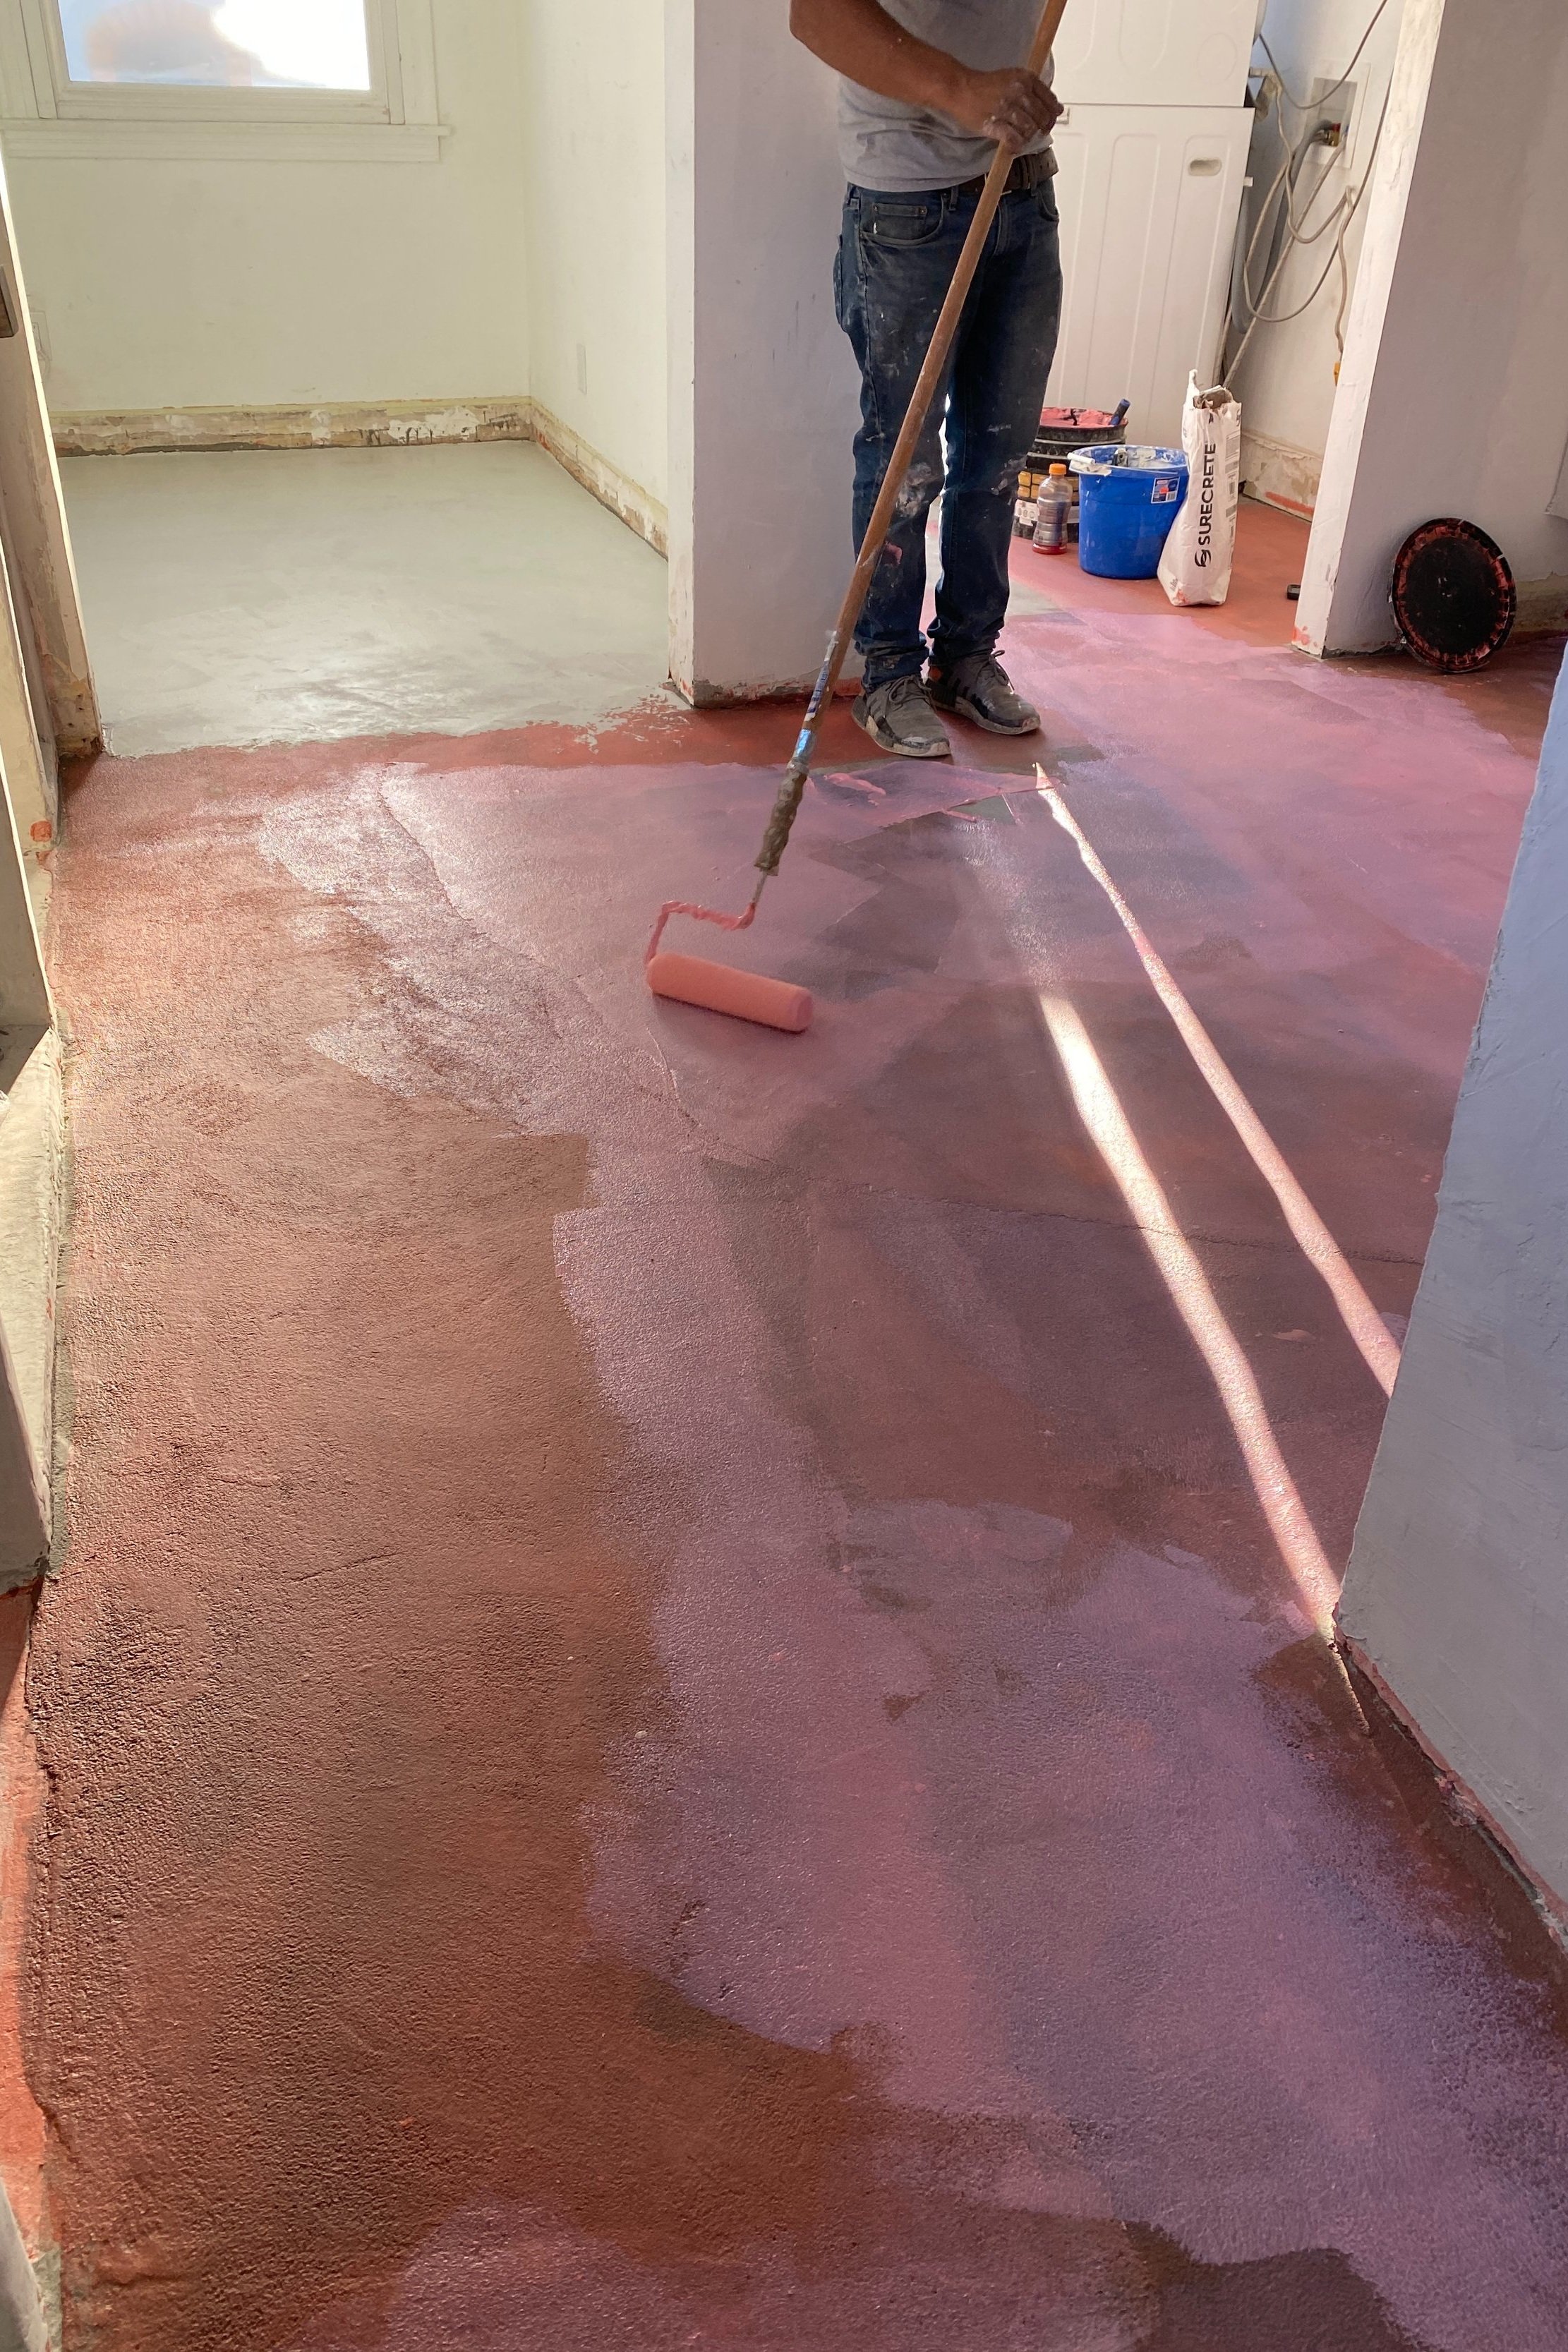
Another layer of redgard on the floors.


And finally our first layer of microcement on the floors!

And microcement in the breakfast nook!

SHOP THE PROJECT


Great Progress for the Week!
We've made impressive strides this week. I'm thrilled to see that the floors are nearly complete and the sink is almost installed.
Slow and steady wins the race!
I hope you enjoyed this post. If you have any questions, please comment below. And if you don’t already, be sure to follow me on Pinterest , Instagram and Youtube.
Obrigada!
READ MORE…