Blanco Bungalow Kitchen Renovation: Week 1
It’s week ONE of our Kitchen Renovation.
If you haven’t seen out design our design plan, click here.

The first thing to do was move everything out. That meant every shelf, every cupboard, every drawer. The breakfast nook has always been my office, so I moved my desk out to the garage and set up shop there.
I emptied everything from the shelves and “pantry” aka the original ice box, and set up a temporary kitchen in the dining room.

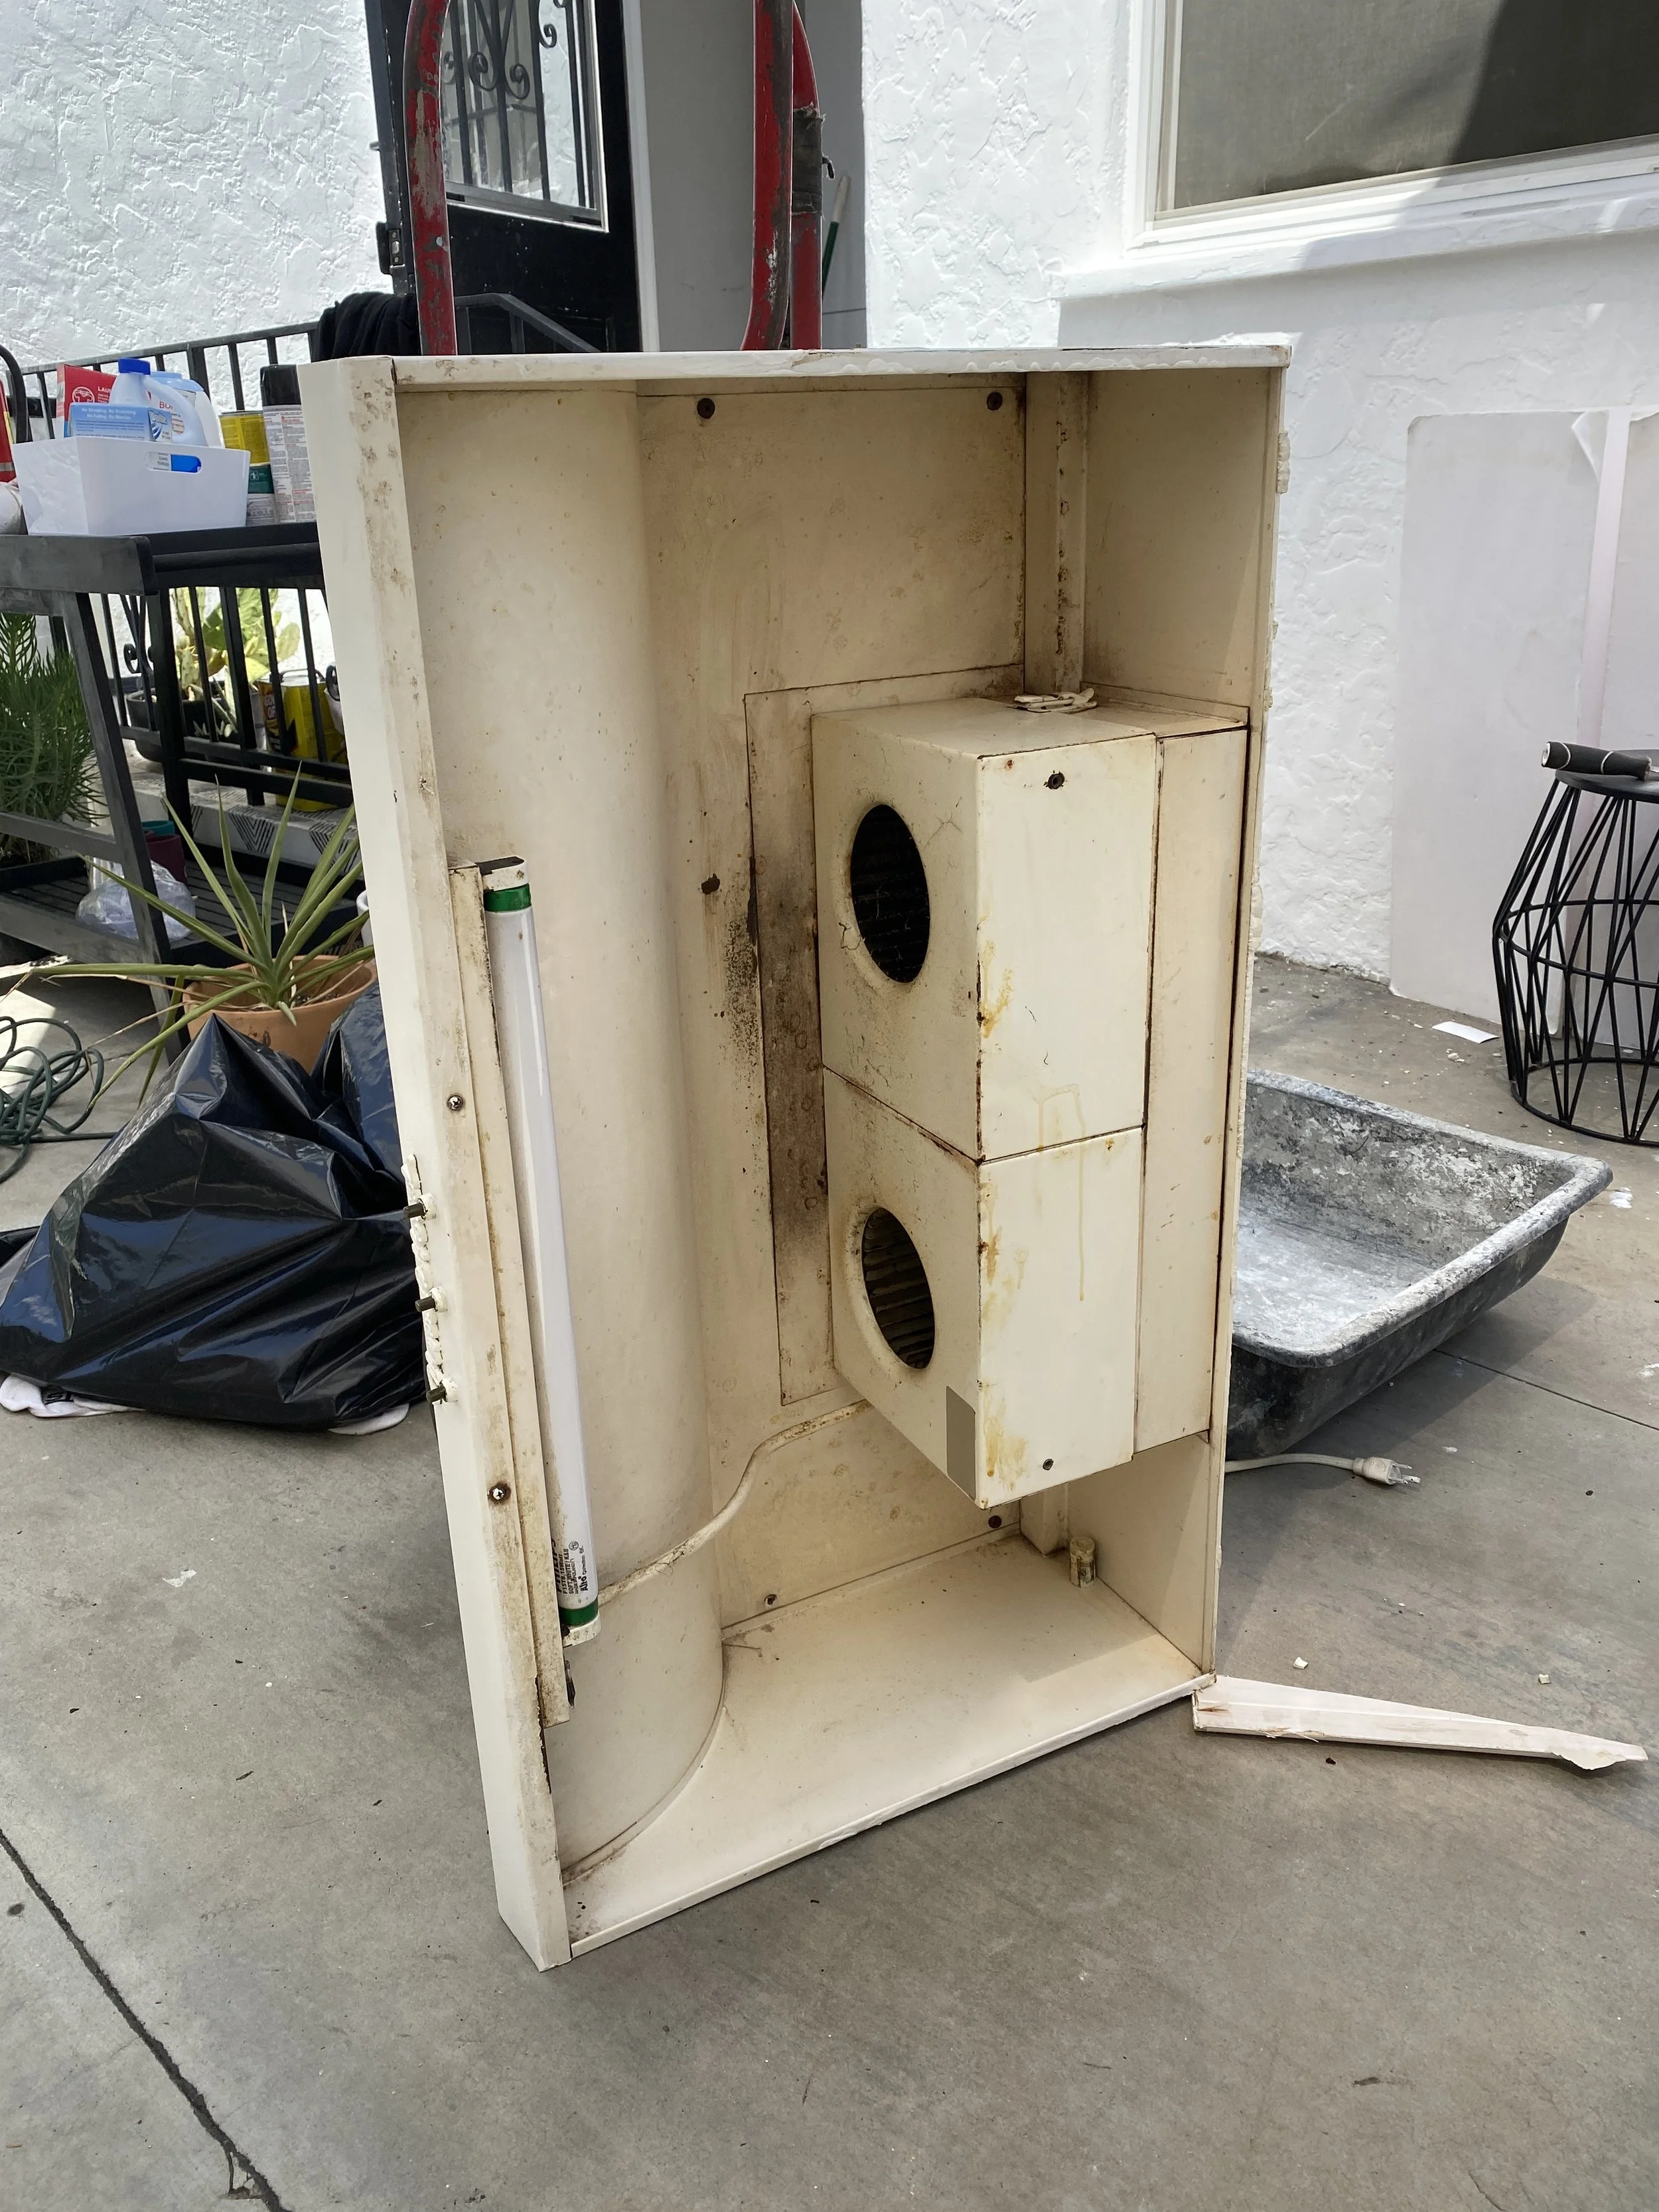
Isn’t that so crazy that the piece to the far left is the original ice box?

Since the ice box was where a refrigerator would normally go, the refrigerator that came with the house has always lived right in the middle of the room. Let alone it was in an incredibly awkward spot, the fridge was also gigantic and a horrible eye sore. But when we moved in, we had zero budget for appliances, so Strader spent 6 hours cleaning it so we could use it until we found a new one. I hope to have a full on Office Space moment on this thing when we finally get rid of it:)

Even though I despised this fridge, I made lemonade out of lemons and made a vision board for Strader. The way our bedroom is situated, every morning when he wakes up, he looks straight at the fridge (if our bedroom door is open), so I thought why not make it something inspiring! Which by the way, we’ve been manifesting something pretty incredible that’s about to come through, and I can’t wait to share it with you, but until then, you can share in my vision!

This little spot was the catalyst to the kitchen reno. We had a couple of broken tiles and we decided to take a hammer and chisel to them to see what we were working with. And low and behold, wood floors!

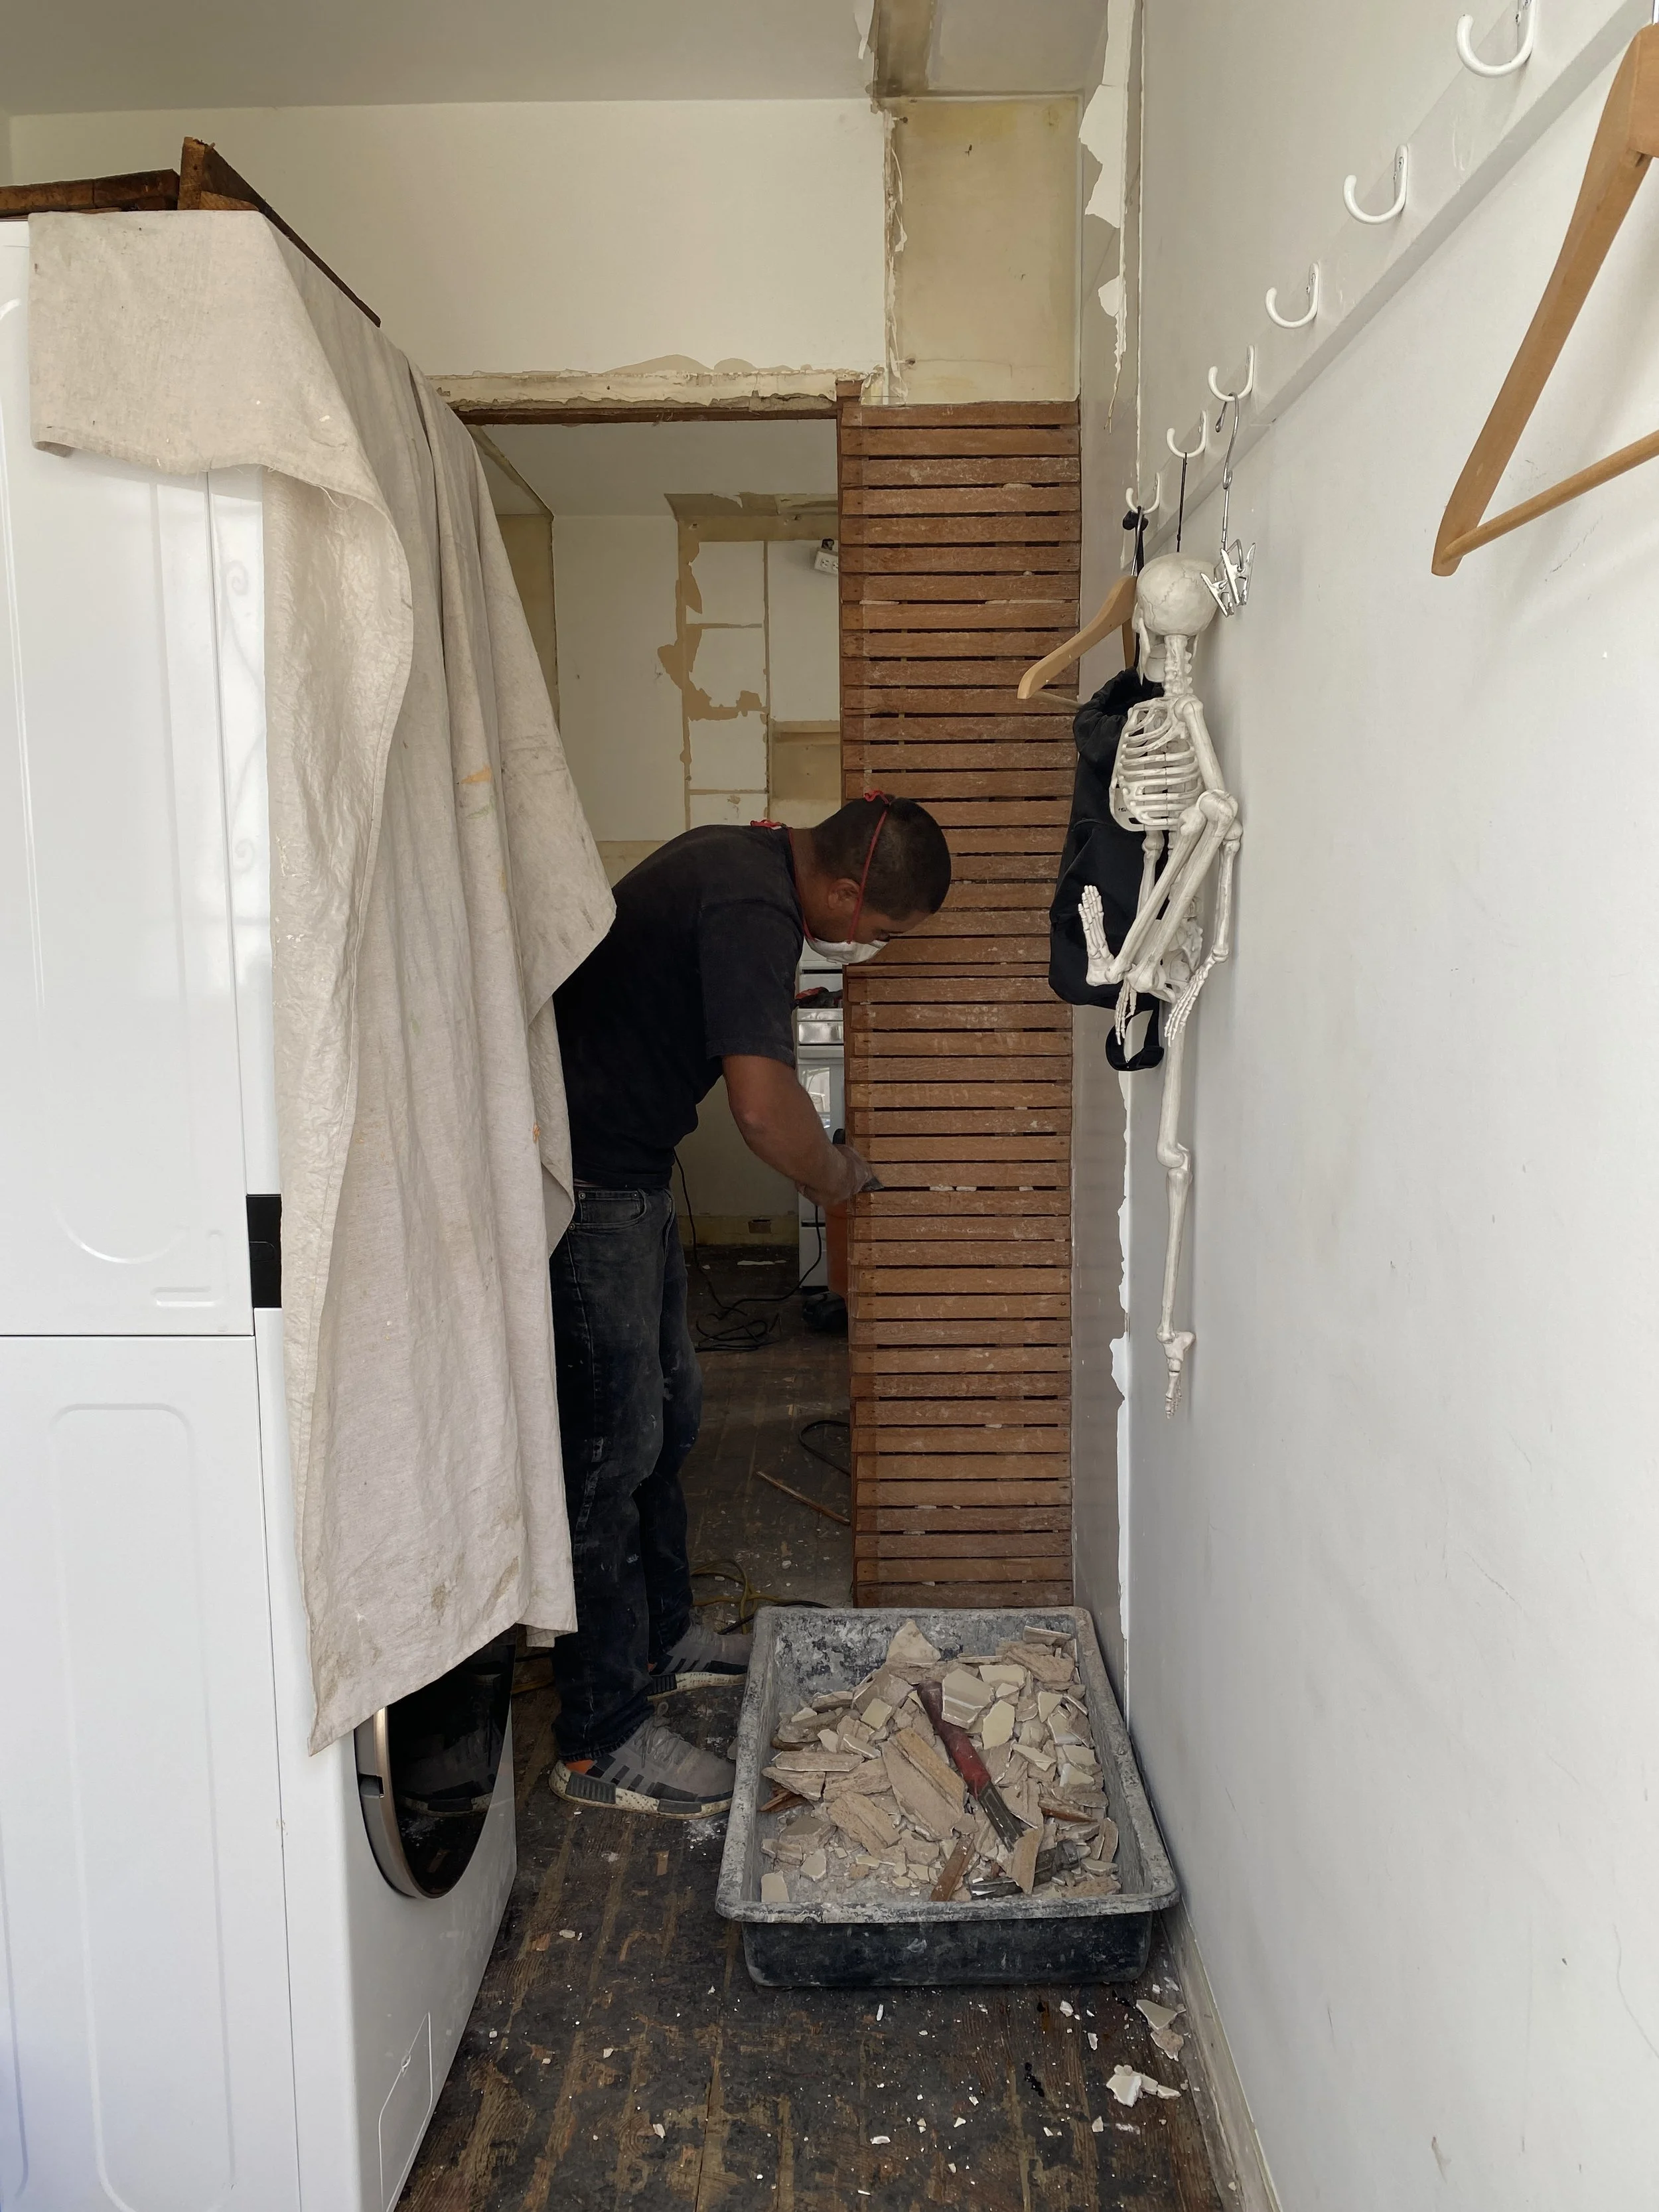
Here is our laundry room. I’m not sure how familiar you are with Spanish Bungalows, but most of the exits to the backyard are through the laundry room or mud room. Which wouldn’t be so bad, if this space wasn’t so awkward. It’s always been my dream to open up the wall to the left, demo out that little useless cabinet and extend the wall to the right, so we can tuck a fridge, some tall cabinets, and our laundry tower. Everything being flush on the right hand side, and a nice open walkway to the backyard.

So it was finally time to start demo. We taped off the doorways with plastic.

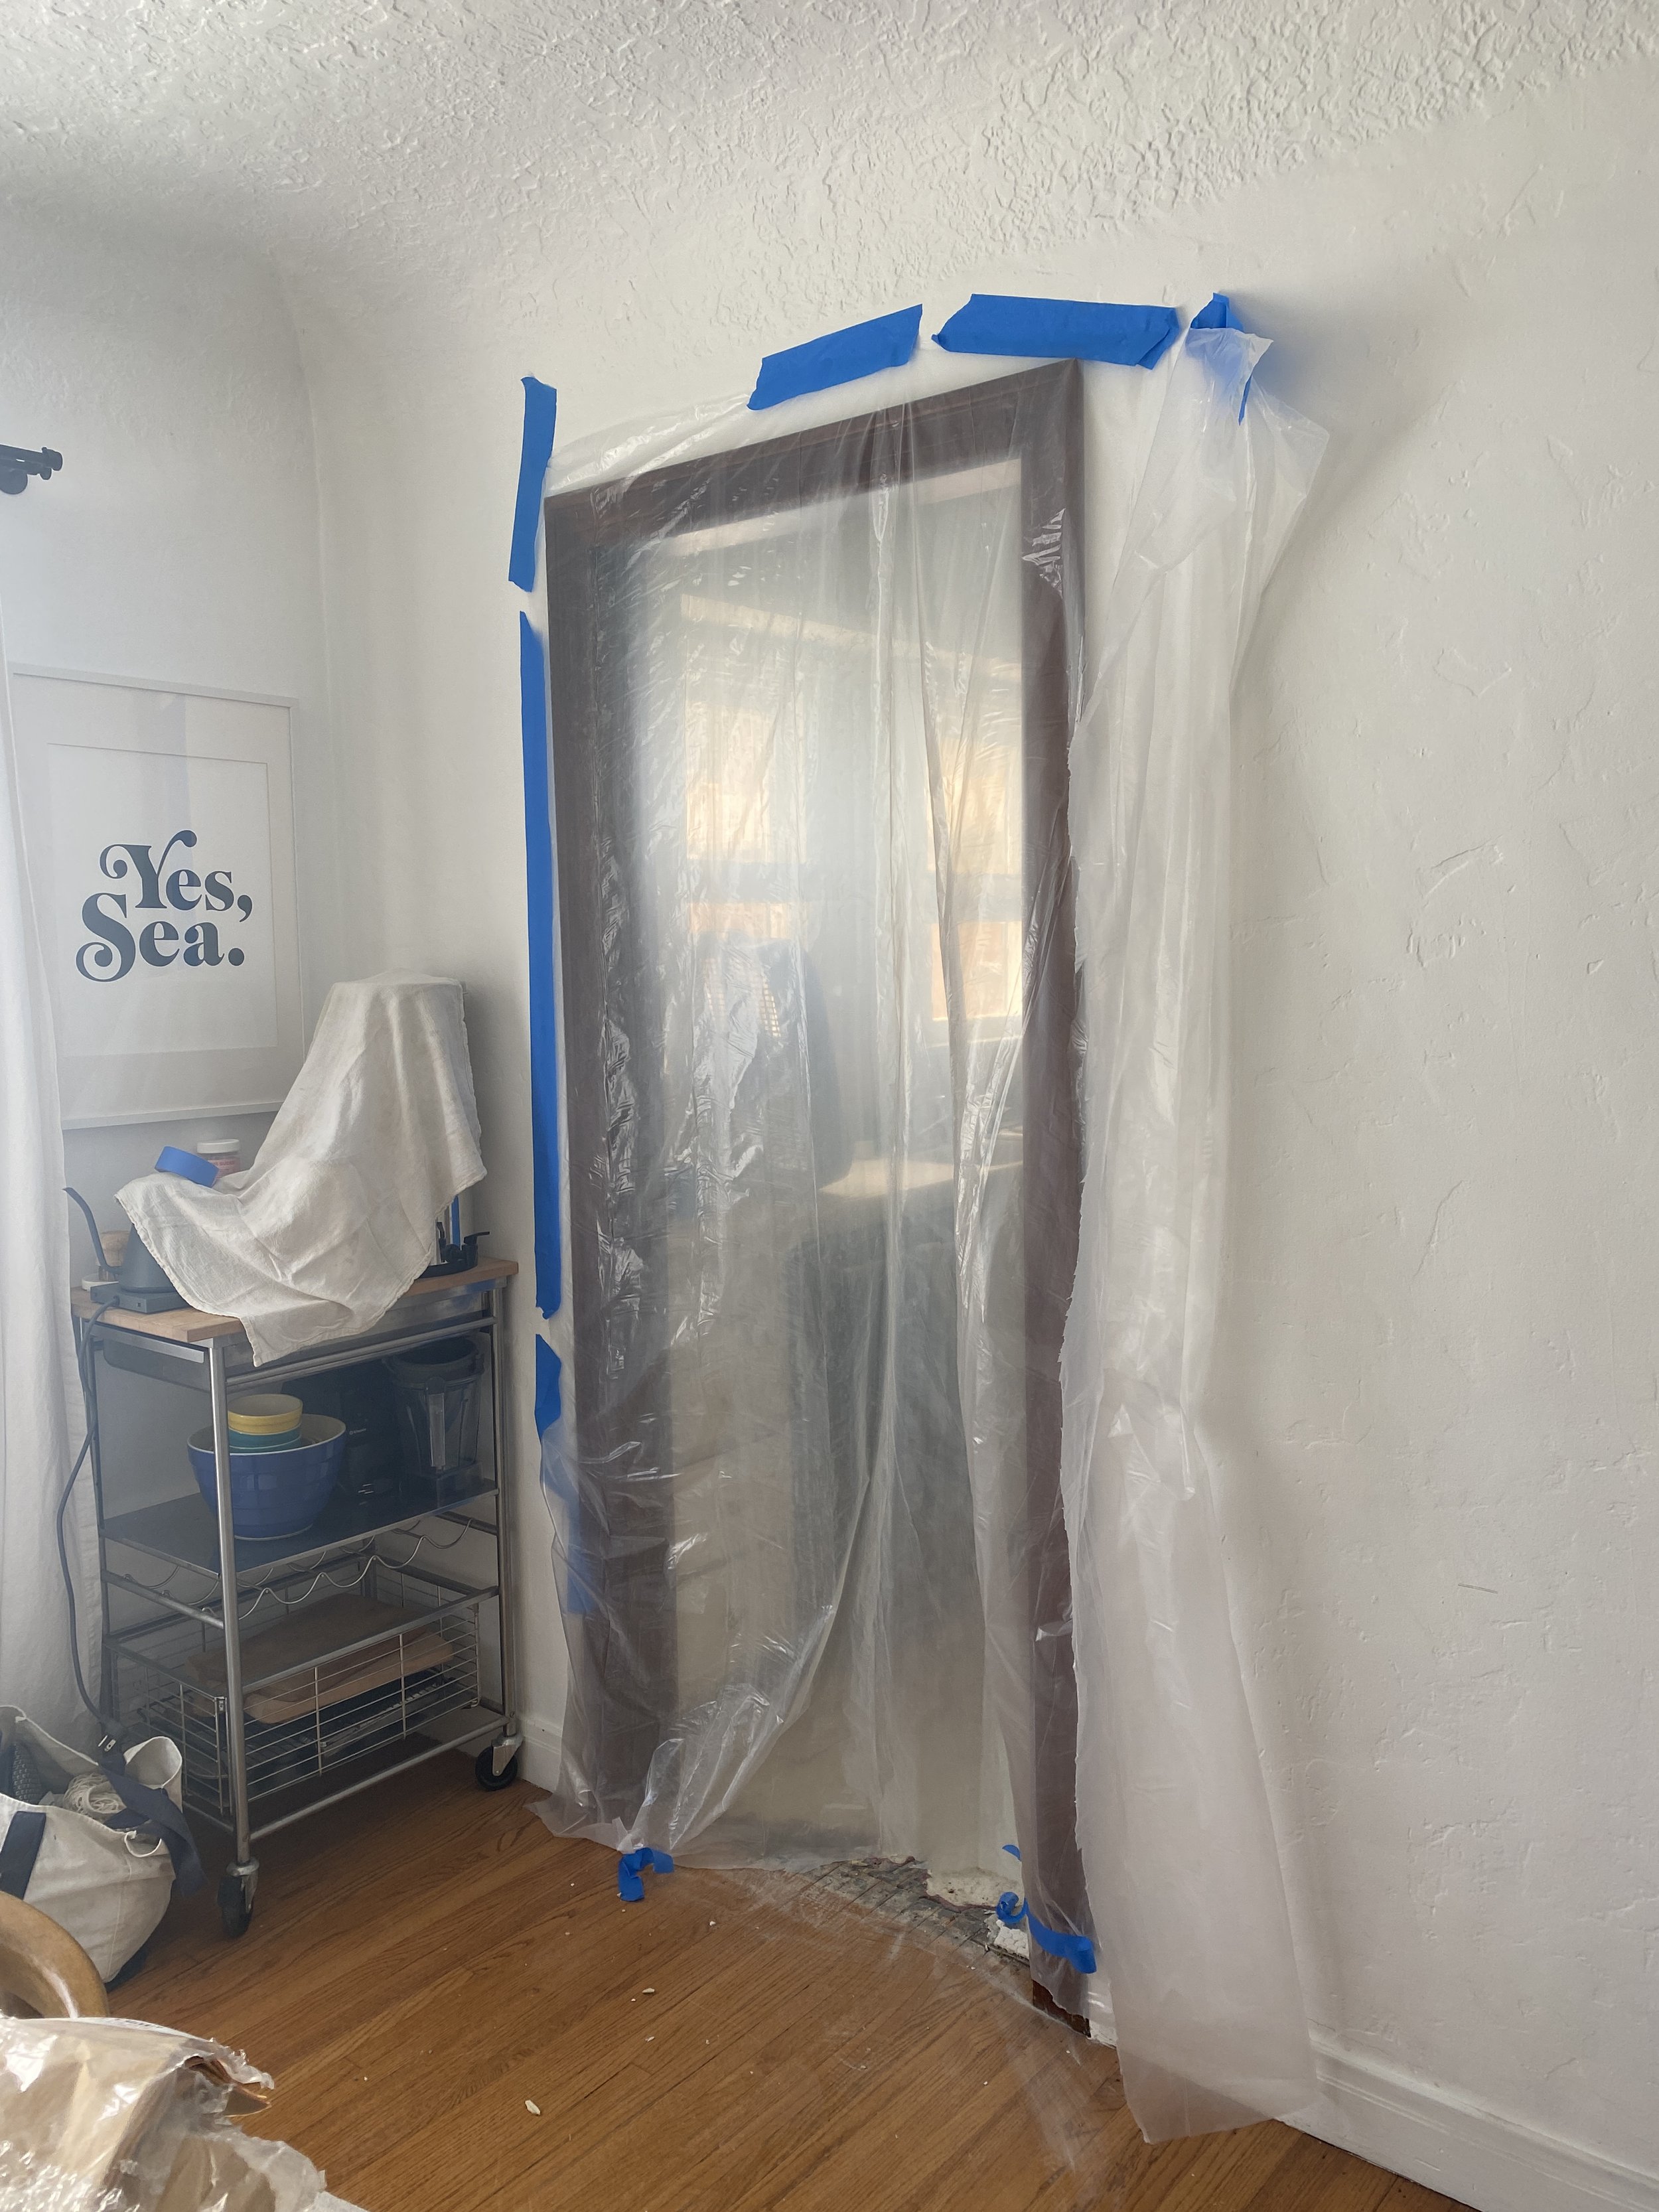
The dining room door definitely could have been taped better, because everything was covered in a thin layer of dust after day one.
The first layer of tile came off pretty easily with a hammer drill.

Then came the fun part. The linoleum underneath.

Strader started getting the mastic off with Goo Gone, but then read that it’s not so good to use on raw wood.


The linoleum was pretty intense. Not to mention toxic. The guys wore full on face protection. Hindsight, we should have gone down to the linoleum and just tiled over it. But we were determined to see what was underneath and see if it was salvageable.

This part was definitely super intense!
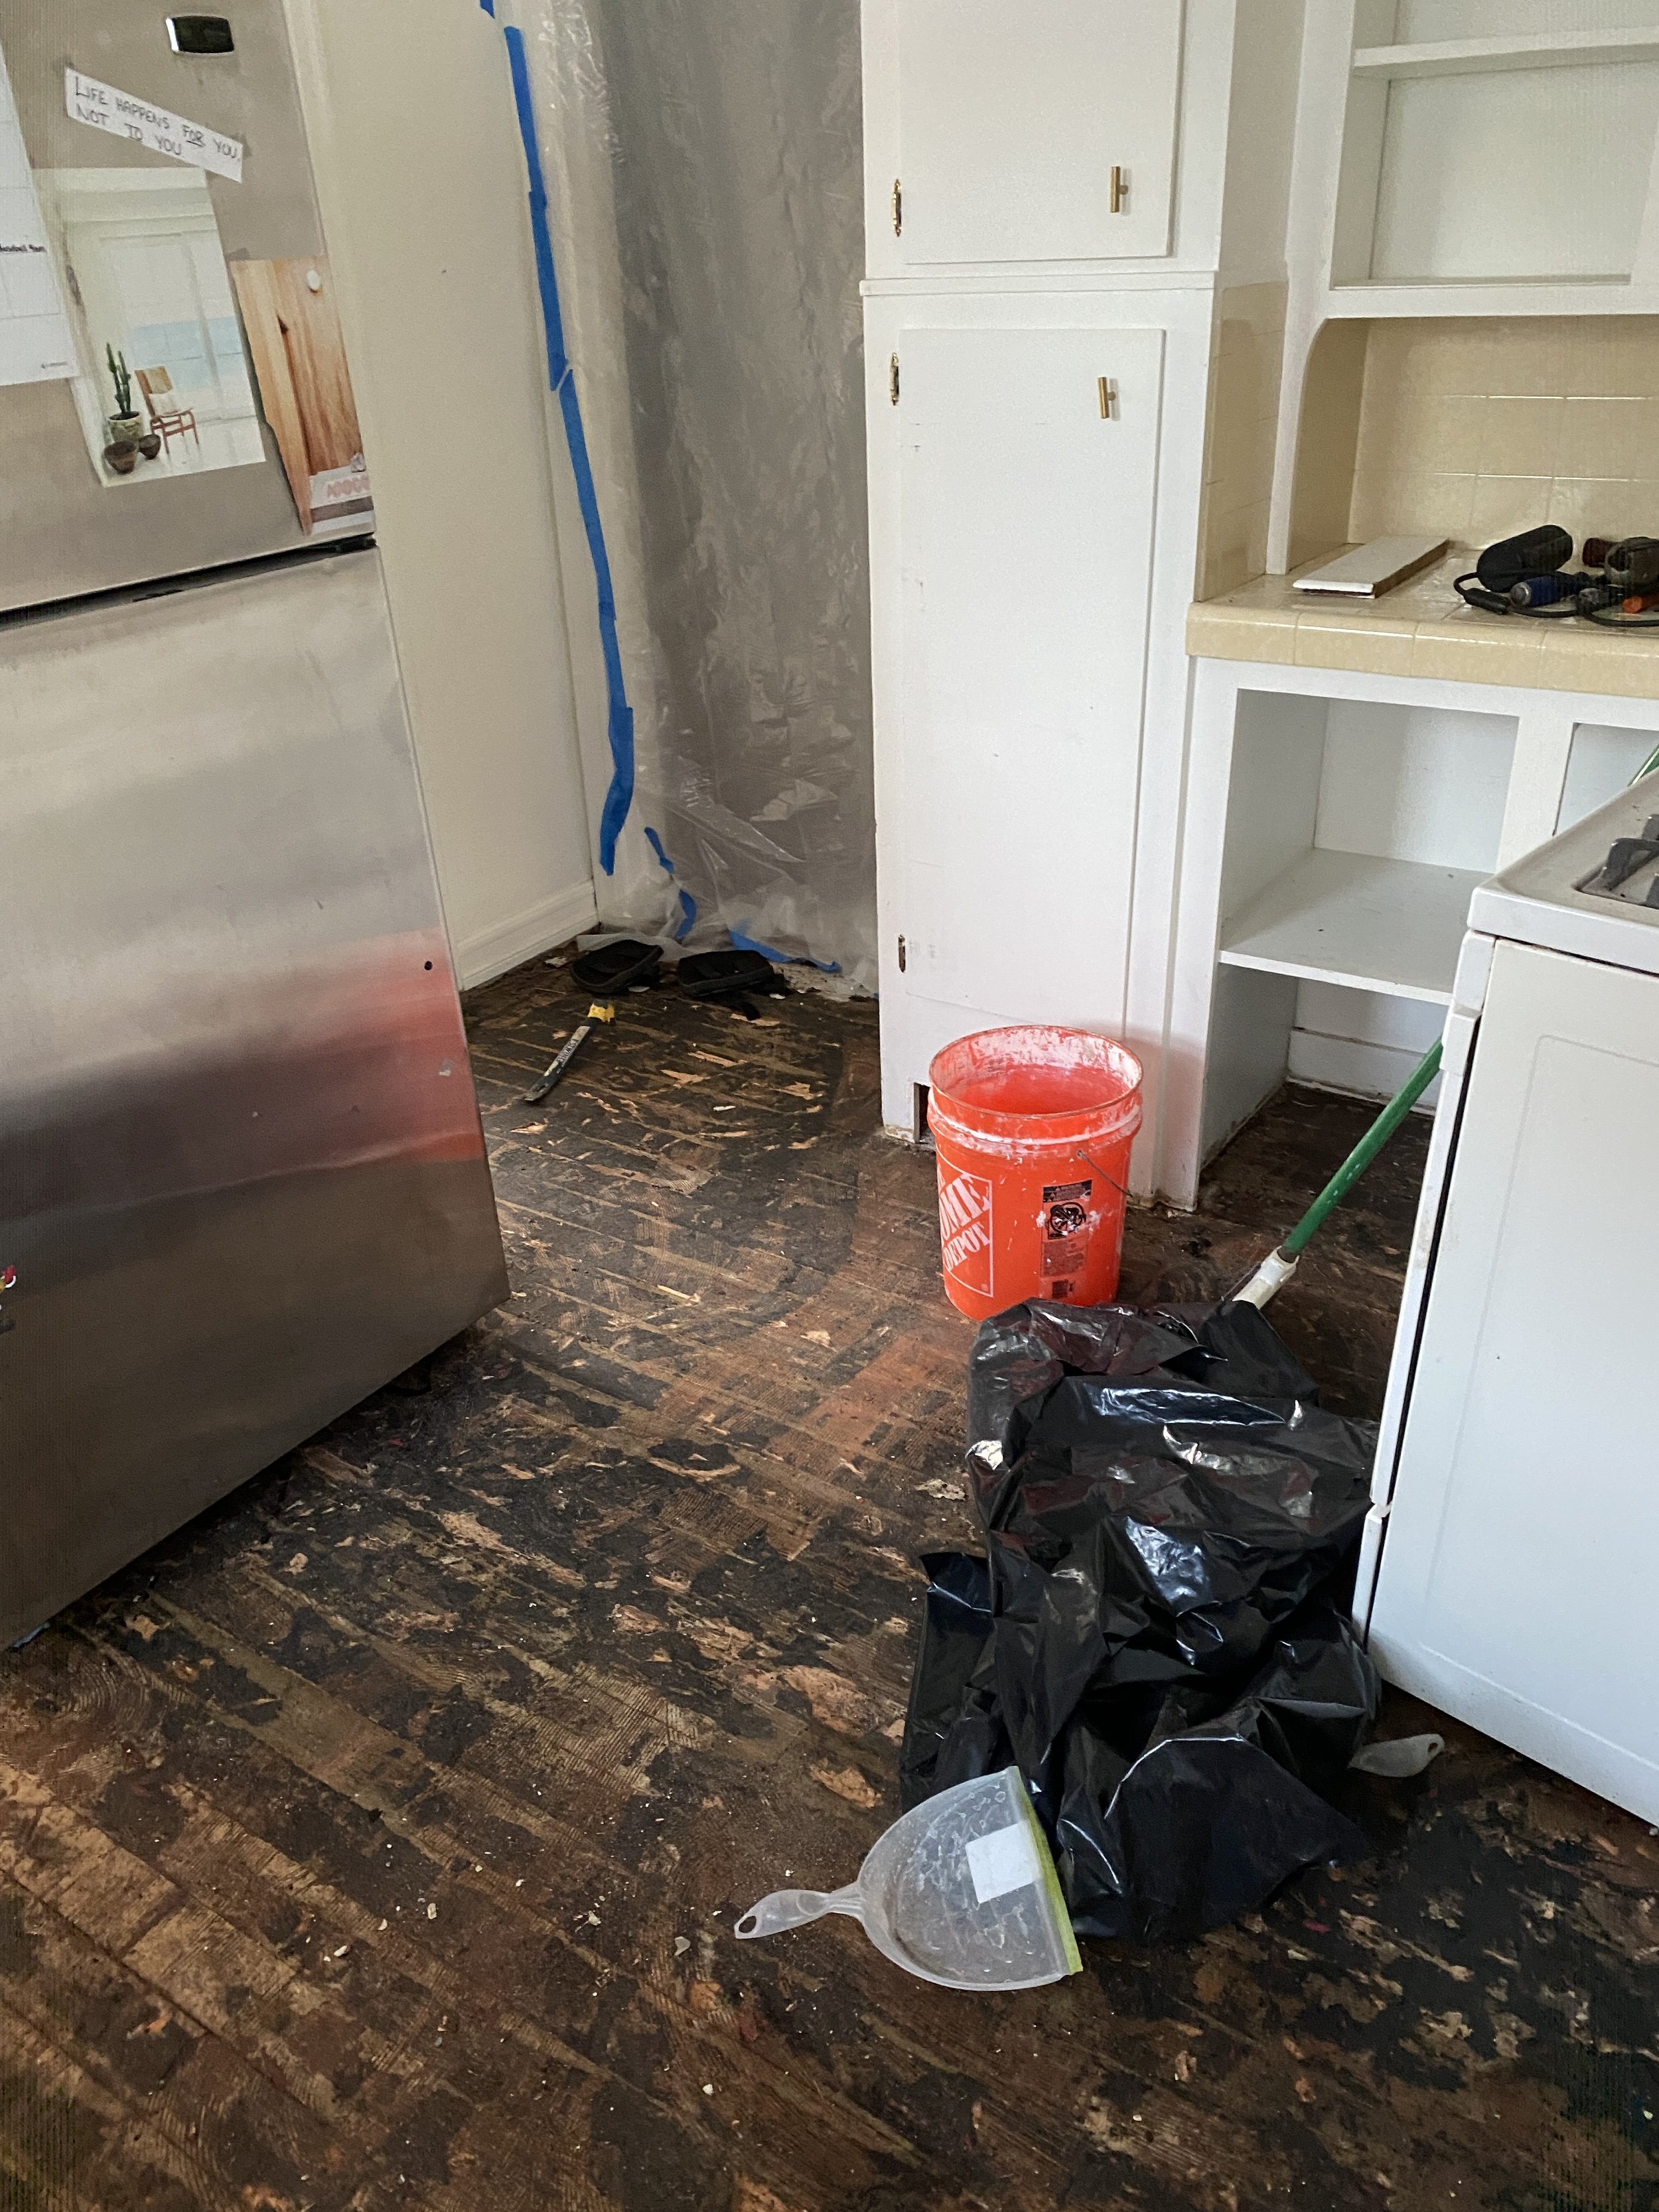

Once they removed all of the linoleum, they had to deal with all of the mastic. It took forever!!

The floors were pretty banged up after using power tools to remove the layers that were on top of it.

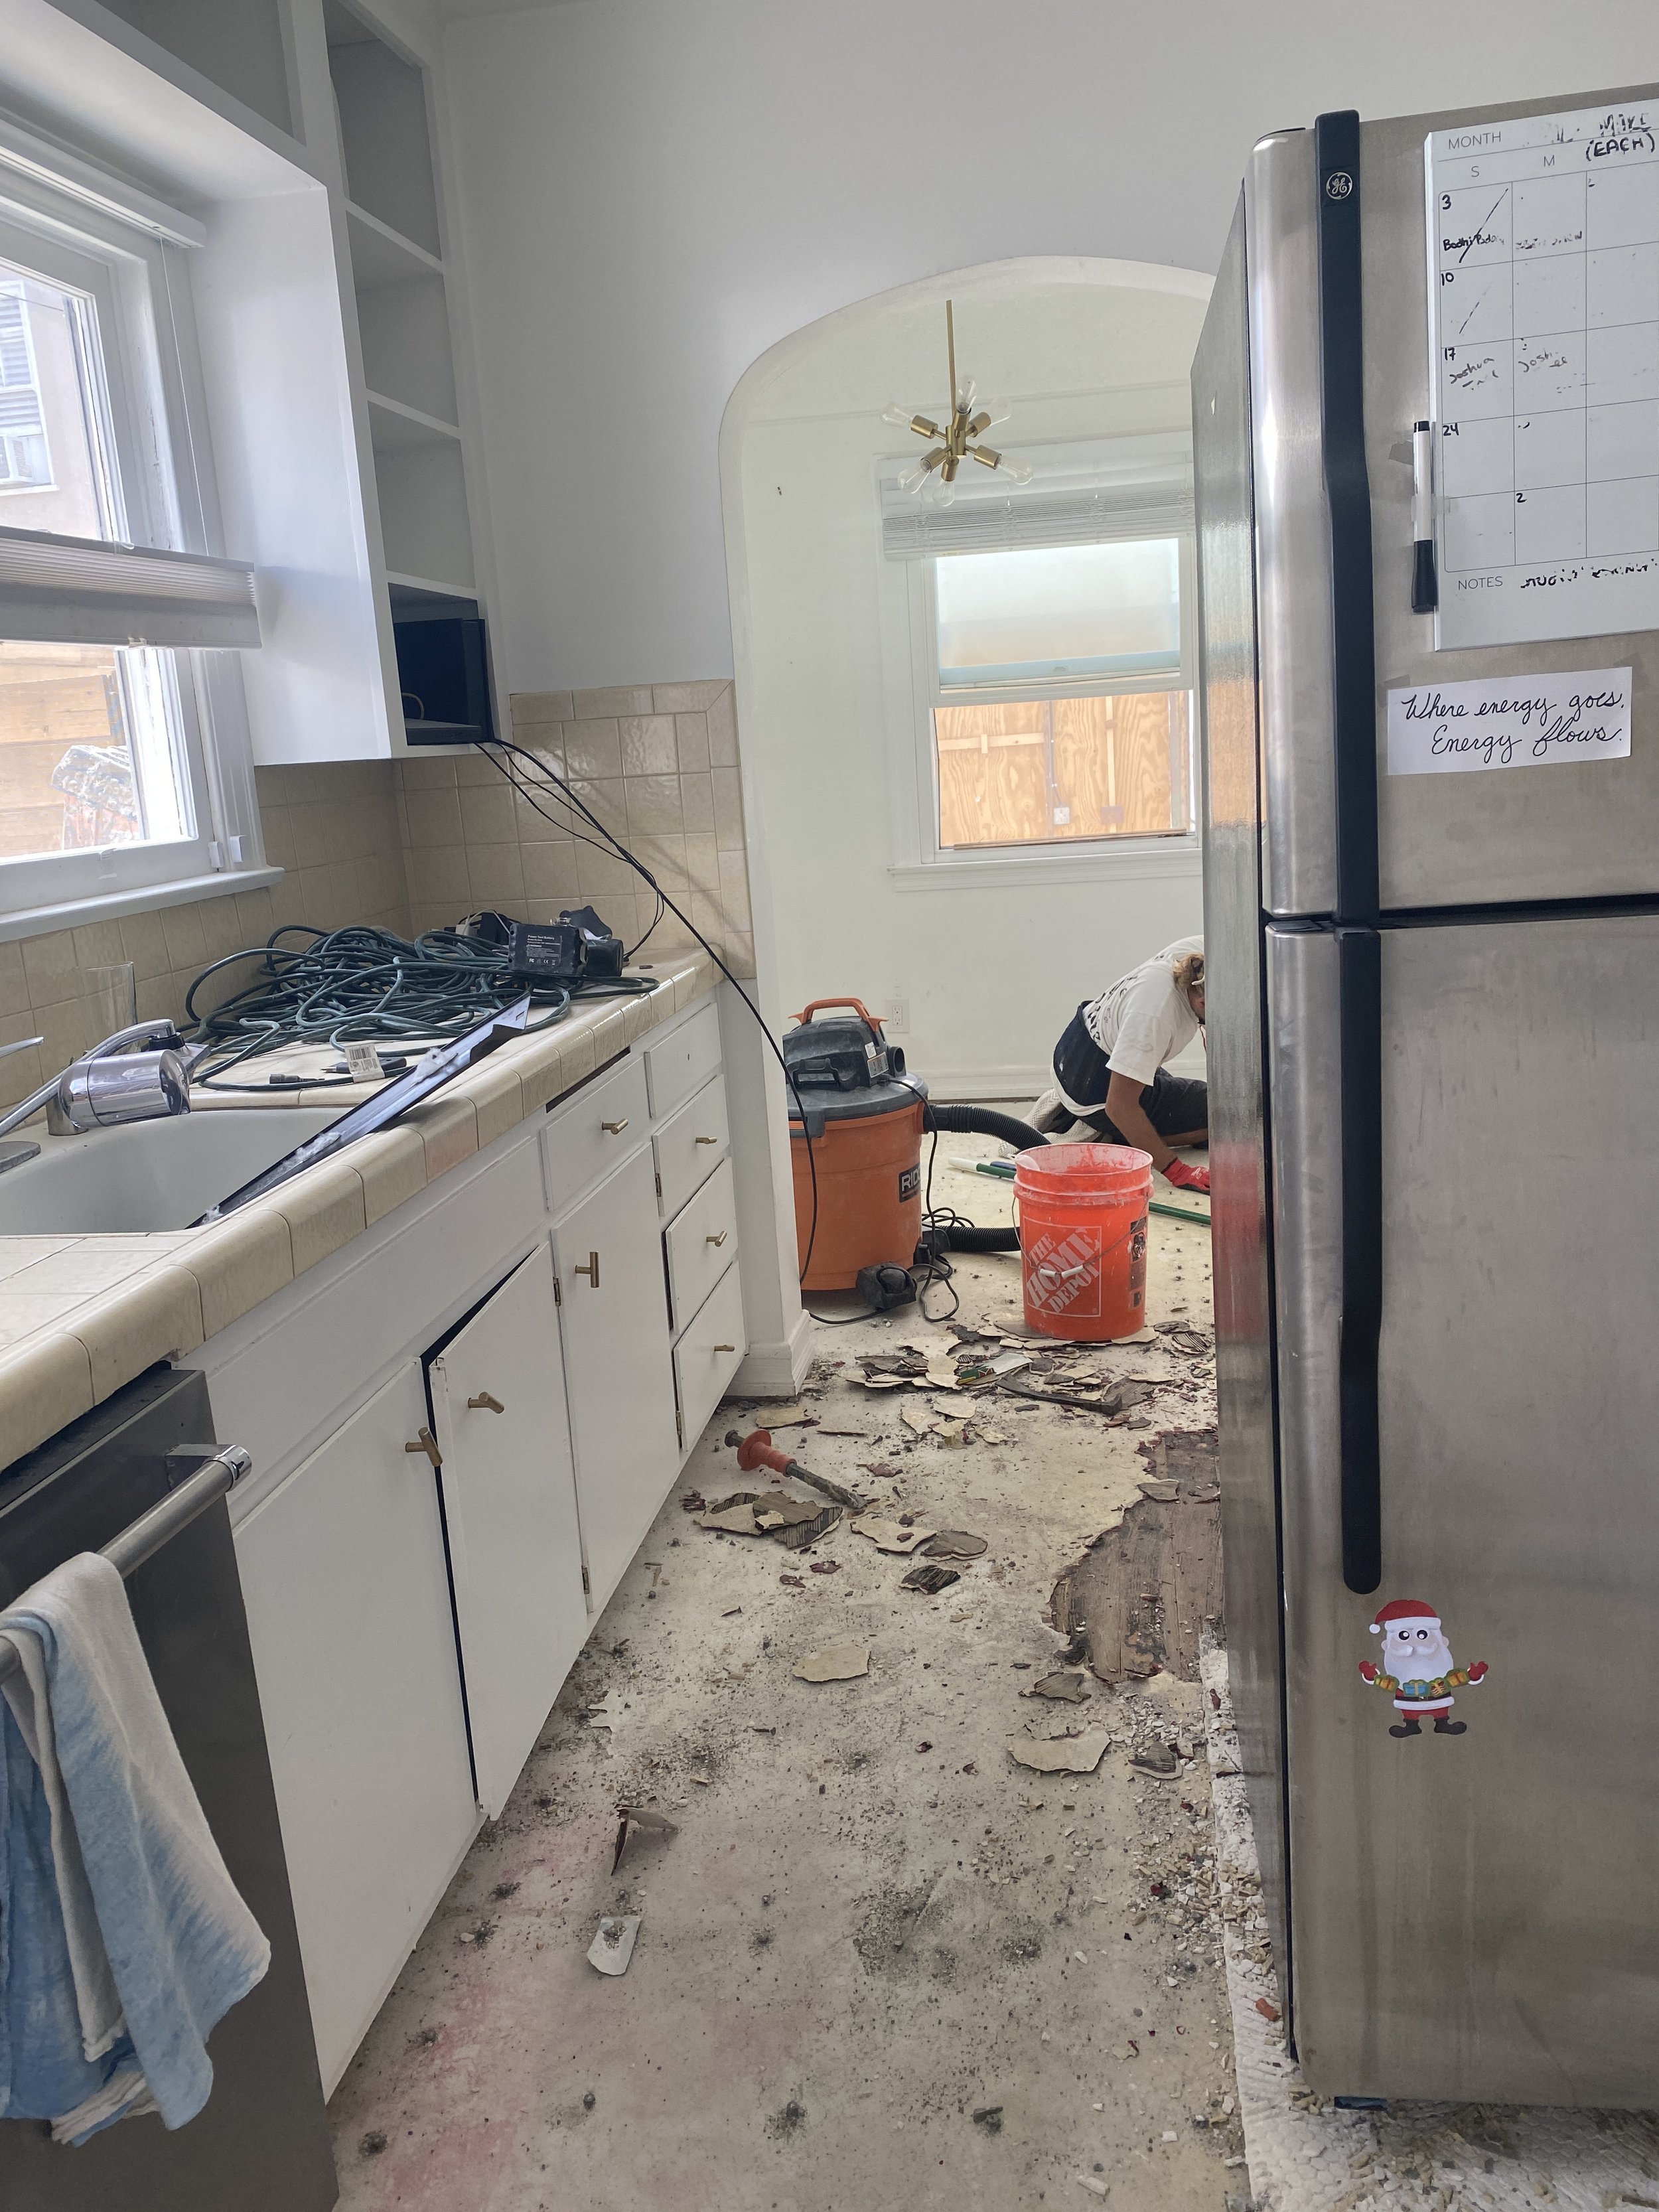
While Strader continued working on the floors, Bardo got going on removing all of the backsplash tile and counter tile.


So crazy to see it all gone!


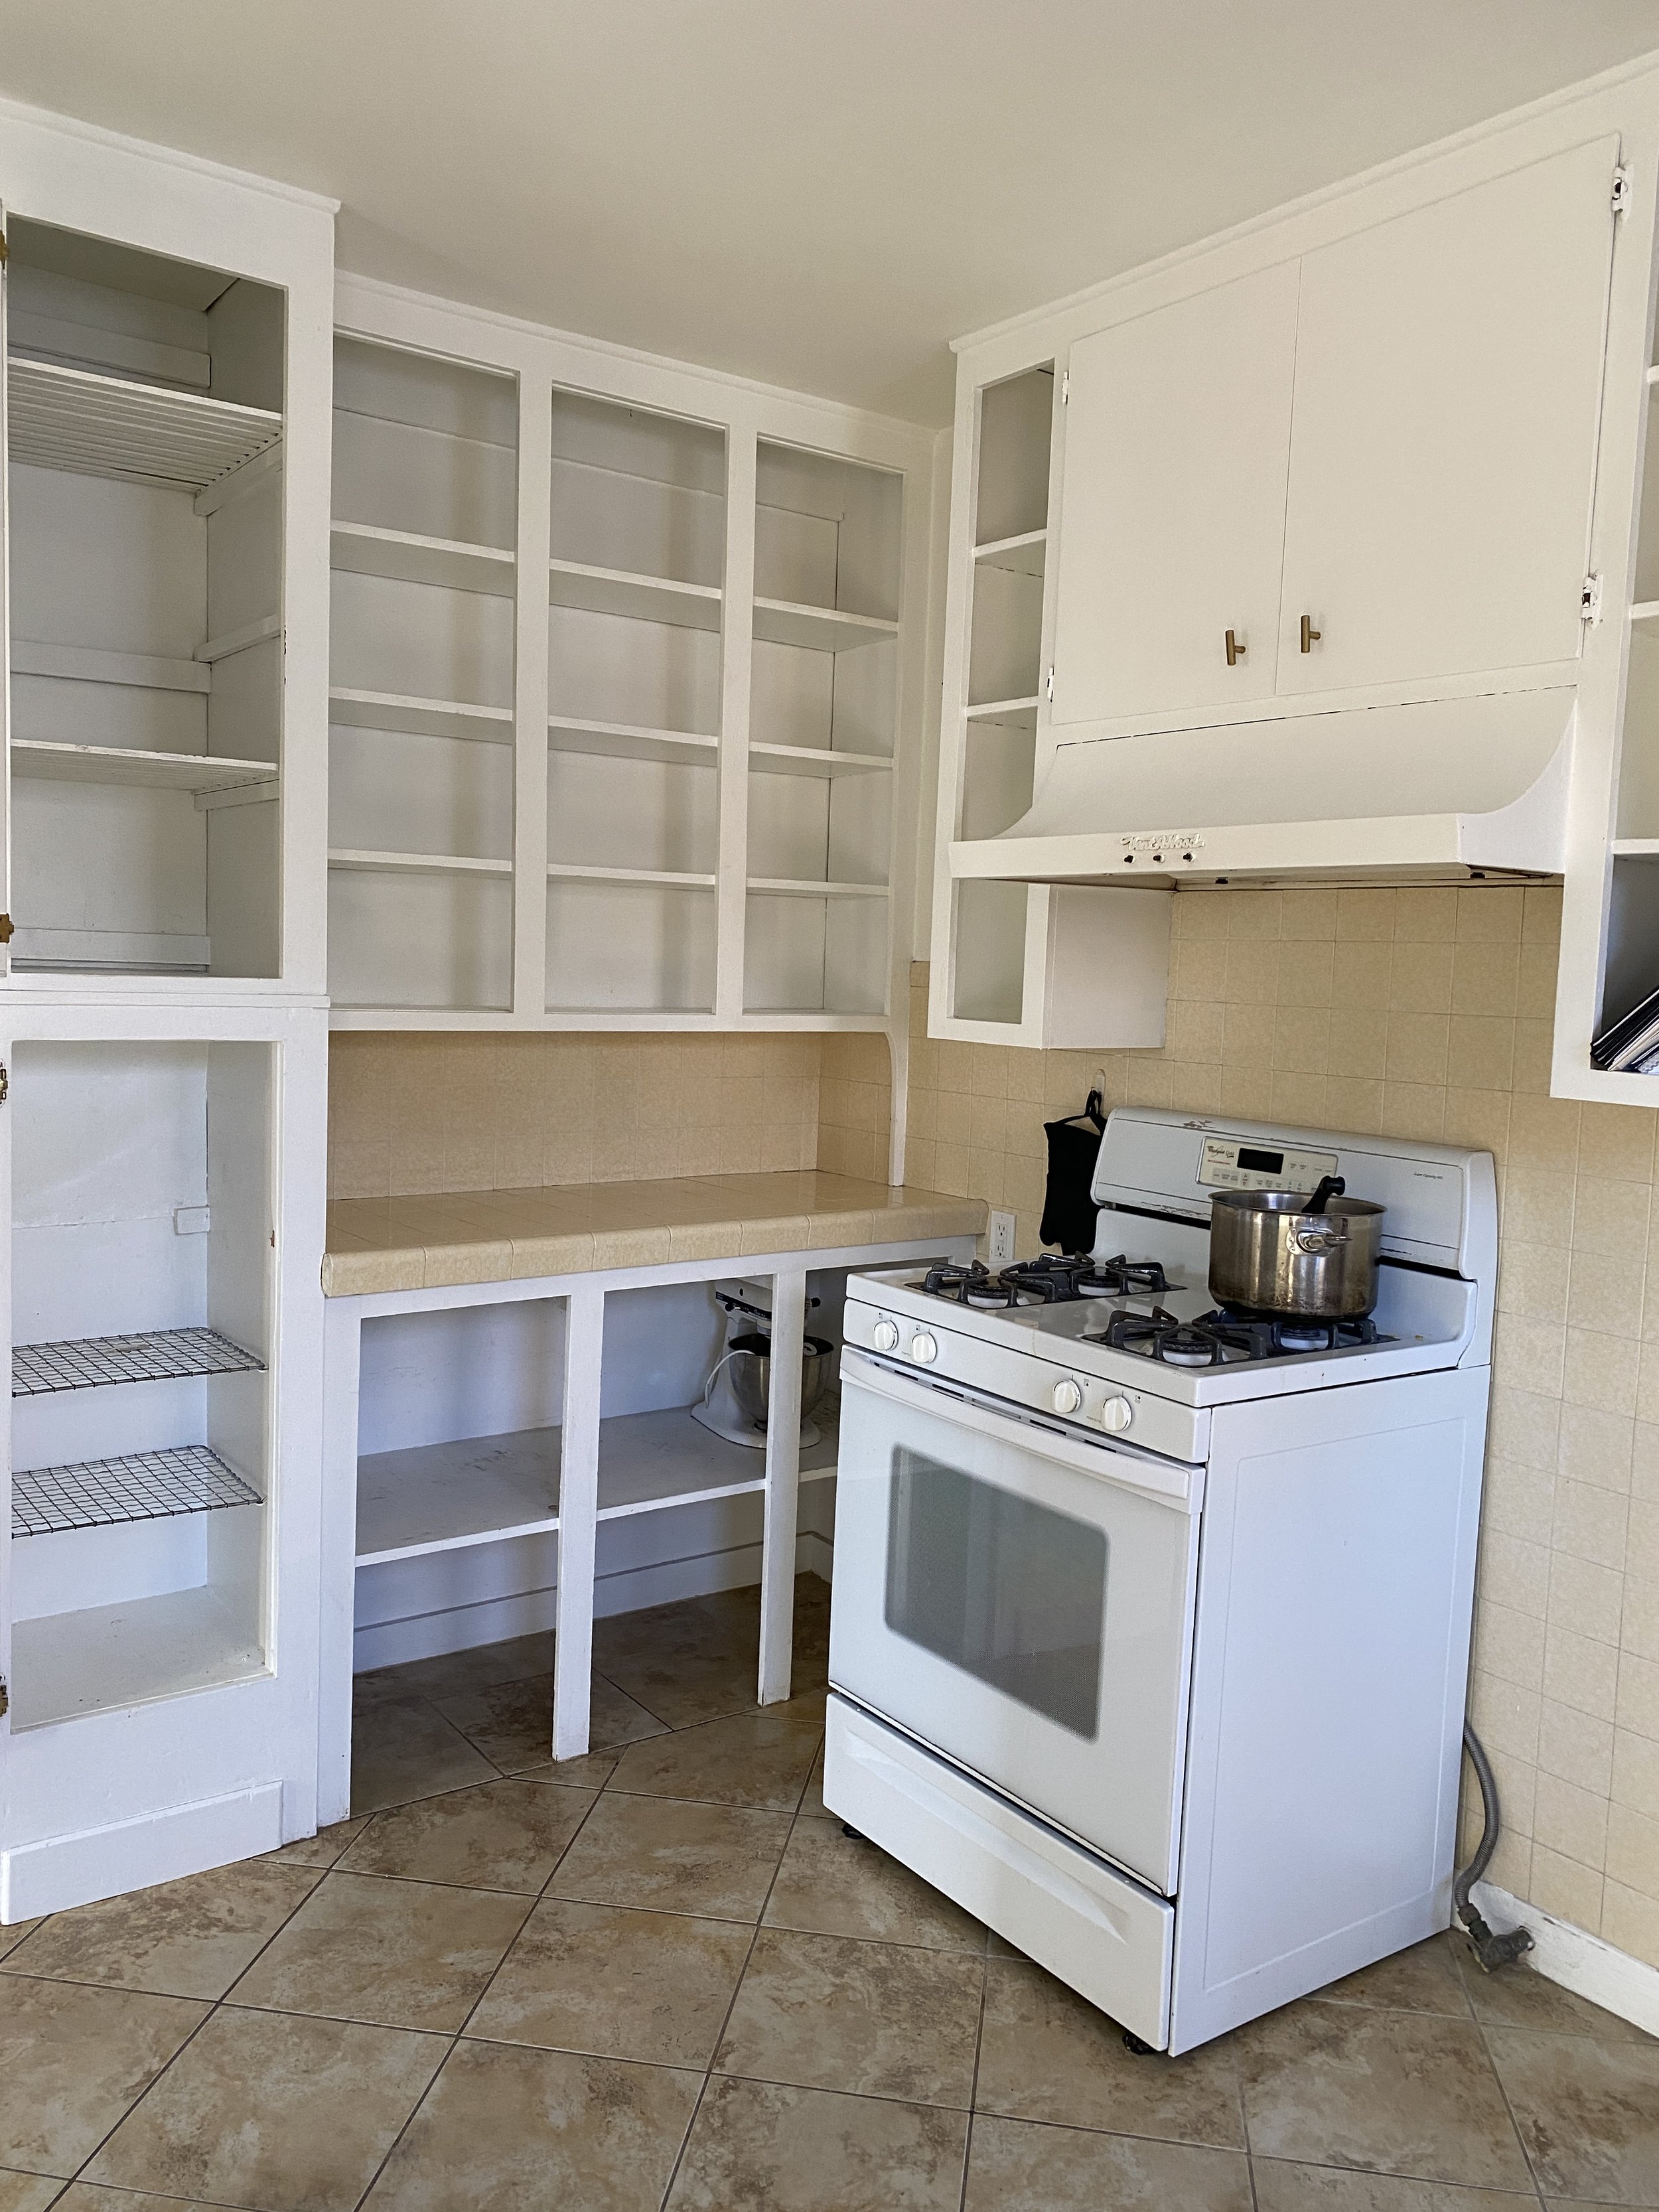
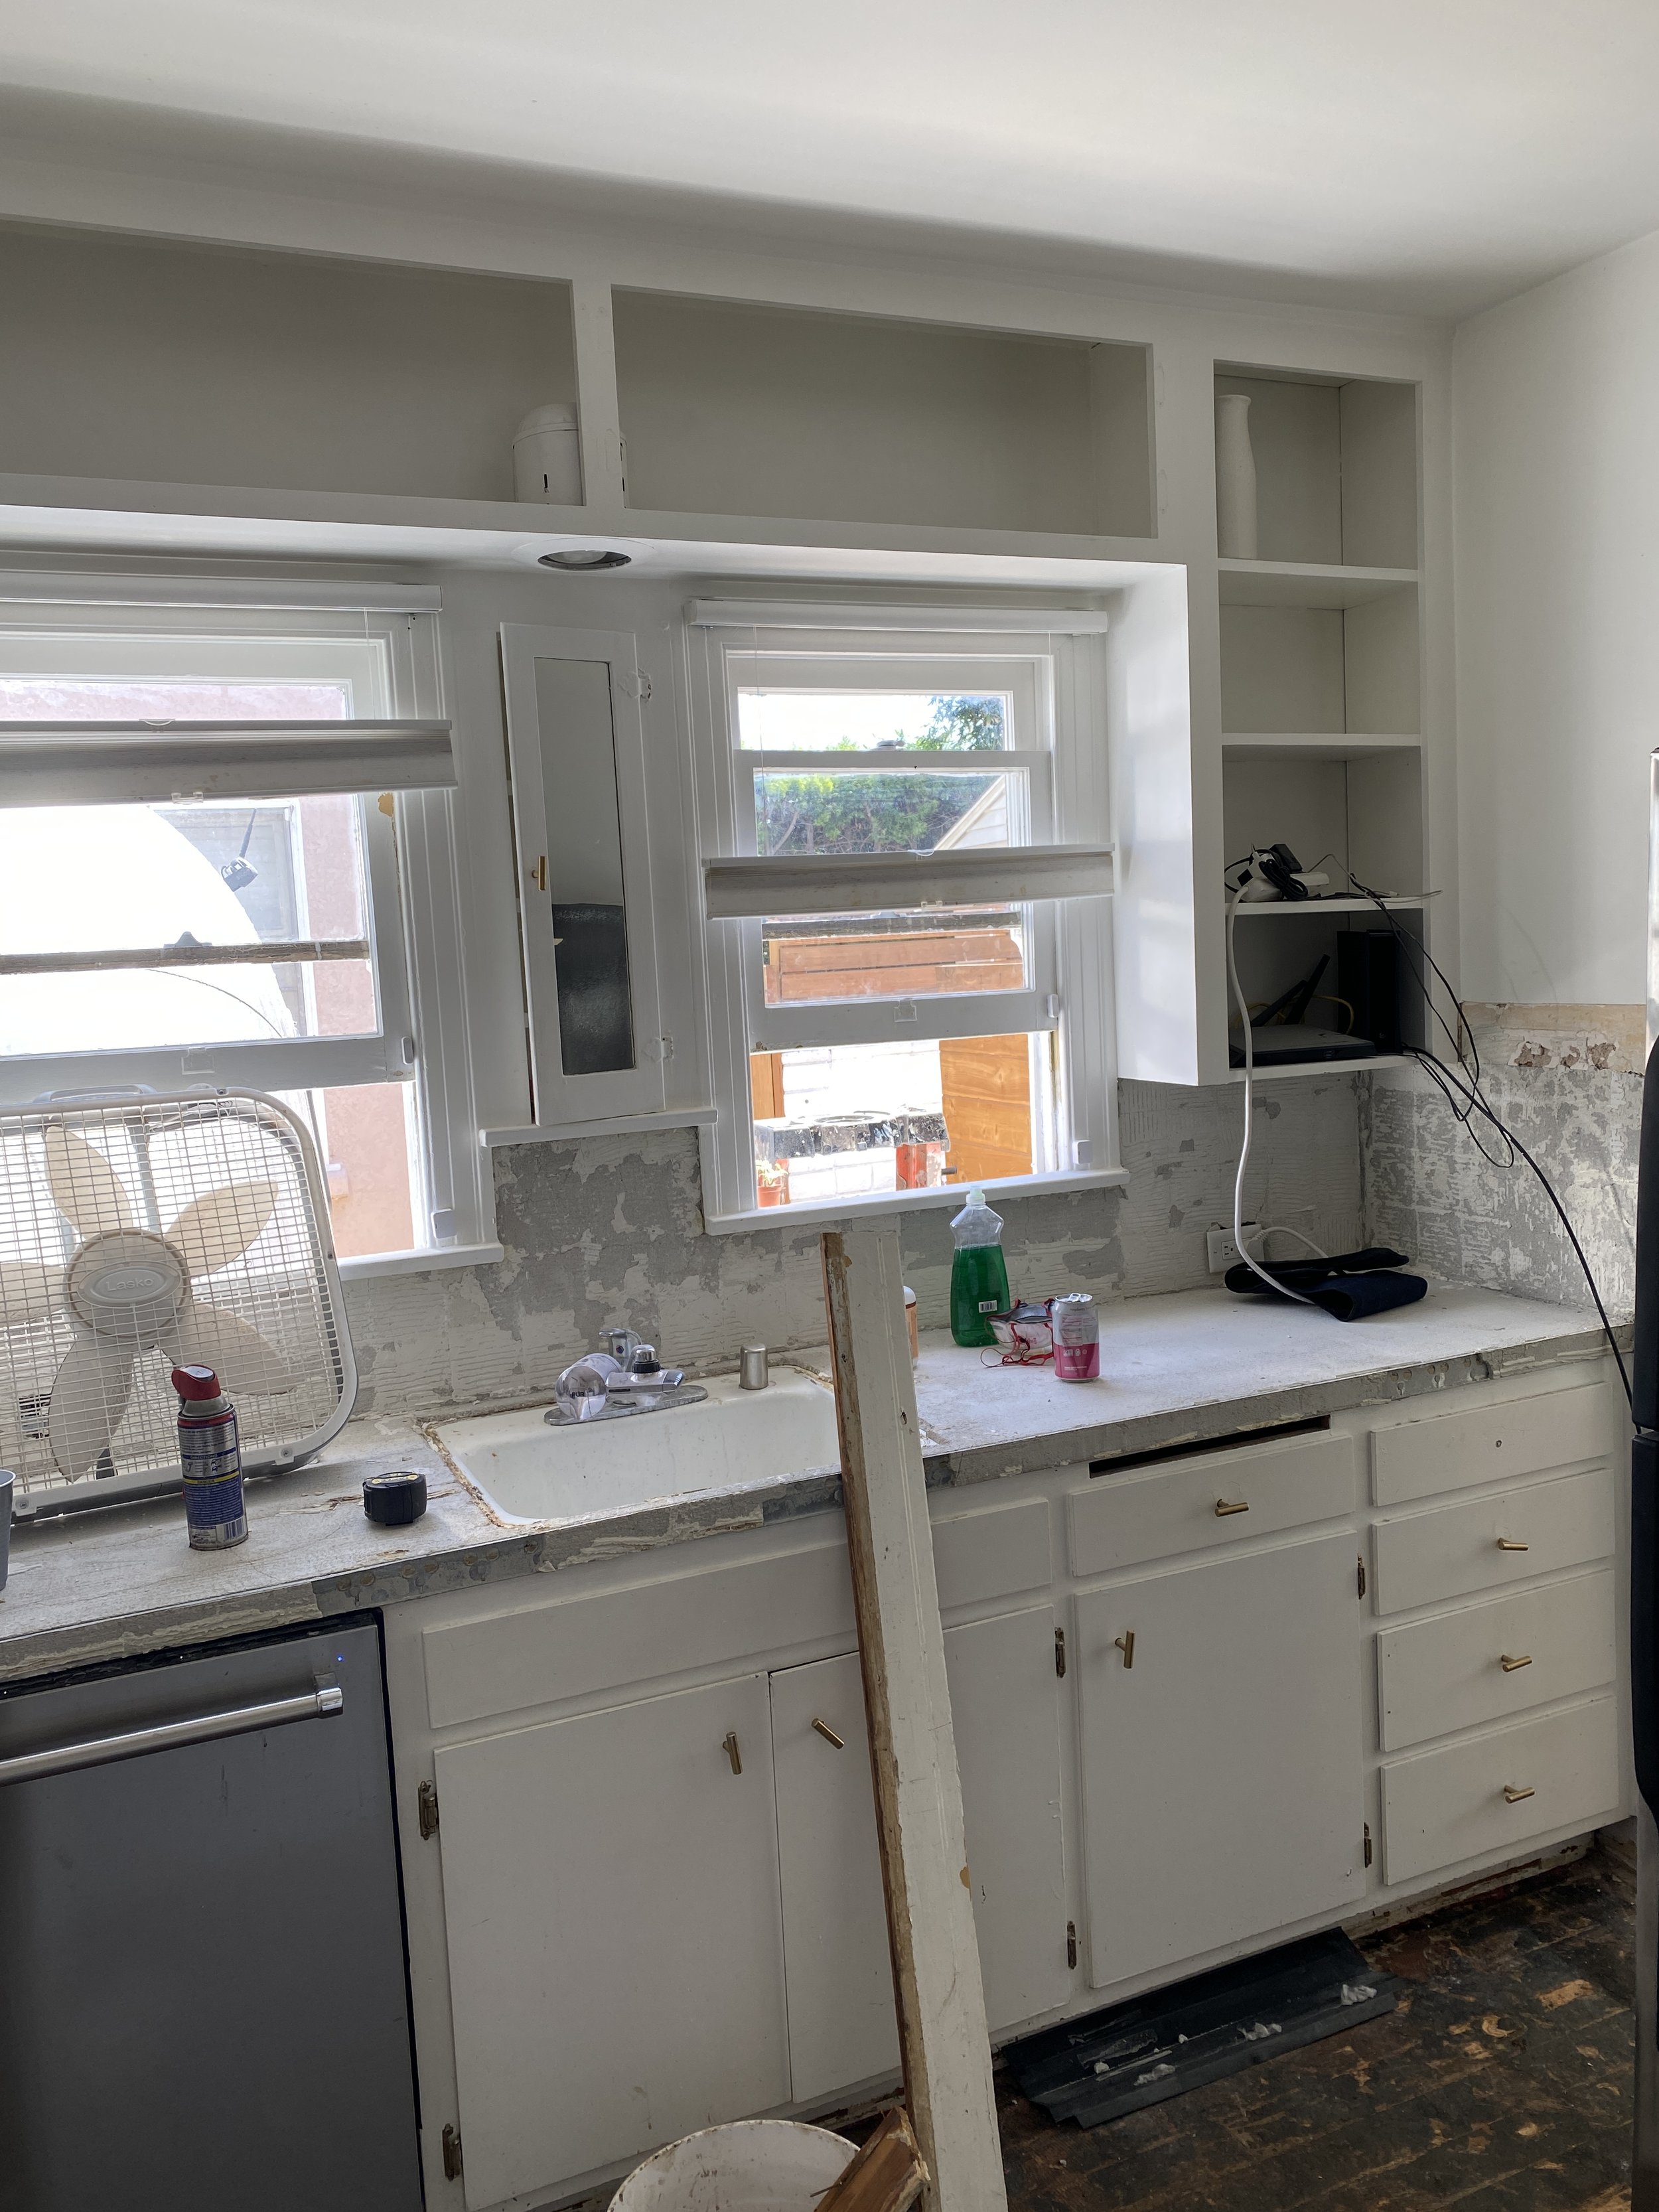
Next up the uppers! We removed the hood and upper cabinets above the stove. Our plan is to replace it with a Forte Hood and wrap it with a clean plaster box. We may do a couple of floating shelves but we’ll see once we start framing everything out.
How gross is the old hood!?!
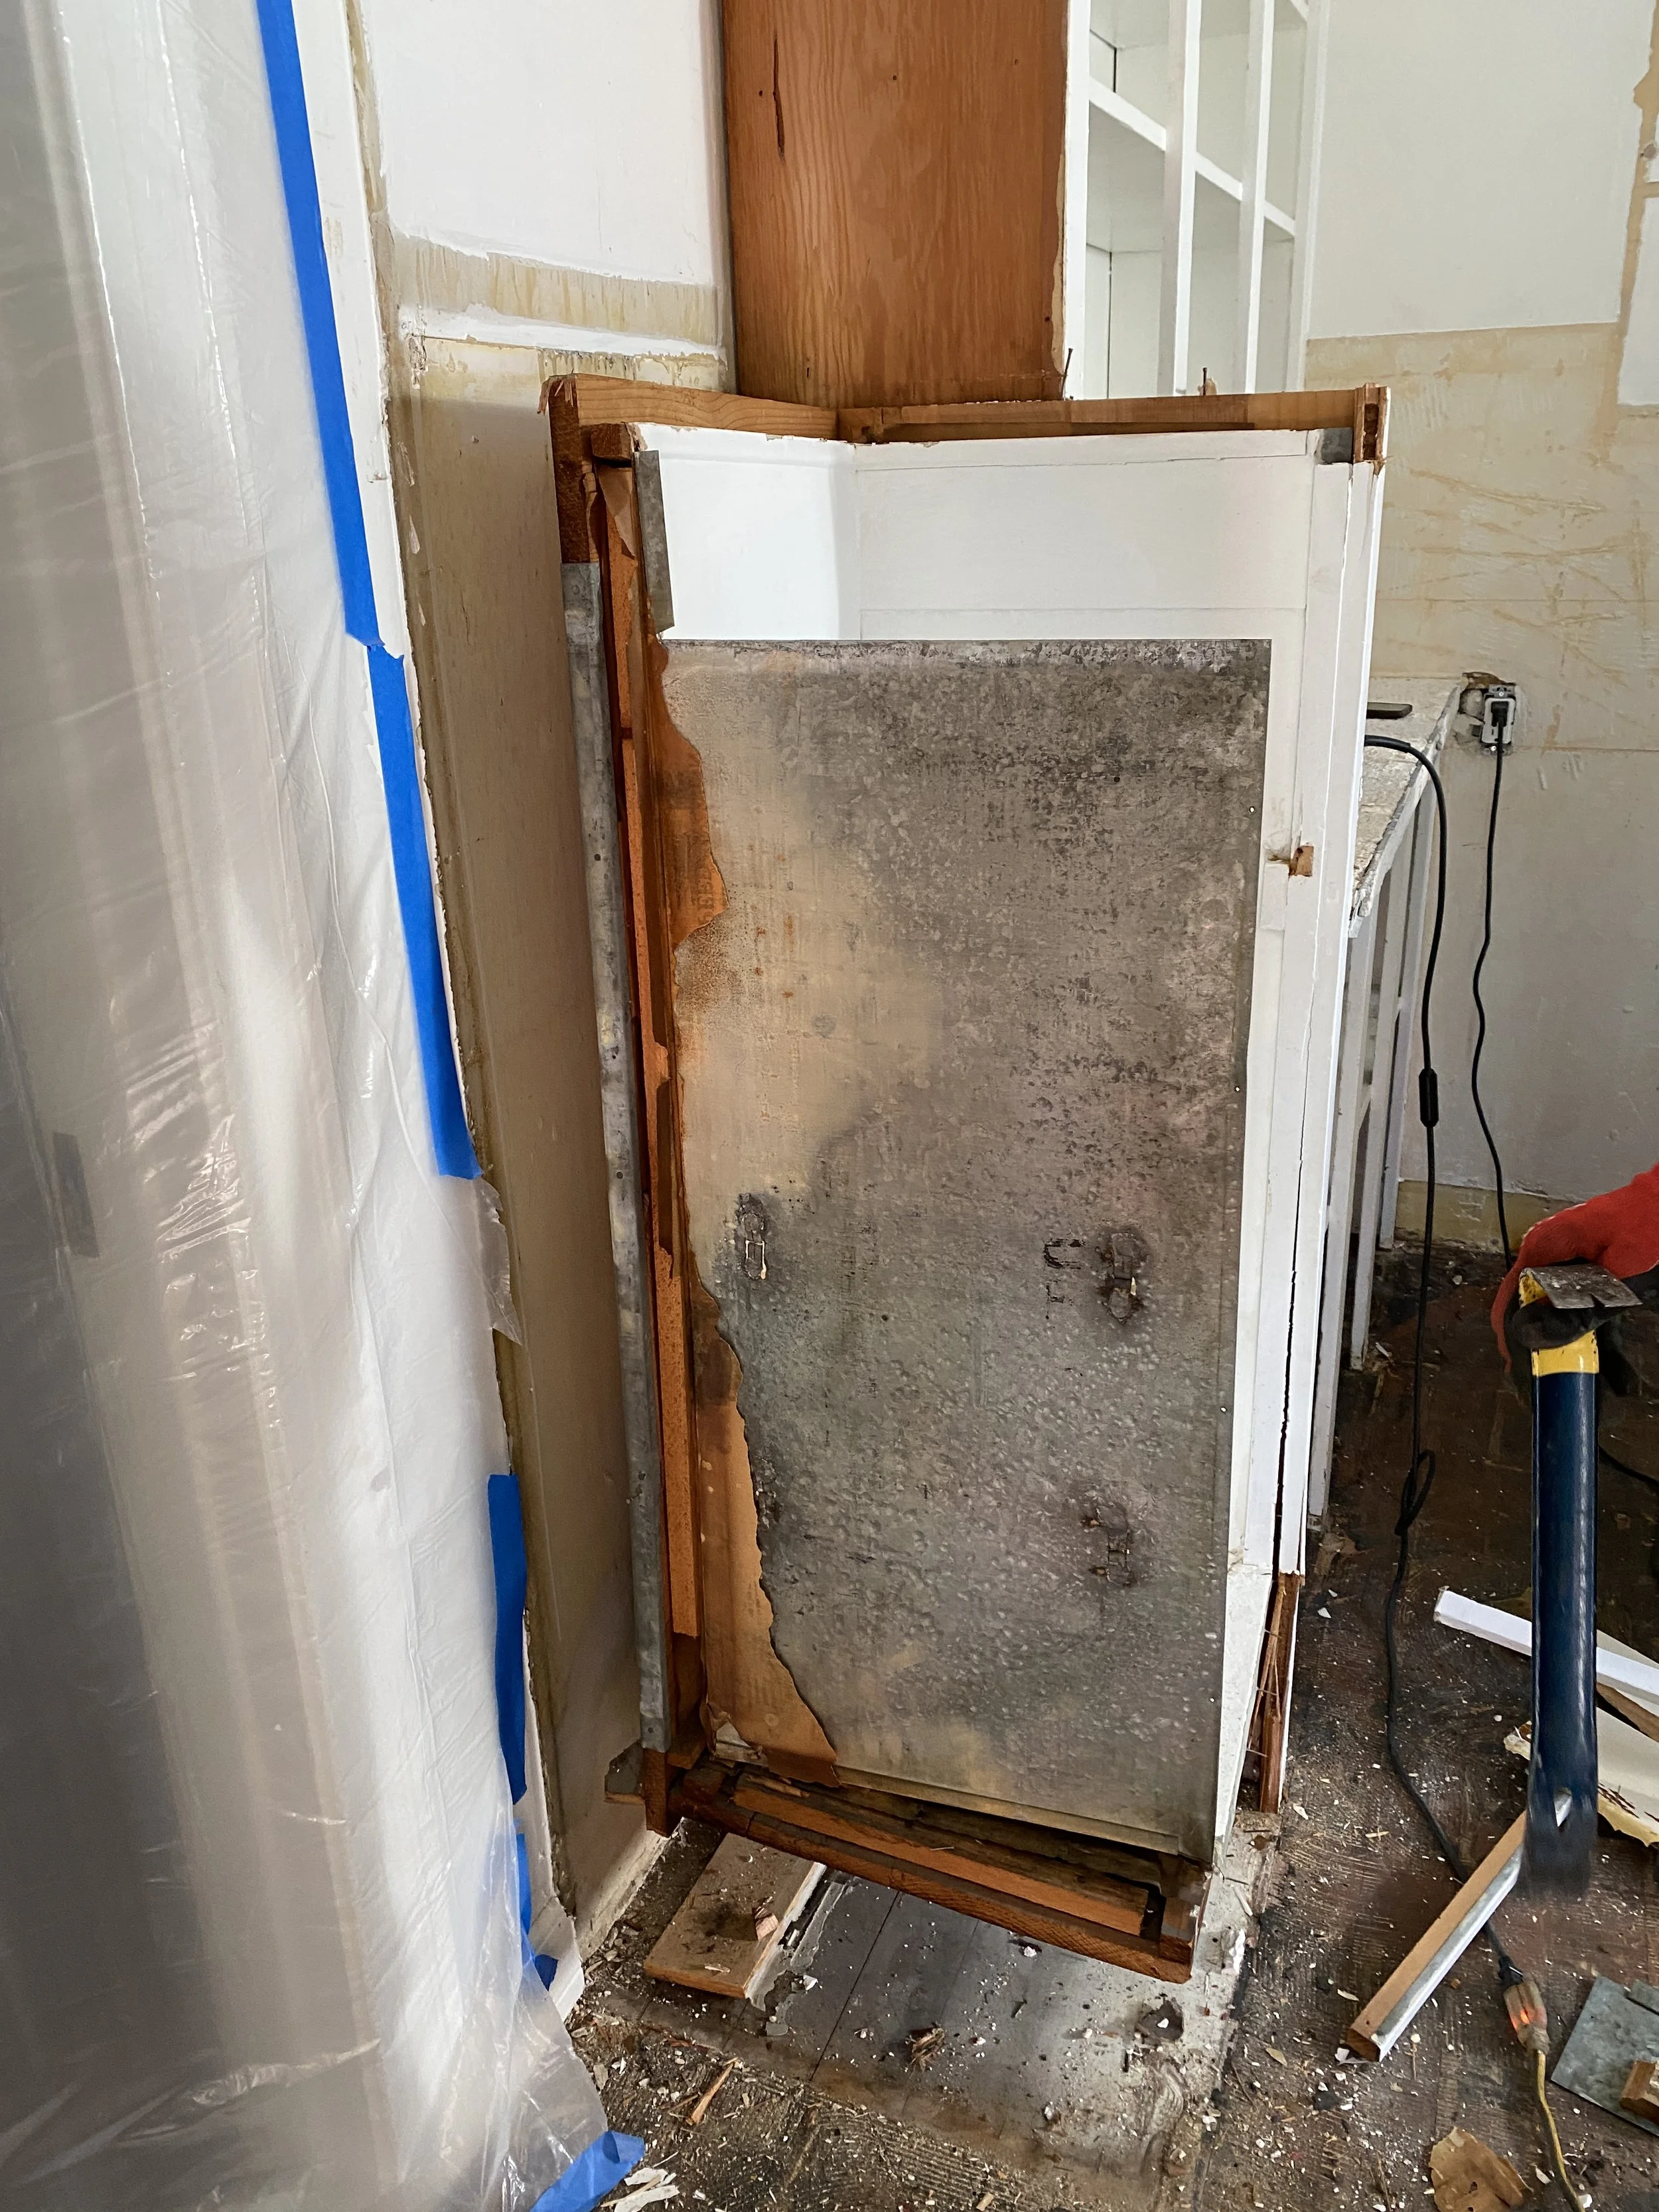
Once we started removing the uppers, it was time for the old ice box to go bye bye.

How crazy is this old newspaper that was in between the boards? We tried to look for dates but nothing was very legible. It looked like an ad for an old car company or something. Super cool!

We had originally planned to put the new refridgerator in it’s place, not changing the footprint of the kitchen, so everything like for like. But once it was gone, the space started to feel so big and open, and we decided that extra counter space along this whole wall, with floating shelves above would be so much better! So the fridge will go in the pantry/laundry room now.

See what I mean? So much more open now that’s it’s gone. So we’ll extend the counter all the way out to the doorway on the left, and make an “L” shape on the right, adding counter space on either side of the stove. But we have a Samsung Bespoke Range coming to replace this old bad boy.

And on this side, all of the tile has been removed. We’ll replace this dishwasher with a Samsung Bespoke Dishwasher and move it to the right of the sink. Everytime the dishwasher is open, you can’t walk through from the dining room which has always been incredibly annoying. So we’ll move over the dishwasher which will make the flow much better.

So much more open on this side now!
We took out the tall original cabinet that was in this corner. Next, we opened up the wall here so the flow to the backyard would be much more open.
This wasn’t load bearing, just had an outlet on the wall that we cancelled out.

Look at the difference! Just need to extend the right hand side, but already the entire space feels so much more open!

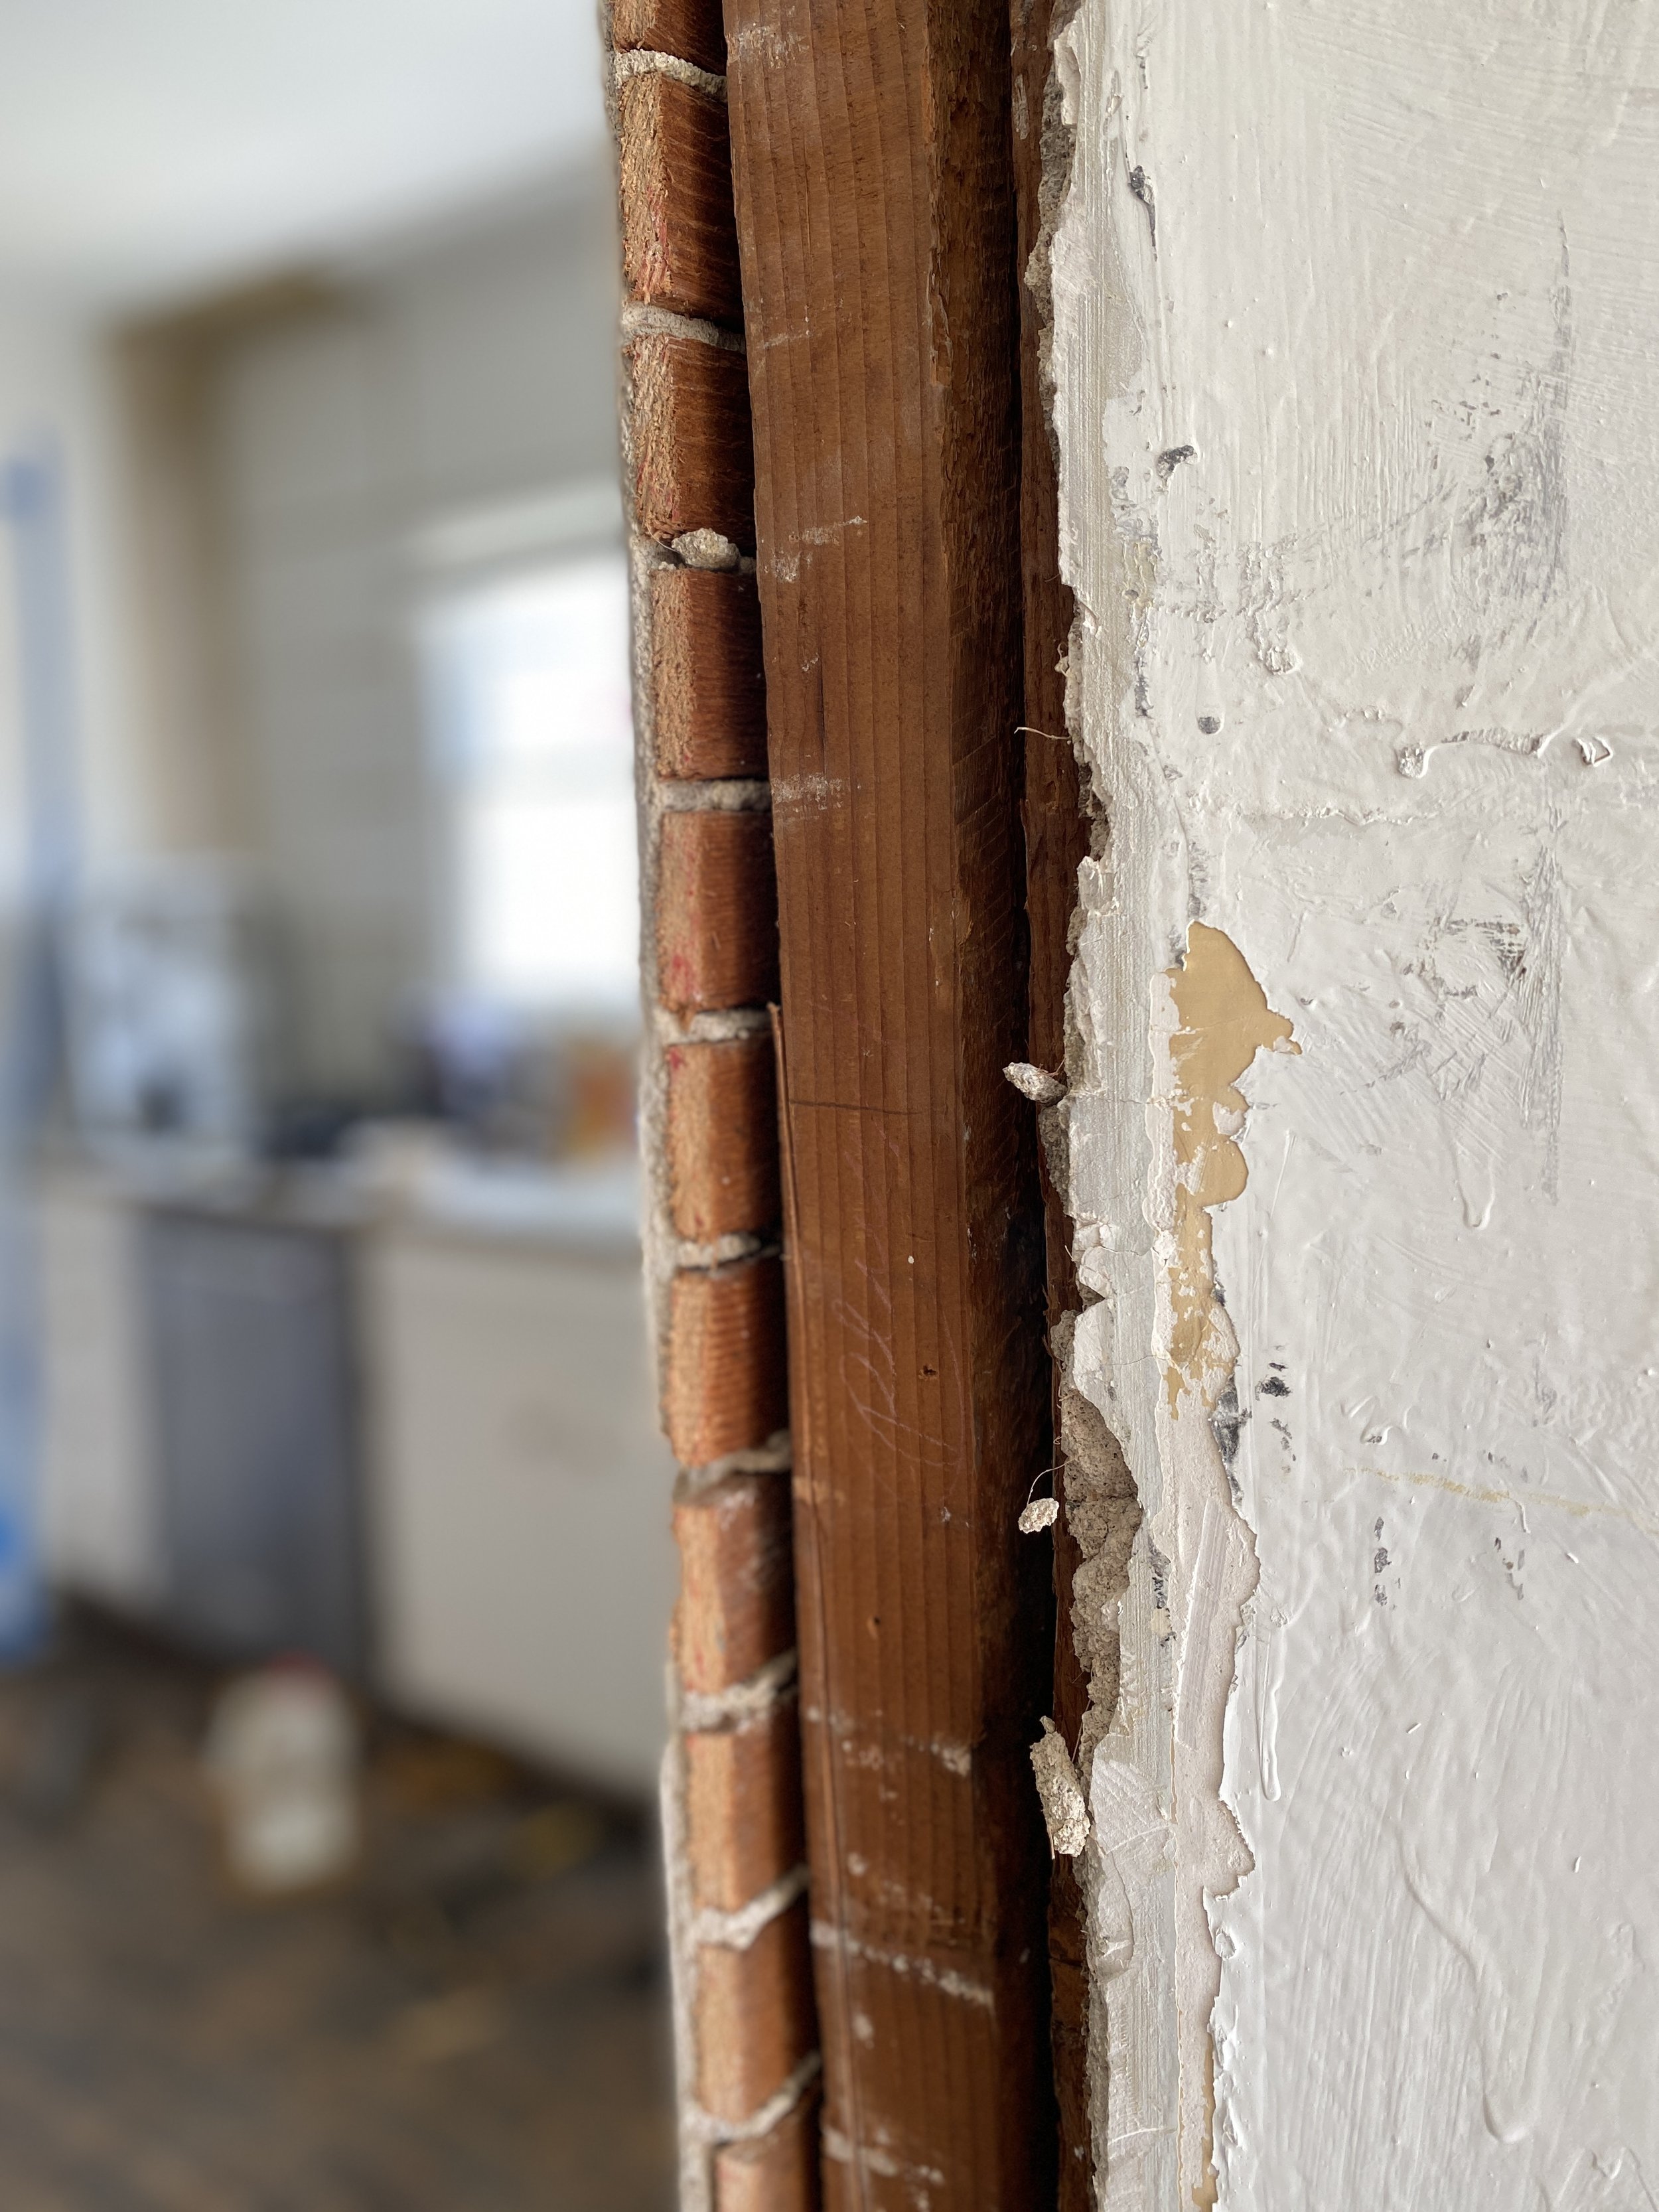
This was probably the most accurate view of the wood floors, not covered in black glue. Still not sure they are salvageable…. May end up painting them.

The stove is gone! We put it out in the alley and it was gone in a day. Bye old stove!


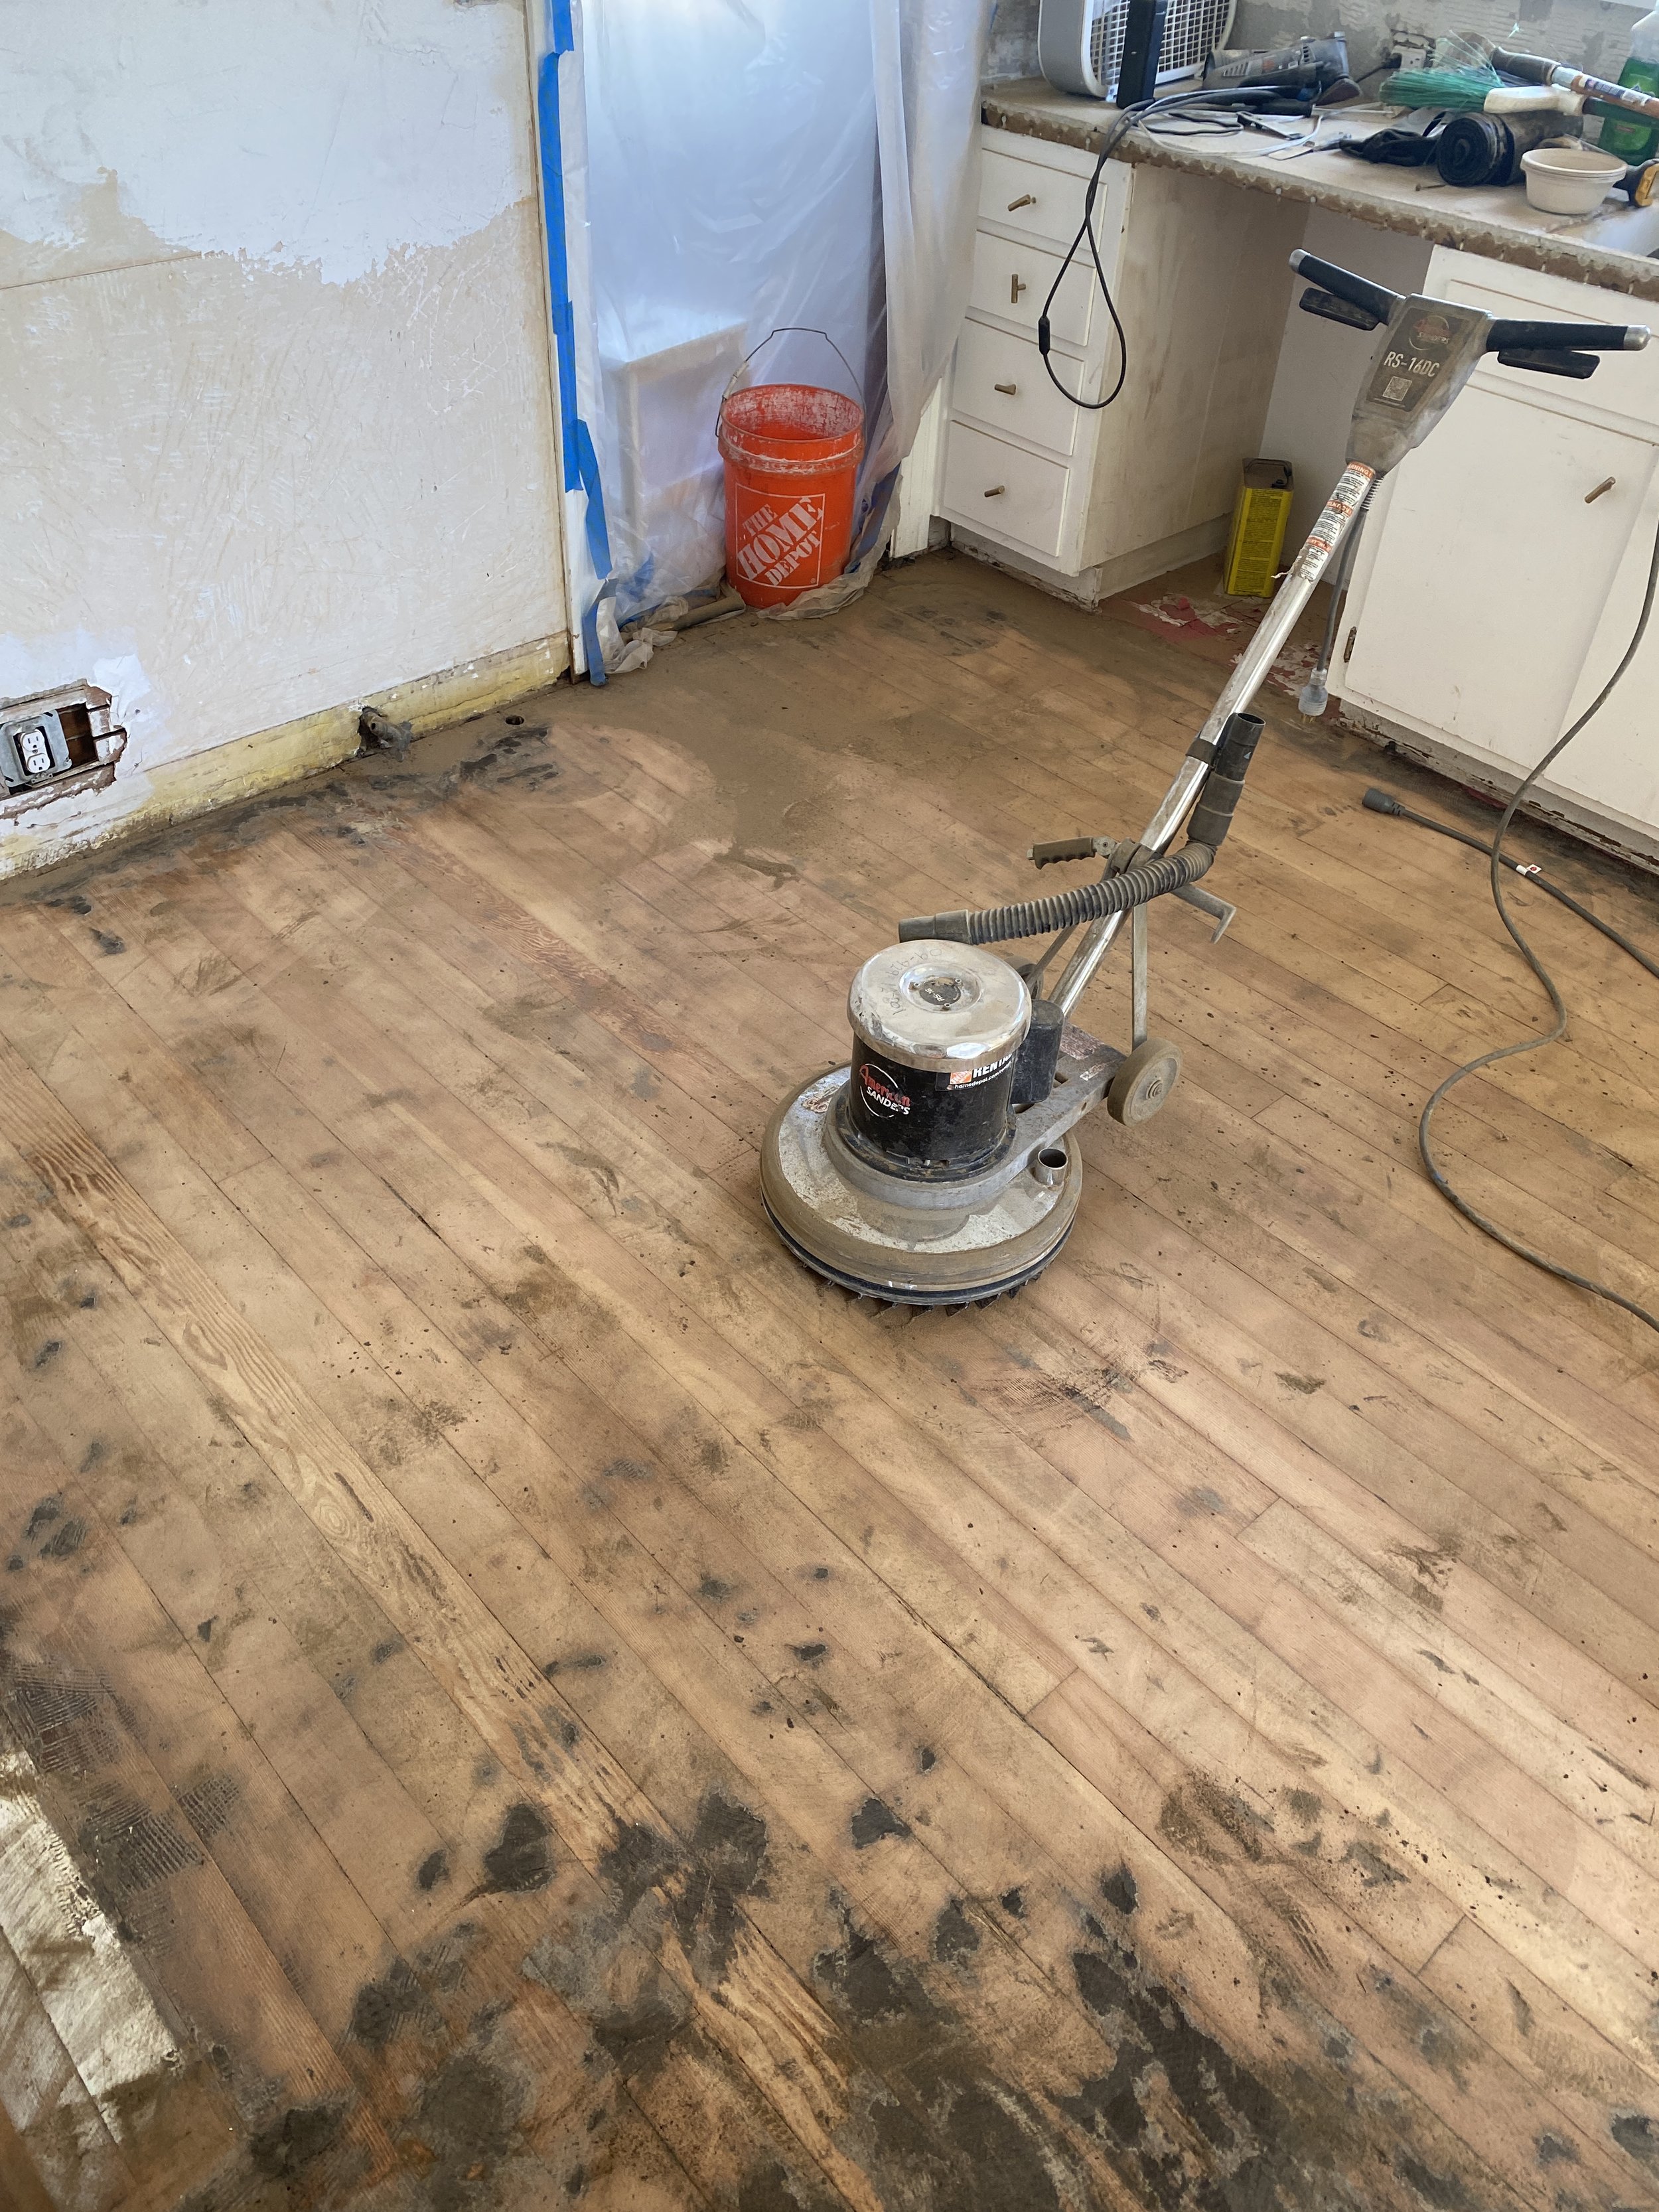
Once Strader got most of the mastic off the floors, he rented a sander from Home Depot. Moment of truth…

Not bad! We originally thought we had Redwood floors, but they’re definitely pine or something similar.


We extended the wall on the right side of the doorway, so that we can tuck the new fridge right inside and it won’t stick out. And we repaired the middle wall.

So that’s it for Week One! Here’s what we accomplished so far.
Removed all floor tile
Removed old linoleum
Removed Mastic underneath the linoleum
Sanded the wood floors
Removed all wall and counter tiles
Removed all old appliances
Started repairing the walls
Removed the old ice box and hallway cabinet
Removed all upper cabinets and shelves
Opened up the pantry doorway
Extended the pantry wall
So that’s it for WEEK ONE!
Stay tuned for Week Two and make sure you’re following along on INSTAGRAM and make sure you’re following me on PINTEREST to see all of my Kitchen Inspo.
And comment below if you have any questions, I’ll do my best to answer them!
SHOP MY DESIGN PICKS


READ MORE POSTS

Archive
- September 2017 1
- October 2018 1
- July 2019 2
- August 2019 1
- September 2019 4
- October 2019 2
- November 2019 2
- December 2019 2
- February 2020 1
- March 2020 1
- April 2020 3
- May 2020 5
- June 2020 1
- July 2020 2
- December 2020 1
- January 2021 3
- February 2021 5
- April 2021 1
- May 2021 5
- June 2021 1
- July 2021 2
- August 2021 1
- September 2021 4
- October 2021 4
- March 2022 1
- April 2022 2
- May 2022 2
- June 2022 3
- July 2022 6
- August 2022 6
- September 2022 4
- October 2022 5
- February 2023 2
- March 2023 3
- September 2023 3
- October 2023 2
- November 2023 4
- December 2023 3
- February 2024 1
- March 2024 1
- April 2024 1
- May 2024 1
- June 2024 1
- October 2024 1
- December 2024 3
- January 2025 1
- February 2025 2
- March 2025 1
- February 2026 1
- May 2026 1