Blanco Bungalow Kitchen Reno: Week 4
Okay my friends, it’s week 4 of our kitchen renovation, and this week we’re throwing an HVAC install into the mix! Yay! As if our home wasn’t already chaotic enough, we decided to pull the trigger on central air. So as of now, any rooms in our home that were formerly “safe zones”, aka not covered in dust, are fair game.

Installing central air into a historic home with lathe & plaster walls, and coved ceilings is no easy task. We interviewed several different HVAC companies, and most of them were scared to touch our ceilings and get into our crawl space. Thankfully we found a father-son team that is fully confident and capable of the job. We do, however, have to outsource the cutting and framing of a new entry point in the hallway and the electrical connection. Until now, the only attic access has been our master bedroom closet, but there’s a large support beam that runs down the center of the house and would prevent them from putting the unit in place. The only other solution is to cut a 5’ by 3’ hole in our hallway ceiling and reframe it before they can start the actual HVAC work. So while the guys get to cutting and framing in the hallway, our handyman is starting on the kitchen sink counter.

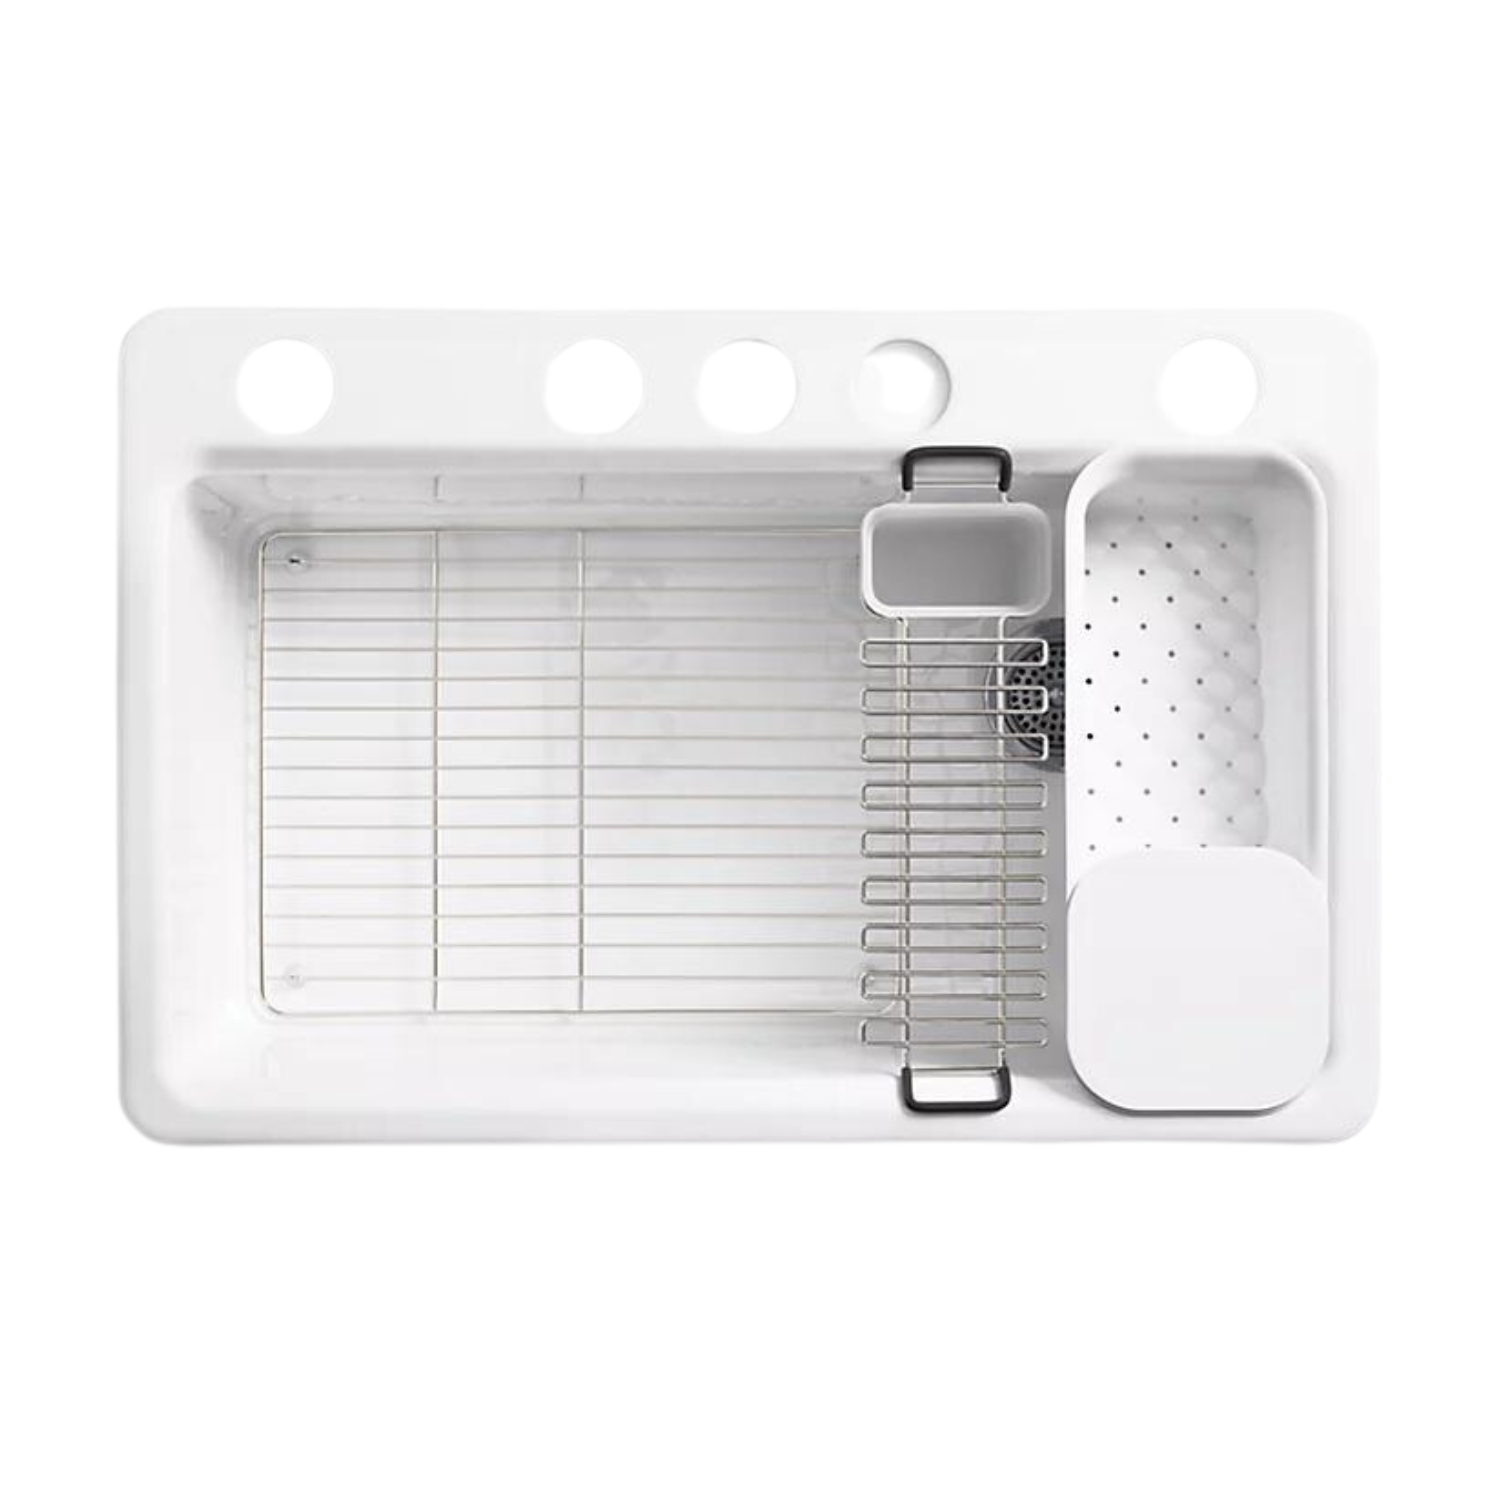
I just received our gorgeous under-mount sink by Kohler from Build.com. I’m such a fan of Kohler and wanted to use their products. I used Kohler Purist fixtures in our bathroom remodel, and they’re still my favorite. For the kitchen, I chose the Kohler Cru faucet and Riverby Undermount Single Basin Cast Iron Kitchen Sink.

Time to get to work on the kitchen counters.

We’re starting by framing out the concrete counters and making a mold with wood, and then we’ll pour in the concrete.

And bam! Now we’ll let the concrete cure.

And after it cures, we’ll sand out any little rocks or bumps.

Is it safe to say I’m obsessed already?

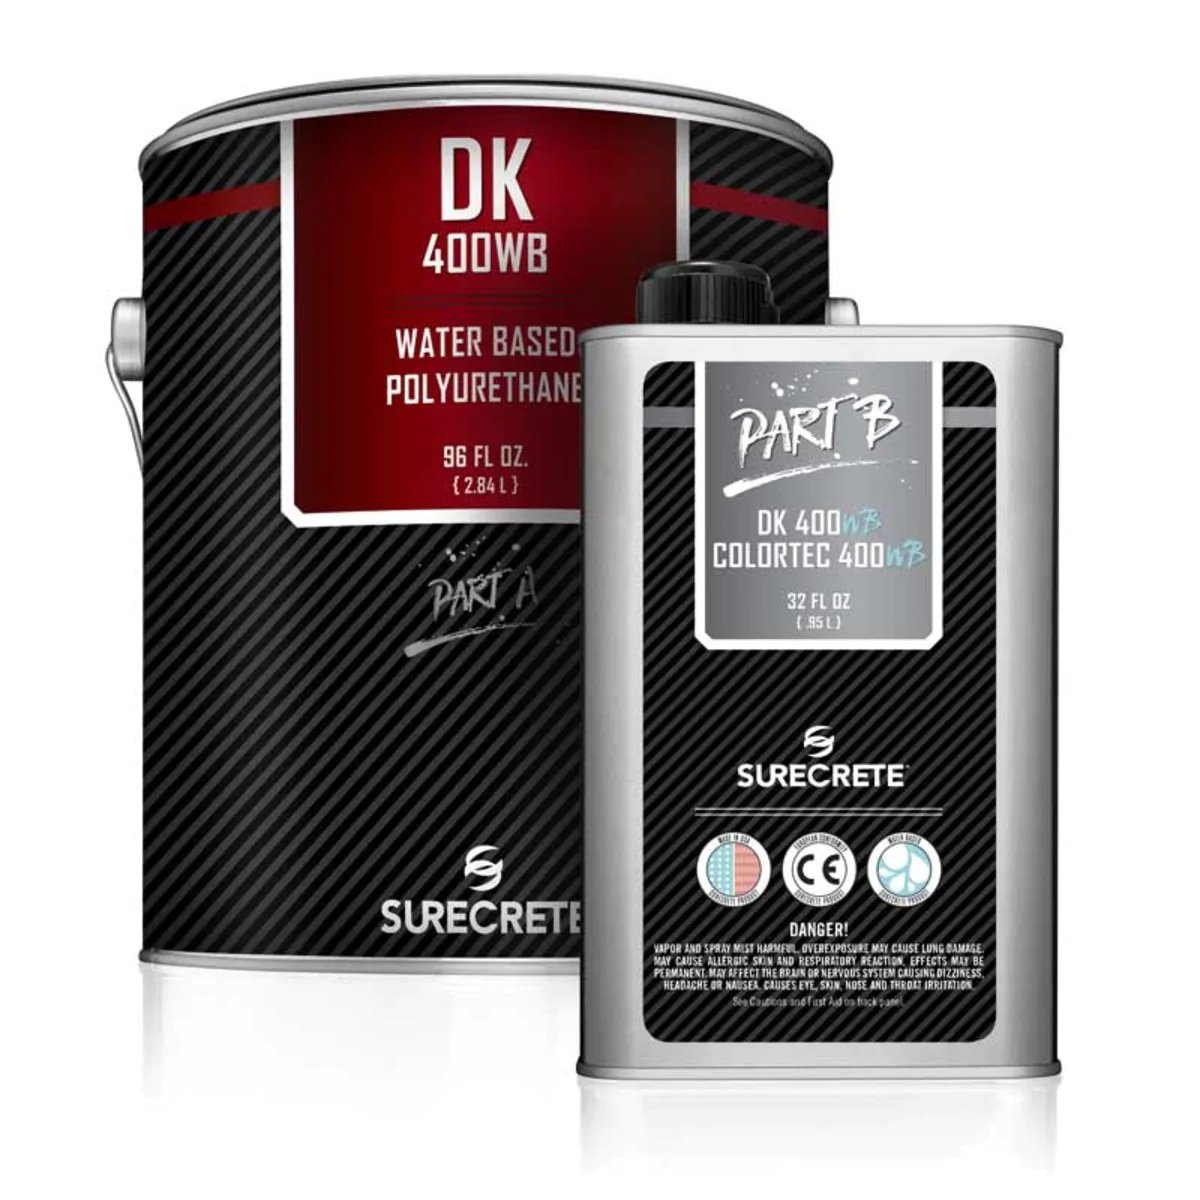
Now it’s time to paint on the ElastoShield.
ElastoShield is an elastomeric rubber membrane. It waterproofs the surface and prevents cracking, and allows flexibility.

And once the elastosheild cures, we’ll be ready to start micro cementing the countertops.

And as the elastoshield cures, we’ll start construction of the other set of cabinets. We’re using the same method we used on the other side: stacking and bonding cement blocks together to make the sections.


And now that the basic construction of the cabinet bases are built, we’ll pour the concrete countertops. This side was where the old ice box lived, and the layout in this corner was super awkward. It will be so nice to have the newly added counter space, and the counters to form an “L” rather than what it was before.

As promised, here are links to the products we’re using for the project. All of these products are from Concrete Exchange. I can’t tell you how refreshing it’s been to work with them. If you have a question, need to know what products to use, or even how to use them, call them up and they will happily answer them for you. I can’t say enough about their customer service.


Okay, that wraps up Week 4 of our Kitchen Reno. Stay tuned for next week!
SHOP KITCHEN DESIGN PICKS


READ MORE POSTS