From Quick Fix to Full Gut: How a “Simple” Bathroom Update Became a Whole-House Rebuild
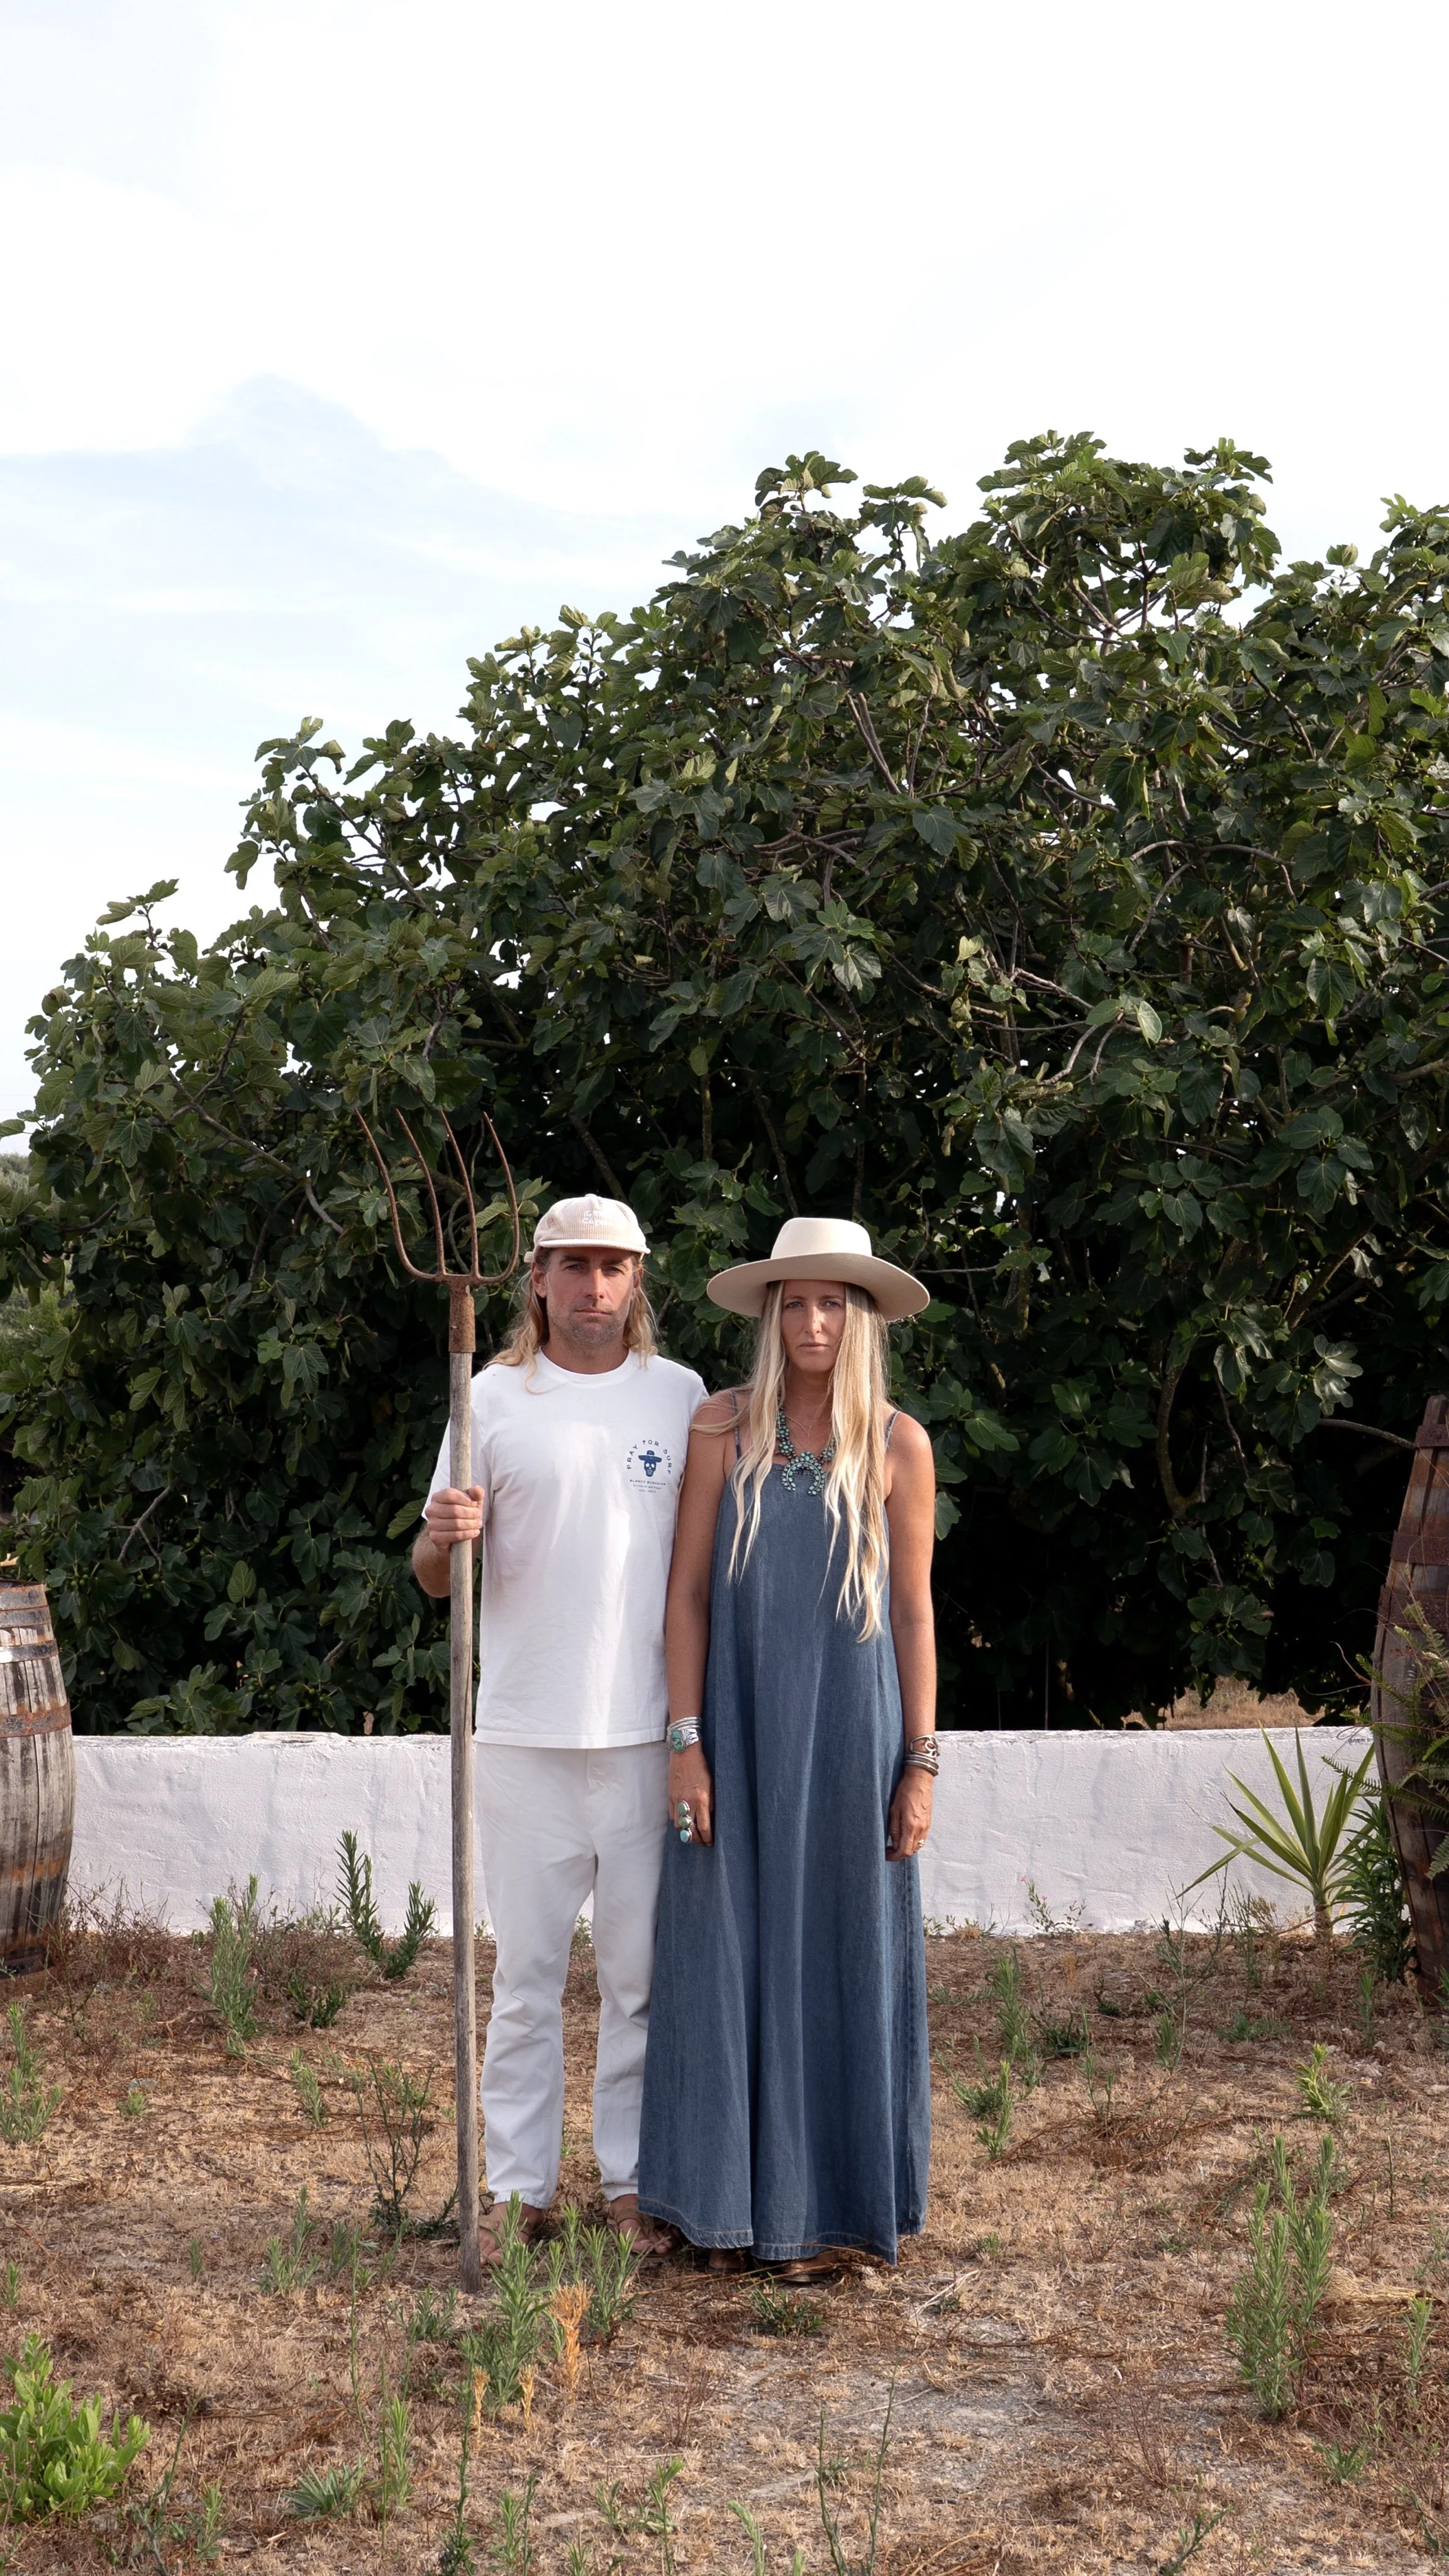
hello, we are Laura and strader, and we are the proud owners of the blanco bungalow in ericeira, portugal. in January 2024, we purchased the farm and have been renovating, and making improvements project by project ever since. its currently our off season, so we thought we would do a quick bathroom renovation in casa Corazon. however, when we began the demo, we quickly realized we opened up a much bigger can of worms than we ever imagined…

here was the current primary bath in casa Corazon. for starters, this didn’t really make sense to be the primary bath, as it was an en-suite bathroom to the primary bedroom, and the adjacent bathroom that needed to service 4 guests, was the size of a shoebox.

here you get the idea. this bathroom drove me nuts since the day we bought the farm. I contemplated just closing it up so guests wouldn’t even see it. the stairs to go up to the sunken in single bath/shower was utterly bizarre to me, and there was a toilet sandwiched between two walls around the corner.

this was the toilet. crammed in this tiny corner at the top of the stairs. nothing about this bathroom was working for me.

I wrestled with designs and sketches for weeks, trying to make the least amount of damage and demo, while reworking the layout, so we could execute this as quickly as possible,. but every scenario I tried felt very forced and out of sync.

I knew my number one goal was to remove any remnants of the 80´s Reno, and restore historic authentic pieces that would bring this home back to its roots - the original farmhouse on the property. so I sourced a couple of incredible vintage stone sinks and handmade Portuguese terra cotta tiles for the floor.

the first order of business was to remove this interesting bathtub, which we later discovered was an old cast iron French bidet they turned into a shower.

and this one had to come out as well.

but look at this incredible hand-painted tile we found underneath!

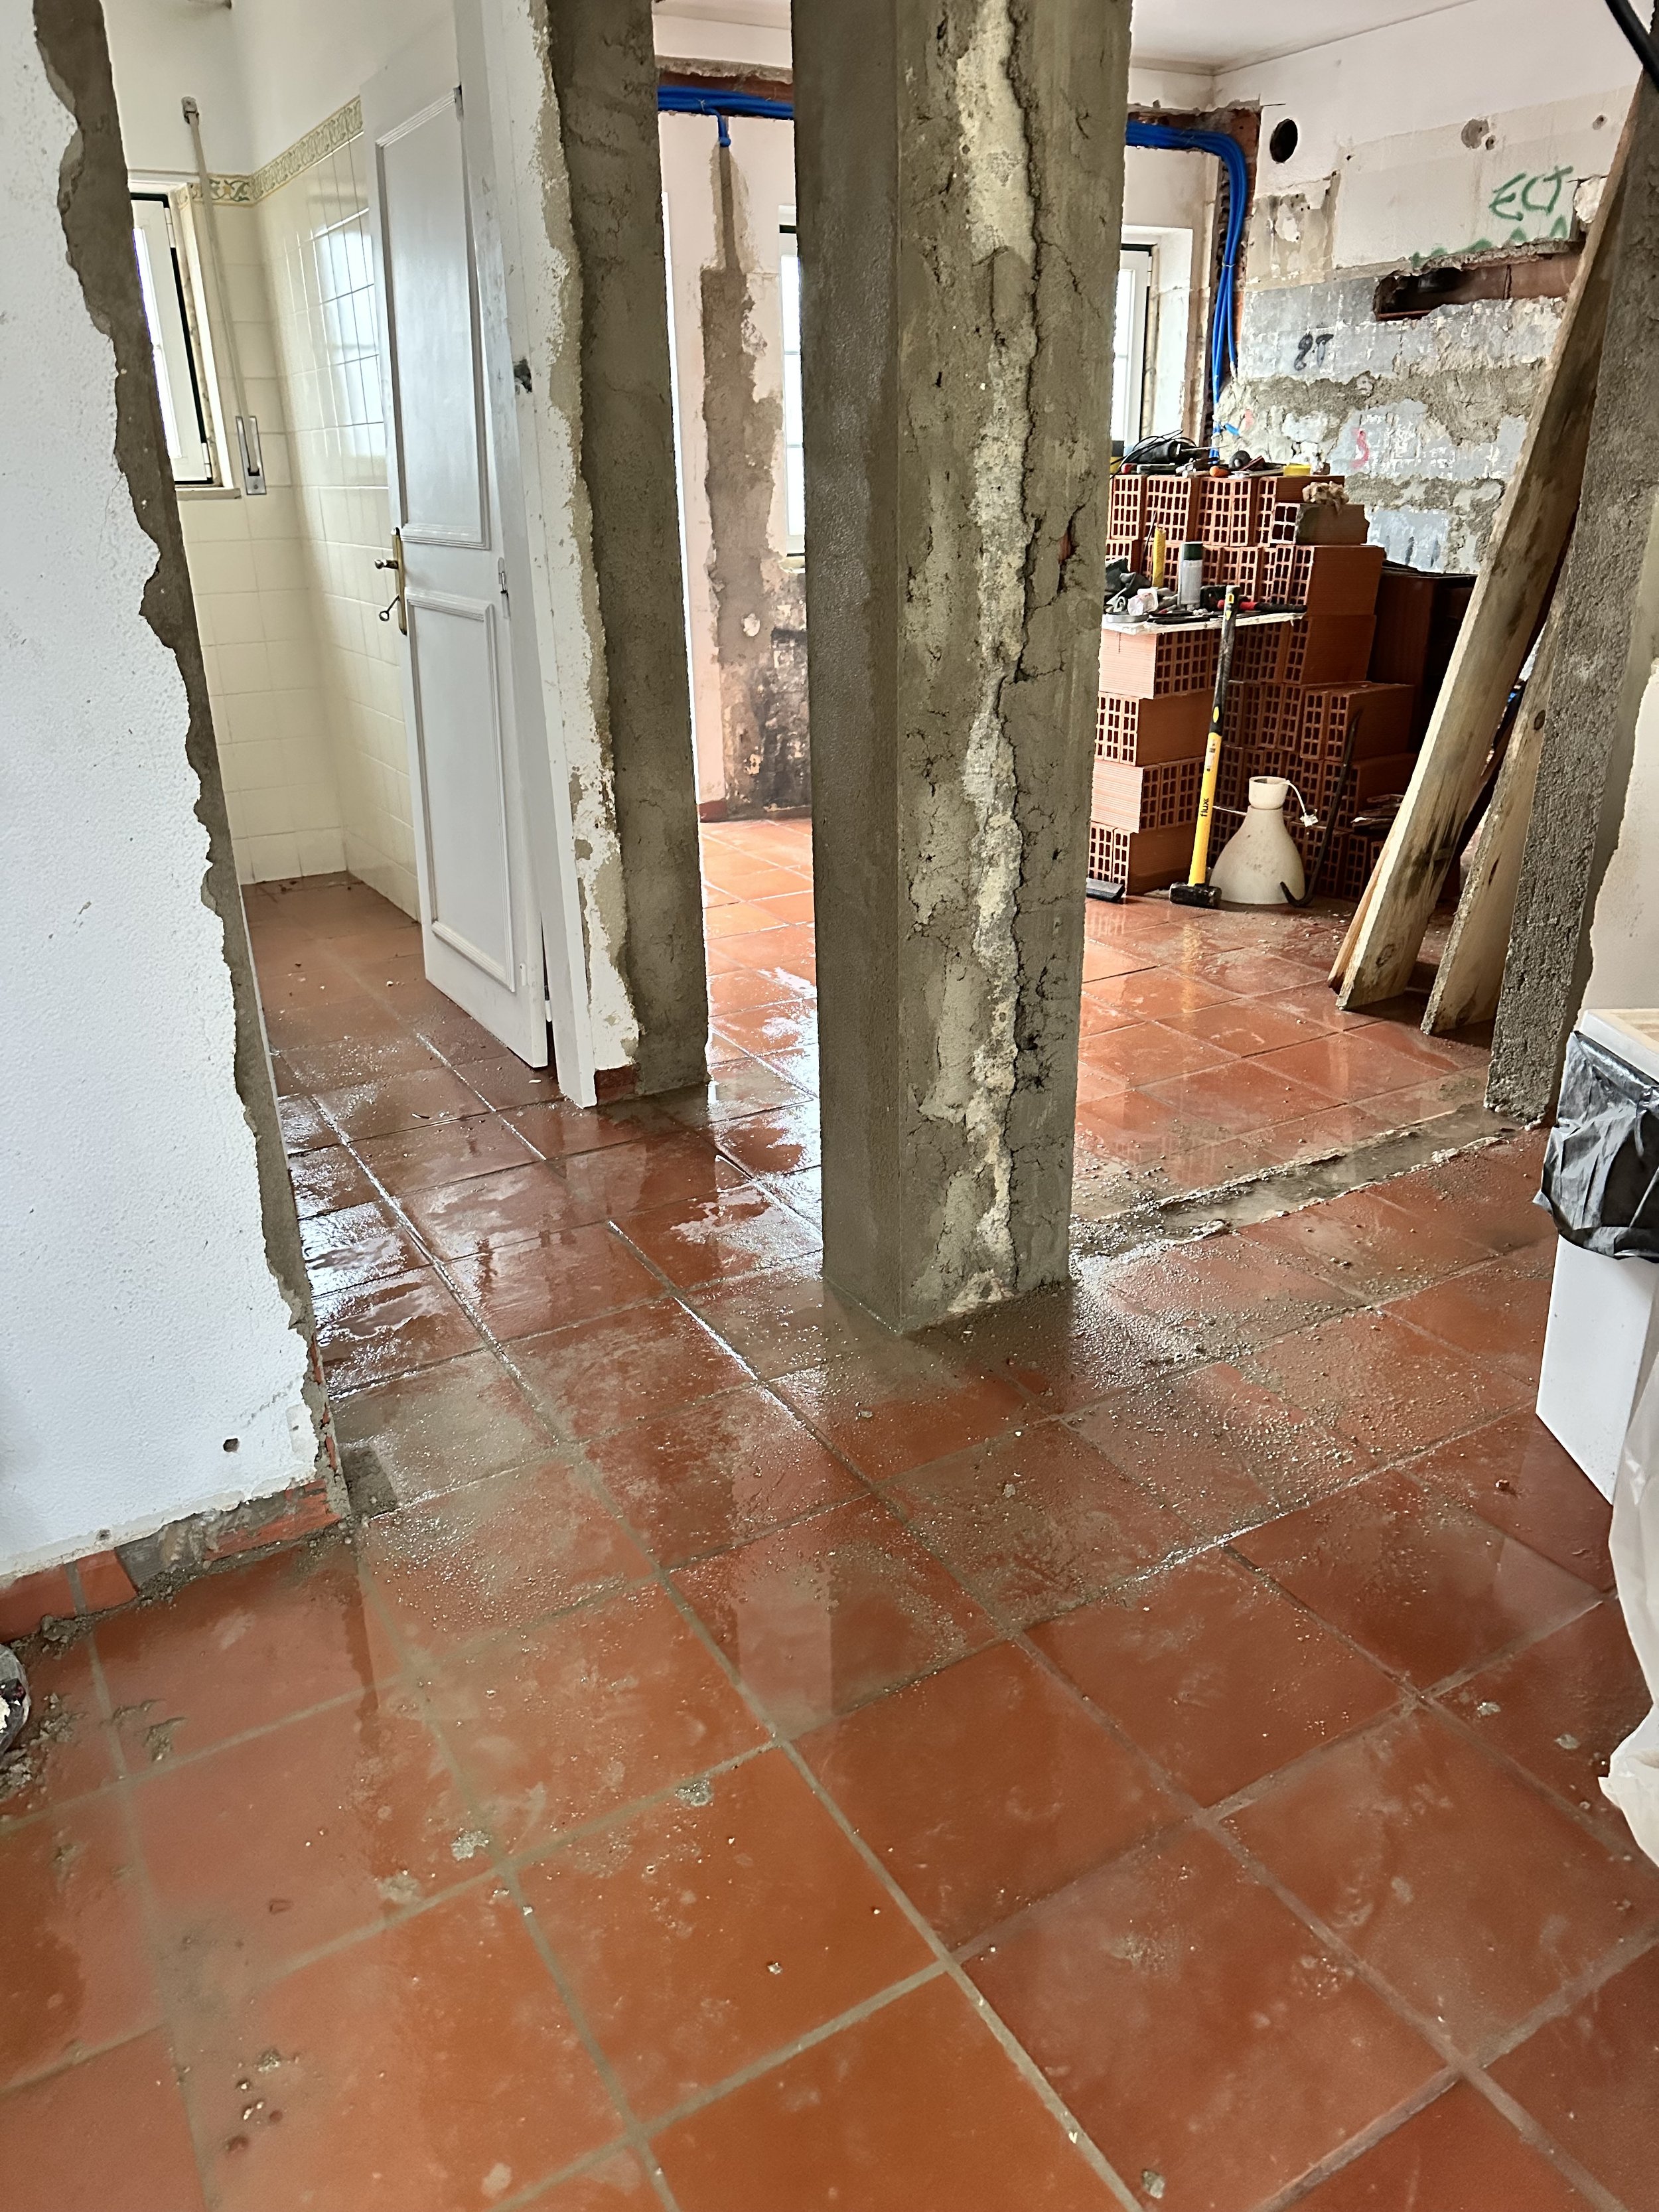
the biggest hang up for me was this dividing wall. I planned on moving part of it, again to limit labor, but the layout options still weren’t working. . every scenario I tried, failed. and if we were going to do the project, we might as well do it right. so we made the decision to take out the entire wall (and the windows:).
but then the contractor we hired for the job decided he could no longer take on this project. we had a friend helping us, who´s helped us for many other projects on the farm, but he also had another pending job in the works and wasn't sure if he could commit to the project. but we went forward anyway, hoping it would all work out.

we decided the door would have to move as well.

and the wall came down, and wow, what a difference!

now we had a blank canvas to work with, and I could finally come up with a new design that actually functioned the way we need it to.

I mean after seeing this huge bright sunny space, I really wanted to make it one big beautiful bathroom, but this is a rental, and I know we need two proper bathrooms with two showers etc.

so I went back to the drawing board and sketched out two symmetrical bathrooms that both felt cohesive and functional.

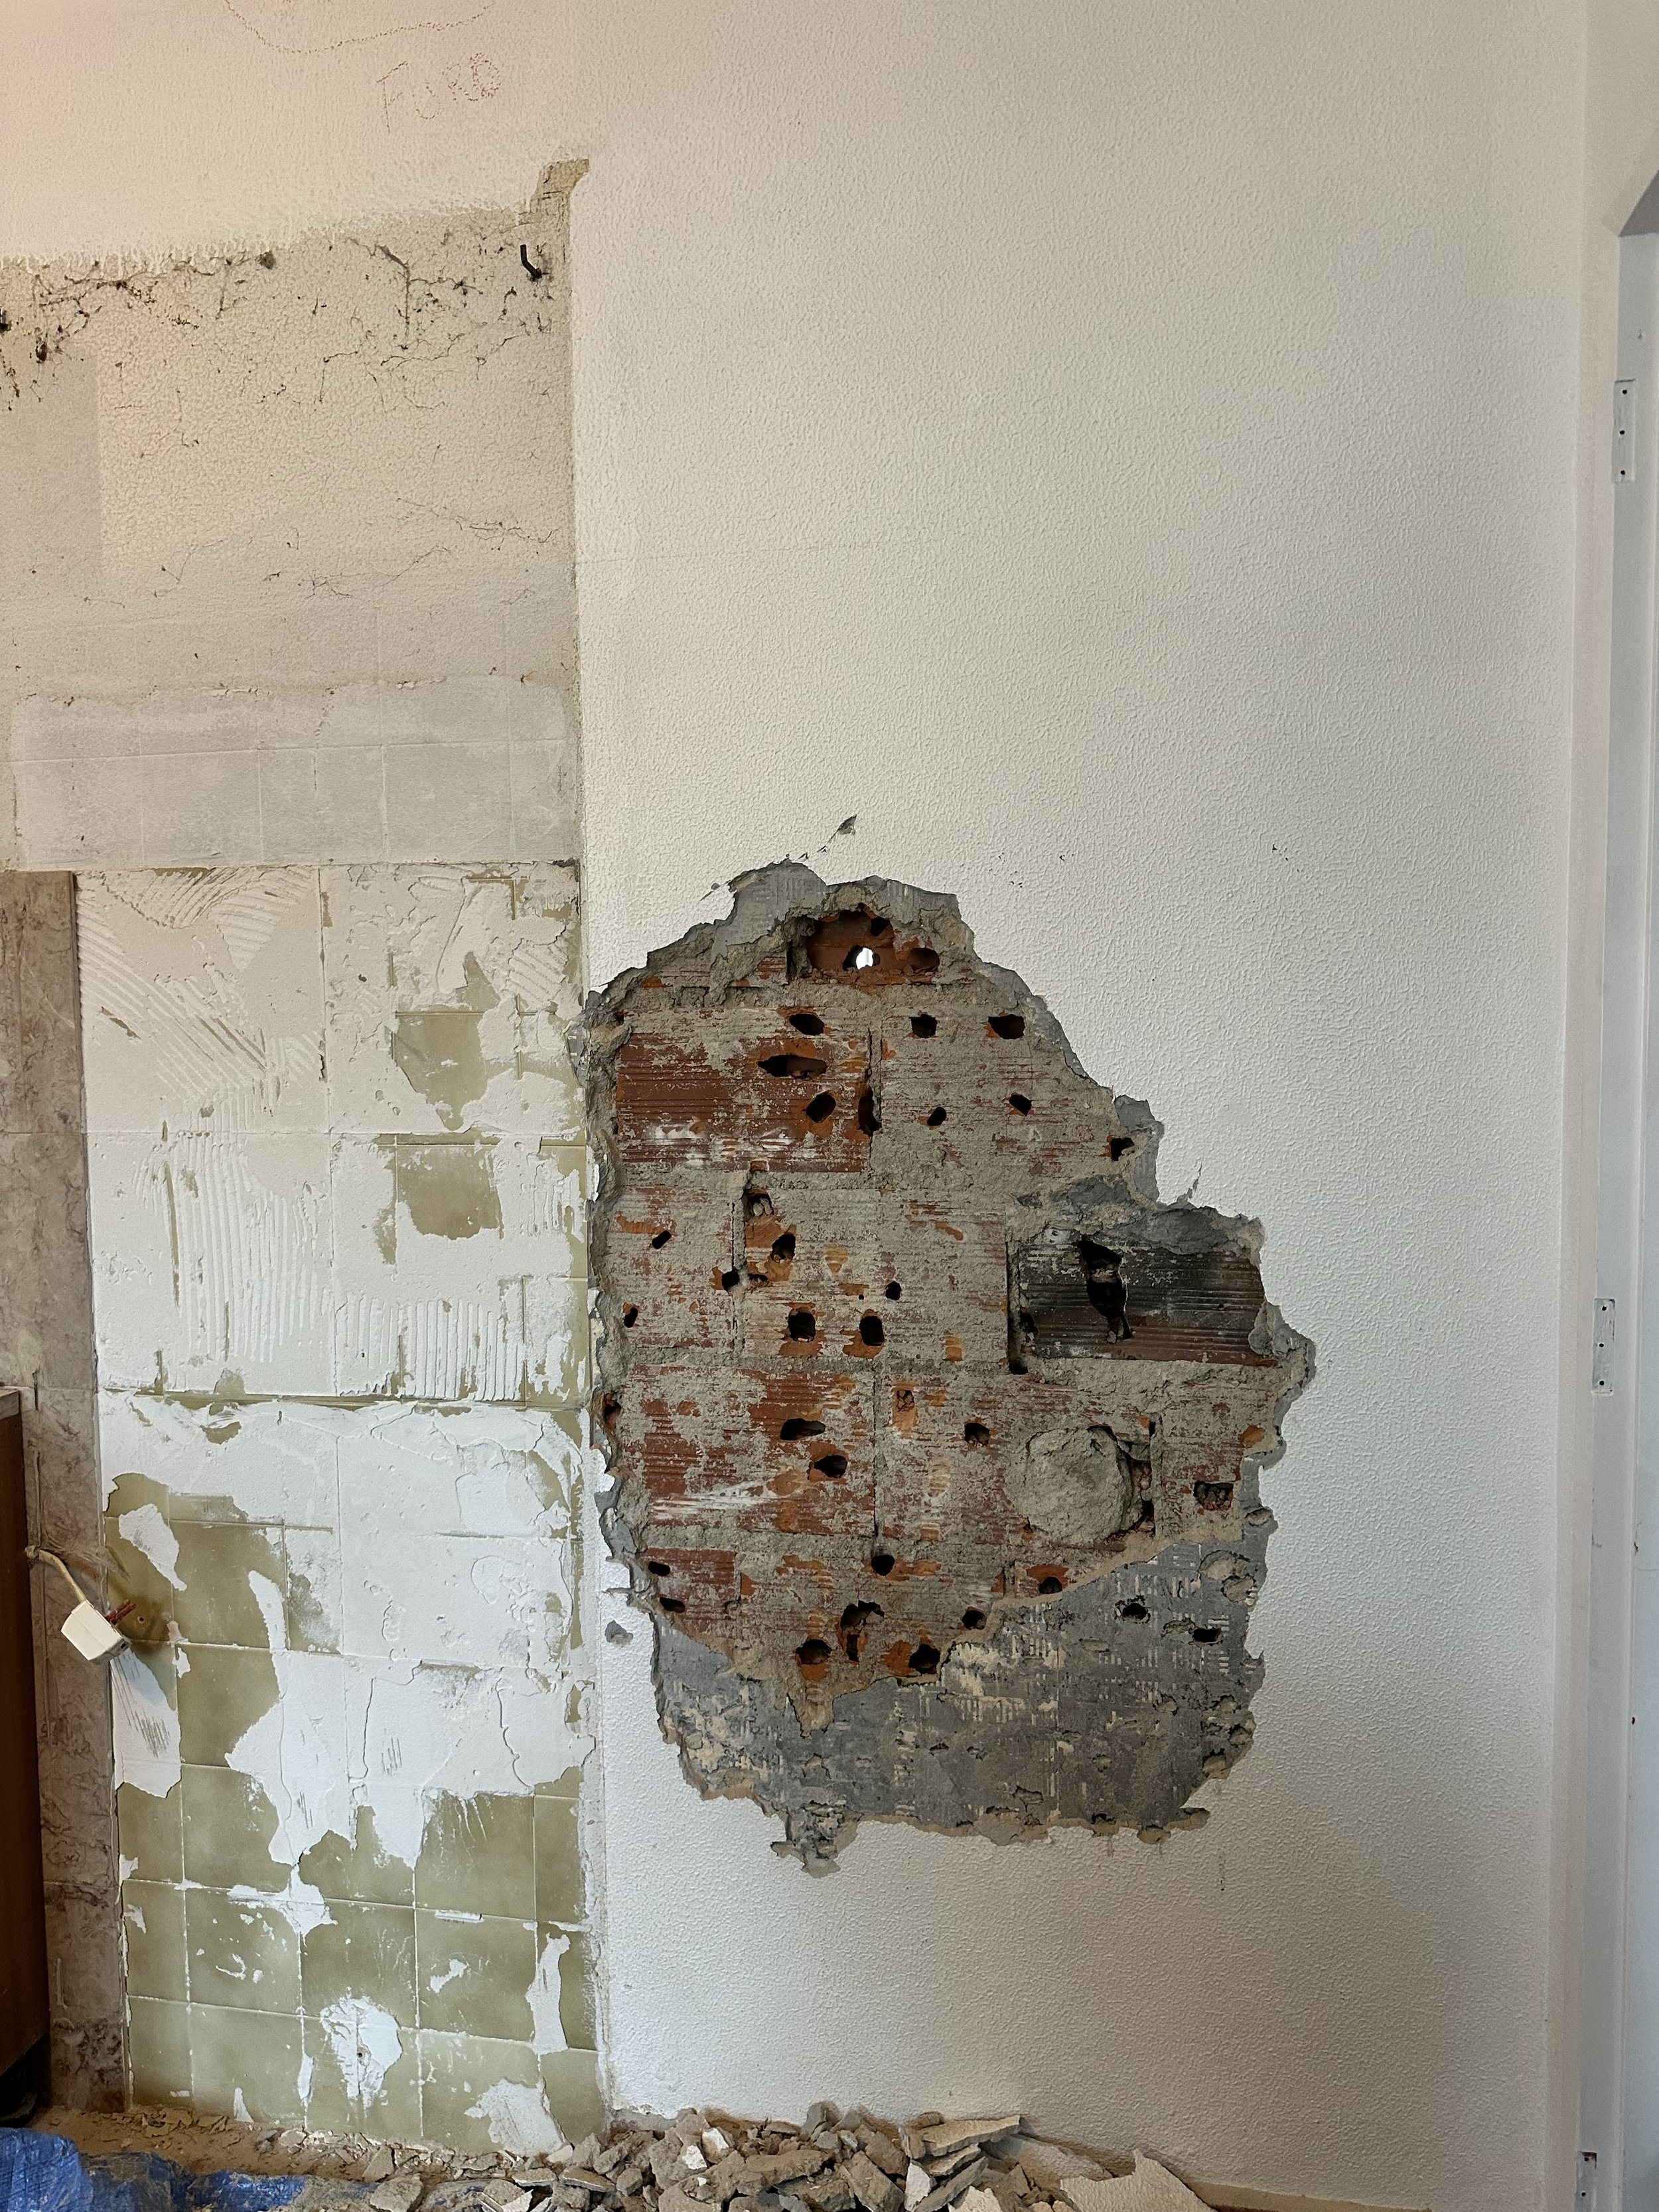
so here is where everything took another turn. as we opened the walls upstairs, we quickly opened a massive can of worms. realizing that we had old rotted pipes with cracks and rust that needed replacing. and they ran right through the wall behind the kitchen.

originally we’d planned on renovating the kitchen as well, but due to time and budget, decided it could wait. but now since we needed to open up the walls, we said fuck it, might as well do the kitchen too, but without a contractor, this was a gamble, and still not knowing if our main guy had the time to help us, it was an even bigger gamble.

and now the project has gone from a quick bathroom renovation, to a bathroom Reno, a kitchen reno,, full electrical replacement, and full plumbing replacement. we’re also taking out all gas and adding a solar water heater and induction stove.
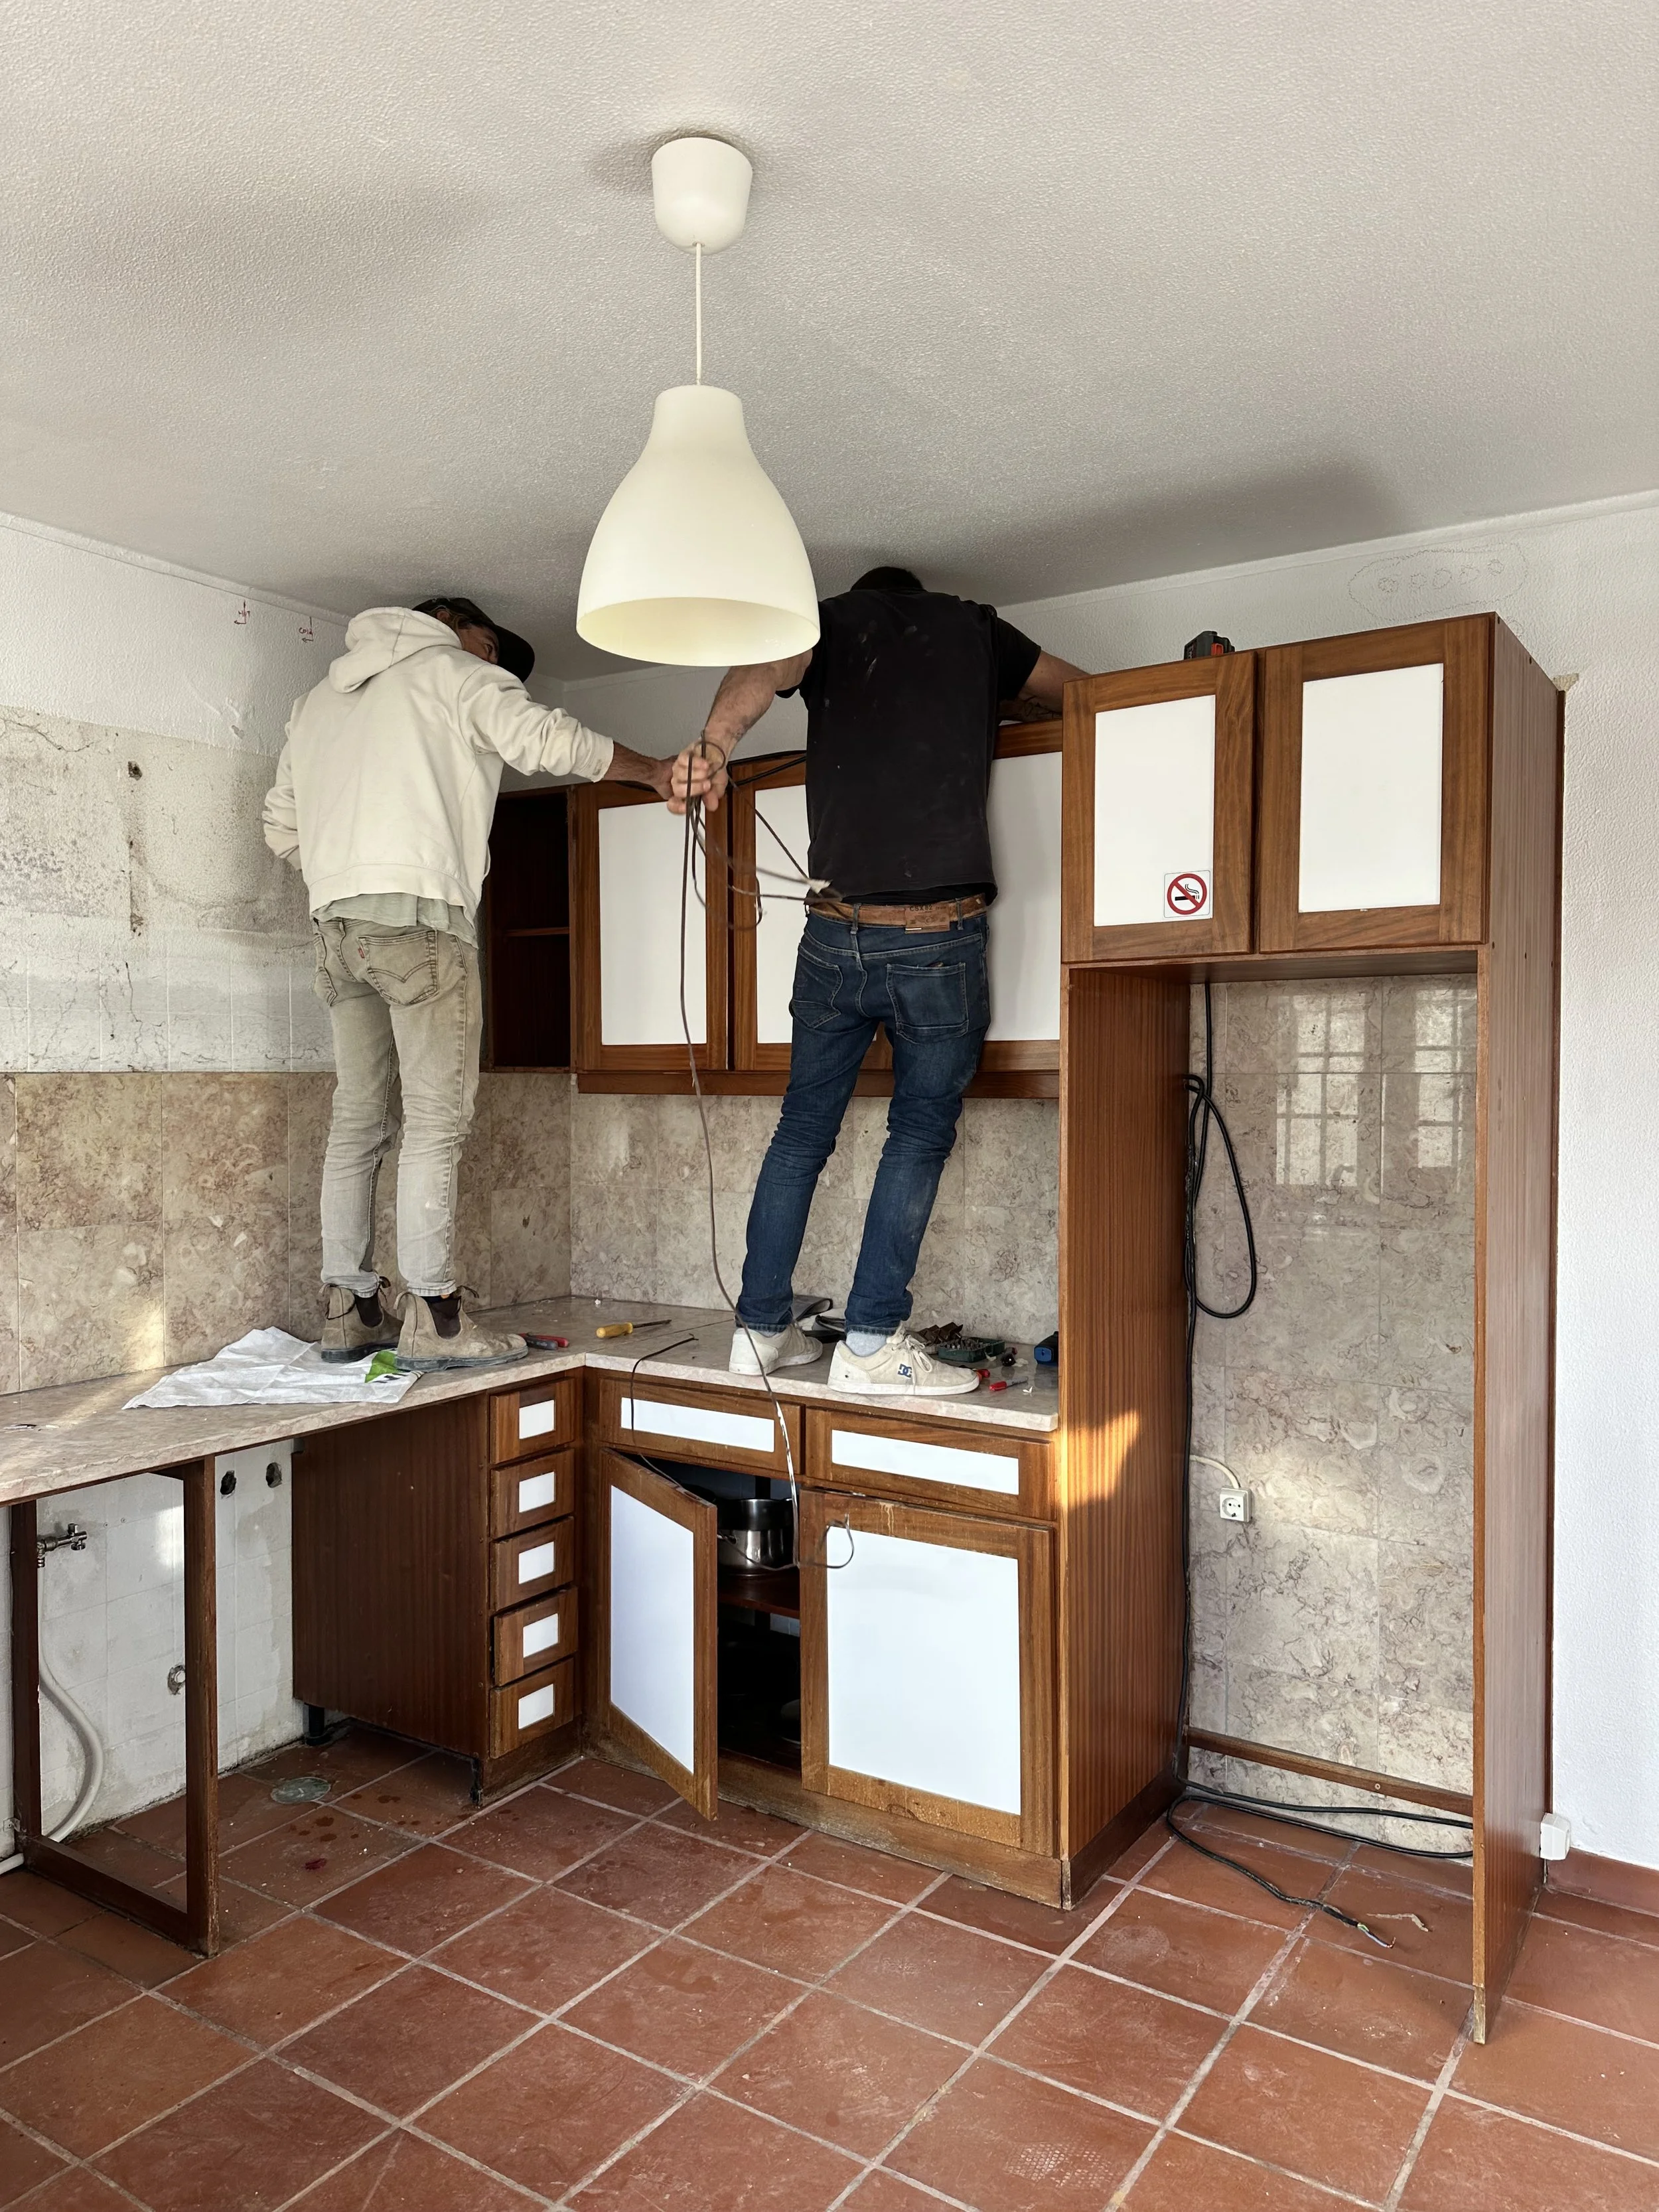
so the guys started removing the upper cabinets.

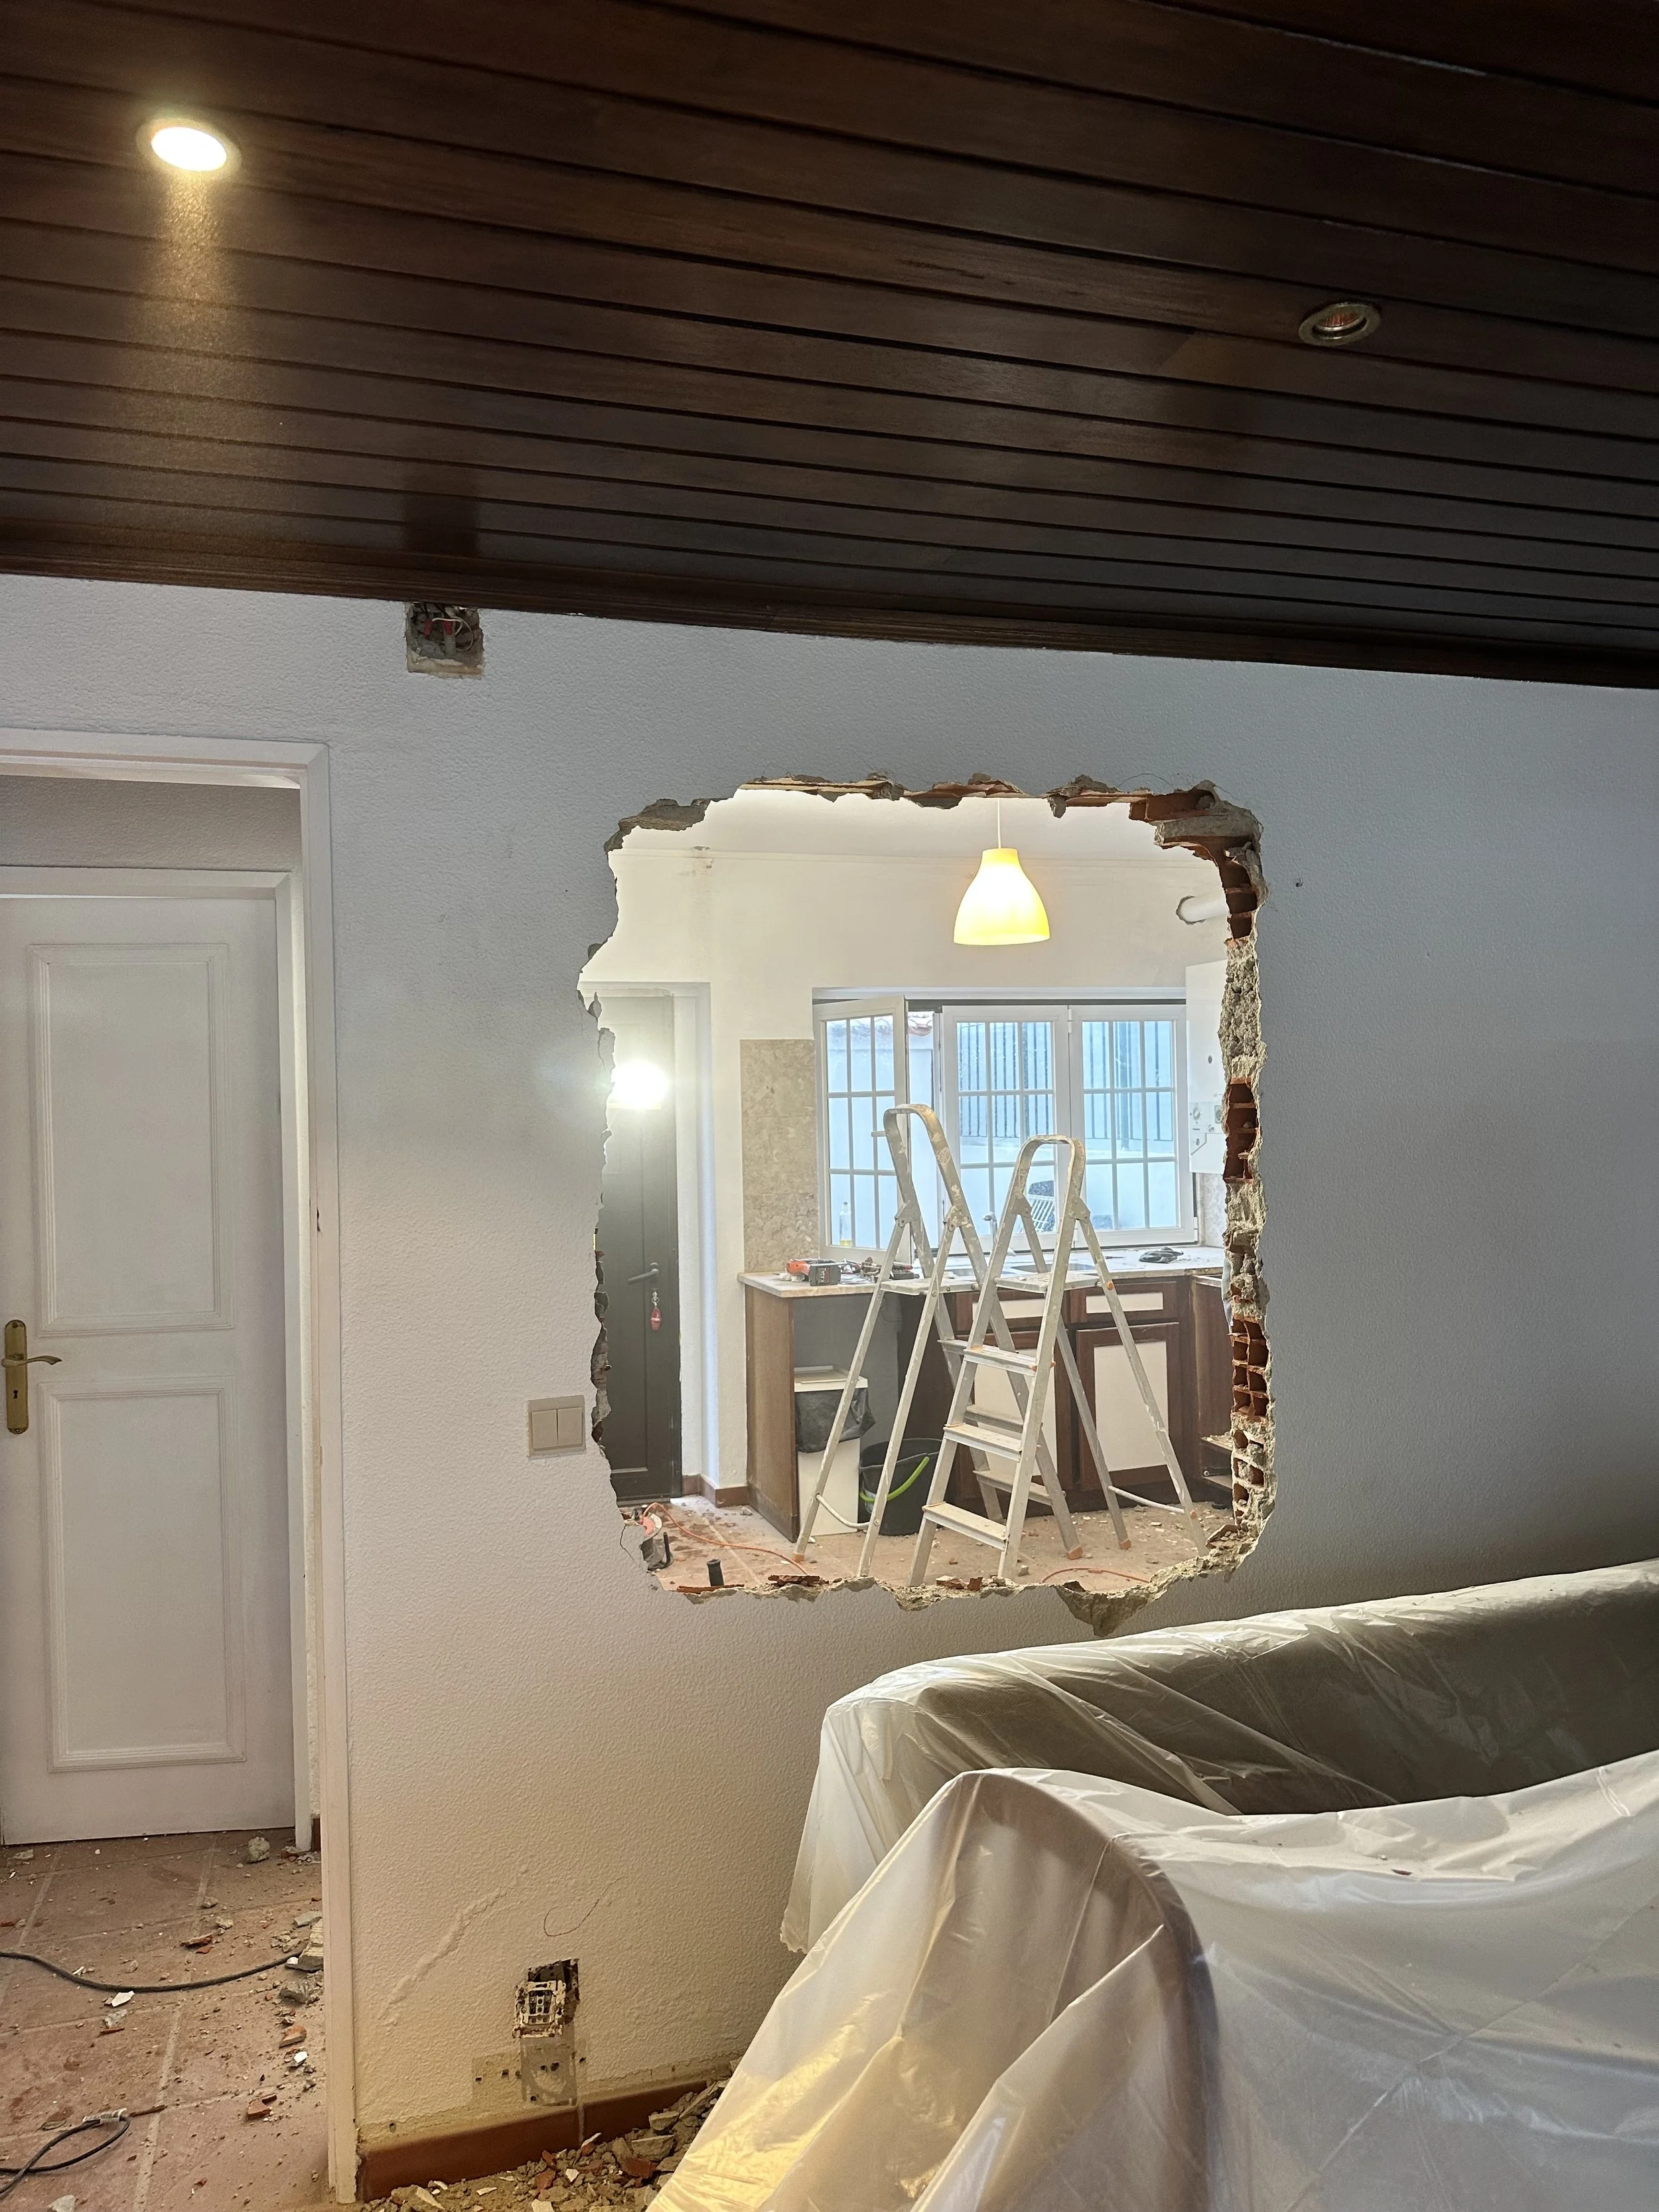
which got me thinking how I´d always wanted to open up this wall a bit to let some sunshine into the living room….

so we said why not.
and we started breaking.

and already so much brighter!
the house was so compartmentalized, as most older homes are to consolidate heat in smaller areas, but this house sleeps 6 guests, and I really want it to feel more united and spacious. in its current state, each room felt cut off from the next, and didn't feel like a group of 6 could easily flow between spaces.

and yes, this is what I´m talking about!

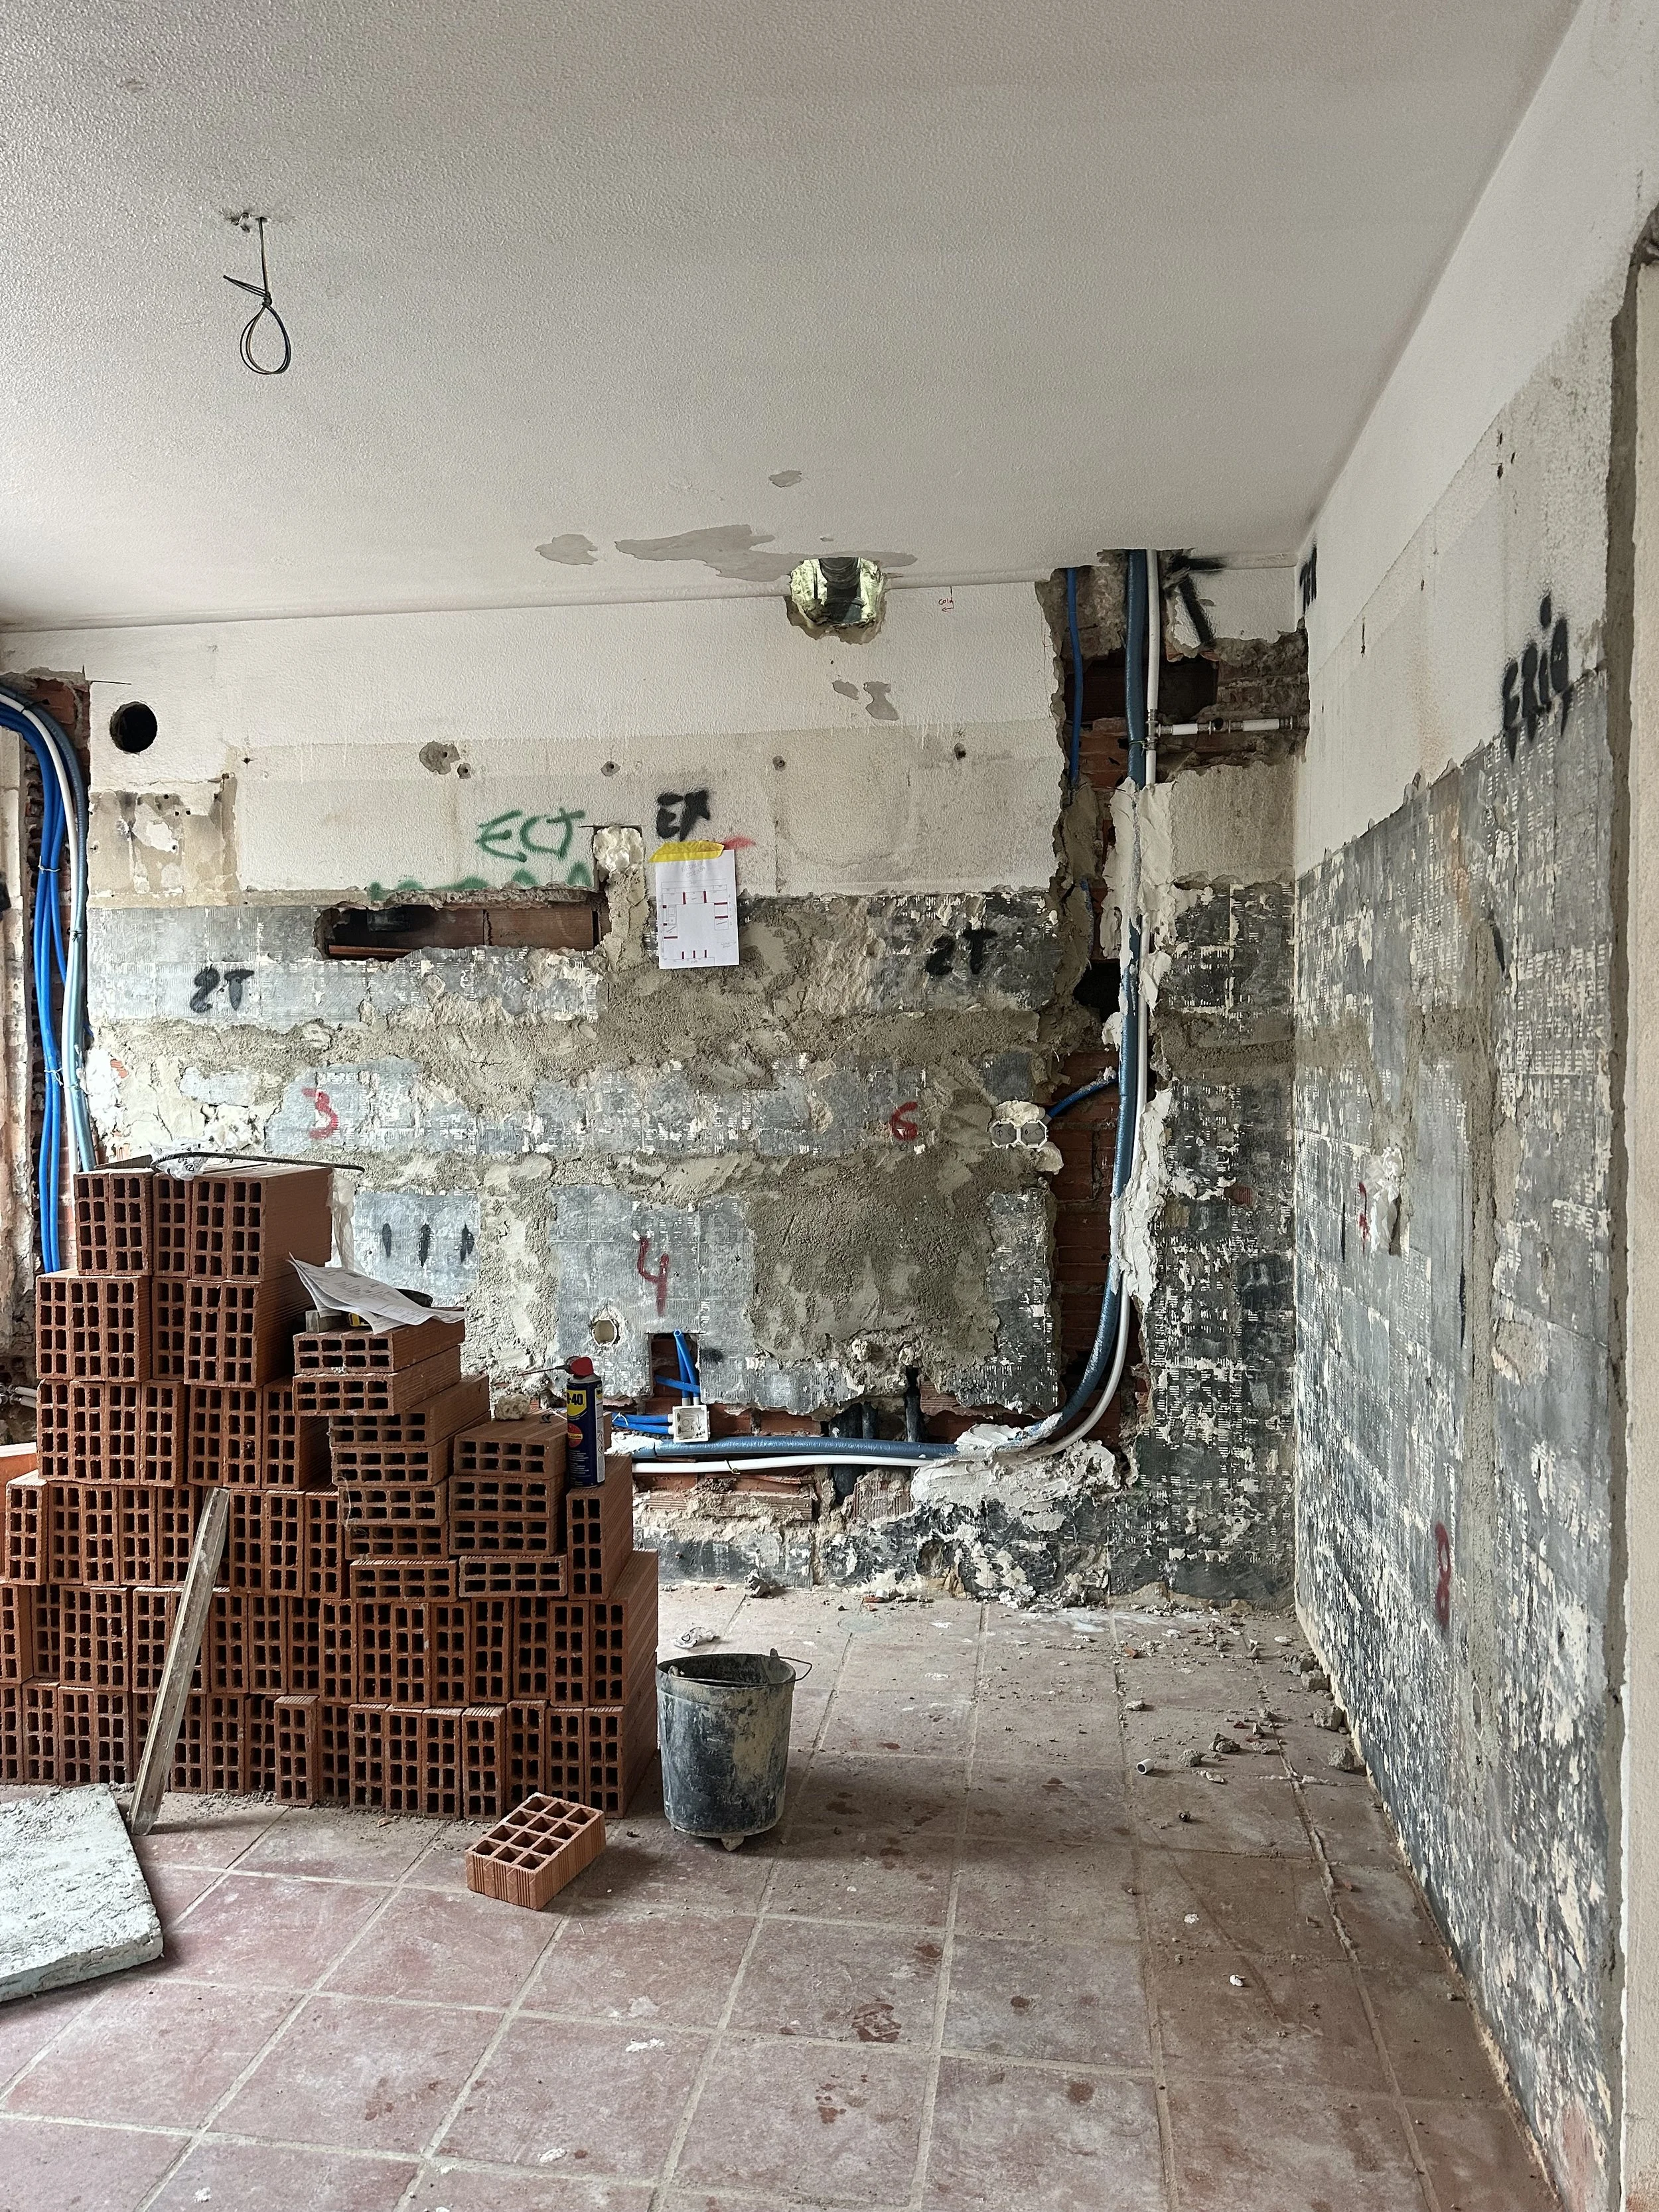
and in the kitchen the guys broke open the wall to expose the old pipes. and thankfully we did, because what we discovered was pretty horrific.

this has been such a learning experience for us both, because we are American, and in the states, we build houses out of wood and sheetrock, and here houses are built out of stone, brick, concrete, and plaster. so to replace old plumbing and electrical, its a much bigger and more labor intensive job than we are used to.
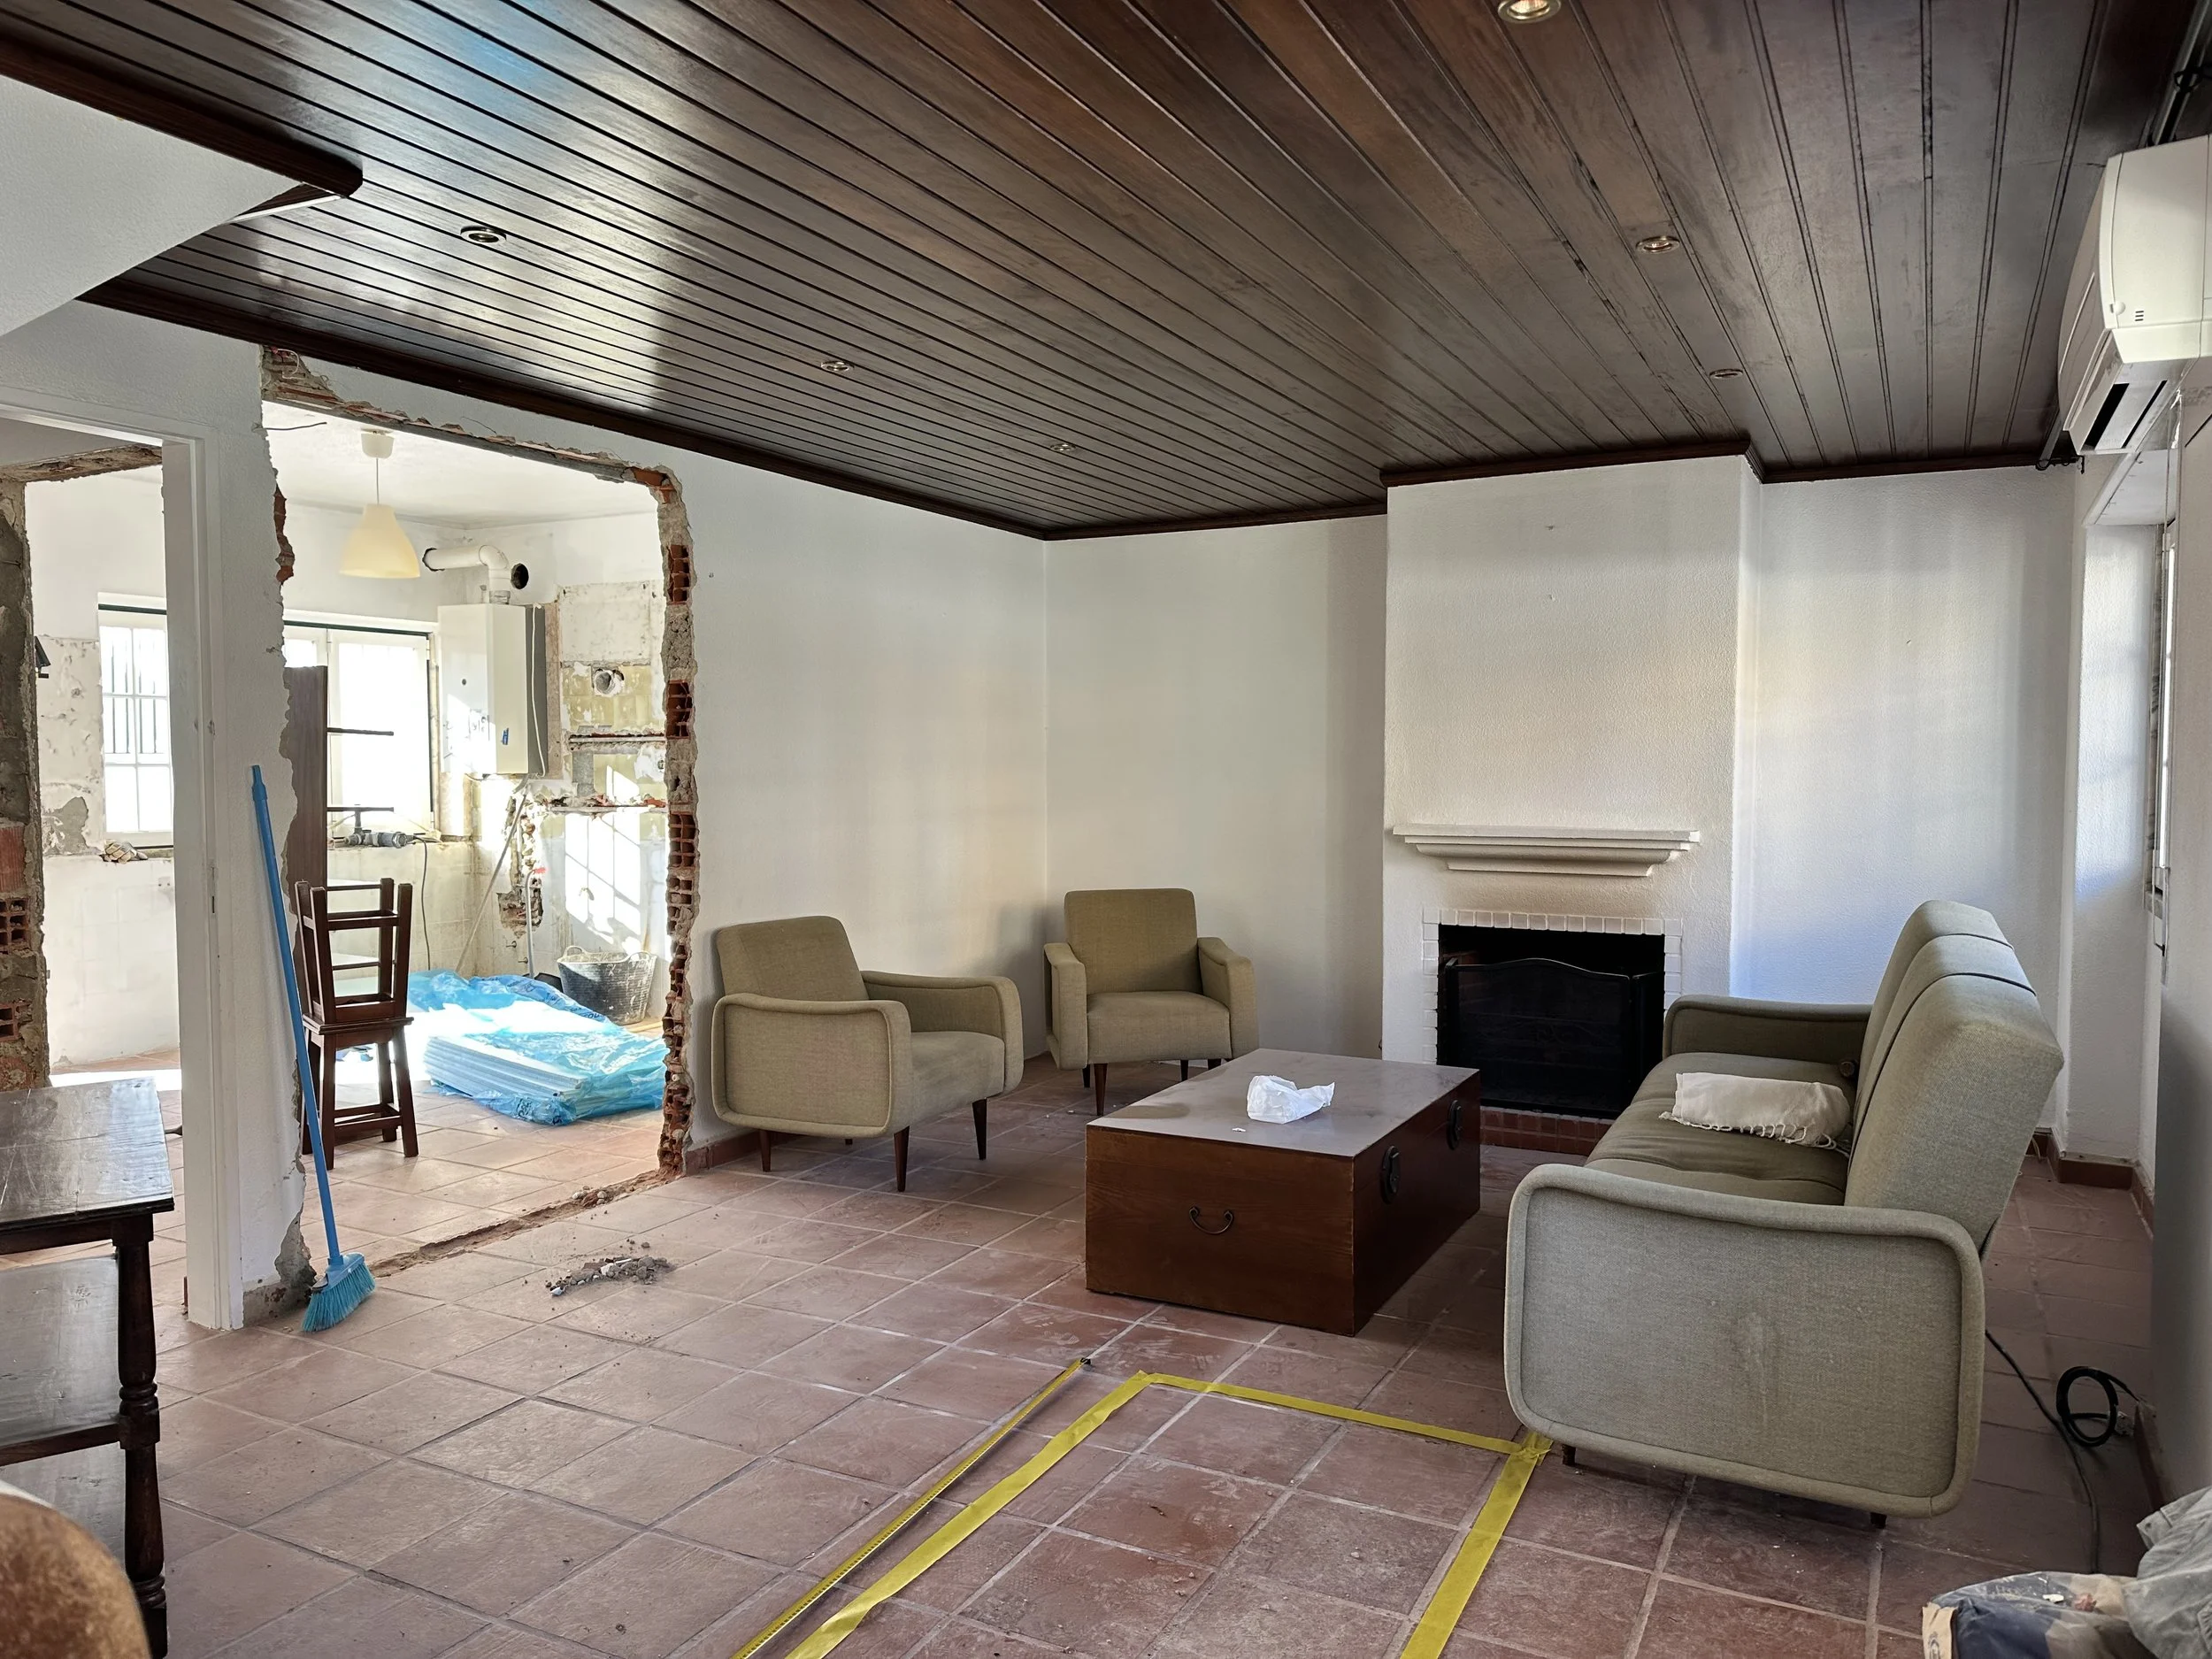
the furniture we had in the living room came with the property. I love the vintage mid-century set, but there’s nothing I hate more than when I check into an airbnb and the living room isn’t cozy, or isn’t set up properly for the amount of guests the home can accommodate. again, I want this to be the most comfortable cozy inviting home for a family or group of friends to stay in, and this seating was stiff and hard and not giving me the cozy vibes I envisioned, plus it really only sat 4 people, and we needed 6. so started mapping out a new custom sofa. I´m choosing again the custom Blok sofa from kave home.
I´ve used this sofa already in casa saguaro, and in the poolhouse, and I absolutely love how you can build your own and choose from a variety of fabrics. you can use my discount: AFFTHEBLANCOBUNGALOW, and click on this link to build your own.

originally I thought we would take down the entire wall between the kitchen and dining room, but now I realized that I need part of it still for the kitchen. if I take out the entire thing, I lose a space for the refrigerator and added counter space, so we decided to just remove this much.

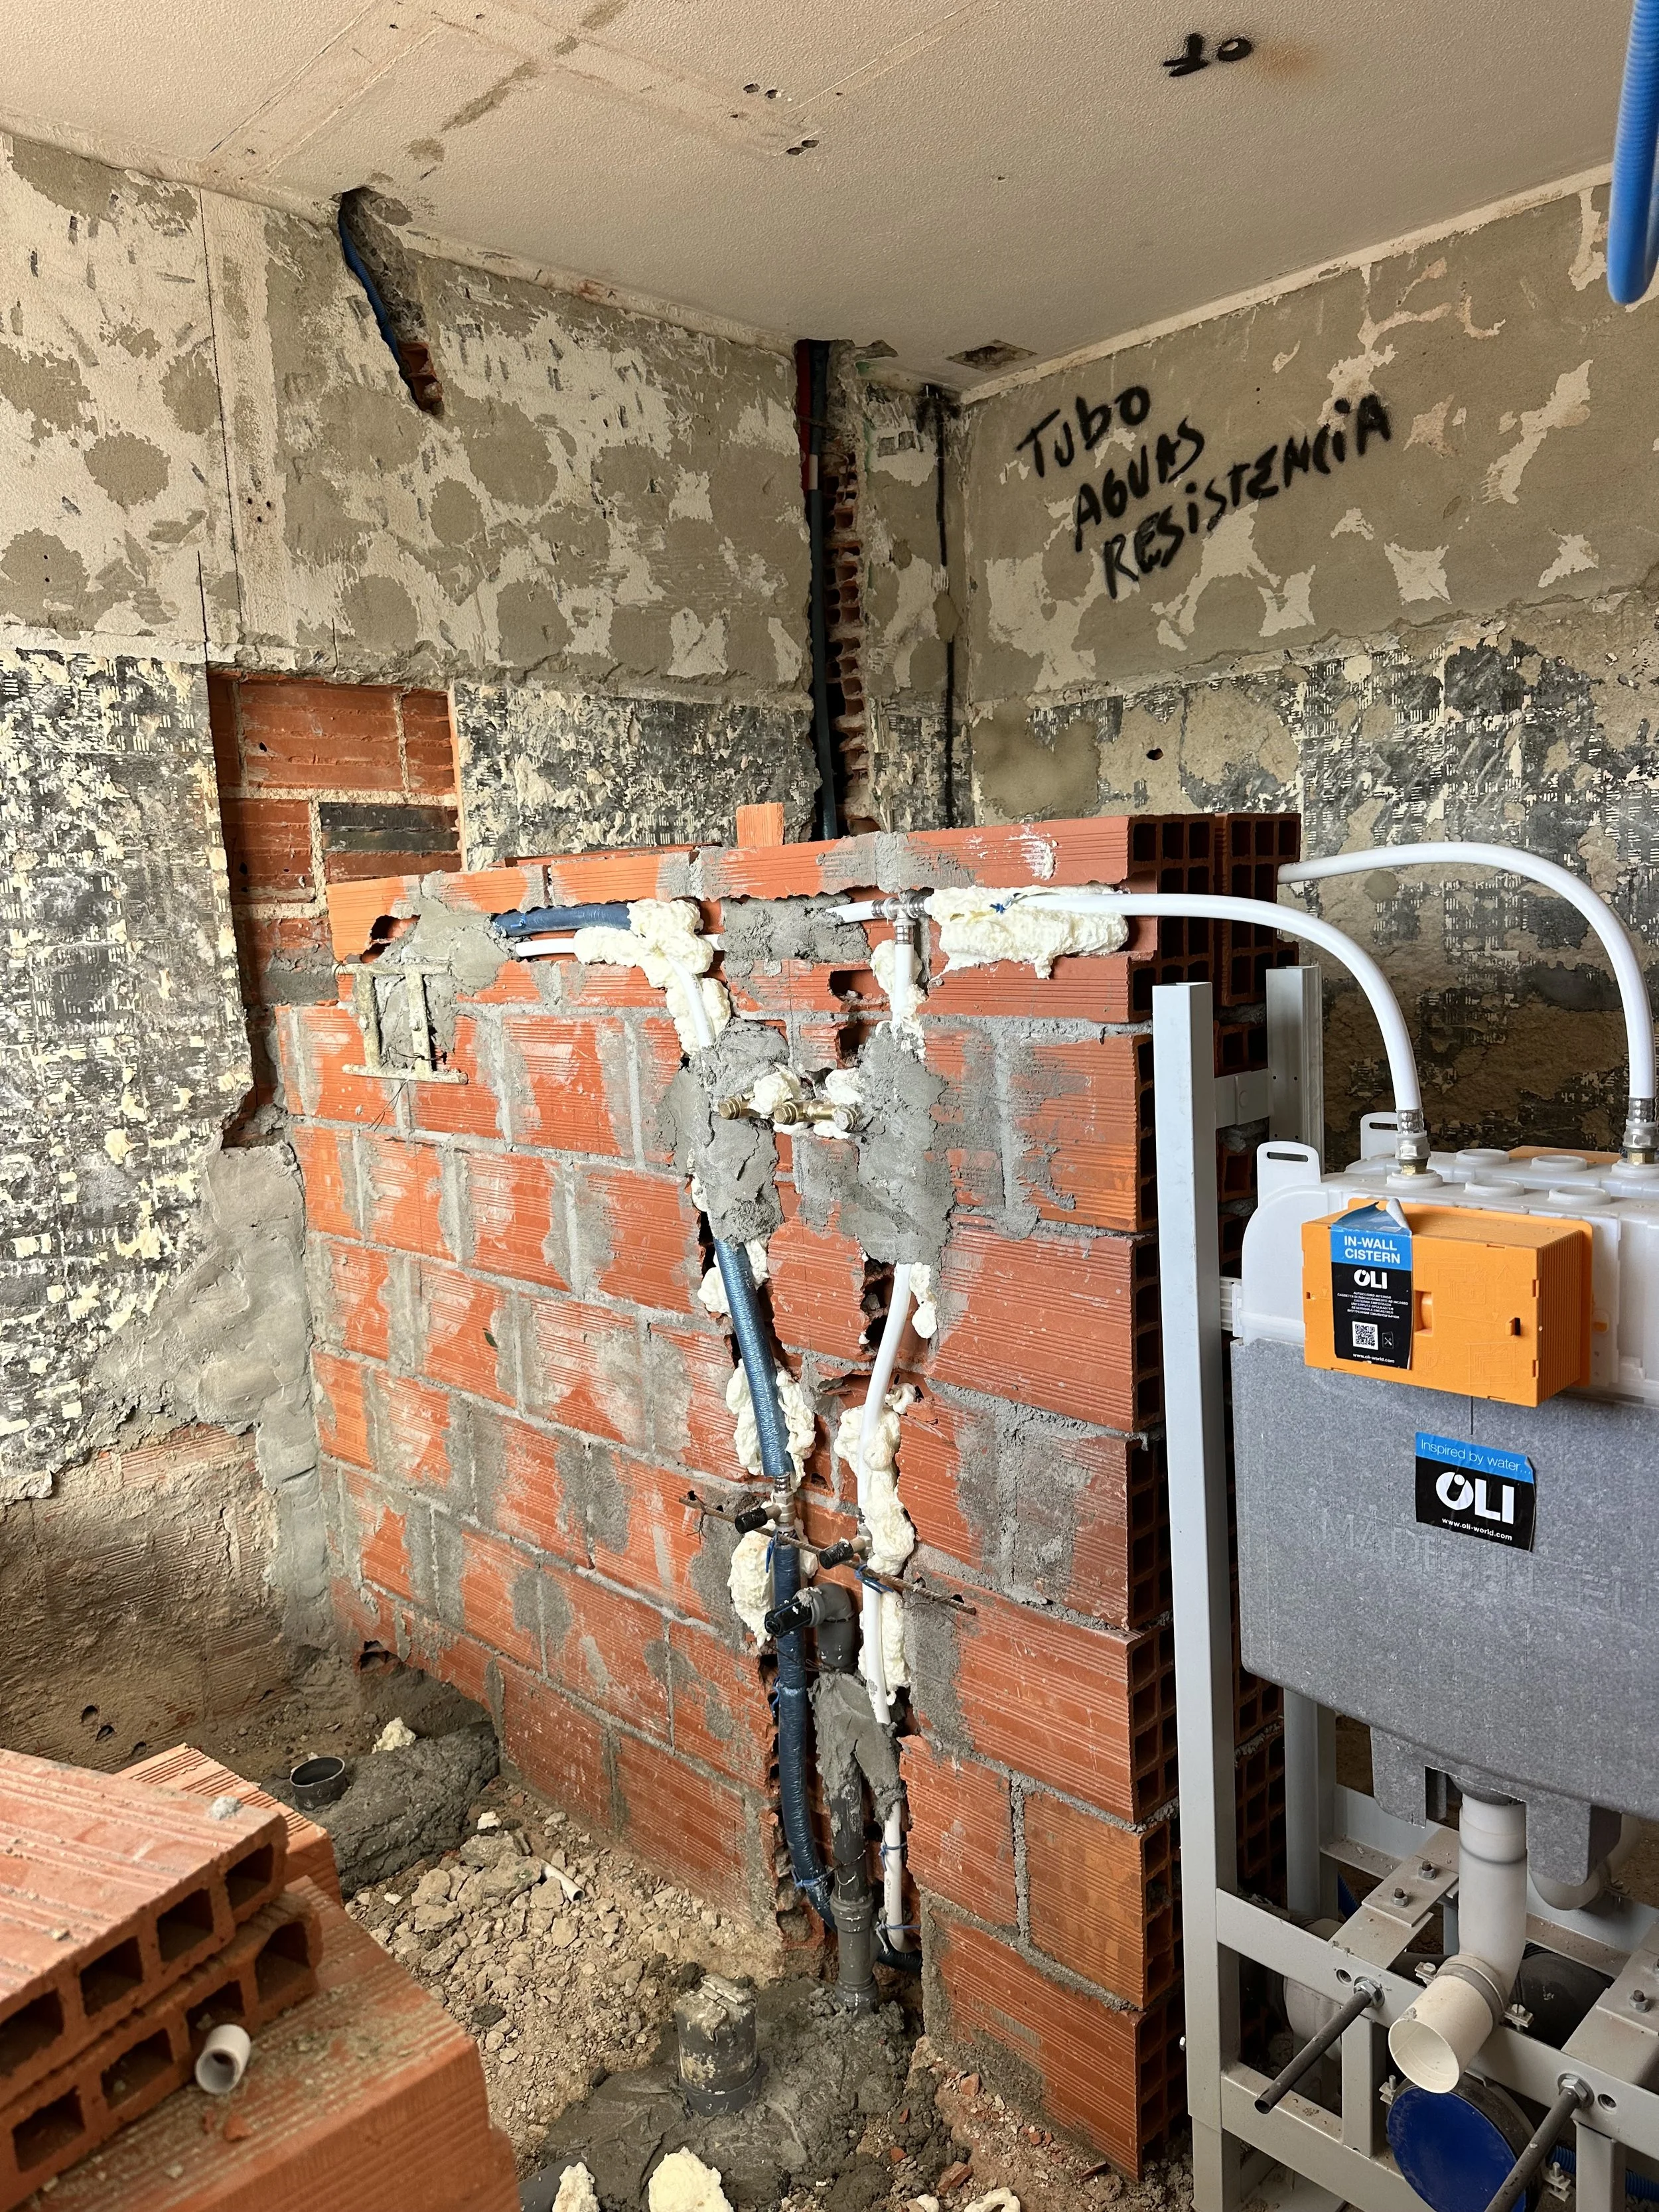
and upstairs in the bathrooms, we closed up the old door Frame and opened up a new one. creating a much better flow for the bathroom on the left, and also giving us the opportunity to share plumbing within the wall.

but this one here I was a bit puzzled by…. were adding plumbing and floating toilet frames in this wall, but they said they would build the wall, and then break open where they need to add pipes and wires. but for me, this didn’t make sense, why not build around the pipes and do it all at the same time. why would you build something only to break it open? idk, again, I´m not familiar with this type of building, and I am by no means a builder, but they assured me that this is how its done, so I thought I would just hold my tongue on this one.

so they built the wall double sided with bricks and insulation in the middle.

and marked where the ´breaking´would happen….
but then the wall fell down. I should have trusted my gut, but I was by no means an expert, so I went with what the builder said, and he said wrong. when they went to break the wall, the wall broke.

so we decided to step away from the bathroom for a bit to gather our wits and come up with a new plan. the guys broke the rest of the old tile off the walls in the kitchen in preparation for new tile.

and in the living room, we decided to open yet another wall. this wall was a faux wall that they installed to create an entryway into the home. however, it was hollow and felt out of place.

I contemplated keeping part of it, so we could still keep somewhat of a separate entryway, but the guys convinced me that we should take the whole thing out. I mean I always wanted to take out the entire wall, but I honestly wasn't sure what we would do then with the dropped wood ceiling. strader said it would be fine, but inside I was freaking out.

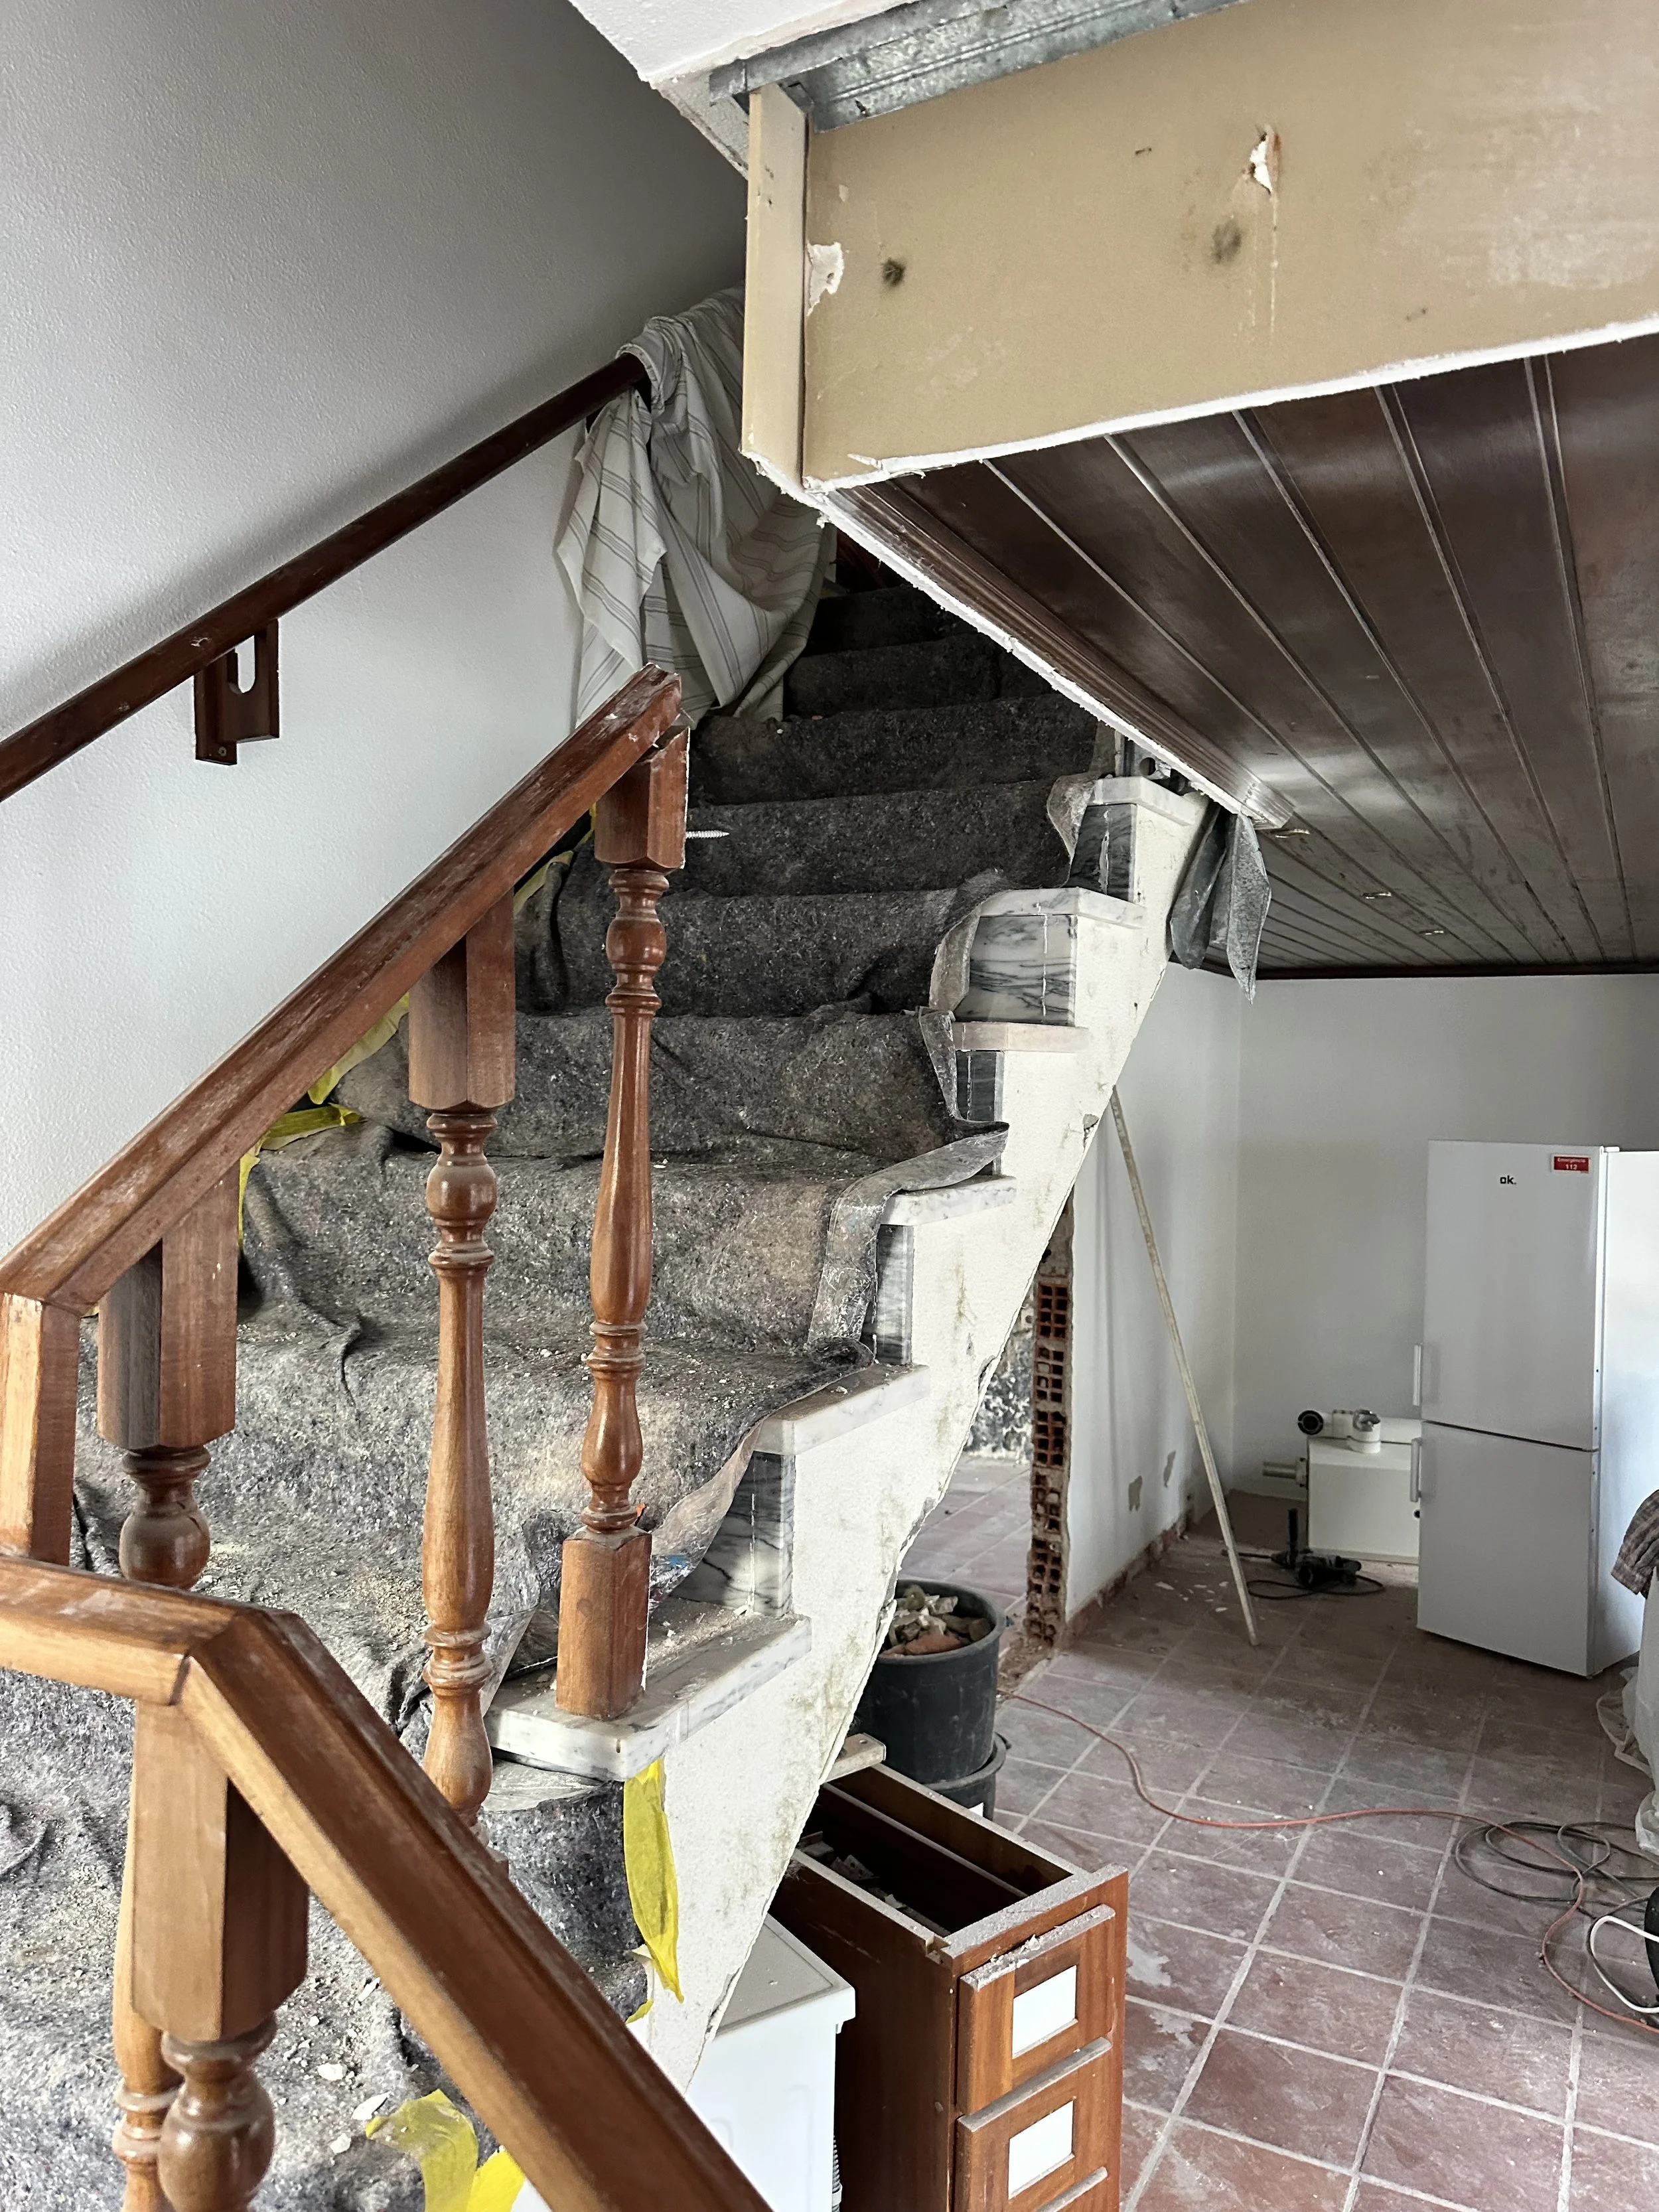
the faux wall continued up the stairs, which I knew was another can of worms. once we took out one side, we would have to take out the other side.

but then the dropped ceiling just hung there like this bizarre box on the ceiling, and made no sense whatsoever. I mean I love a wood ceiling, like If I could have wood beamed ceilings in every room of every house, I would. but this particular wood ceiling wasn't giving me the old protuguese farmhouse wood ceilings, it was giving me 80´s yacht vibes. you see what I mean?

and now we also had a handrail that led to nowhere, so that had to come out as well.

this is honestly the only time in this entire project that I lost sleep, thinking oh god, what did we do.

see, even soft paws was freaking out lol

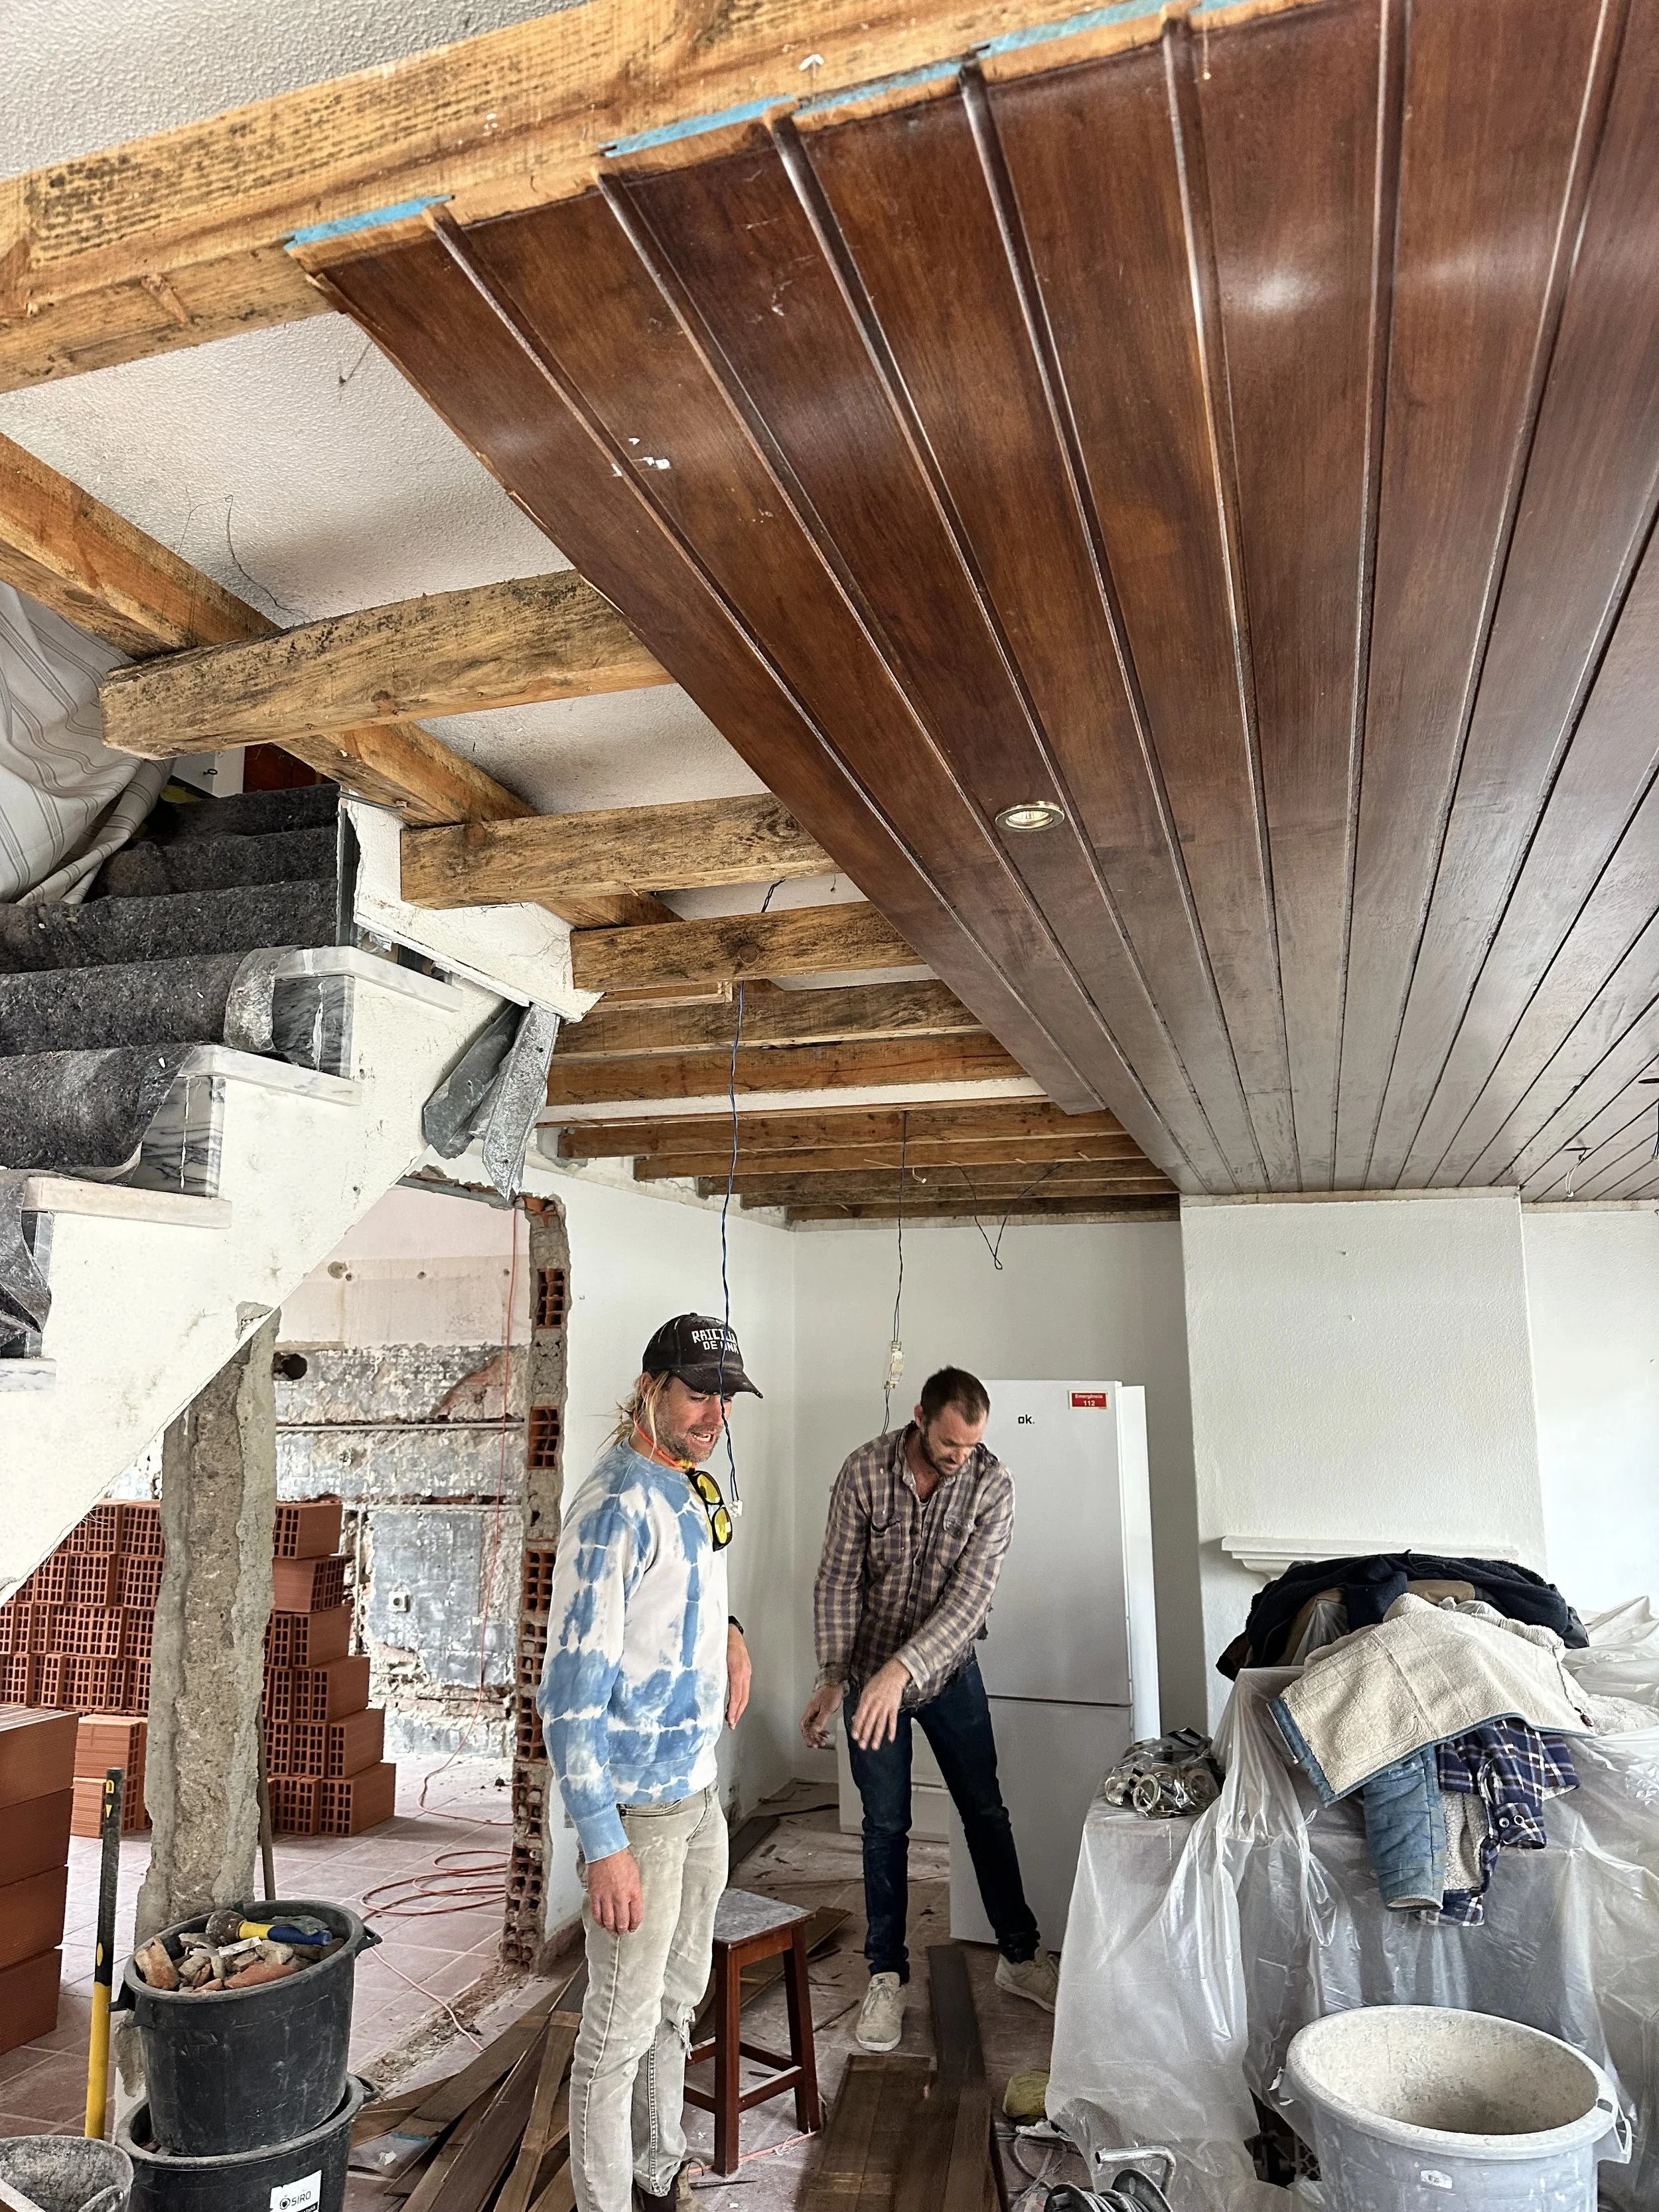
we cut open a little hole in the plaster board to see what was hiding underneath the ceiling, and to my surprise there were wood beams. but again, not exactly the wood beams I was hoping for.

but again, we said fuck it. no turning back now, it had to come down. we had at least 26 cm of space that we were losing with this dropped ceiling.
but honestly, I´m so happy that we took it out,, because look at the mold growing on these boards!

and the mold growing on the ceiling!

but once we took all of the paneling down, I knew we had to keep or replace these beams, I mean look how beautiful this room could be with the right beams! we talked about keeping these and refinishing them, but instead we wanted to do it right, so I sourced some antique poles we will install instead.


here´s my awful finger drawing so you get the idea:)

I tried plugging into chagpt, but it couldn’t understand the concept that the beams needed to lengthwise, not across. due to our newly exposed staircase, the only way to run them would lengthwise, otherwise it would look super weird.

so here´s my sketch of what it will look like.

oh, and I forgot to mention we also have to cut open walls in every single room for the new electrical. the Electician came by and spray painted everywhere we need to cut, and now the house looks like a crack den. god help us!

I was starting to freak out again, so I left the guys to continue with the demo and cutting, and I headed out to source again. on the hunt for a kitchen sink, but none of these ones were quite right, so I´ll keep searching.

but on the hunt for vintage treasures. I did find this lot of old hunting trophies from a guy in evora and I´m obsessed! I´ll use these in casa corazòn and in the adega.

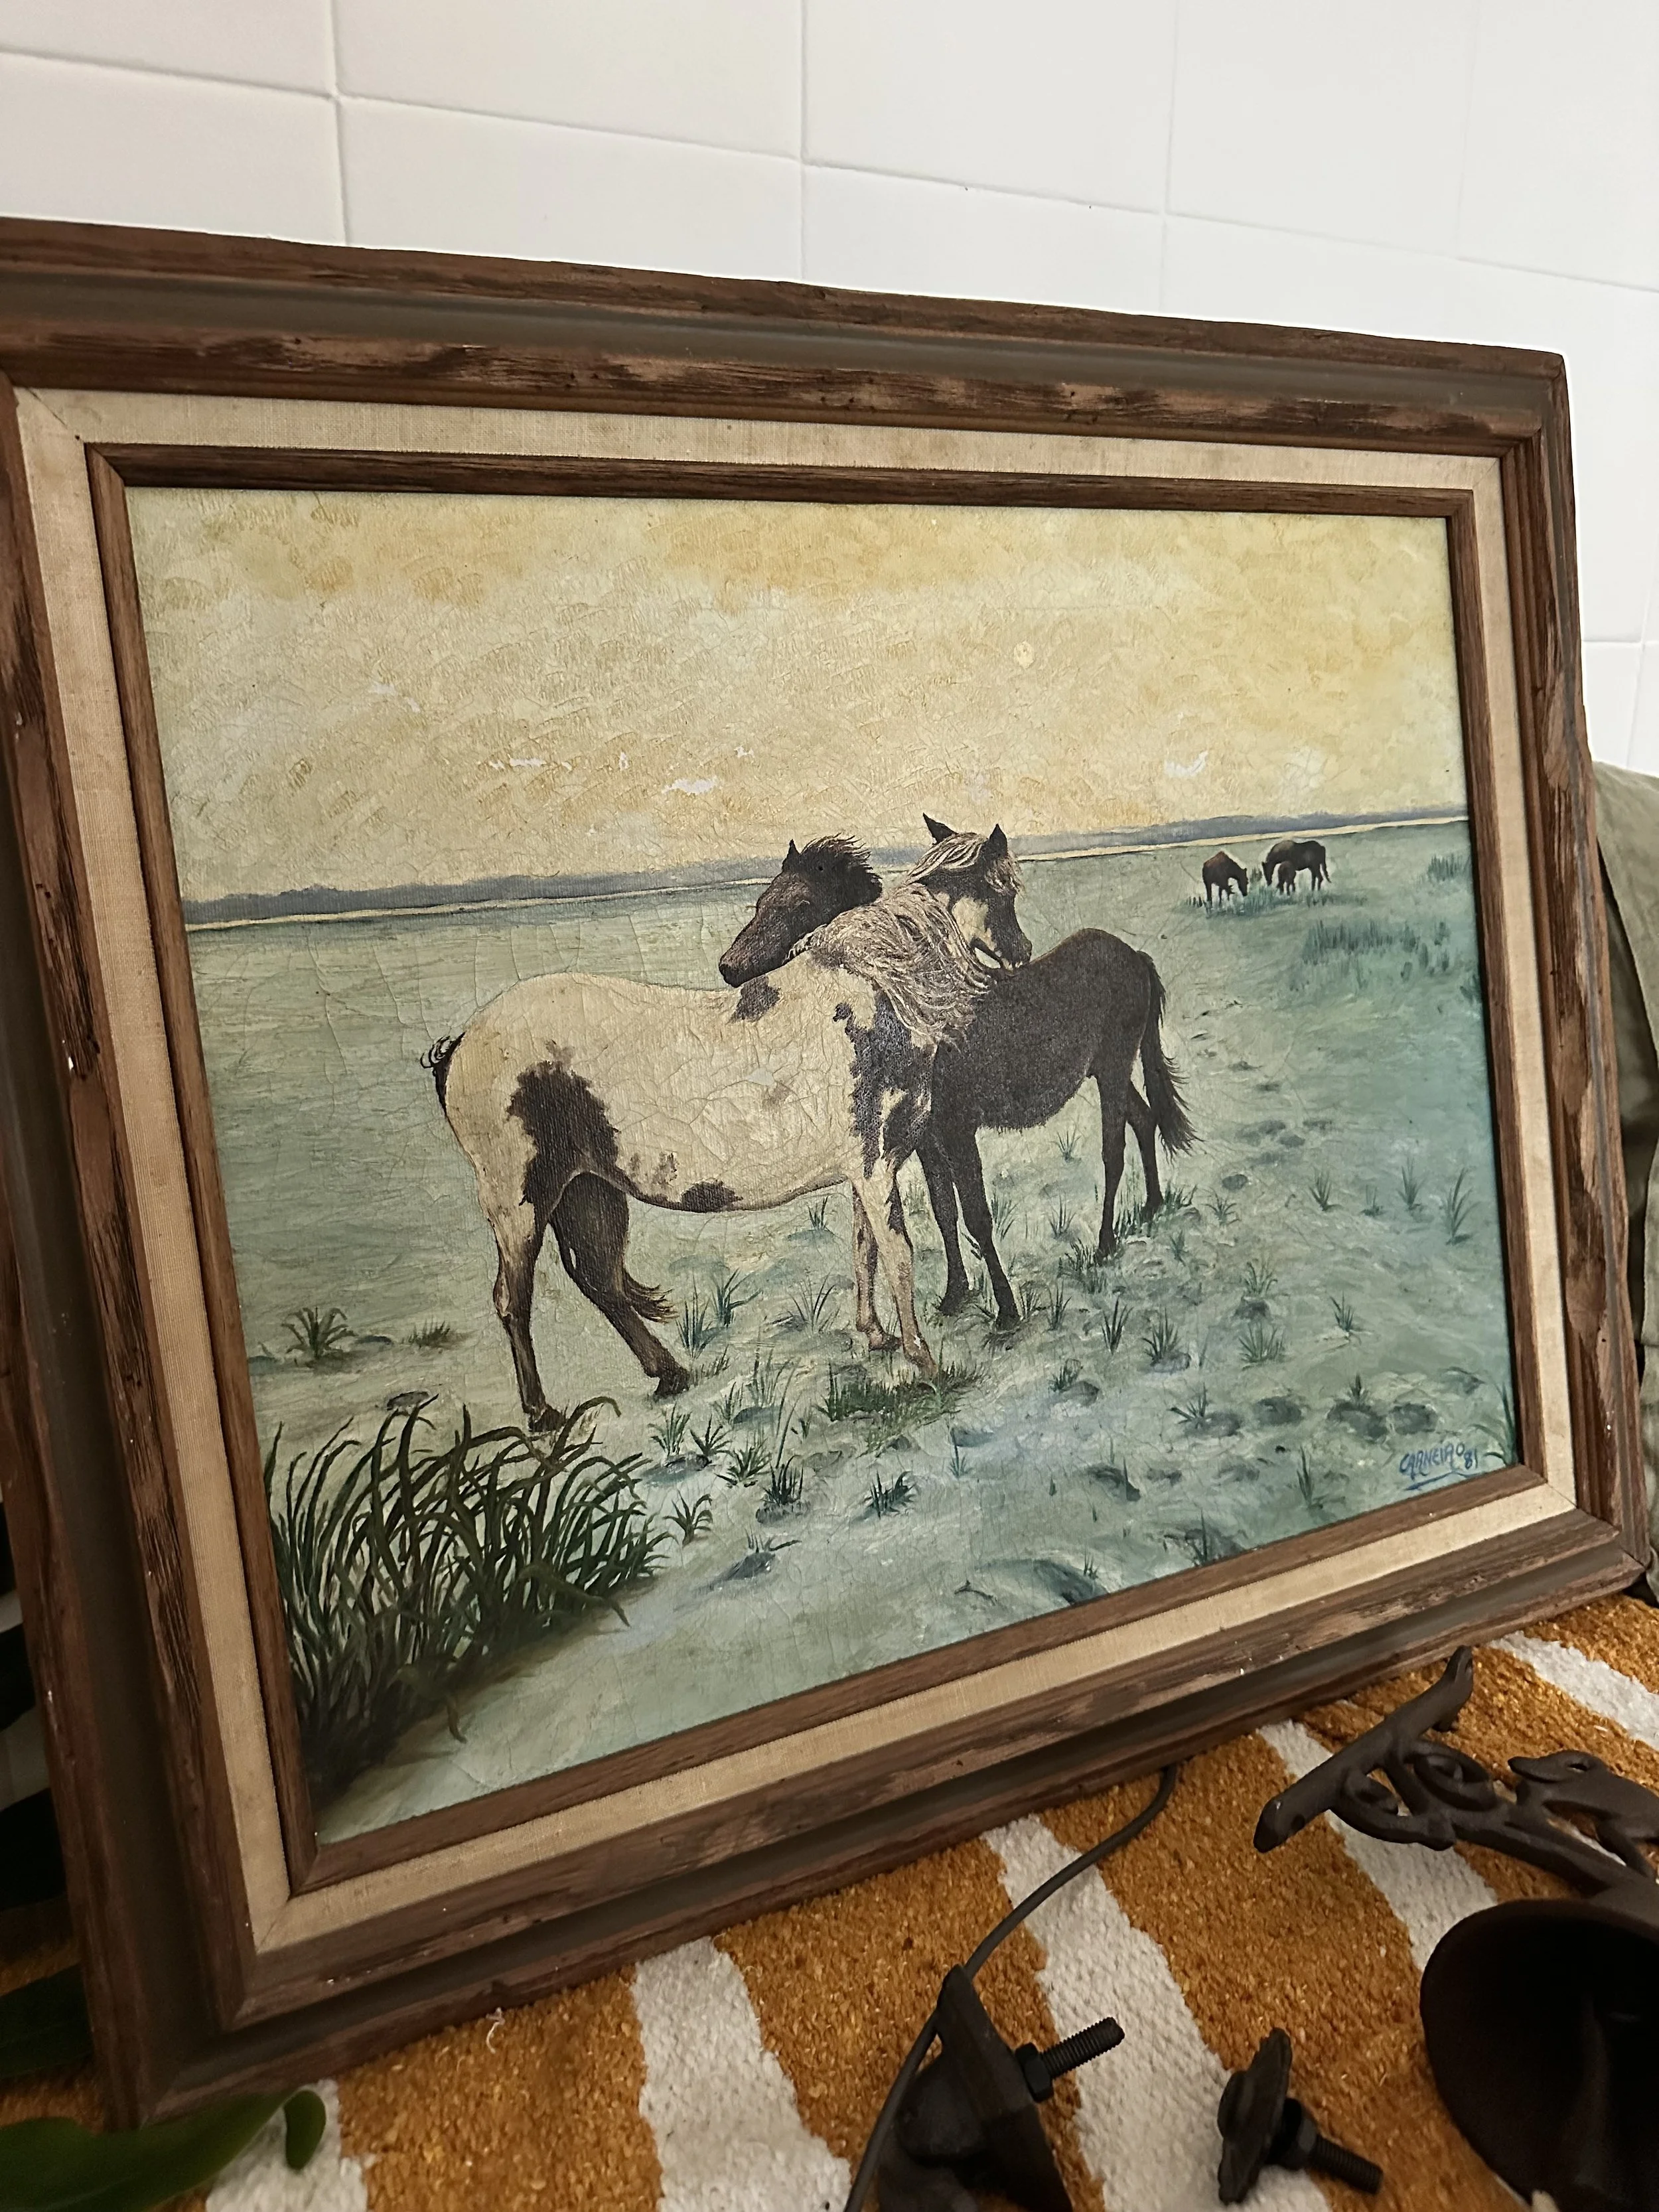
and this horse painting I scored for €10!
on my way back from picking up some other olx treasures, I found this amazing antique shop in Sintra.

and I found these antique outdoor lights that I needed, so another score!

but then everything went south. our friend helping us with the project had to take another job, and we were left with my husband strader and one worker to somehow complete an entire house renovation ourselves.

but then it got worse. the storm of all storms hit. well actually a series of non stop storms that would knock out our water, power and internet for 9 days. it was starting to feel like this project was cursed

while the water was out, the plumber came by to tell us which pipes to cut, so he could replace them later. we still weren’t sure where the main water line was to the house, but he felt confident he instructed us the correct pipes to cut. so we cut them. and then after 9 days, overnight, the city finally turned the water back on.
but one of the pipes we cut, happened to be the Main water line to the house, and when the water got turned back on, the house flooded all night long. I´m laughing as I'm writing this, because man has this been a journey:)
but what doesn’t kill you, makes you stronger right? or when it rains, it pours? Lol. so I decided I would try to choose some tile instead of going dark.

I decided to work with mosaic factory for tiles. they’ve been so helpful throughout this process, I haven´t been able to make it into their showroom, so I emailed them my sample order, and they sent it right to my door. Here are my favourites so far. I honestly love them all, but I think I´m going with the second one (1065), the sage green for casa Corazon, and the third one, (1019), the pinkish white for casa saguaro. what do you think?

meanwhile, our kitties continued partying in the construction site, and strader started rebuilding the bathroom wall with the help of our friend Luis, and with the plumbing built inside the wall this time.

even though we´d lost our second leader, we were feeling better about the new plan and forged ahead.

and after a week of no shows, the plumbers finally came back to install the new bathroom plumbing.
and they laid new piping in the kitchen as well.
we also found a new team of stone masons to come and help us get this project over the finish line. they started building out a pantry cabinet for the kitchen.


and today they built the framing for the kitchen cabinets.

I´m still not sure what we’ll do here for a handrail, but I think in a few months after we’ve financially recovered from this, we will have a wrought iron railing made from scratch that feels like more like an old Spanish hacienda.

the guys also replaced the tiles where the old wall was, and all the walls are now being closed up and re-plastered from all the electrical cutting.
I hope you enjoyed this post. If you have any questions, please comment below.
and stay tuned for more on our farm Reno projects!
And if you don’t already, be sure to follow me on
Pinterest , Instagram and Youtube.
Obrigada!
ICYMI