DIY: Airstream Bambi Custom Kitchen Backsplash

BEFORE
From the moment we purchased our airstream, I’ve had an intense love affair with this little silver bullet. however, the standard interior lacks a bit of warmth. I love the vintage airstreams with light wood roller cubbies and warm wood details throughout. Our airstream is a 2021 model, and this year just happens to be very grey, leaving it feeling a bit cold. So I thought I would warm it up a bit with a diy custom kitchen backsplash.

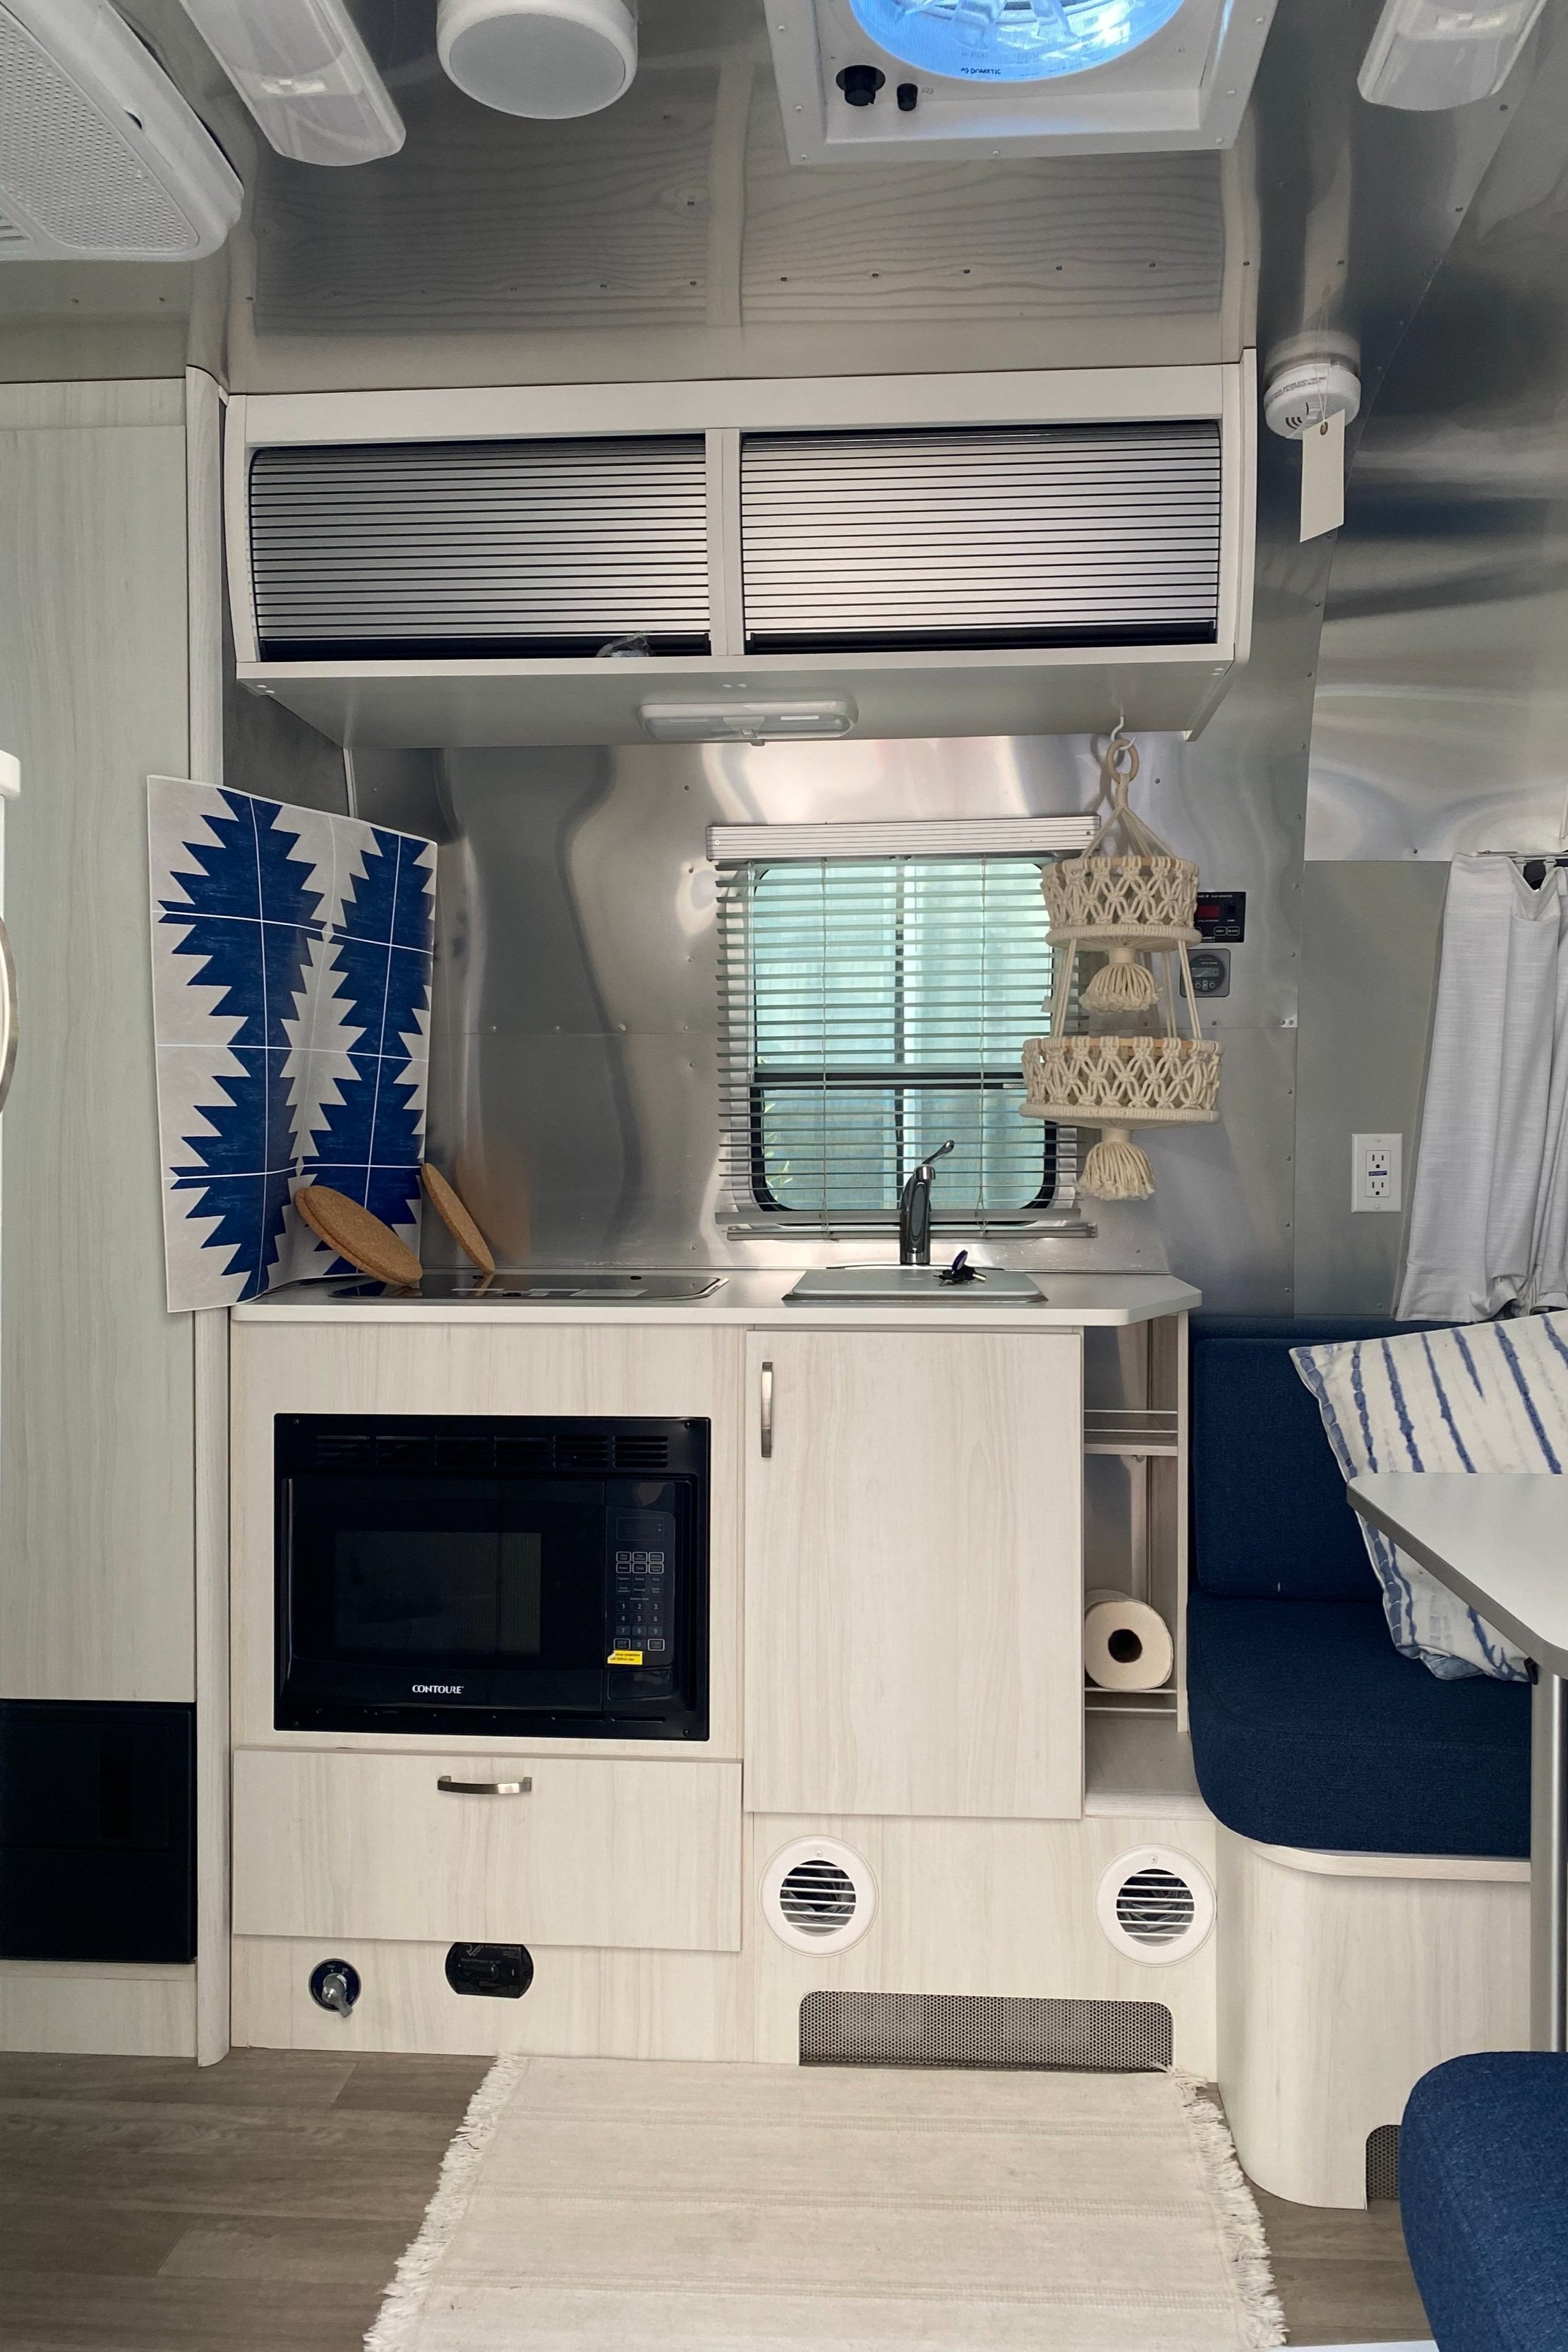
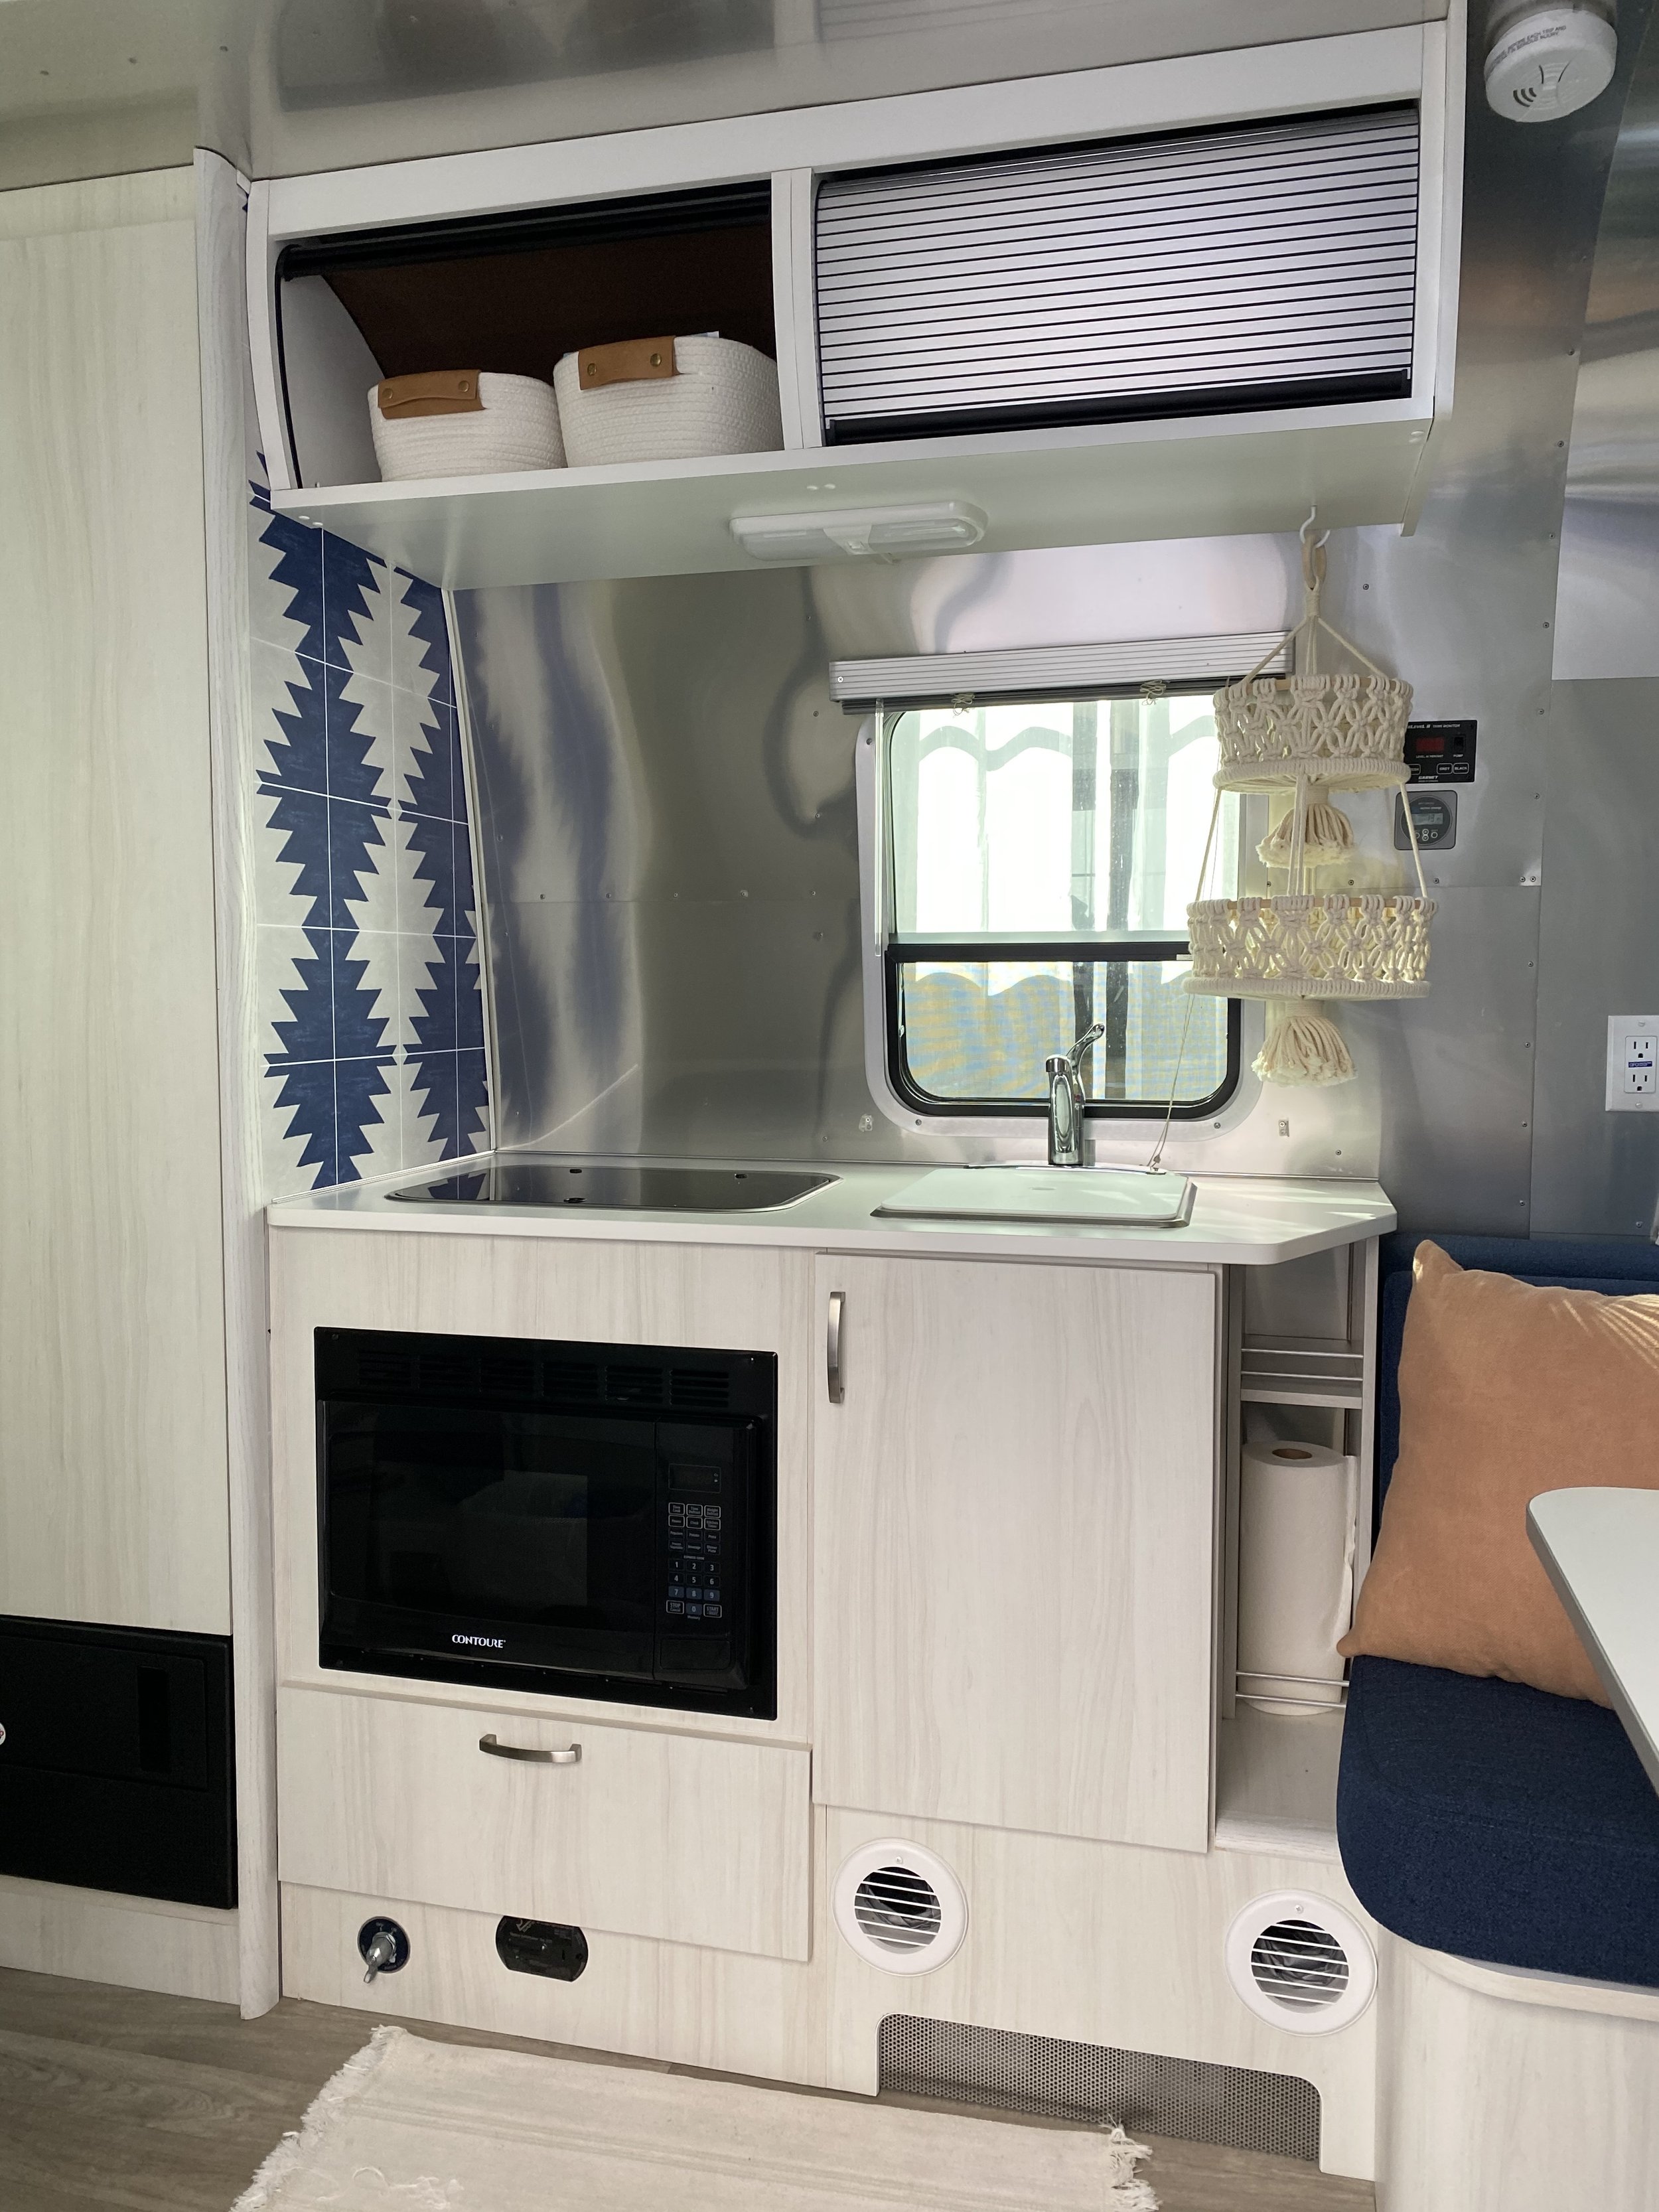
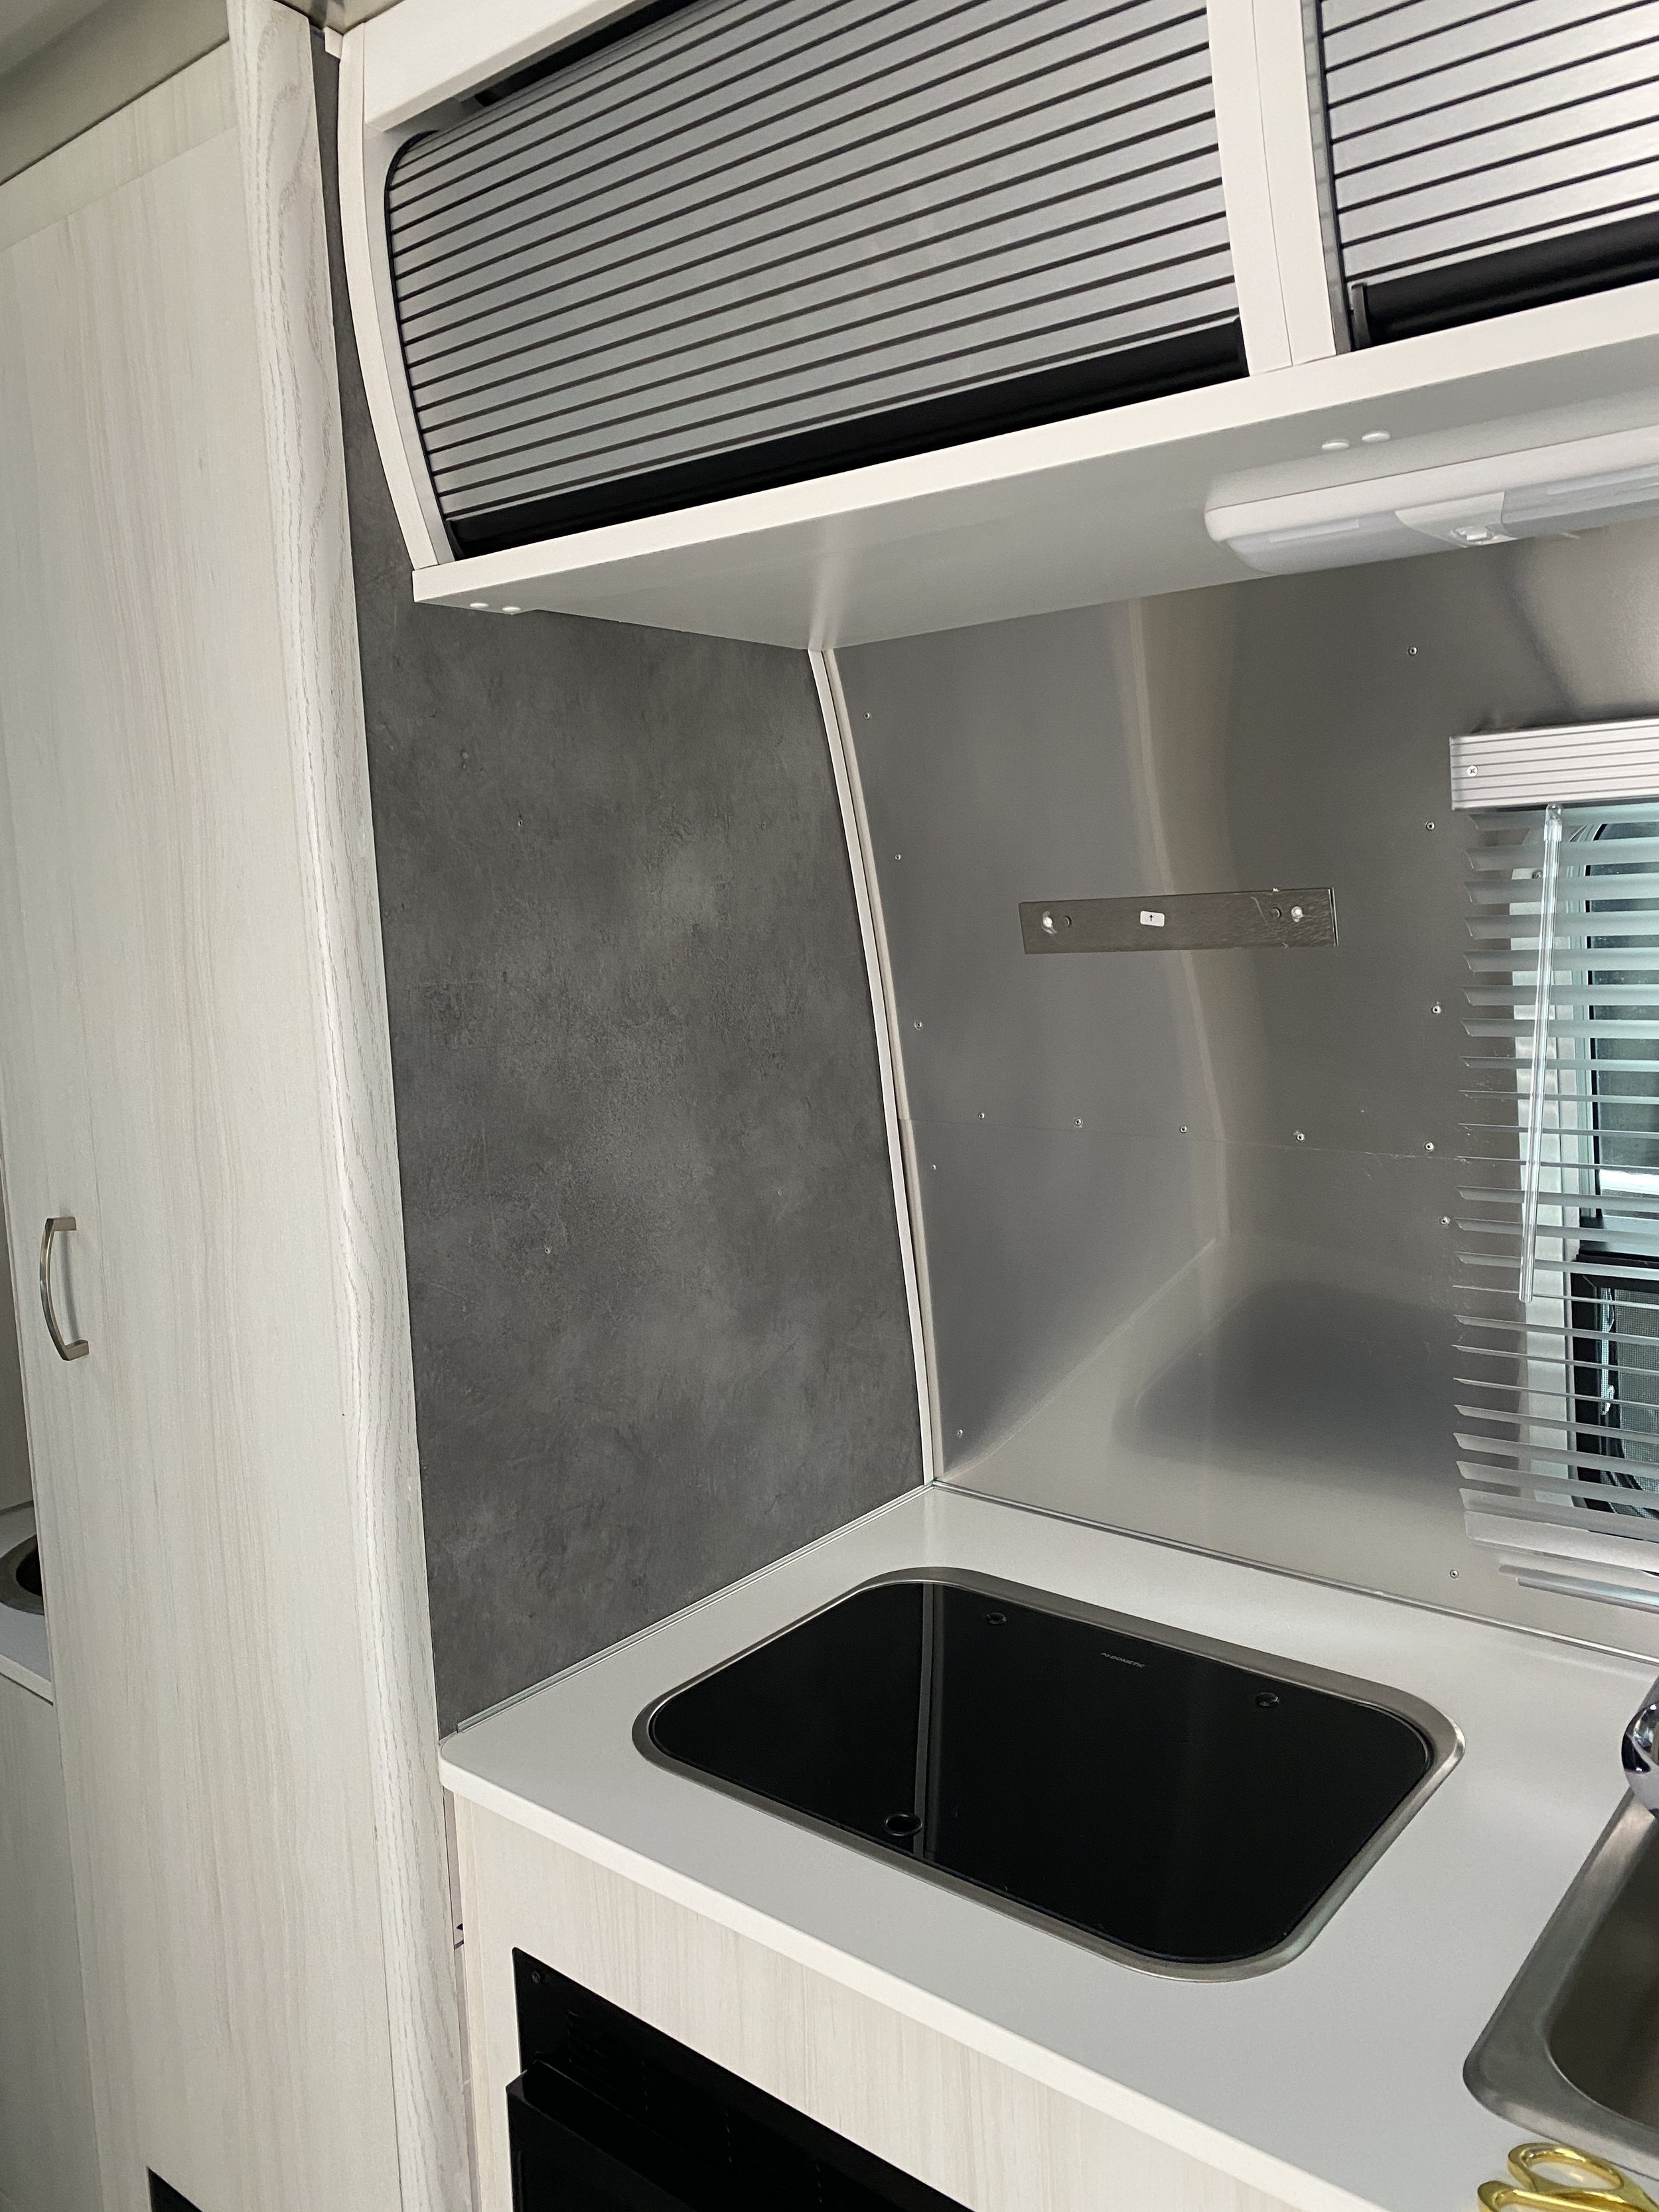
Here is the before of our Airstream kitchen.
pretty sterile feeling if you ask me. I’ll preface this post by telling you that I’ll end up doing this diy twice, but we’ll start with my first attempt.
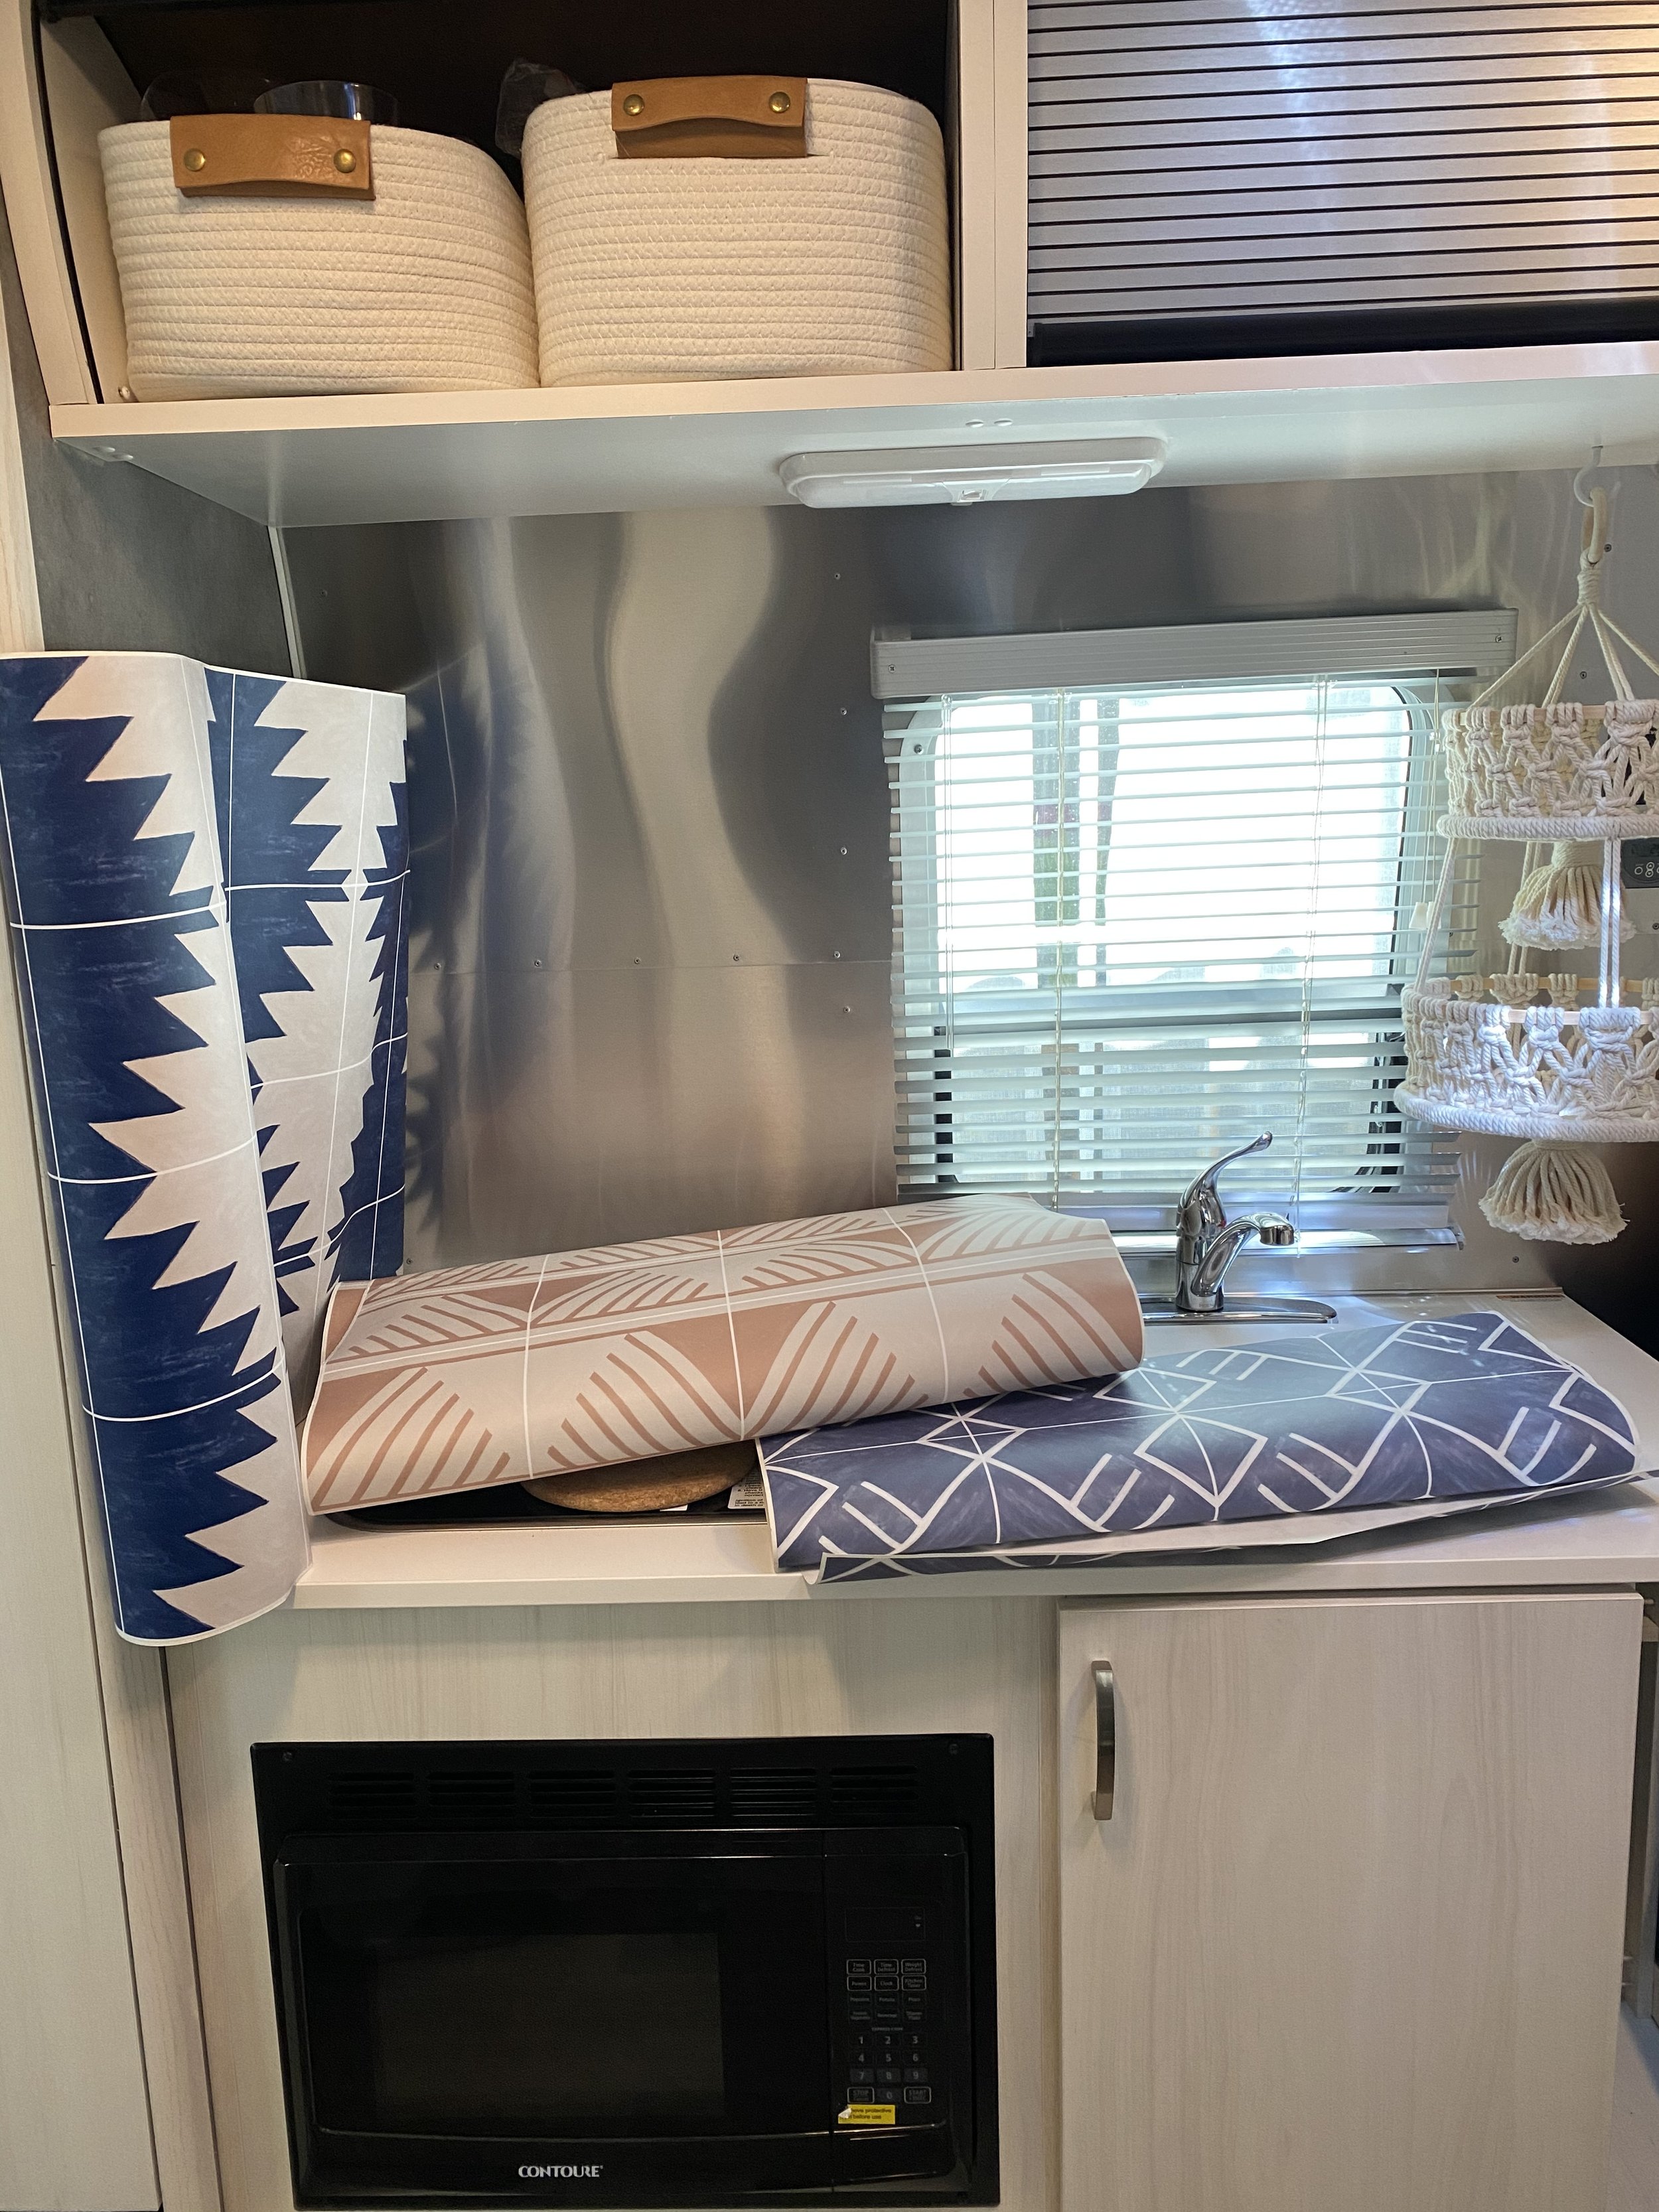
the first hurdle is to decide on a design. i’m hardly ever a person who can choose from a website, so I ordered a few different wallpaper panels to try out.

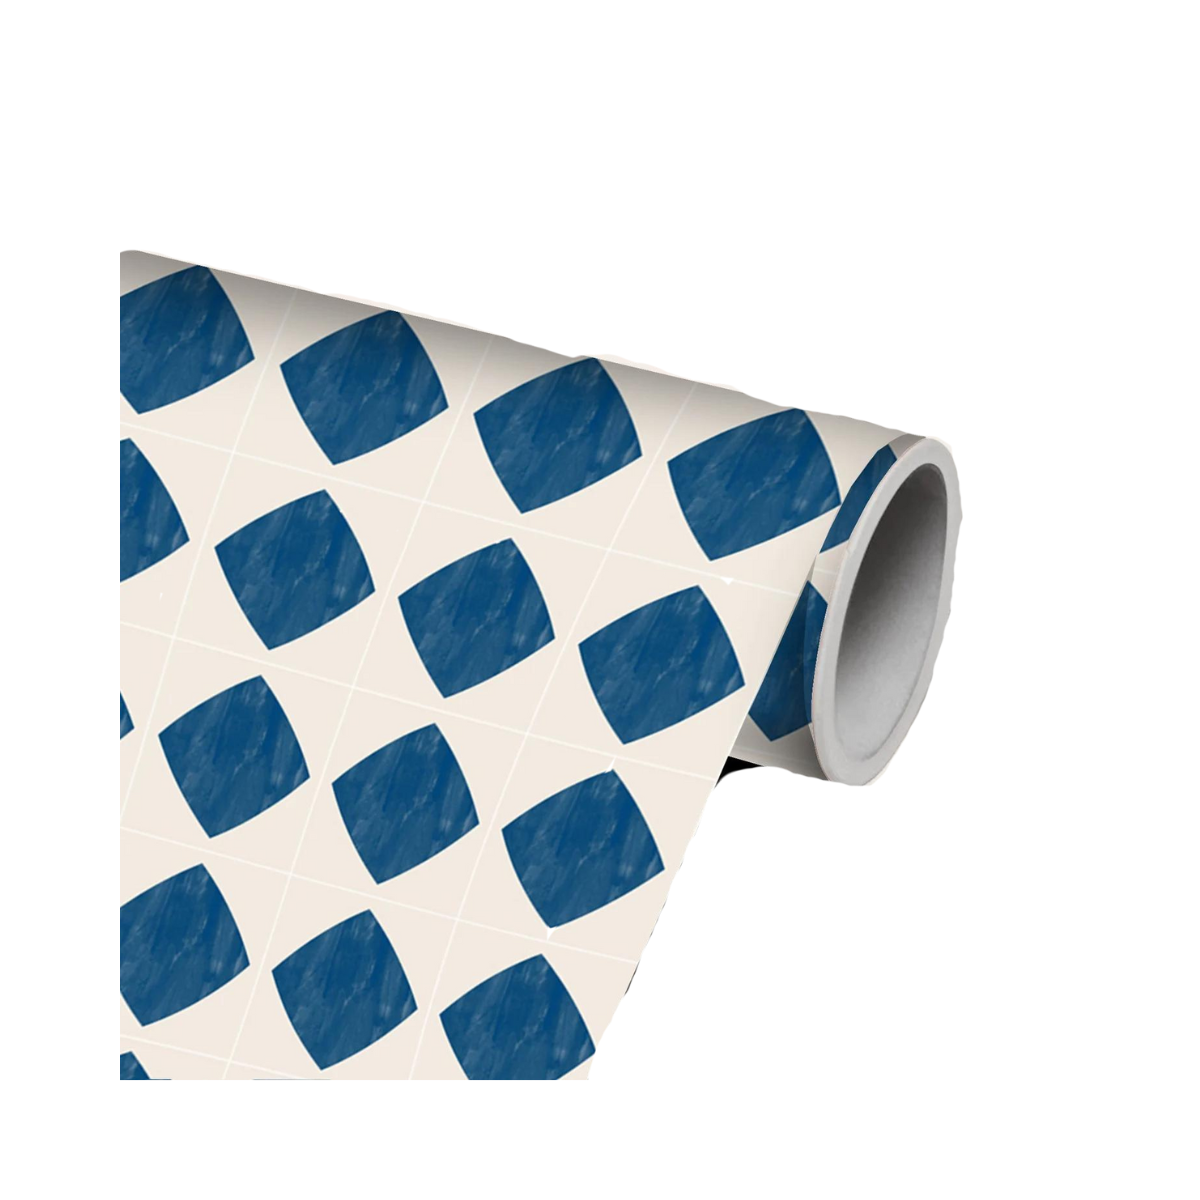
the only color currently existing in our airstream is an indigo-blue couch. I want to choose something that will complement the couch but won’t pigeonhole me into having one color dominating the entire interior.
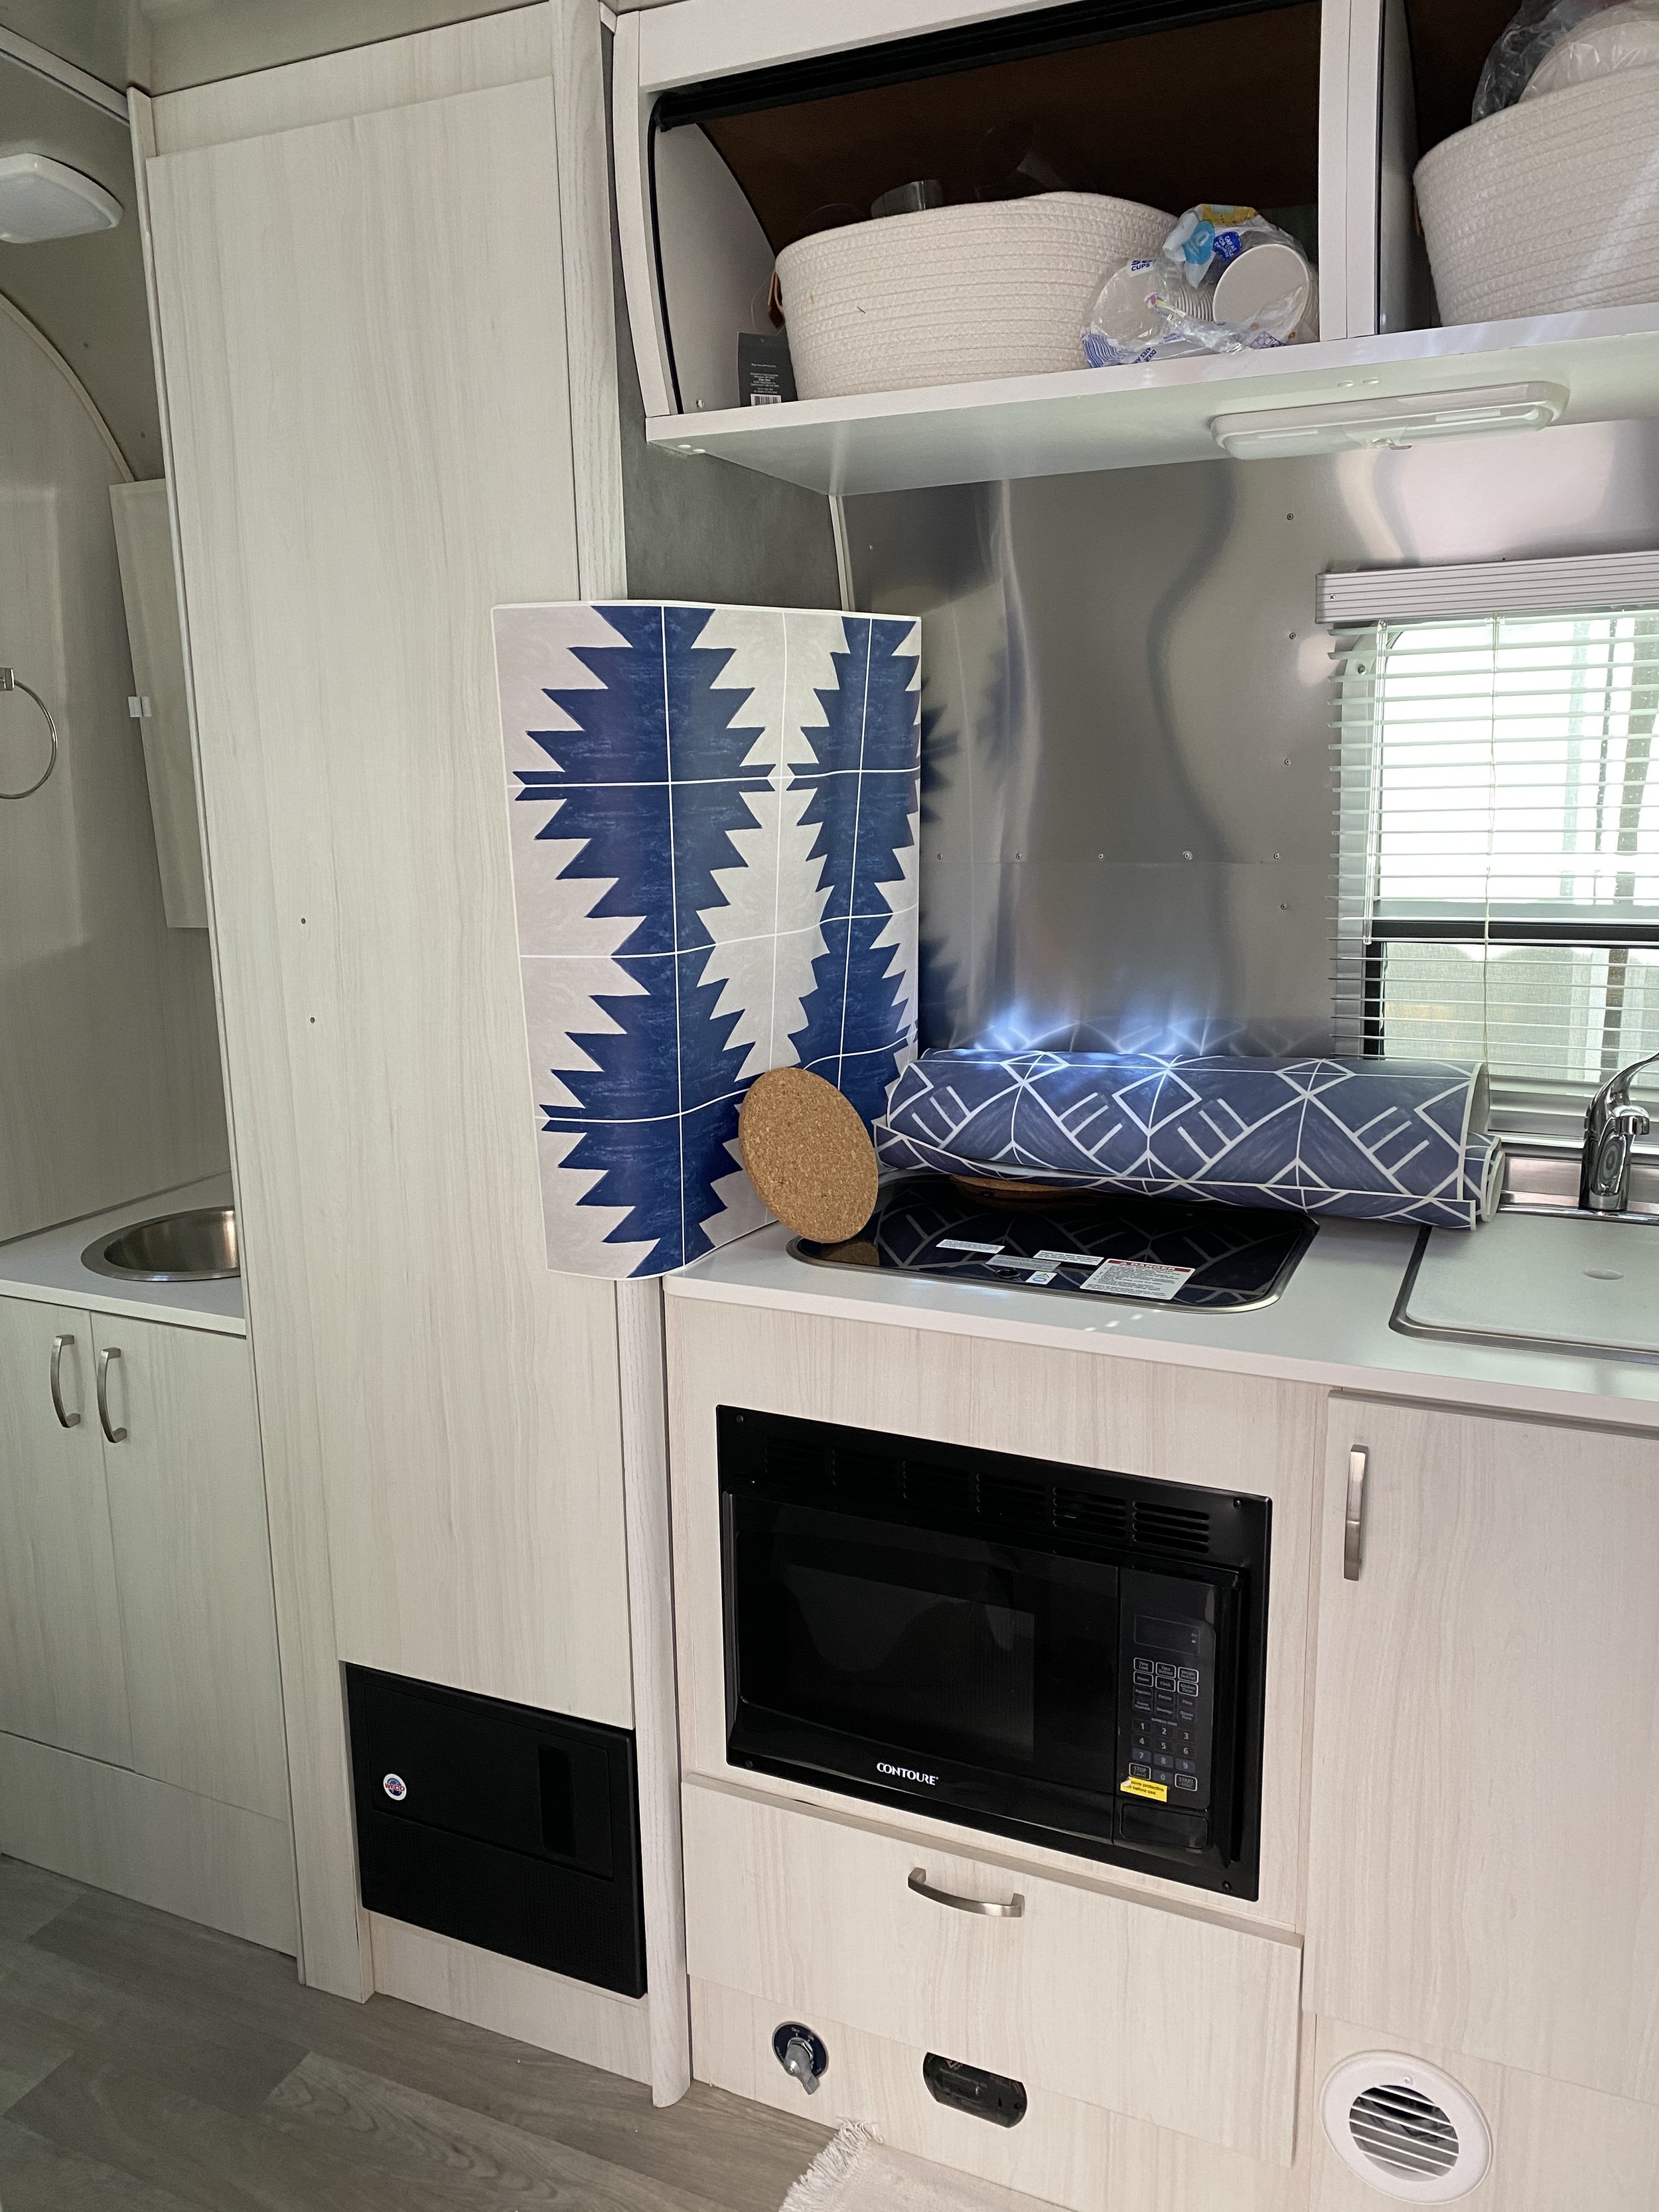
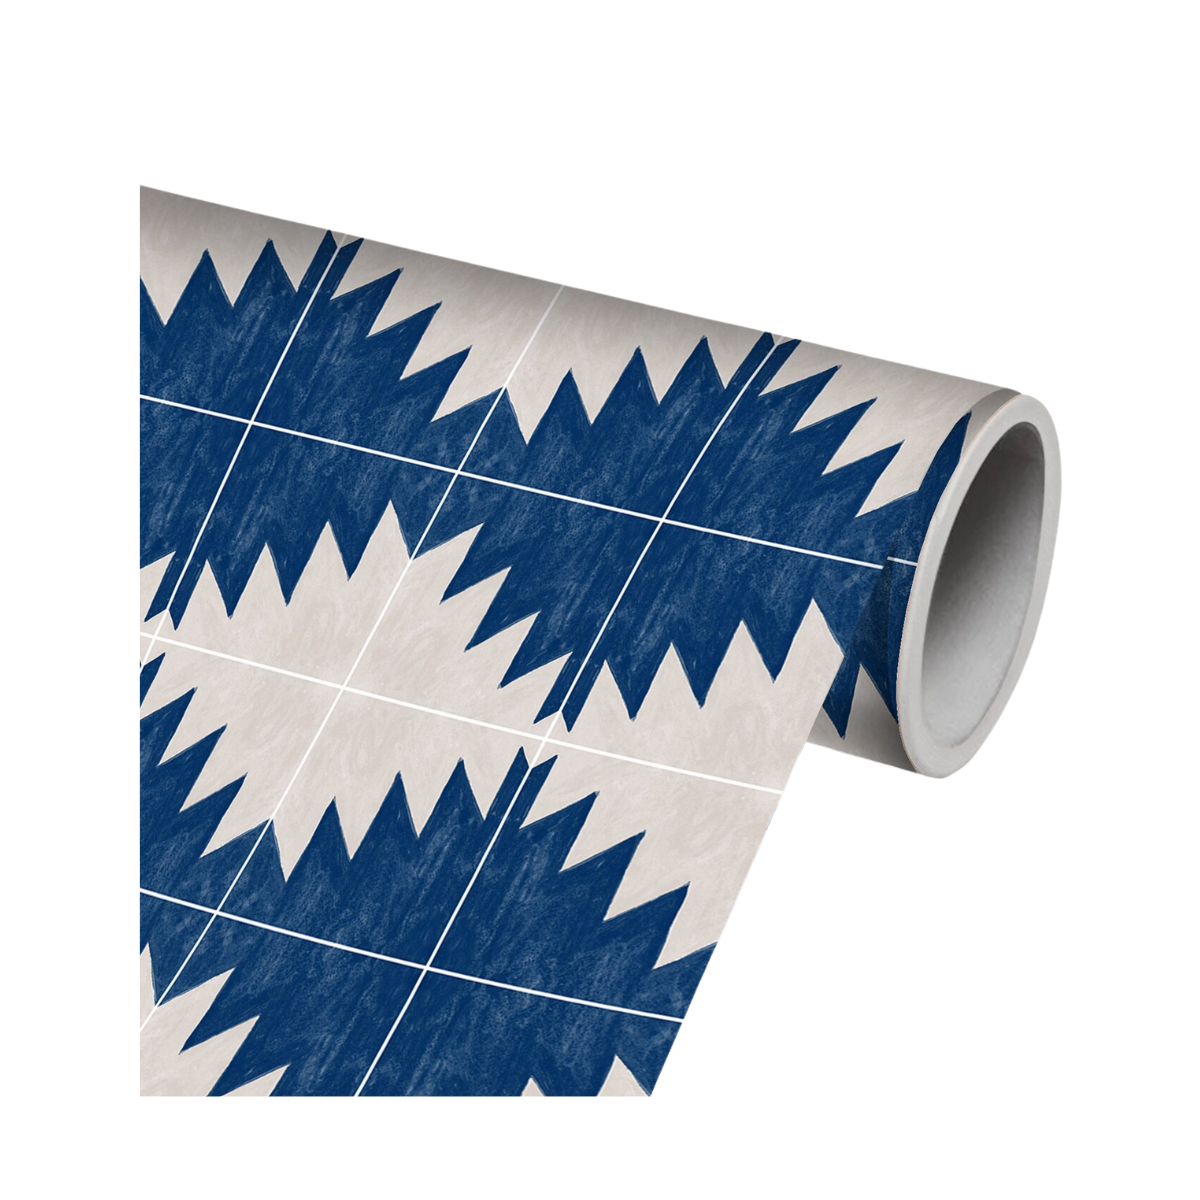
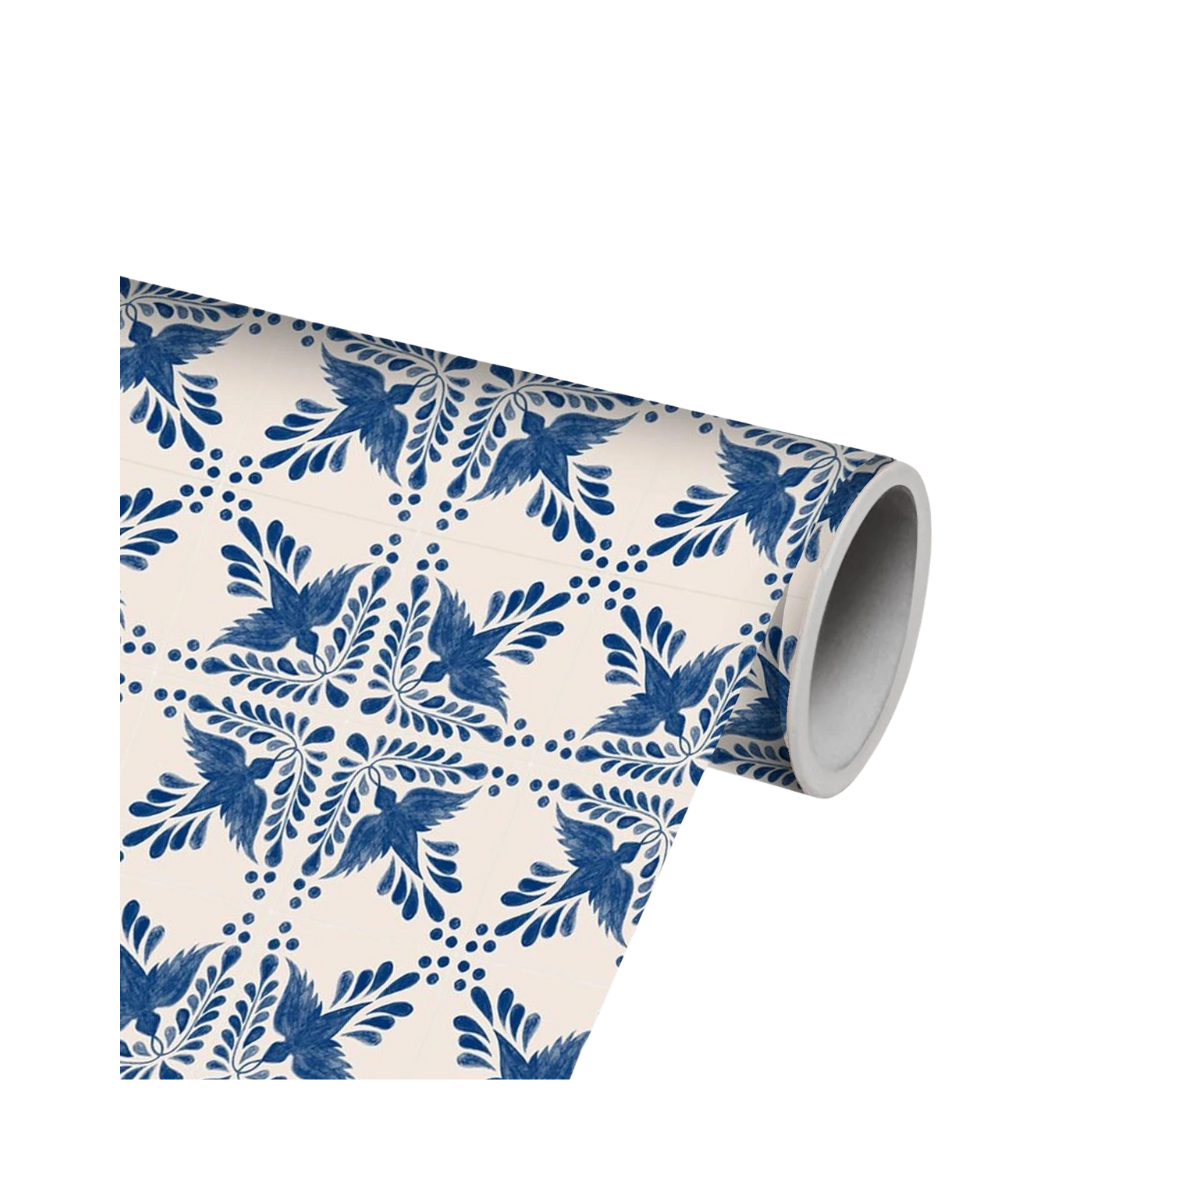
this is my first choice, the Montecito. I’m such a sucker for this Oaxacan pattern, and I’m loving the colors next to the dinette.
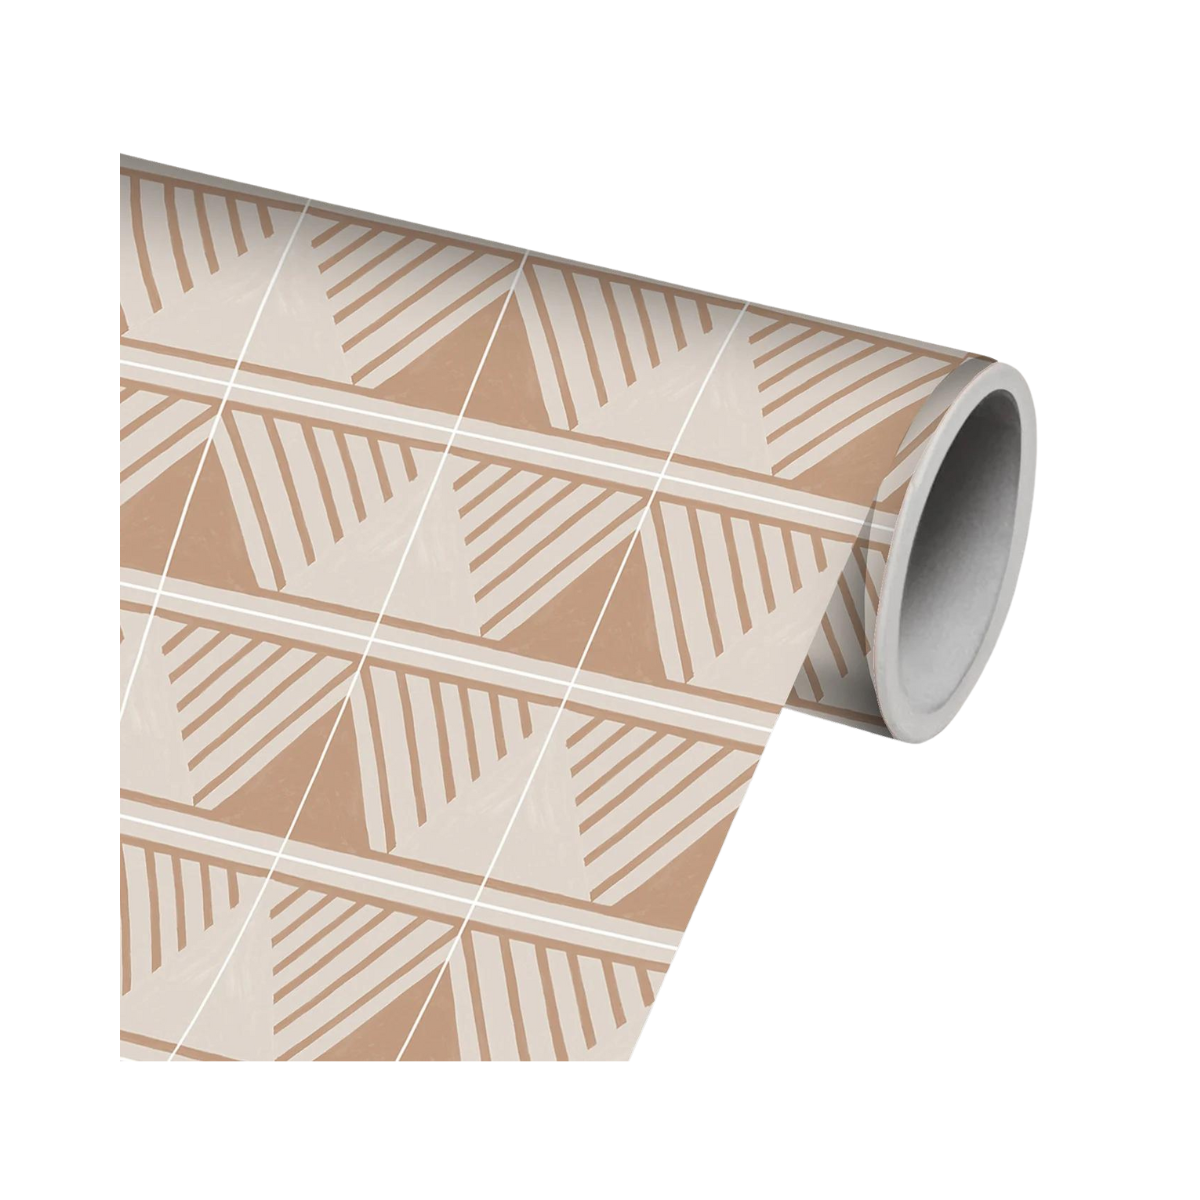
i also love this grey-blue panel, but for some reason I’m not loving the pattern so much.

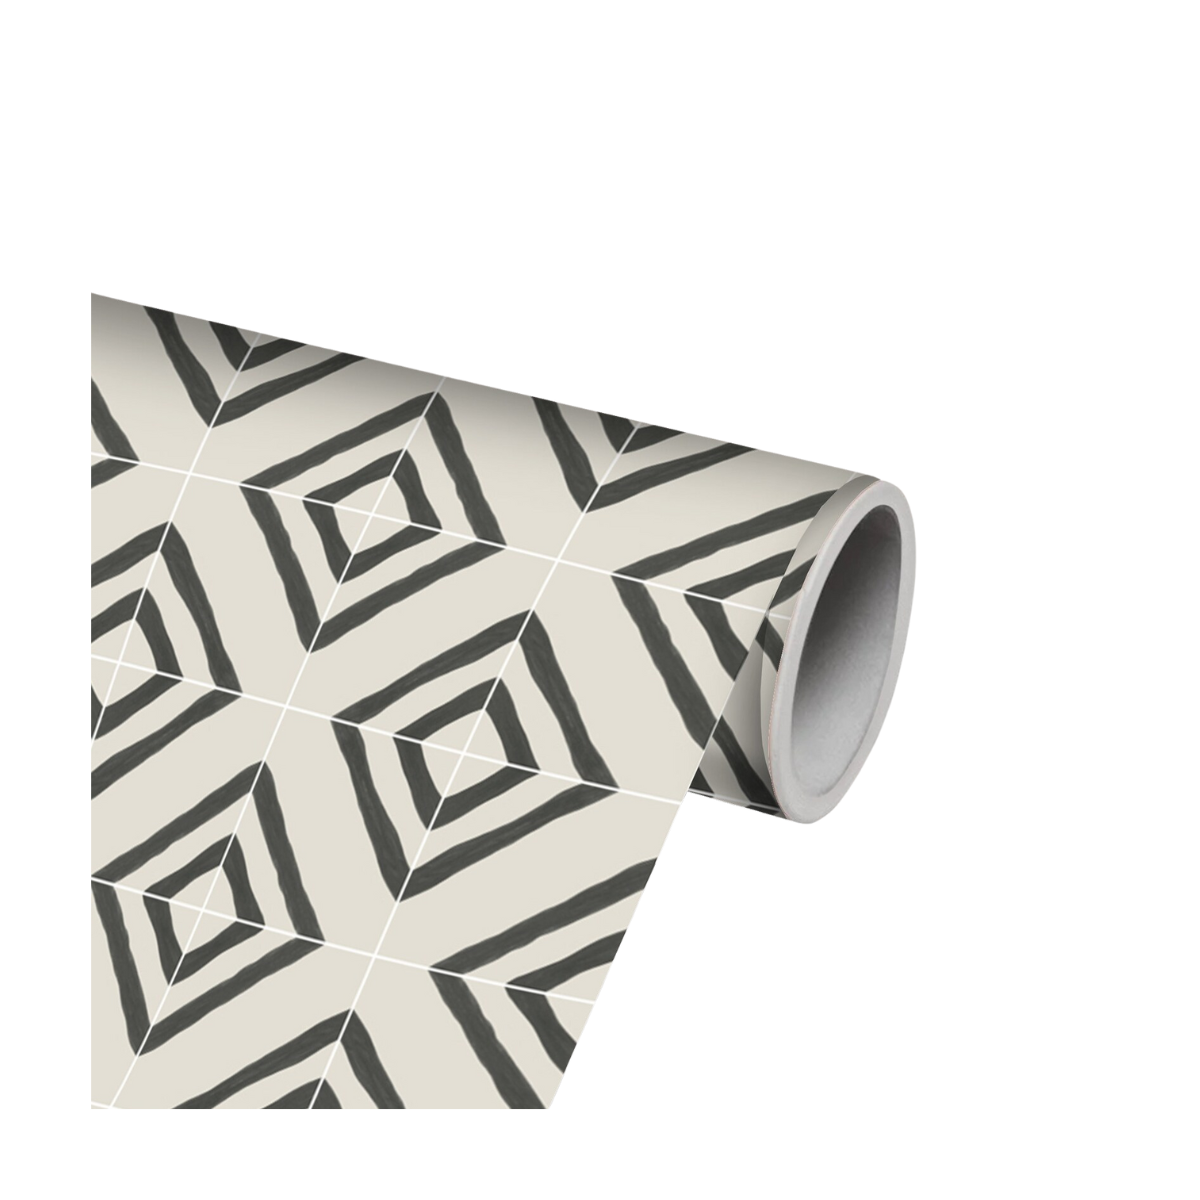
i’m obsessed with the pattern on this white and black panel, but white and black doesn’t exactly warm up the space, it does the opposite, so this one is out.

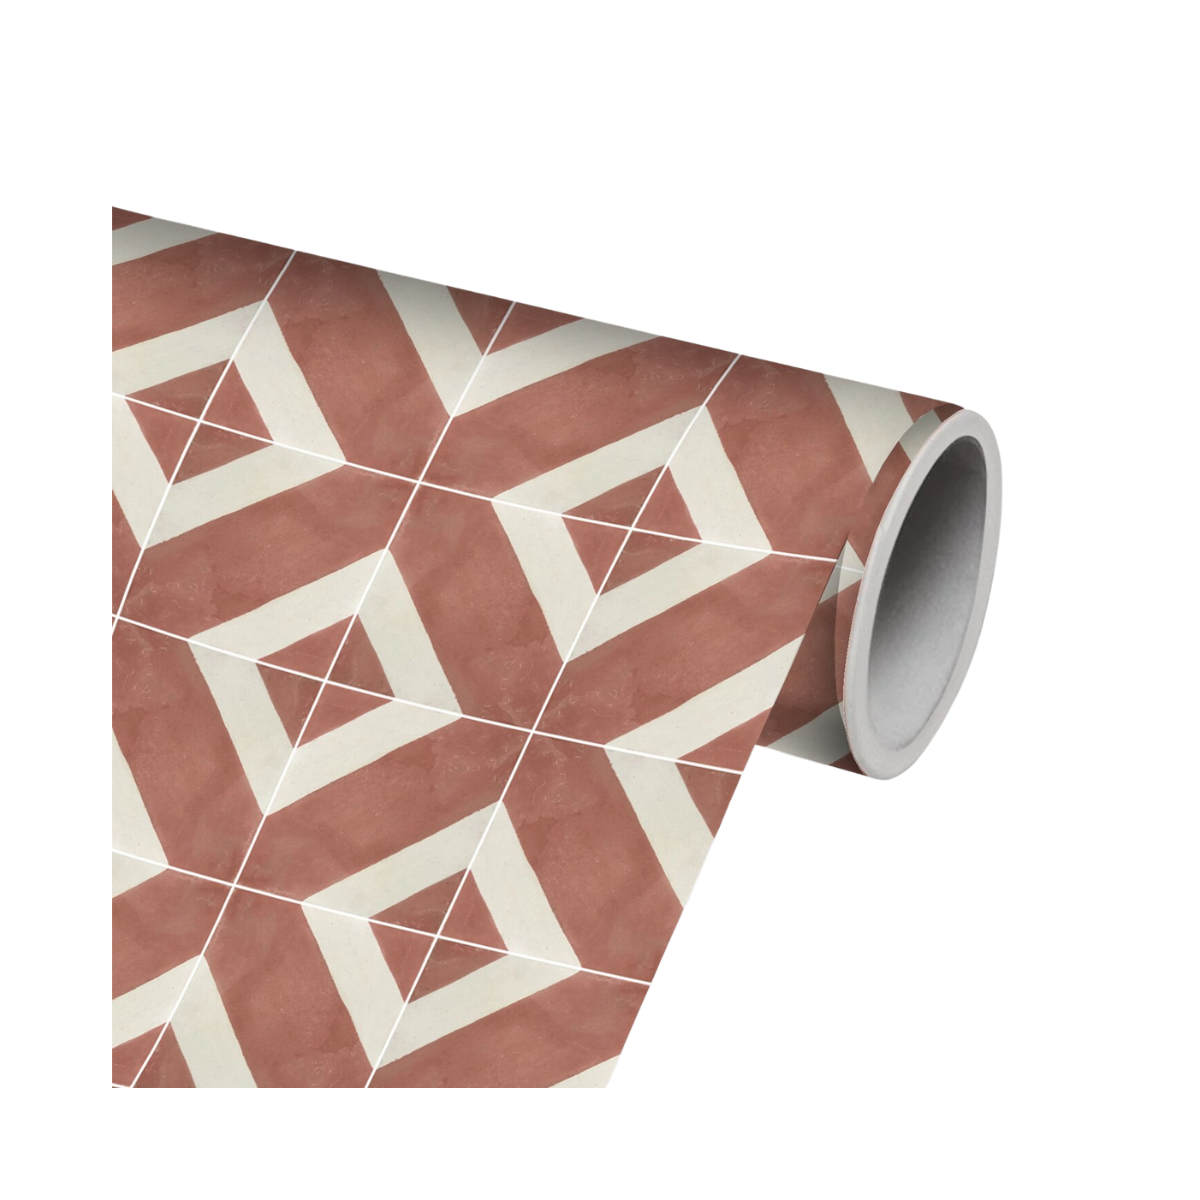
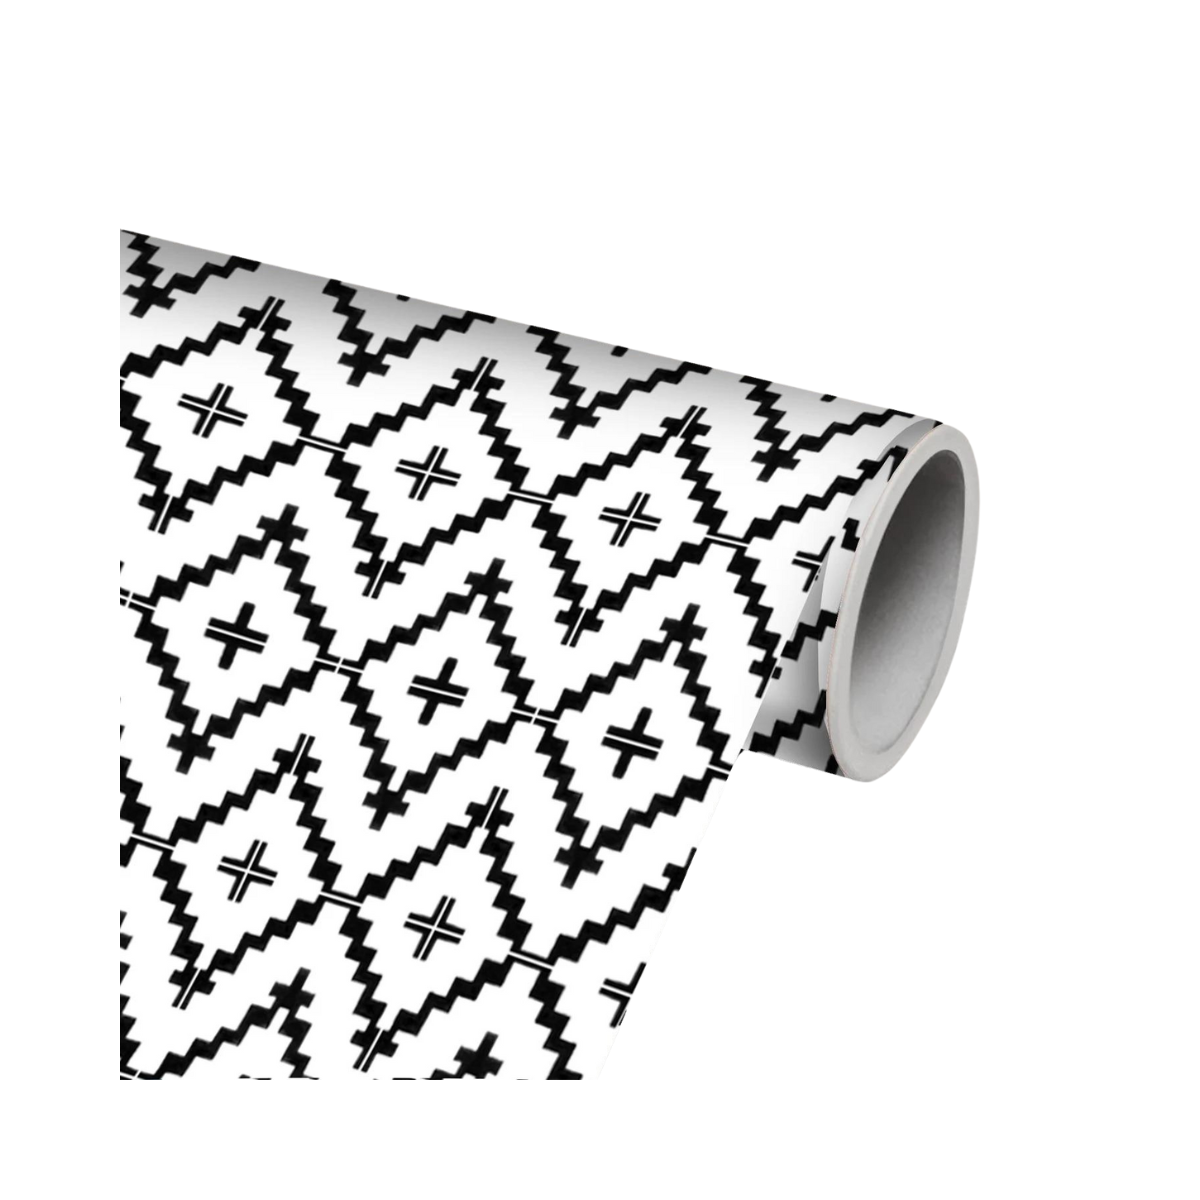
this panel, the shaman, I’m absolutely obsessed with but maybe not for this location. maybe i’ll use it in the bathroom??
so i think Montecito it is.
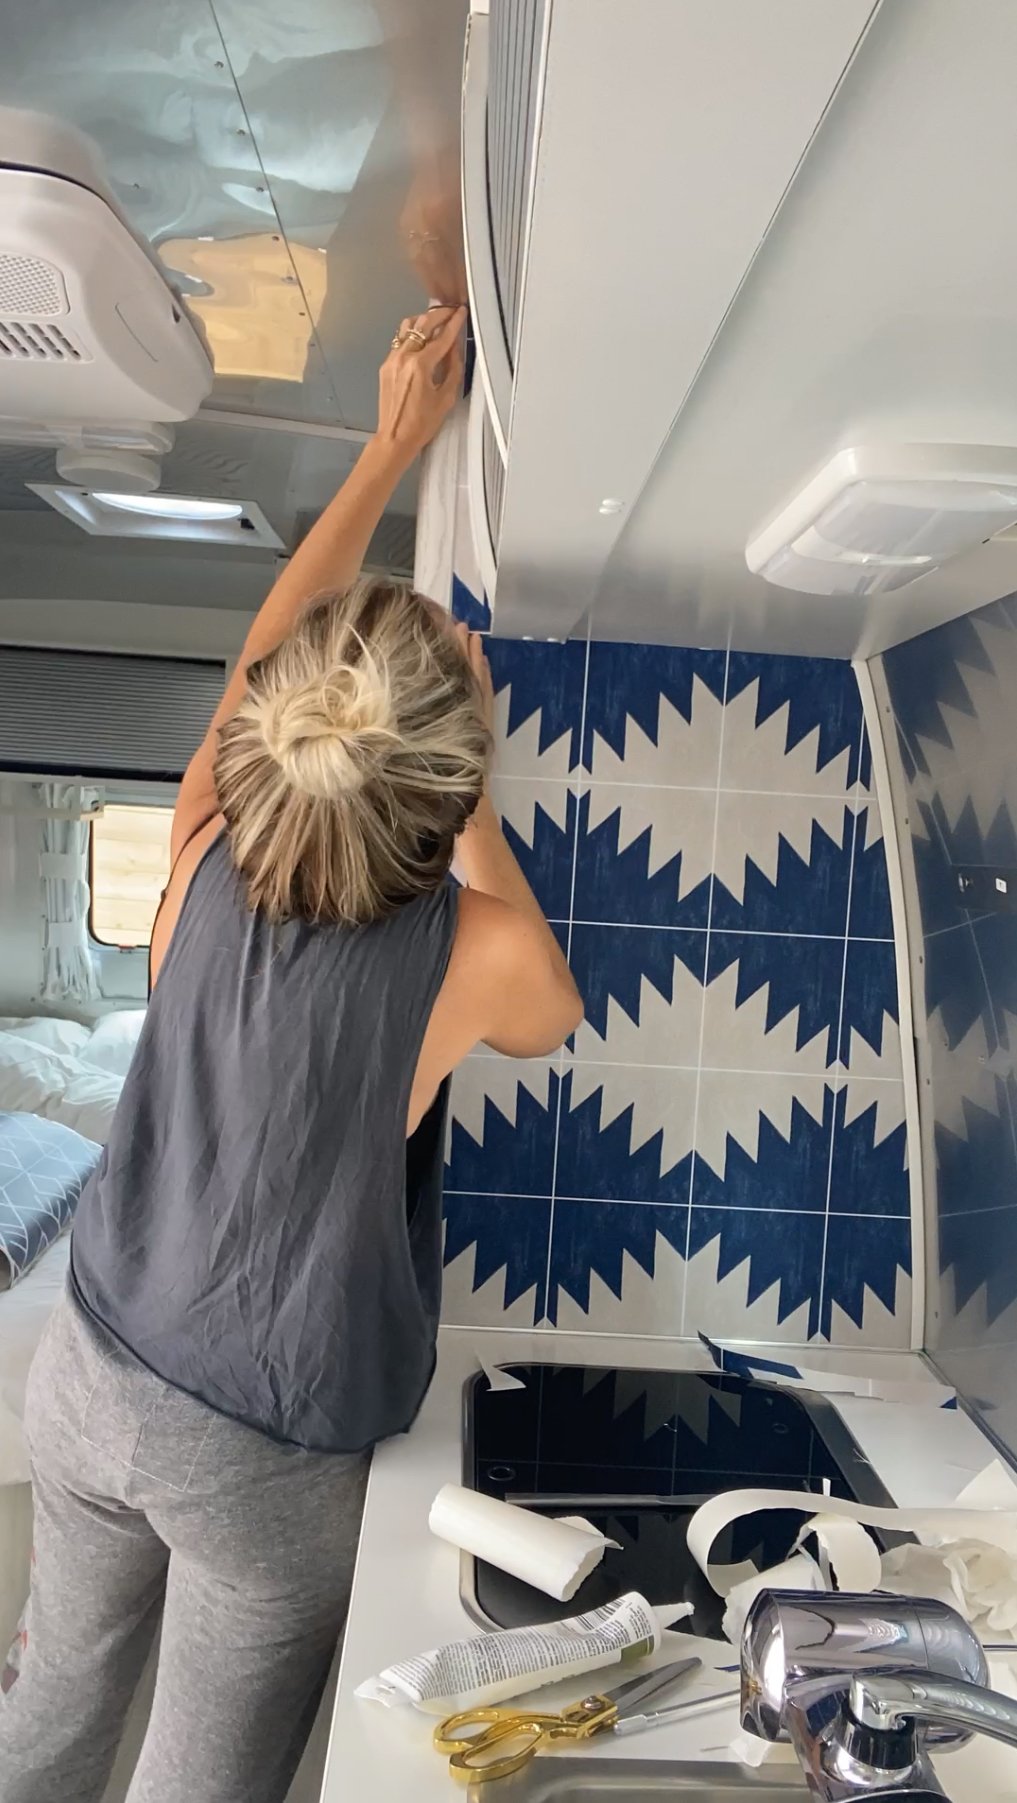
the only hangup i have is though, is that I like it sideways, so i’m going to have to cut it and line up my pieces, causing me to use two panels and possibly more headaches, but whatever, here we go.
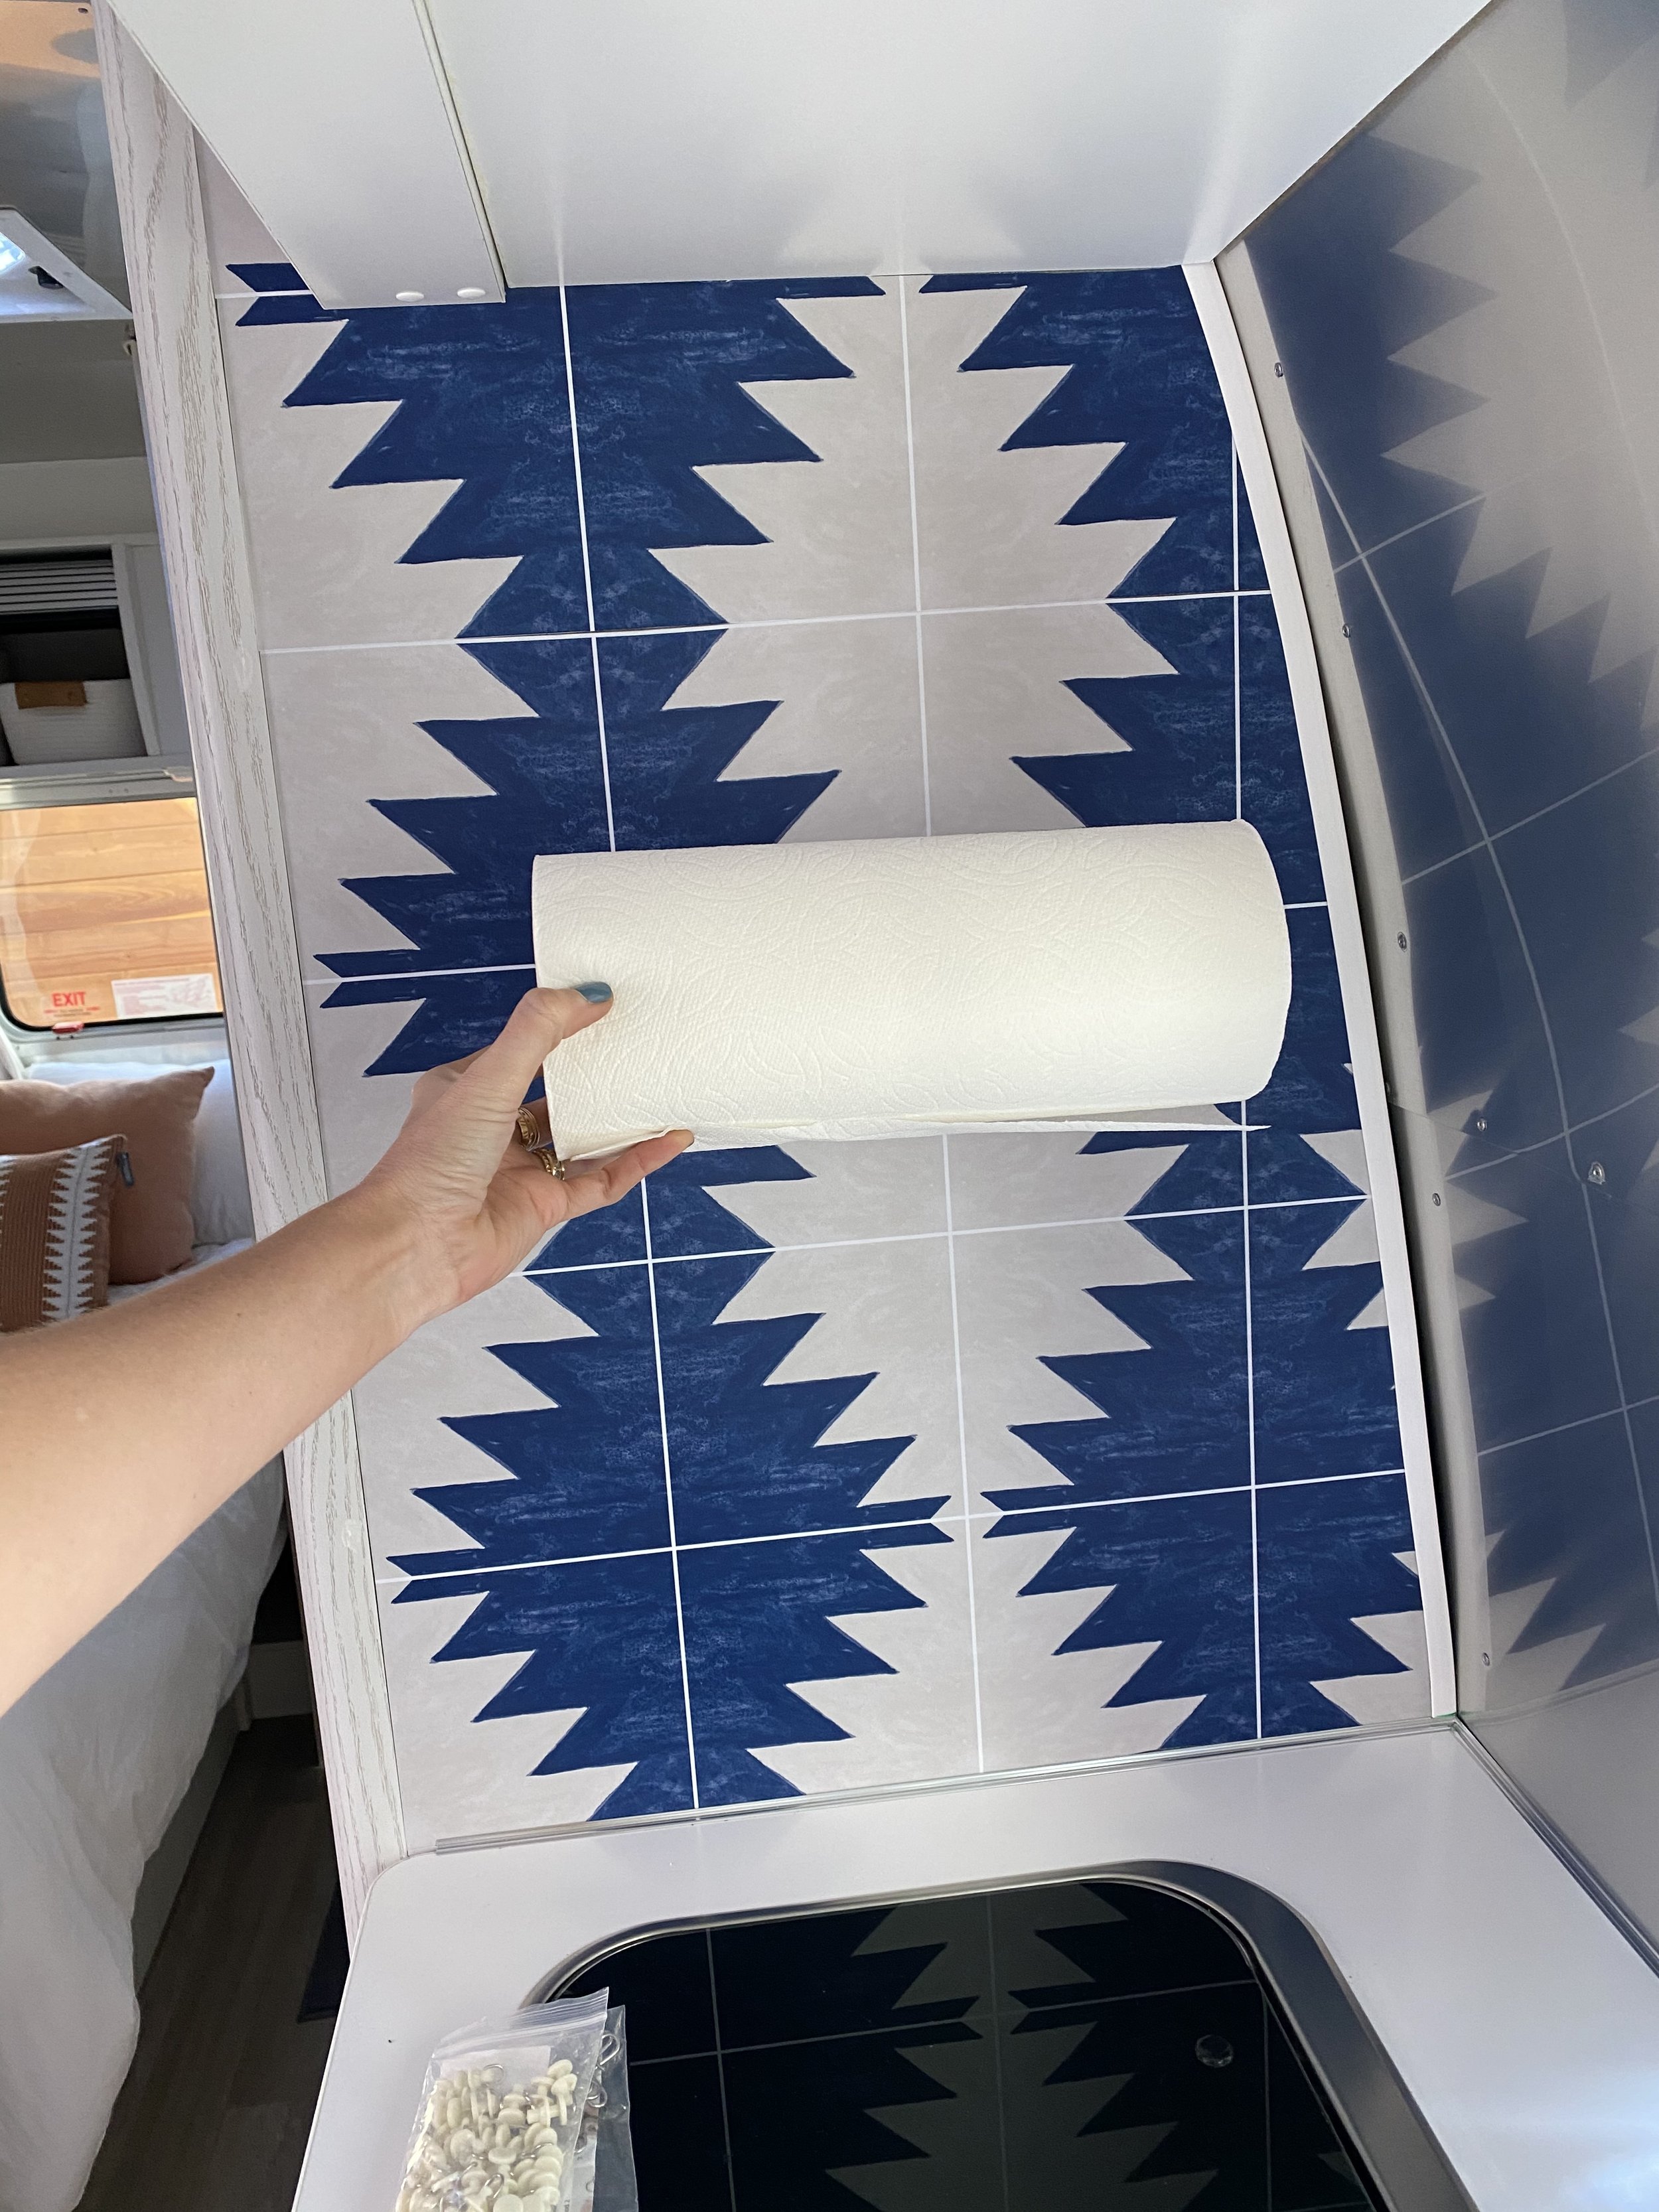
you can’t really tell from this pic, but there are two seams i cut horizontally. i of course forgot to take installation pics, but you can see more on my second attempt below.
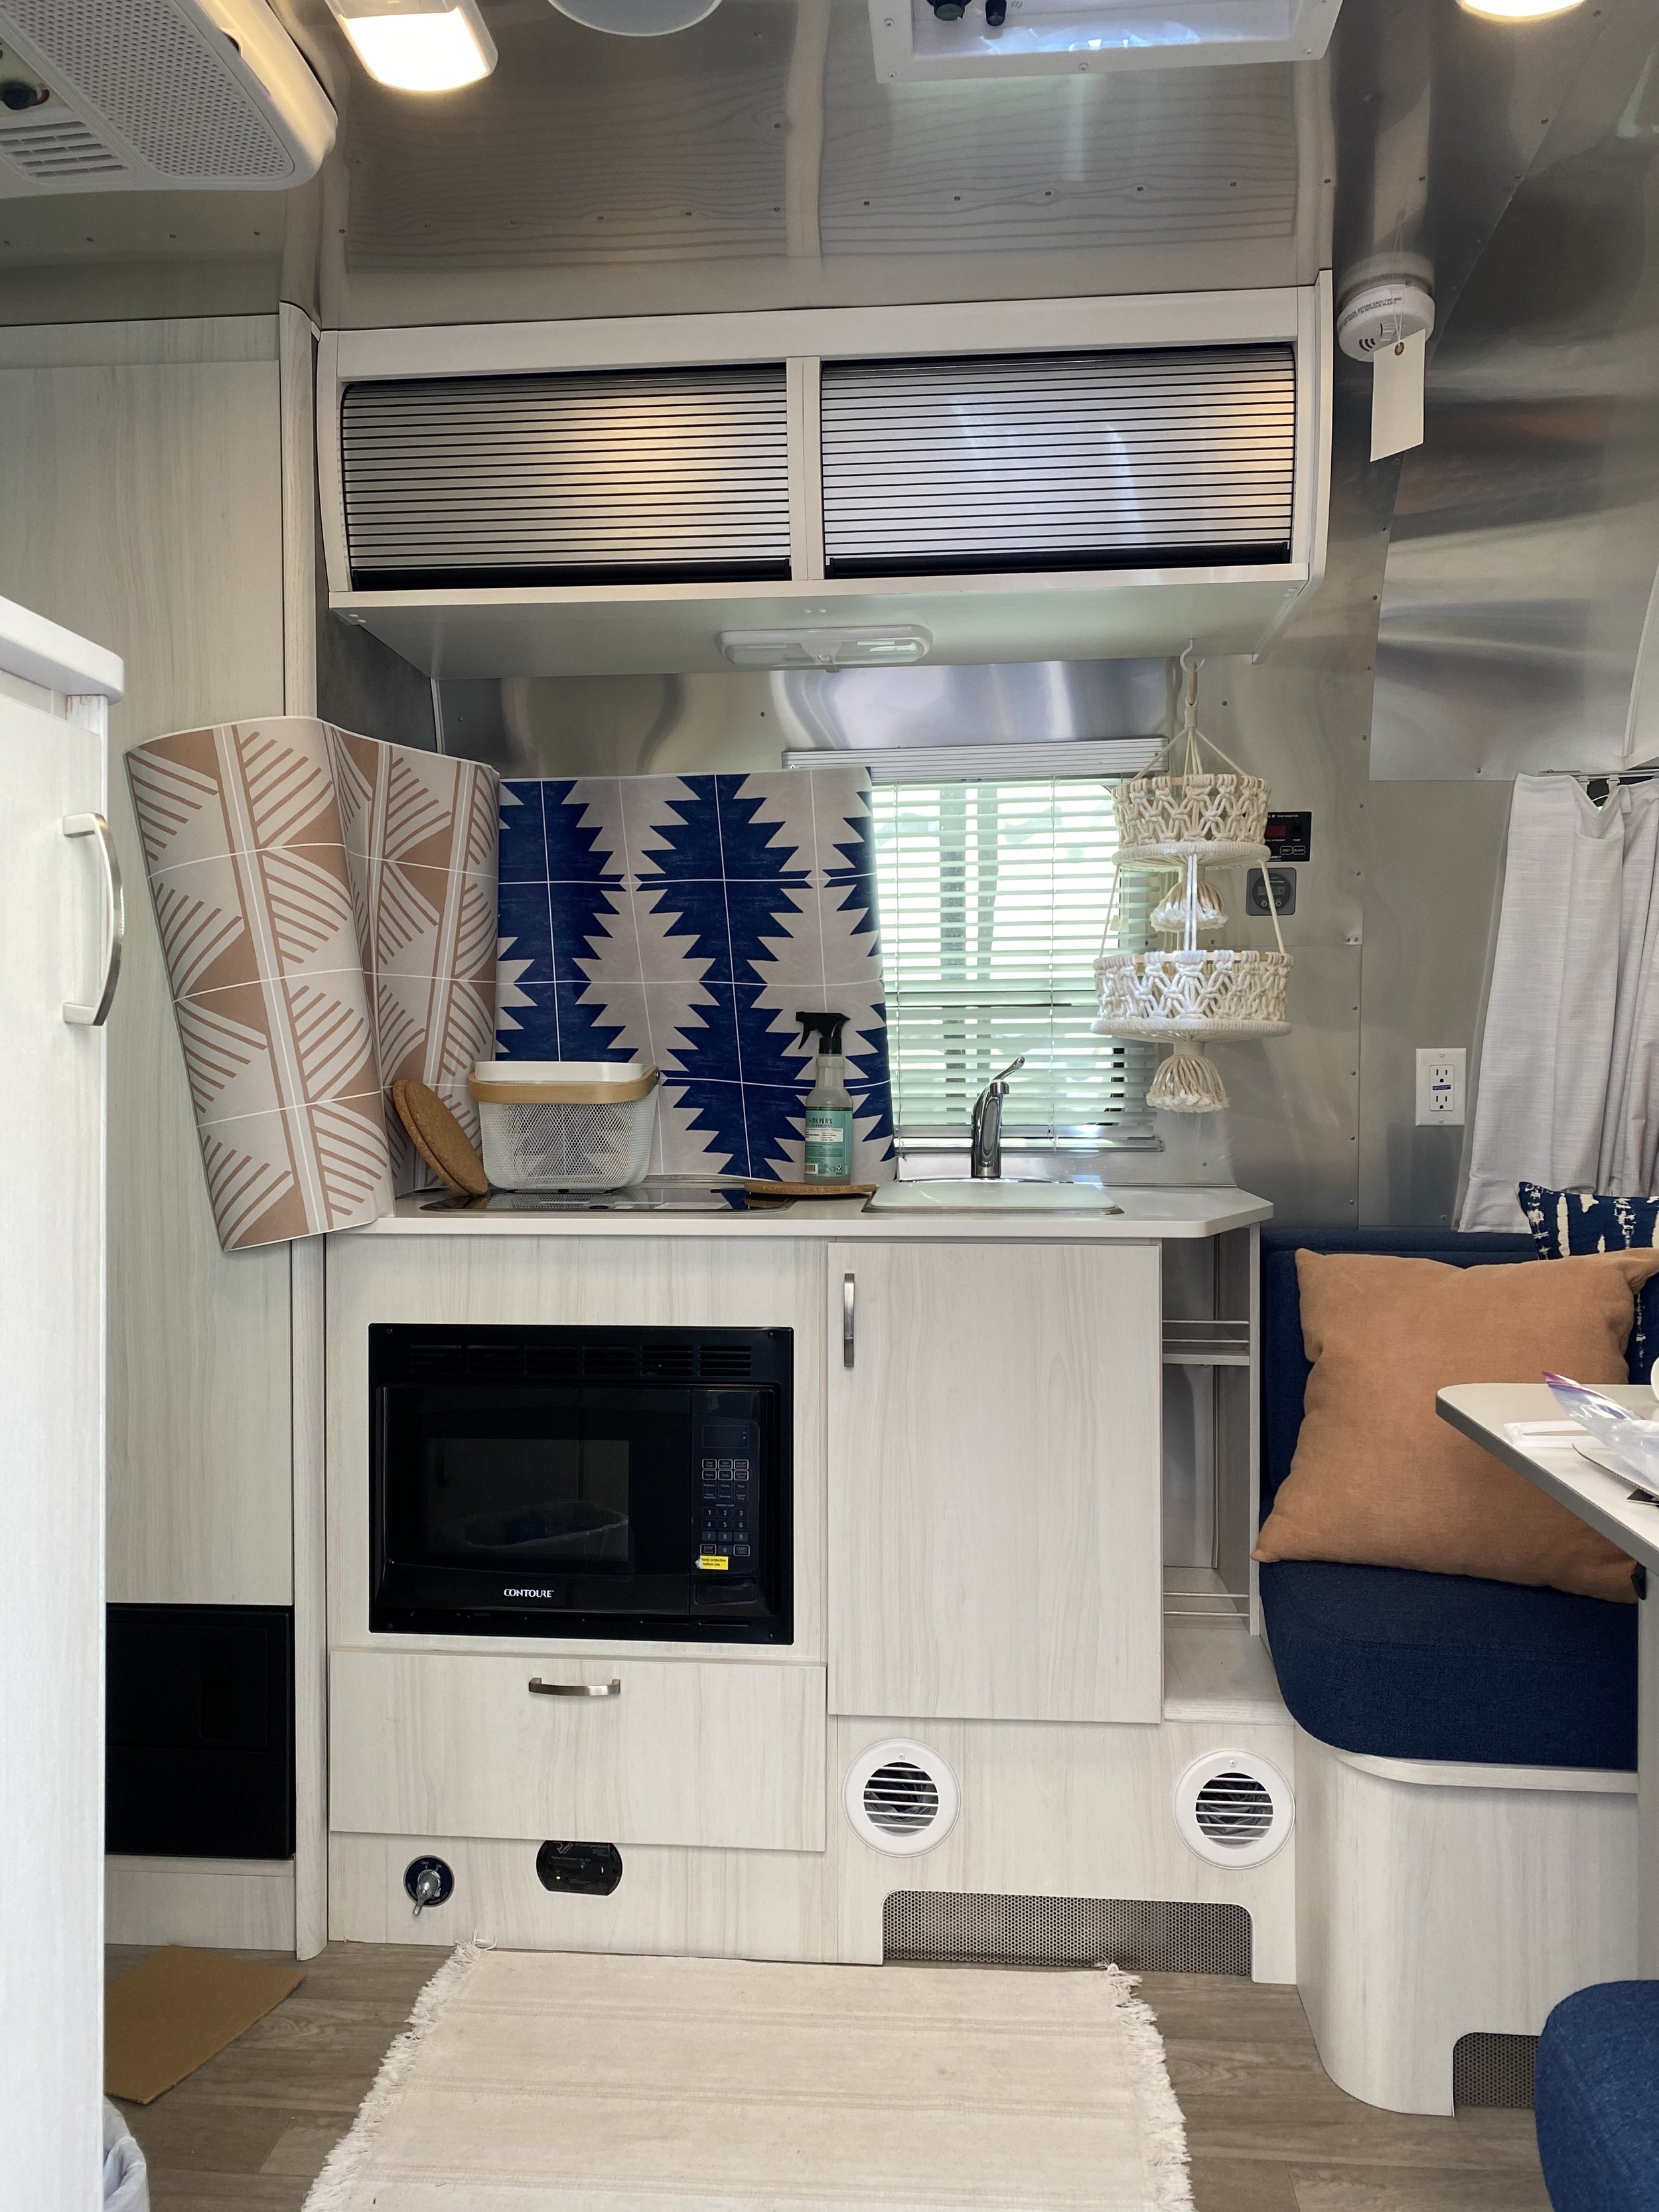
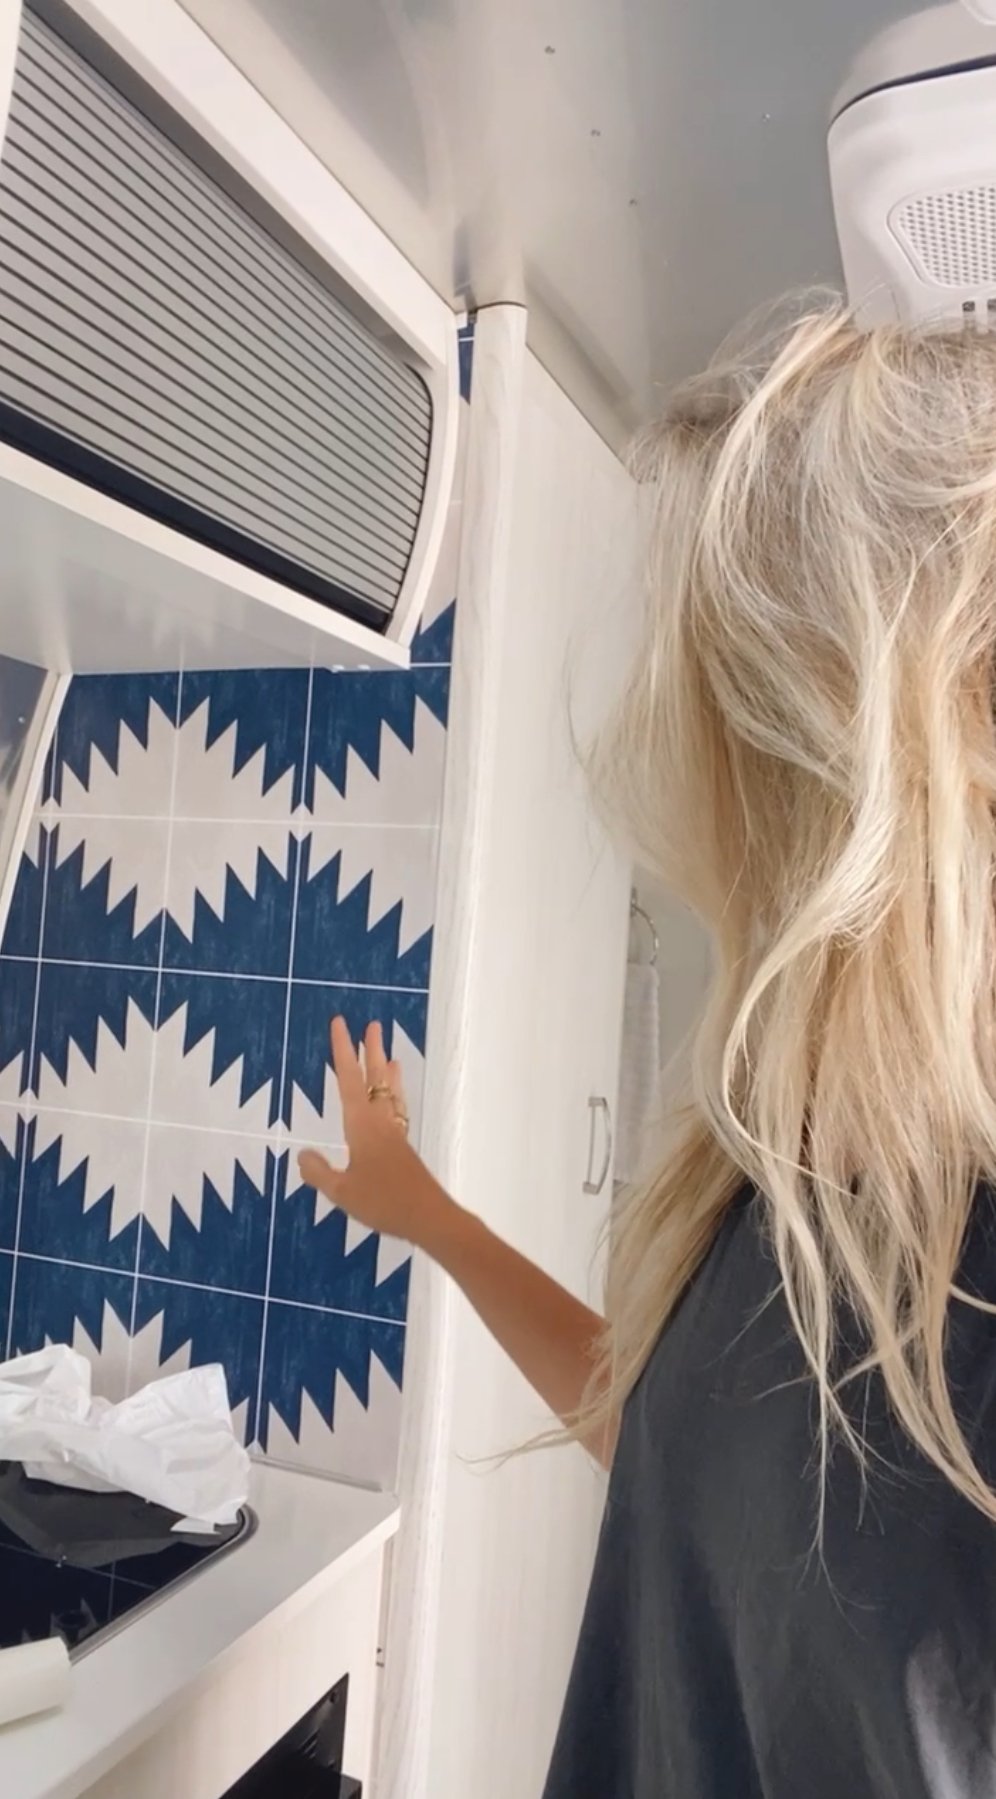
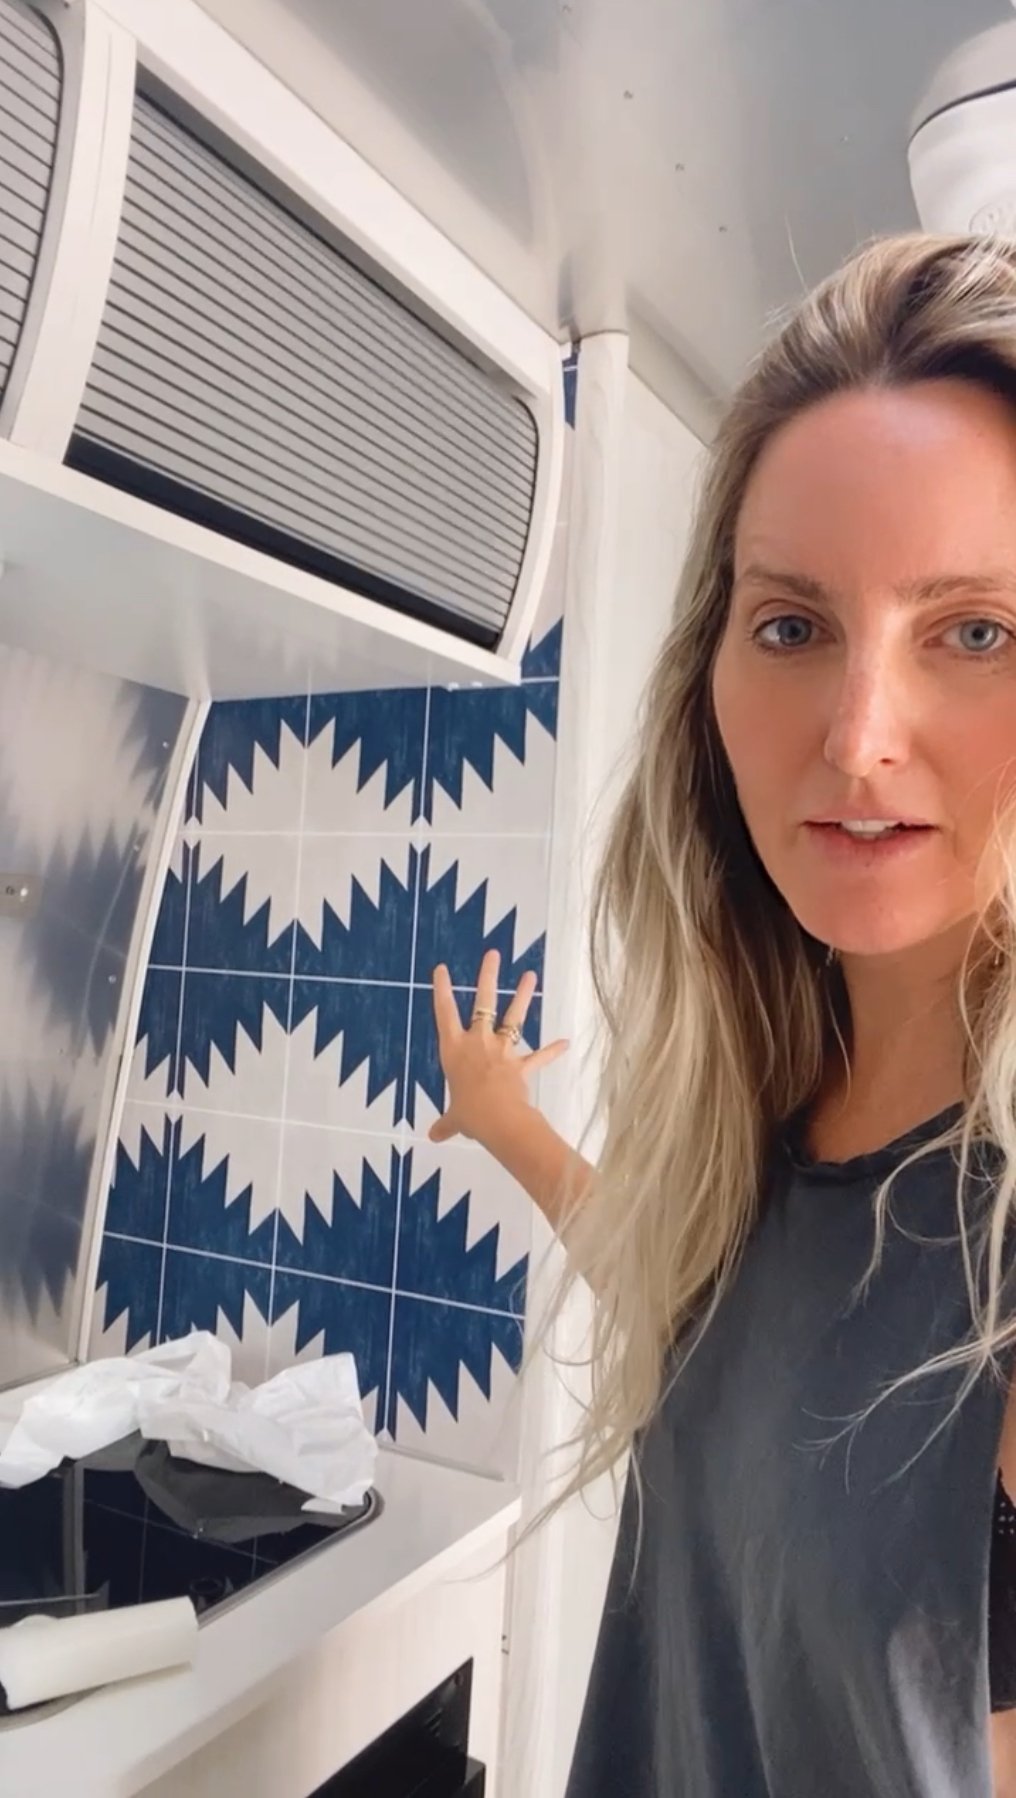
i think it came out pretty good! what do you think?

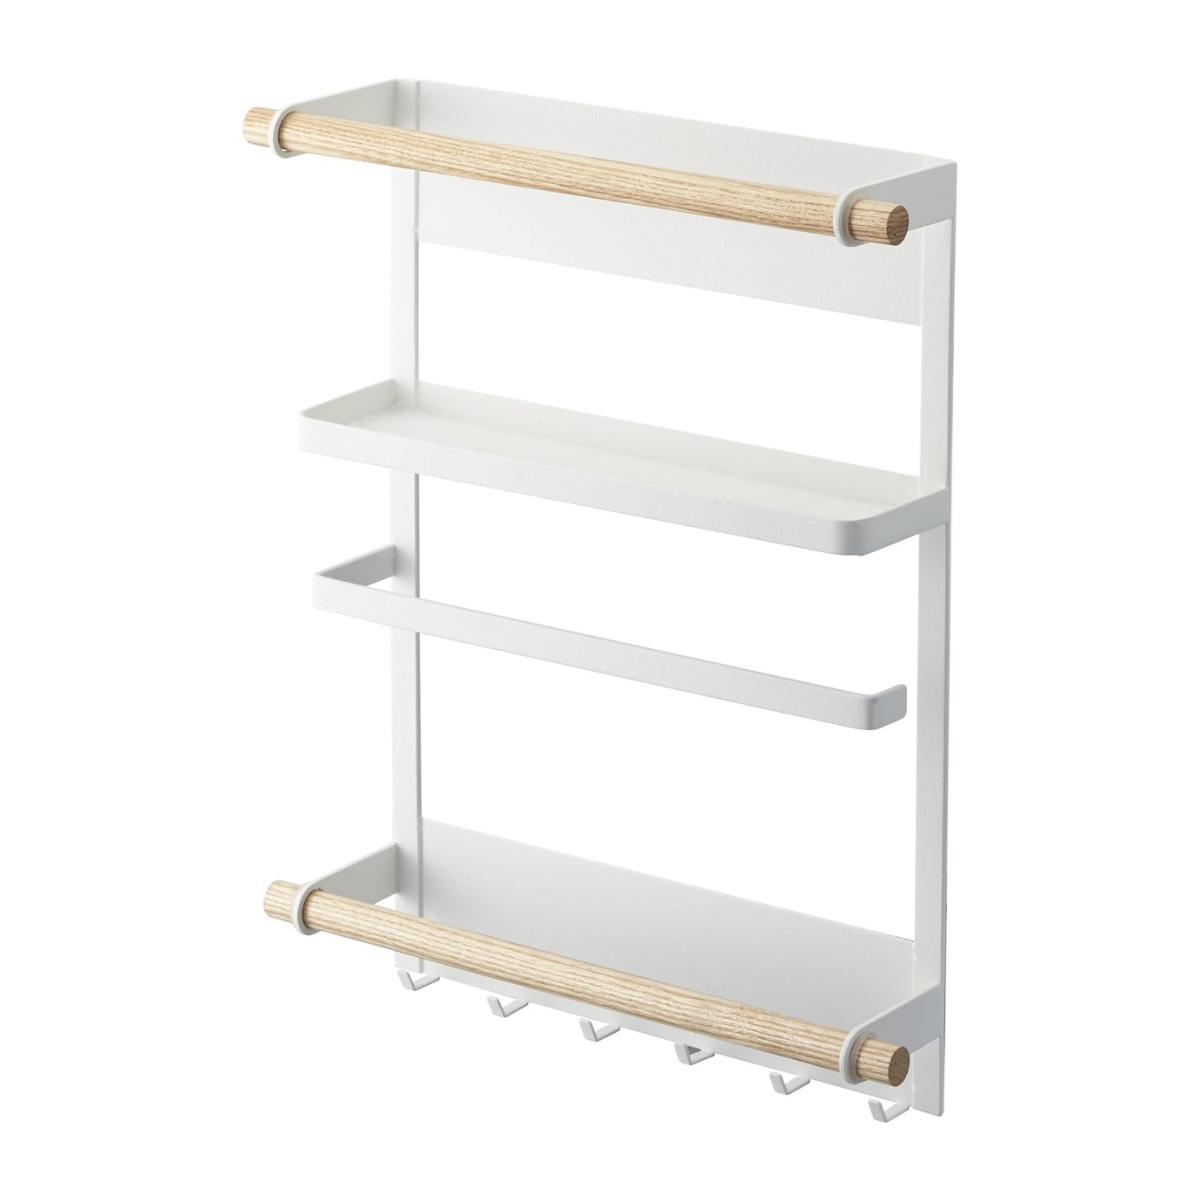
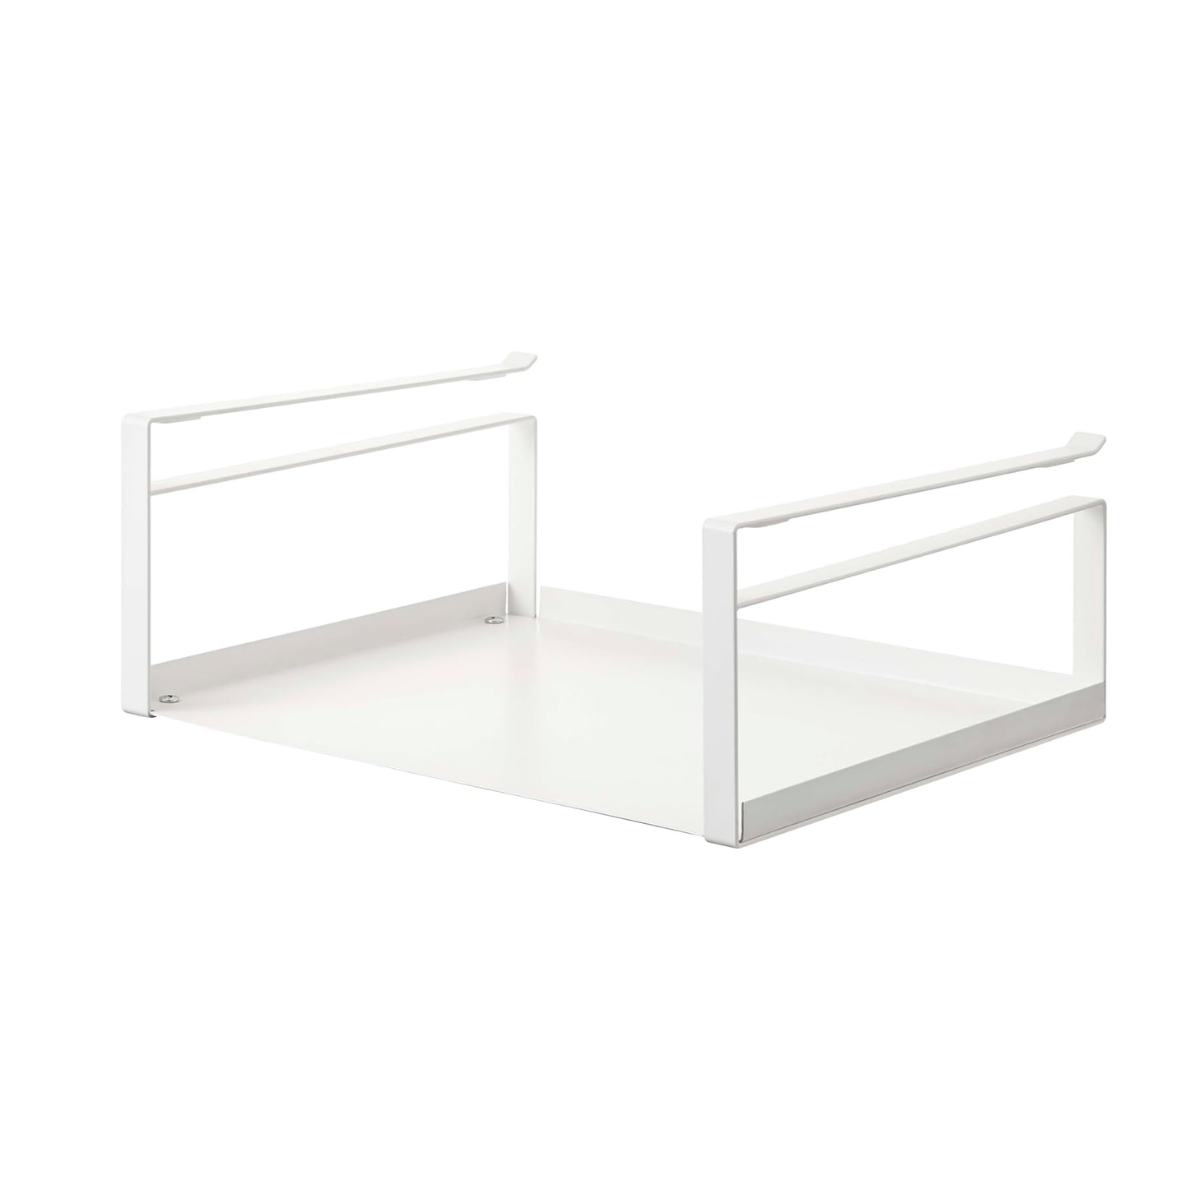
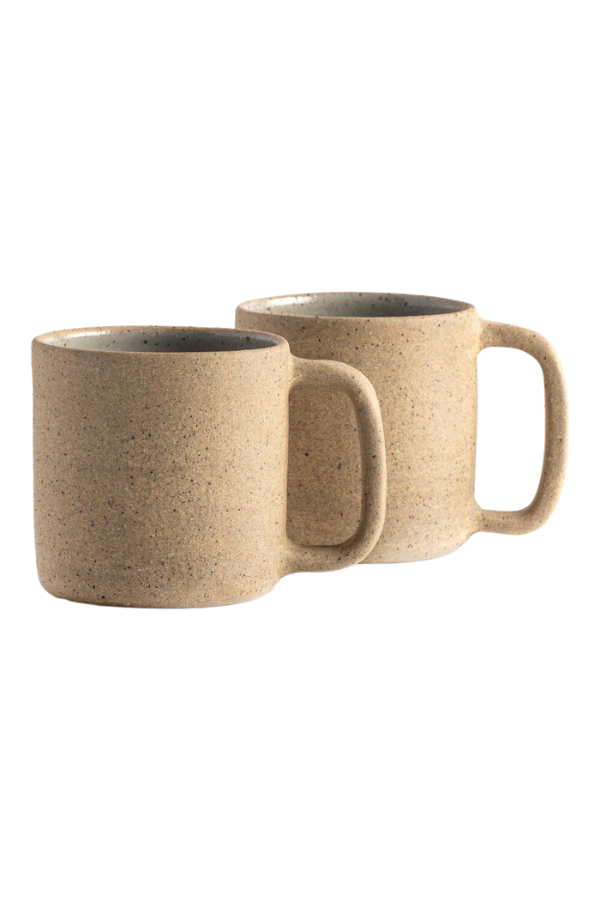
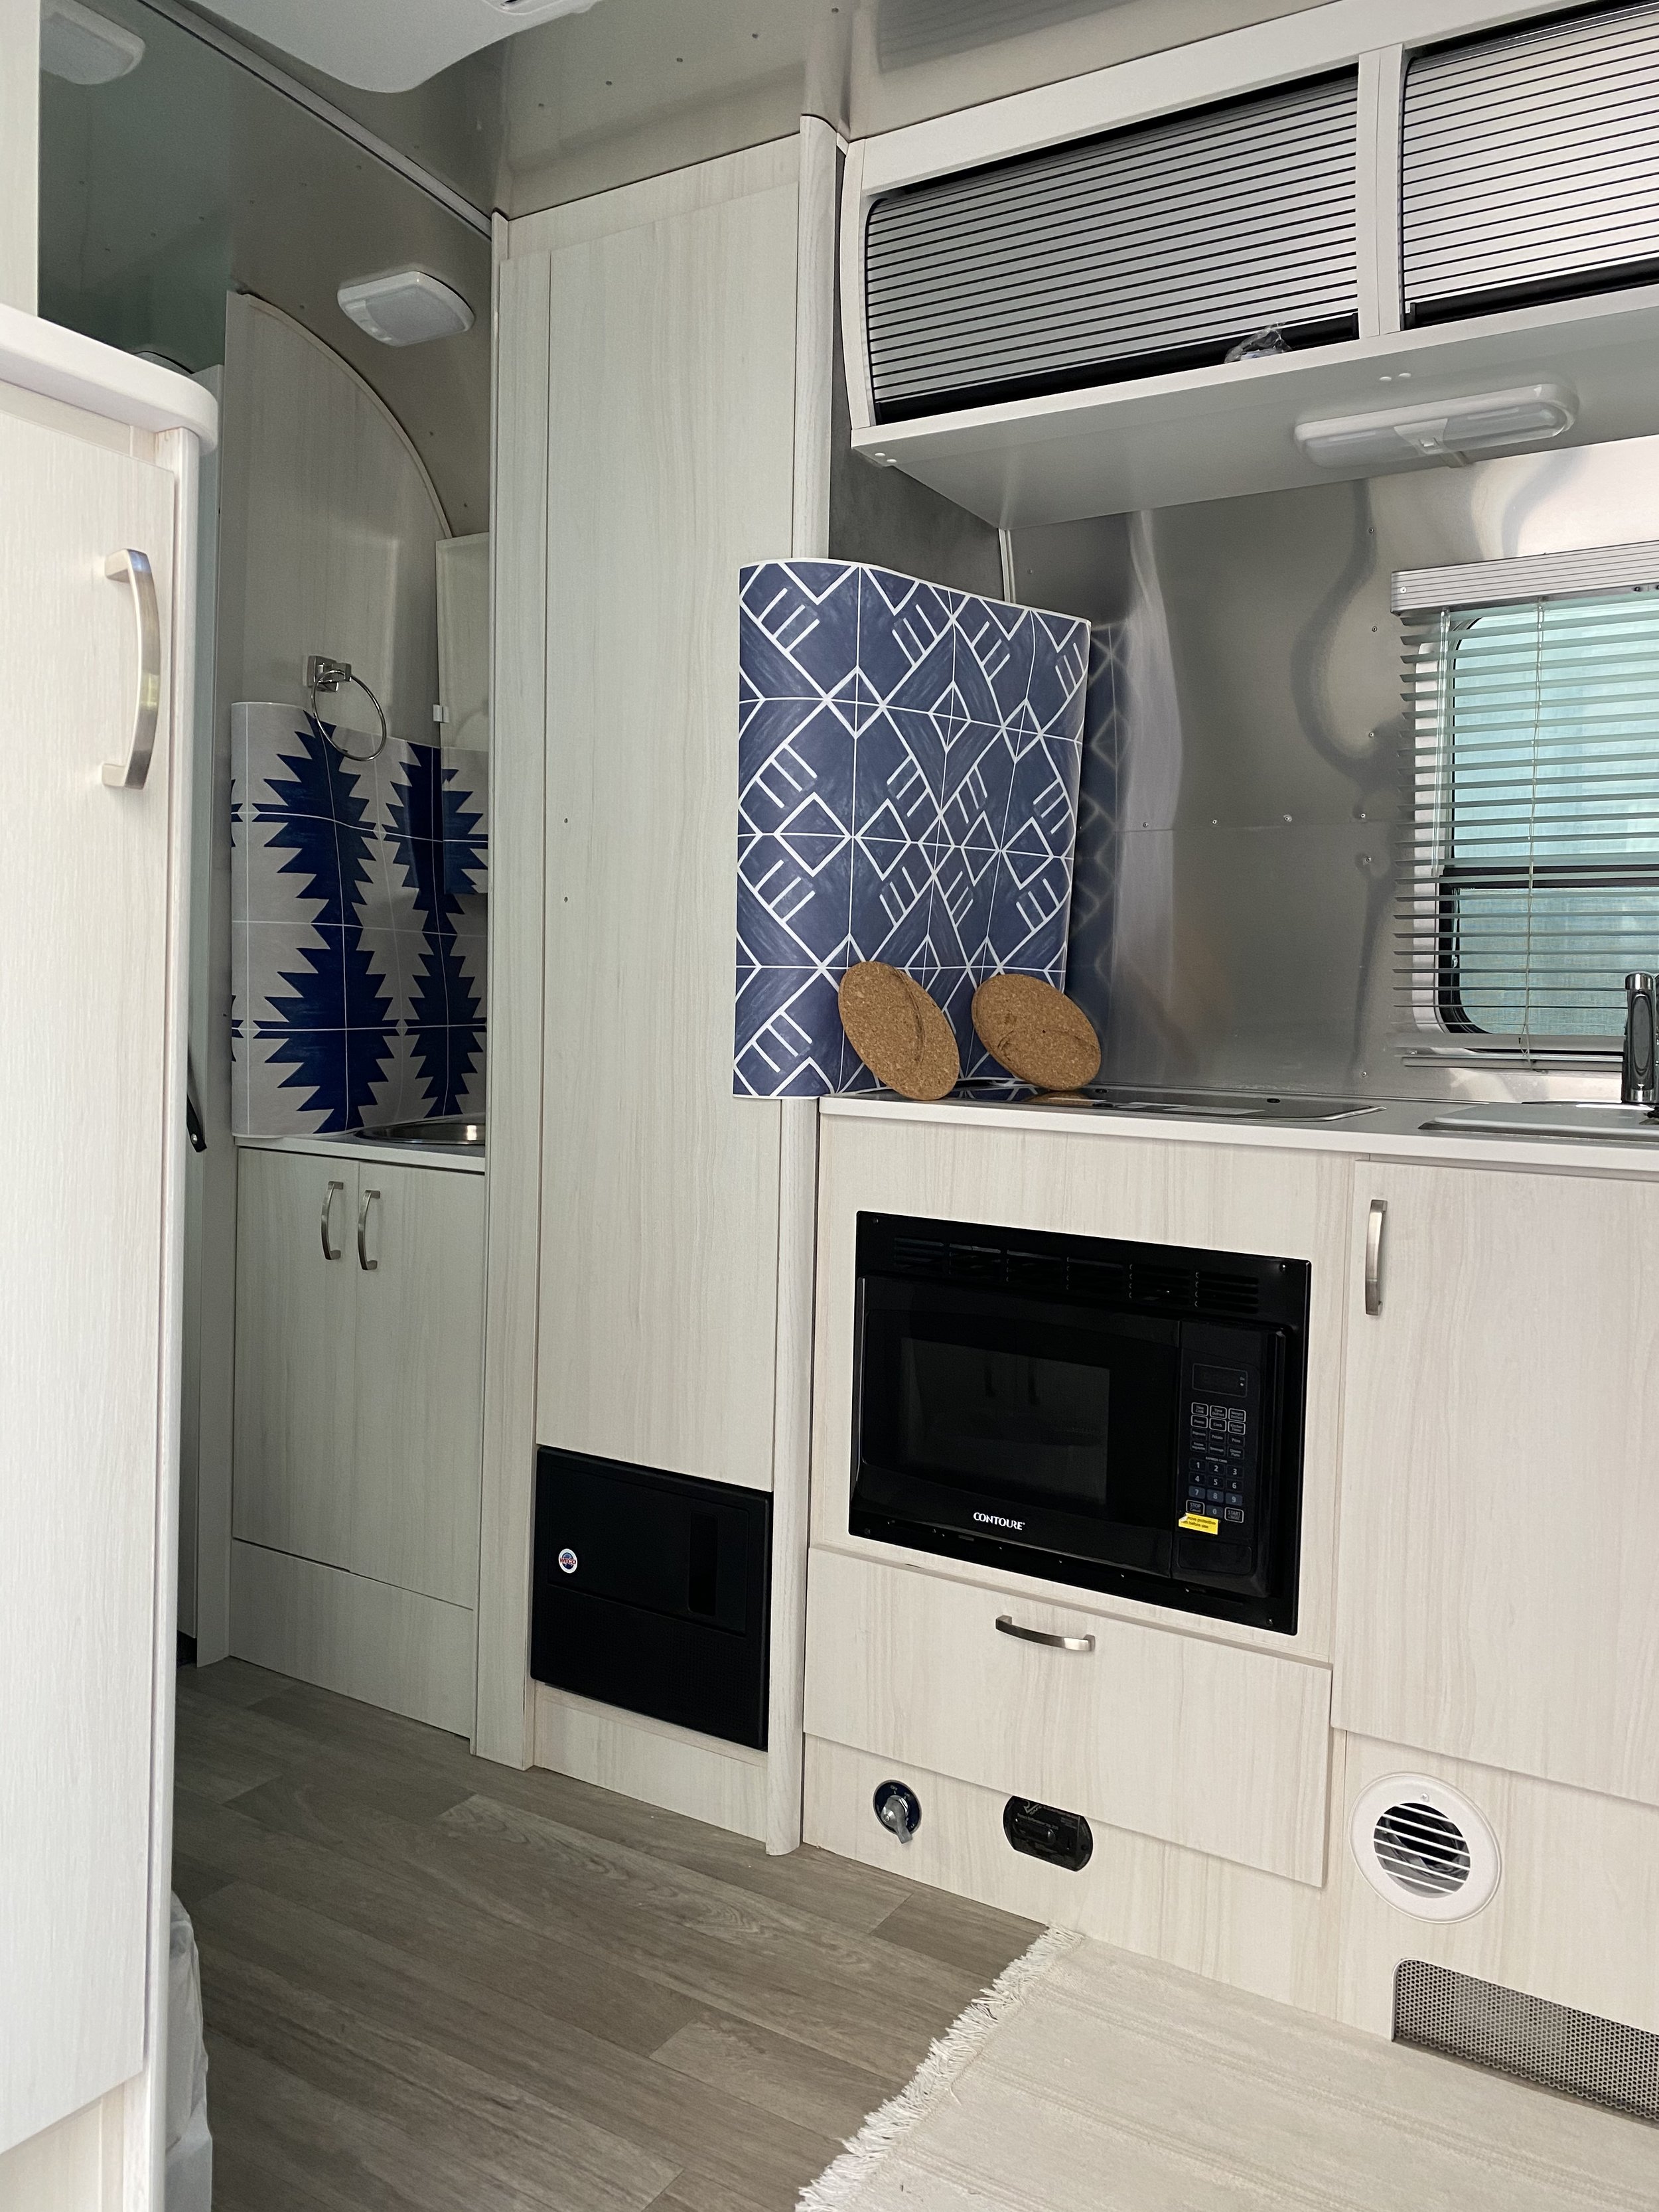
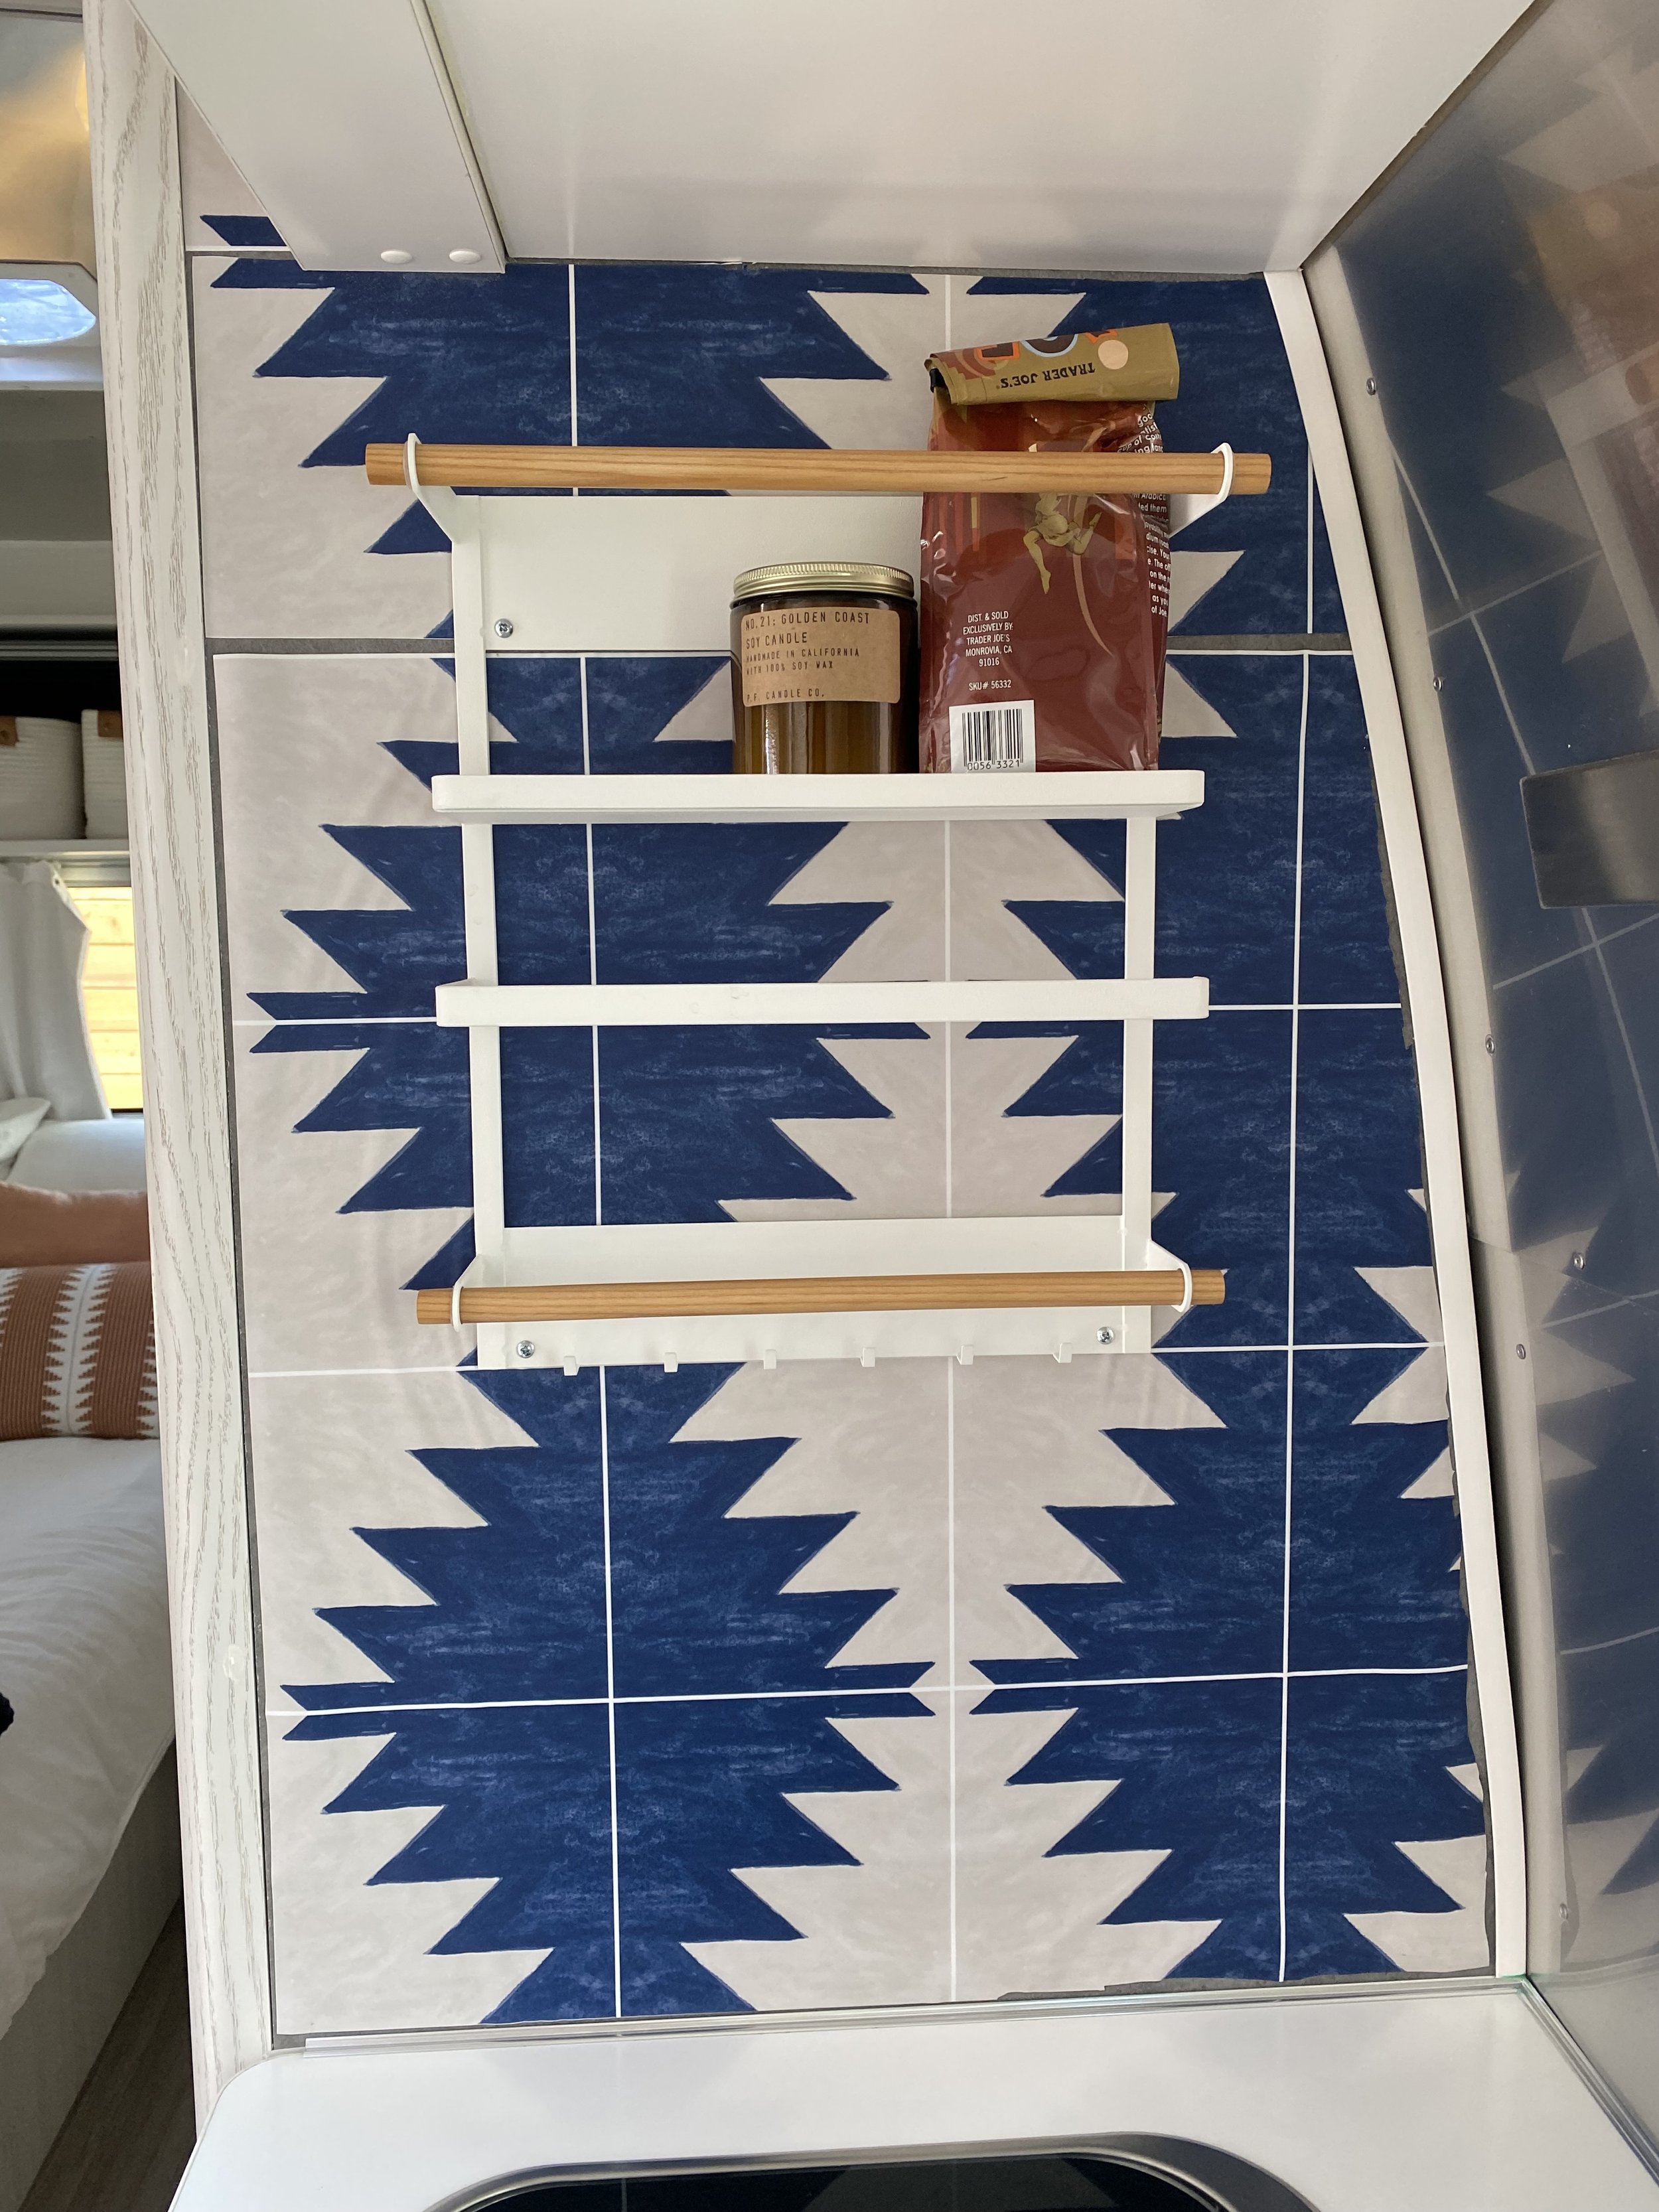
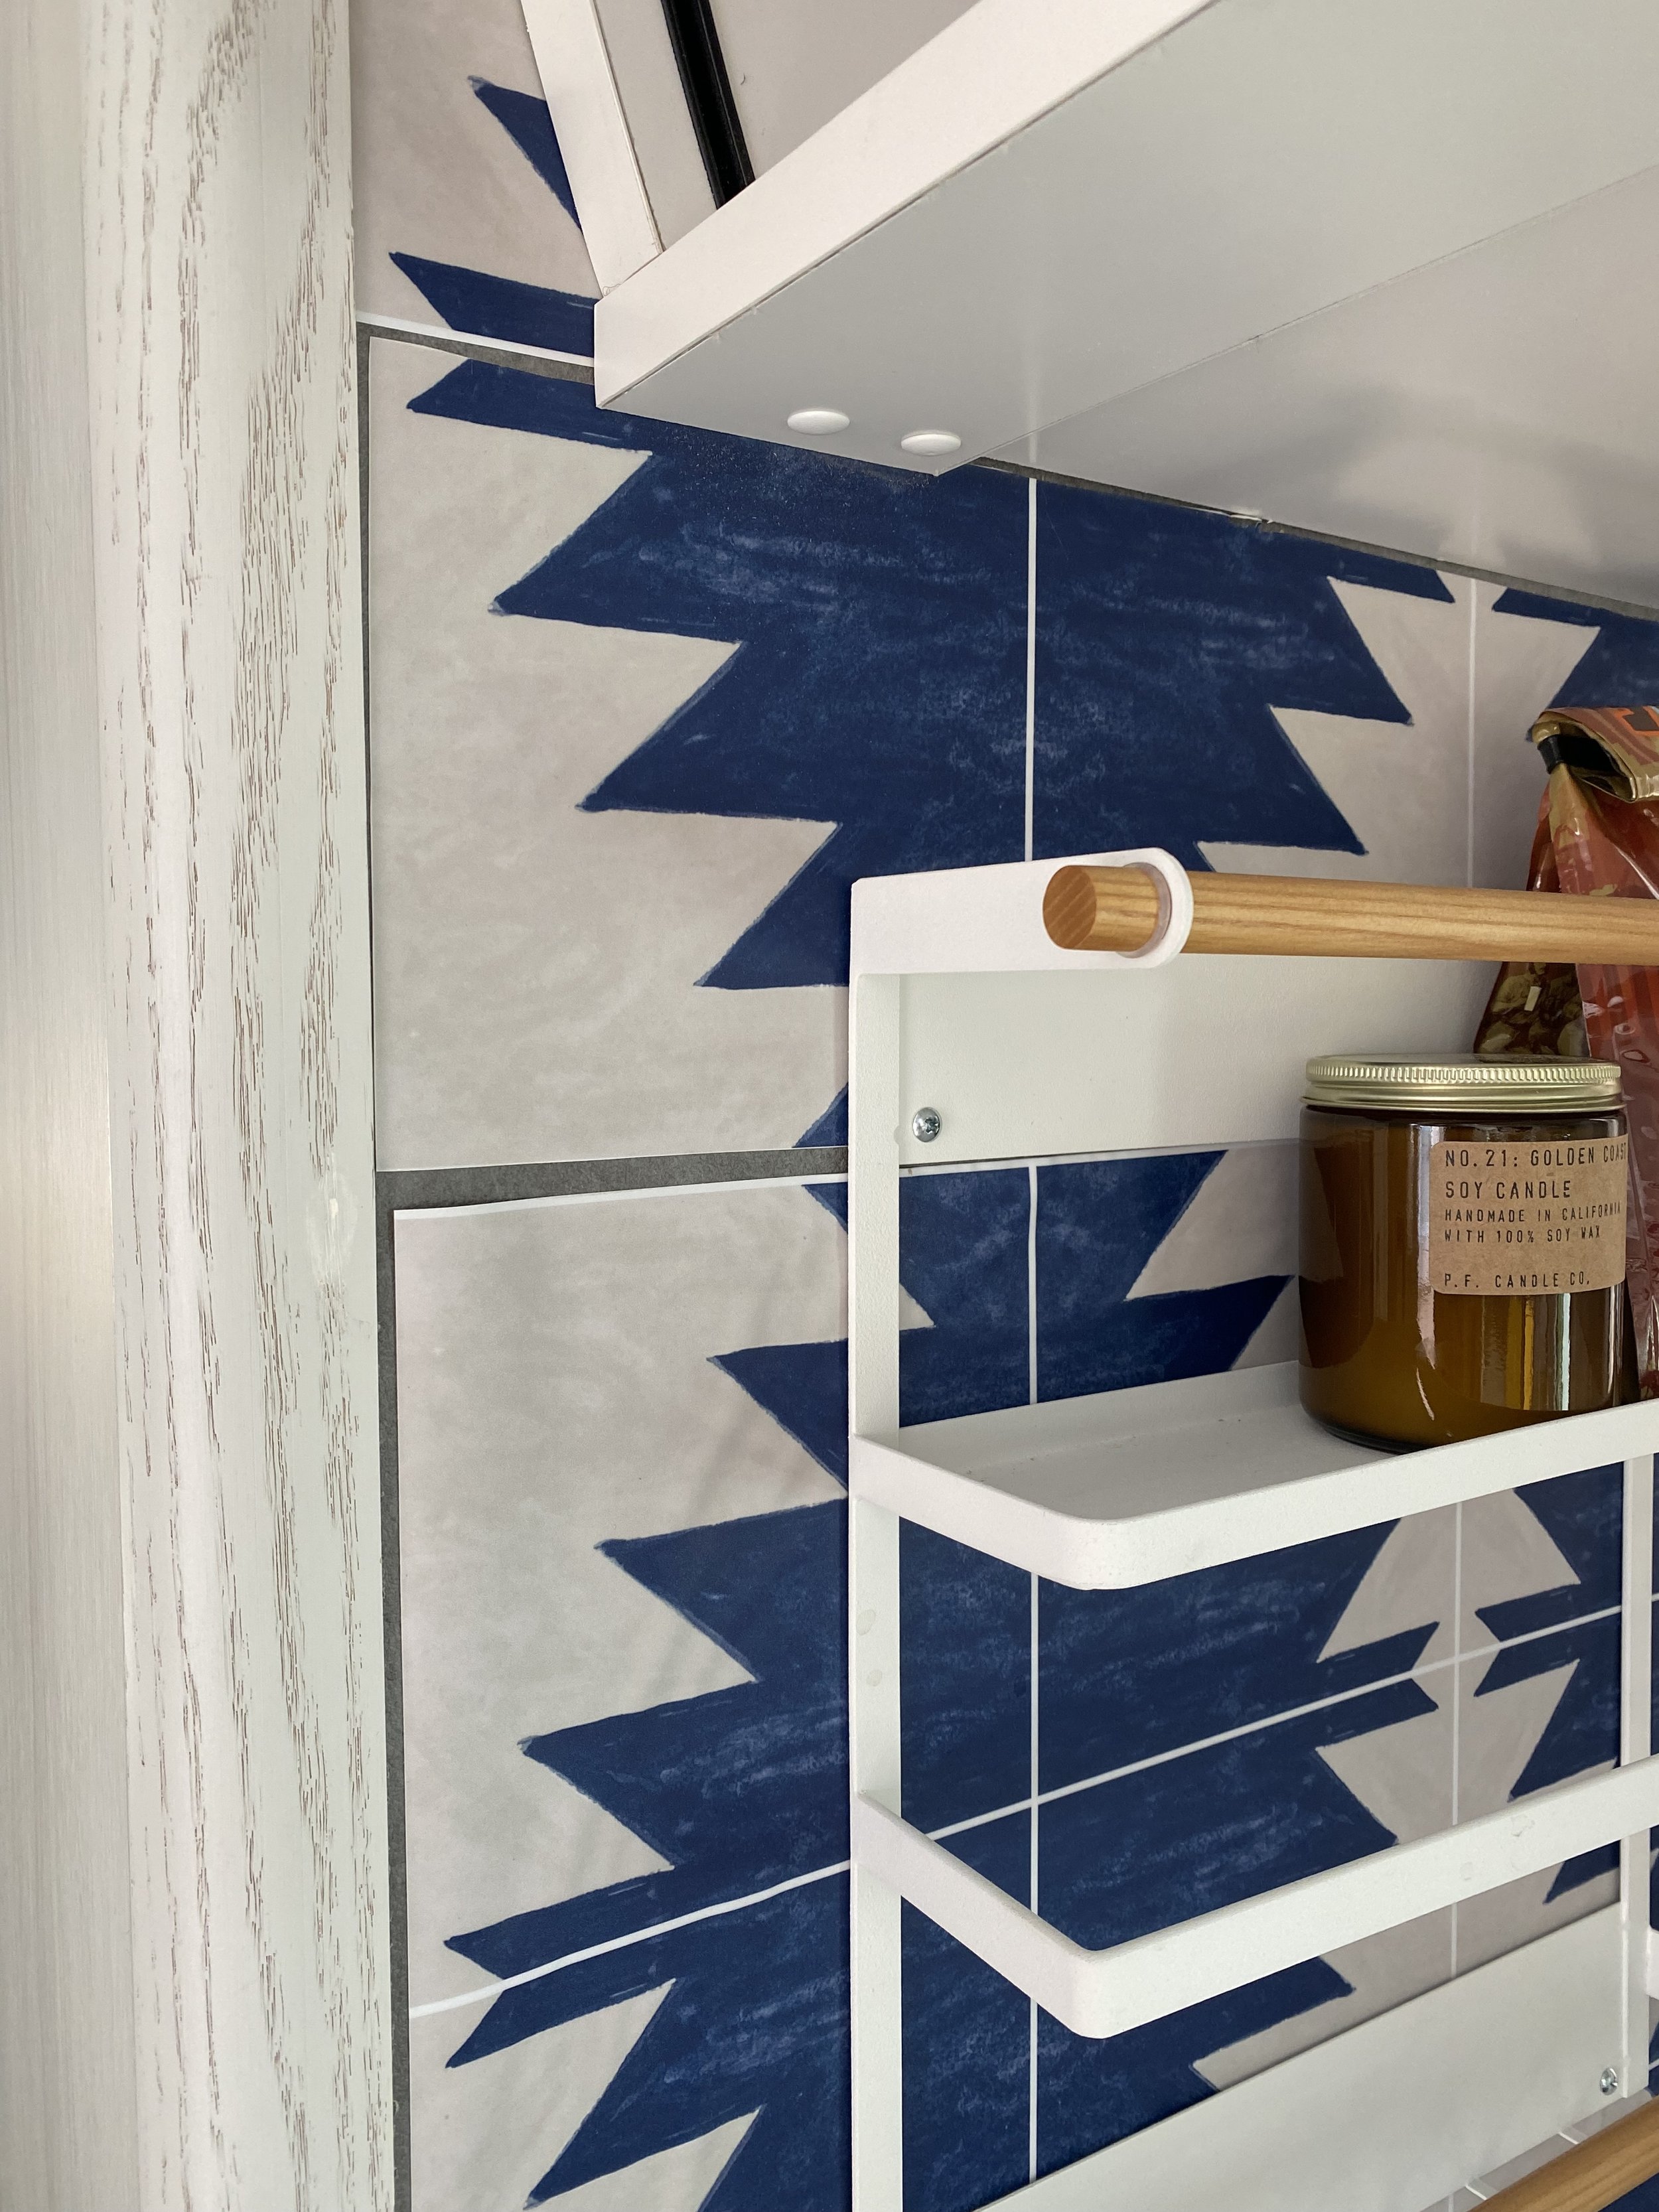
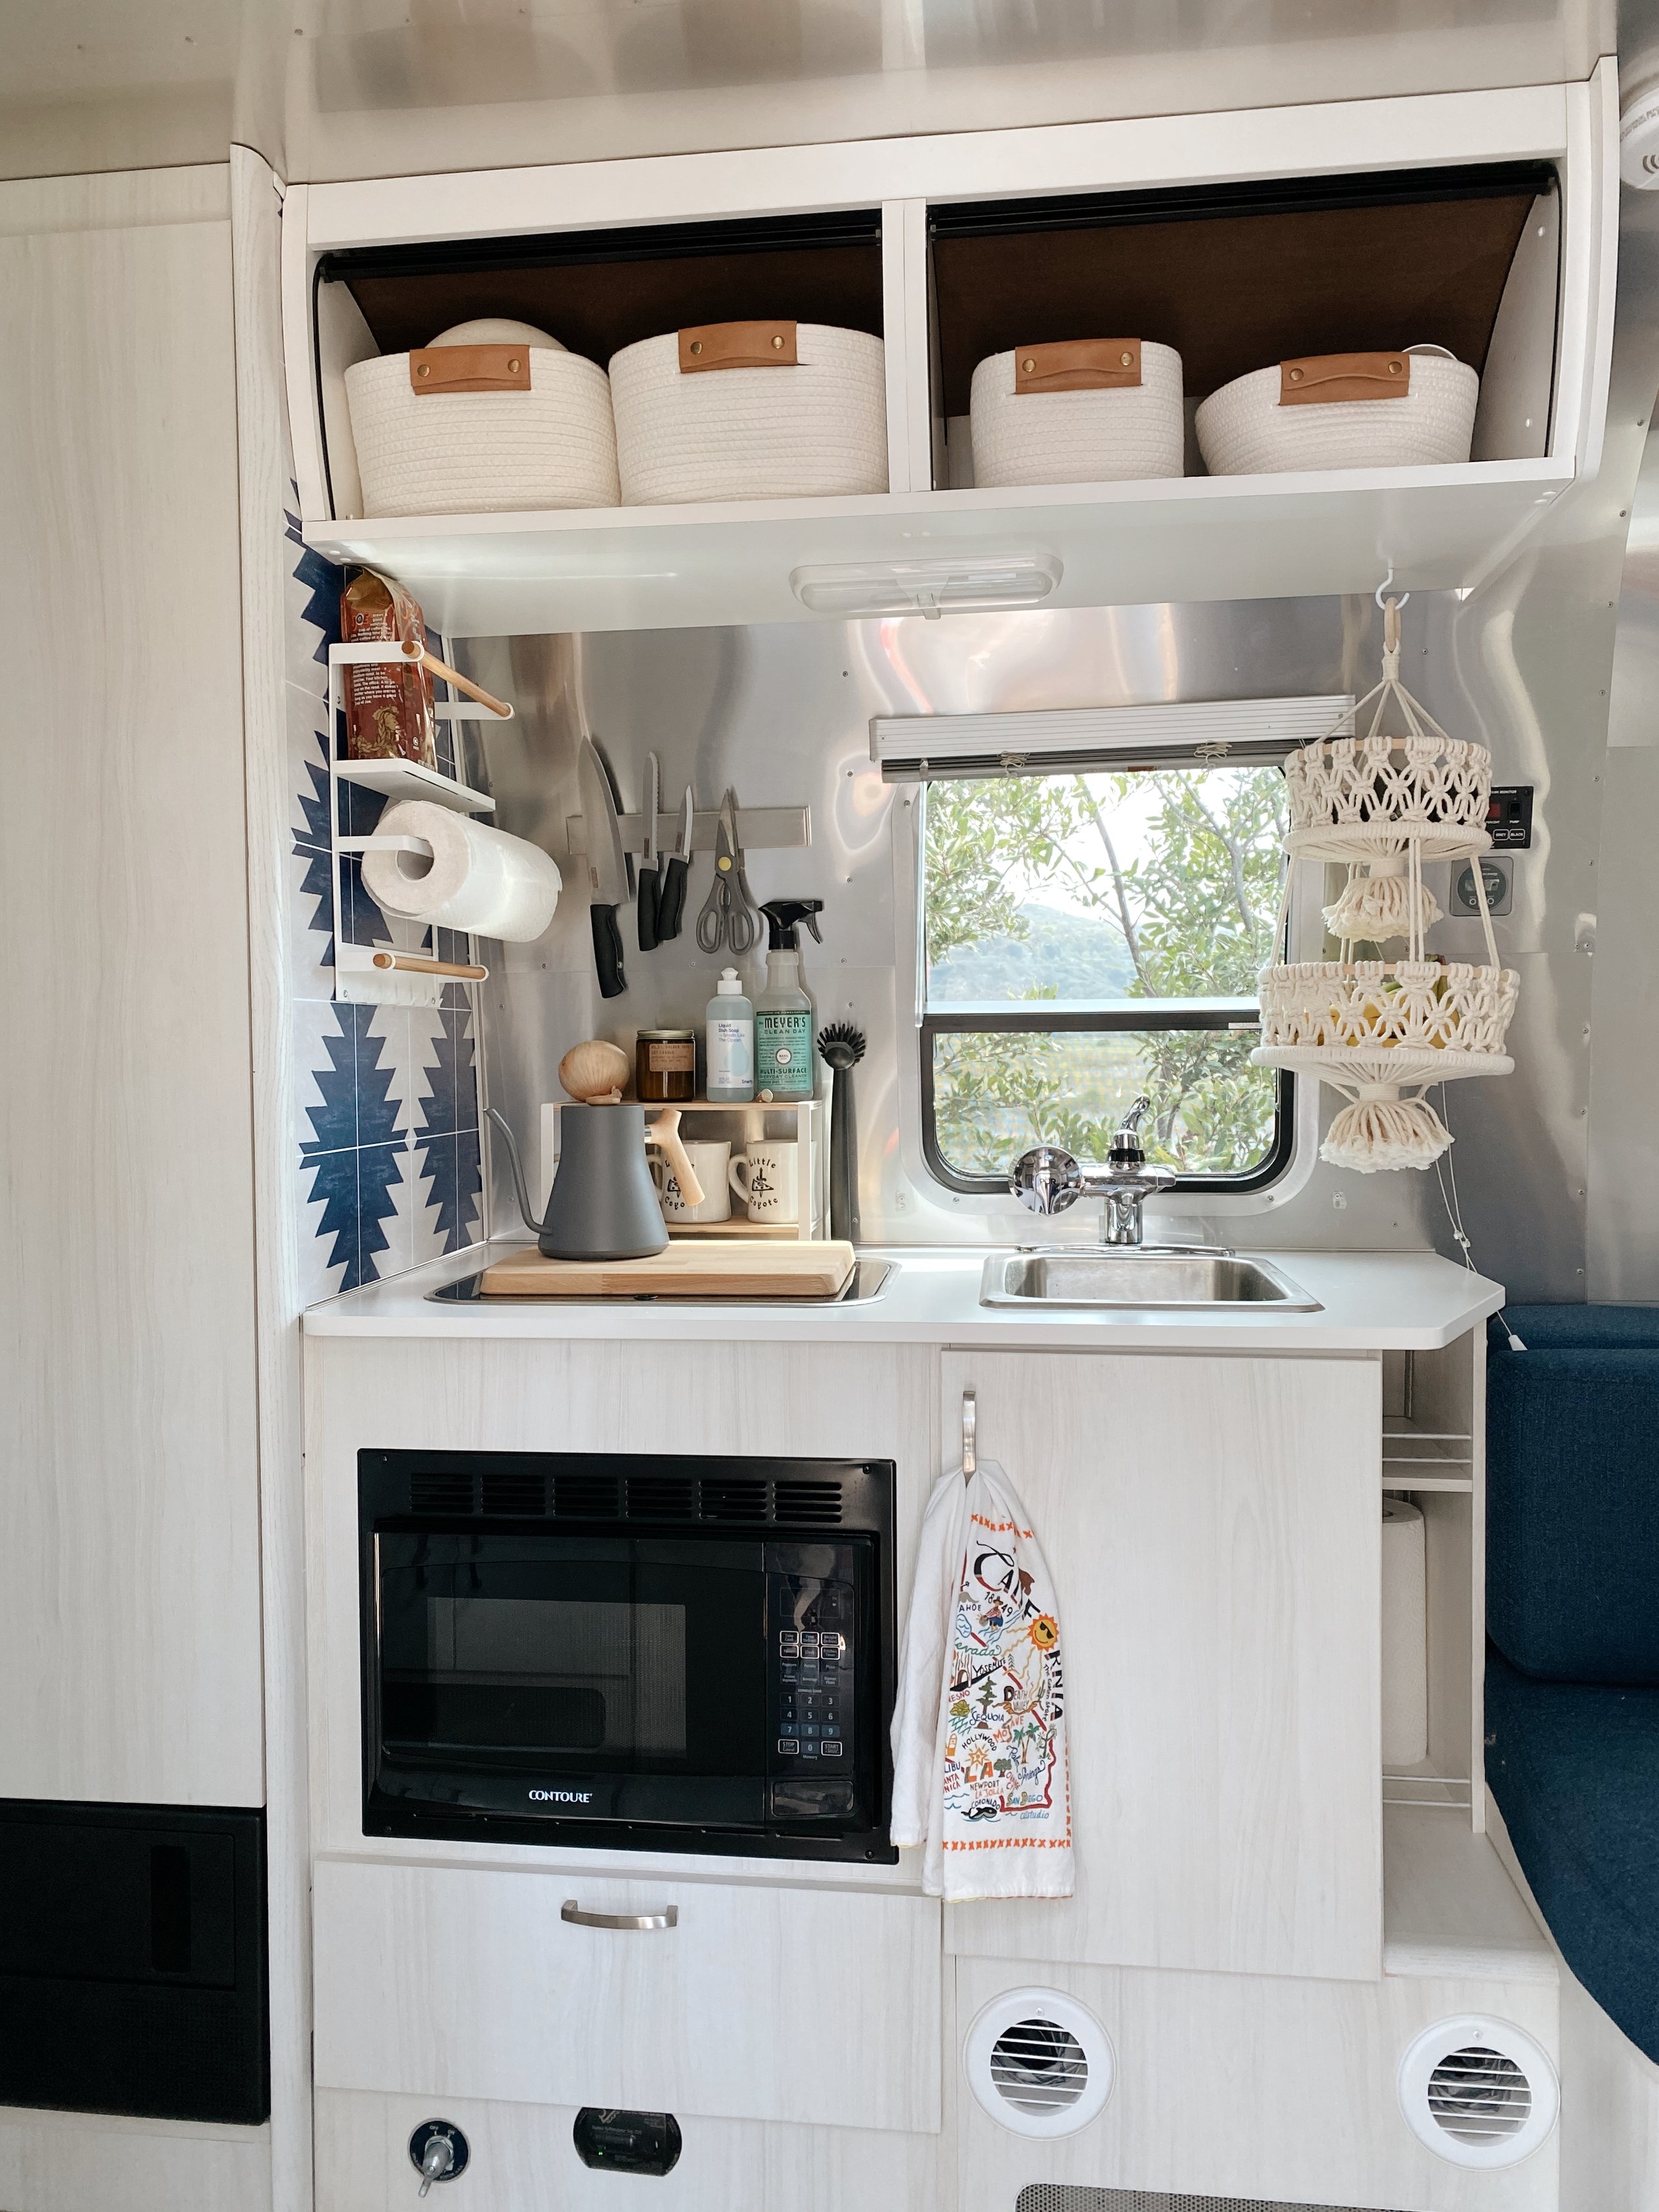
i want to maximize space and storage as much as possible, so i found this great storage rack with paper towel holder that I’ll install on the wall.
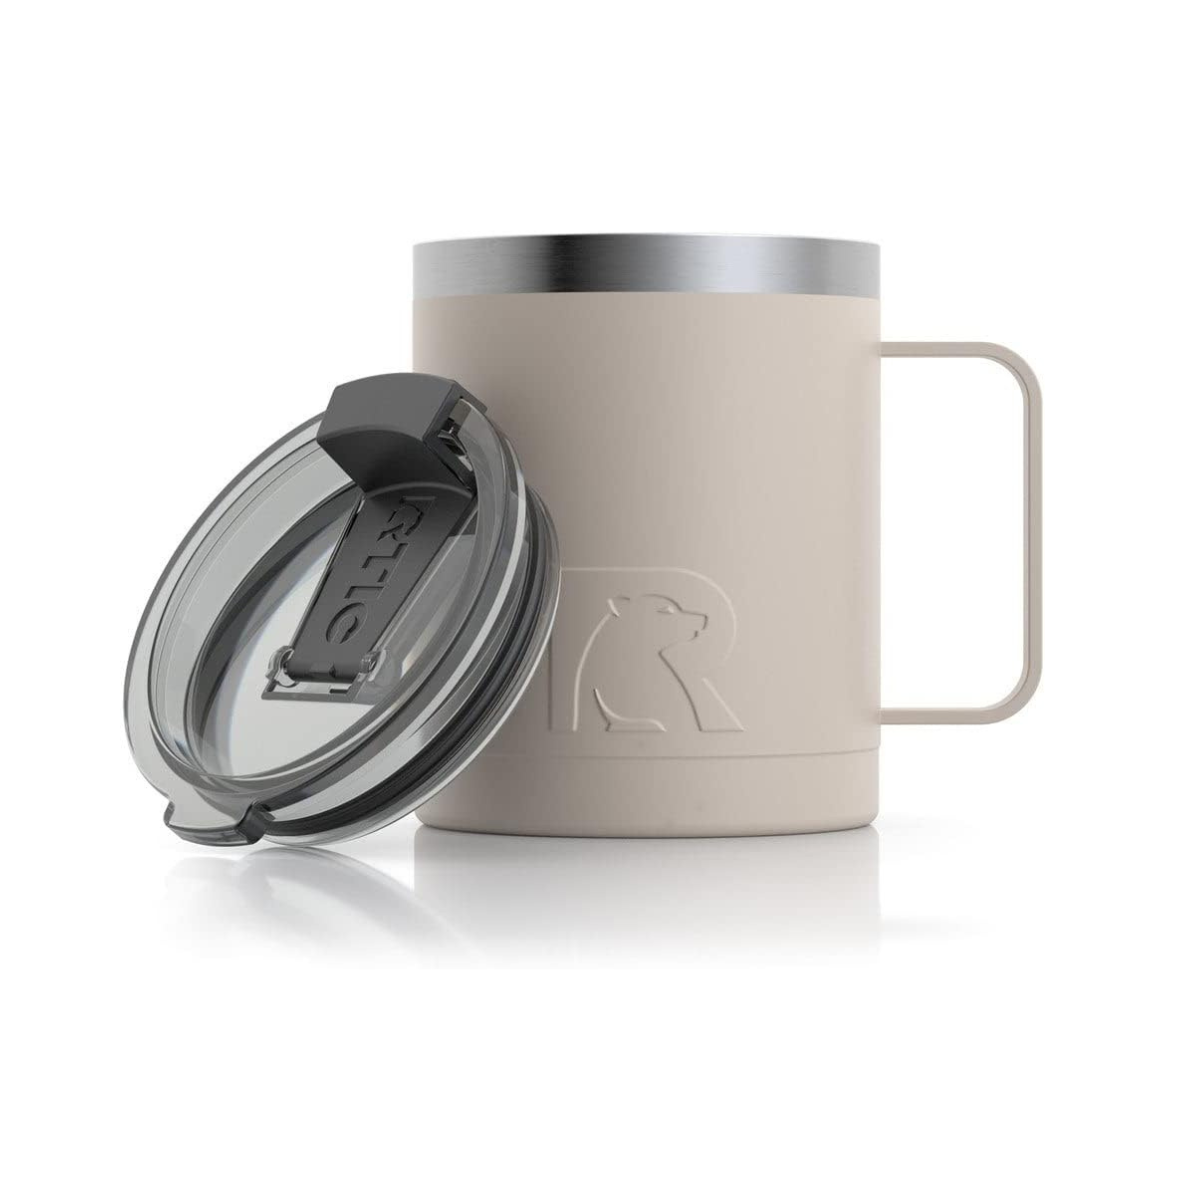
i love it because once we’re parked, i can hang our coffee mugs along the bottom.
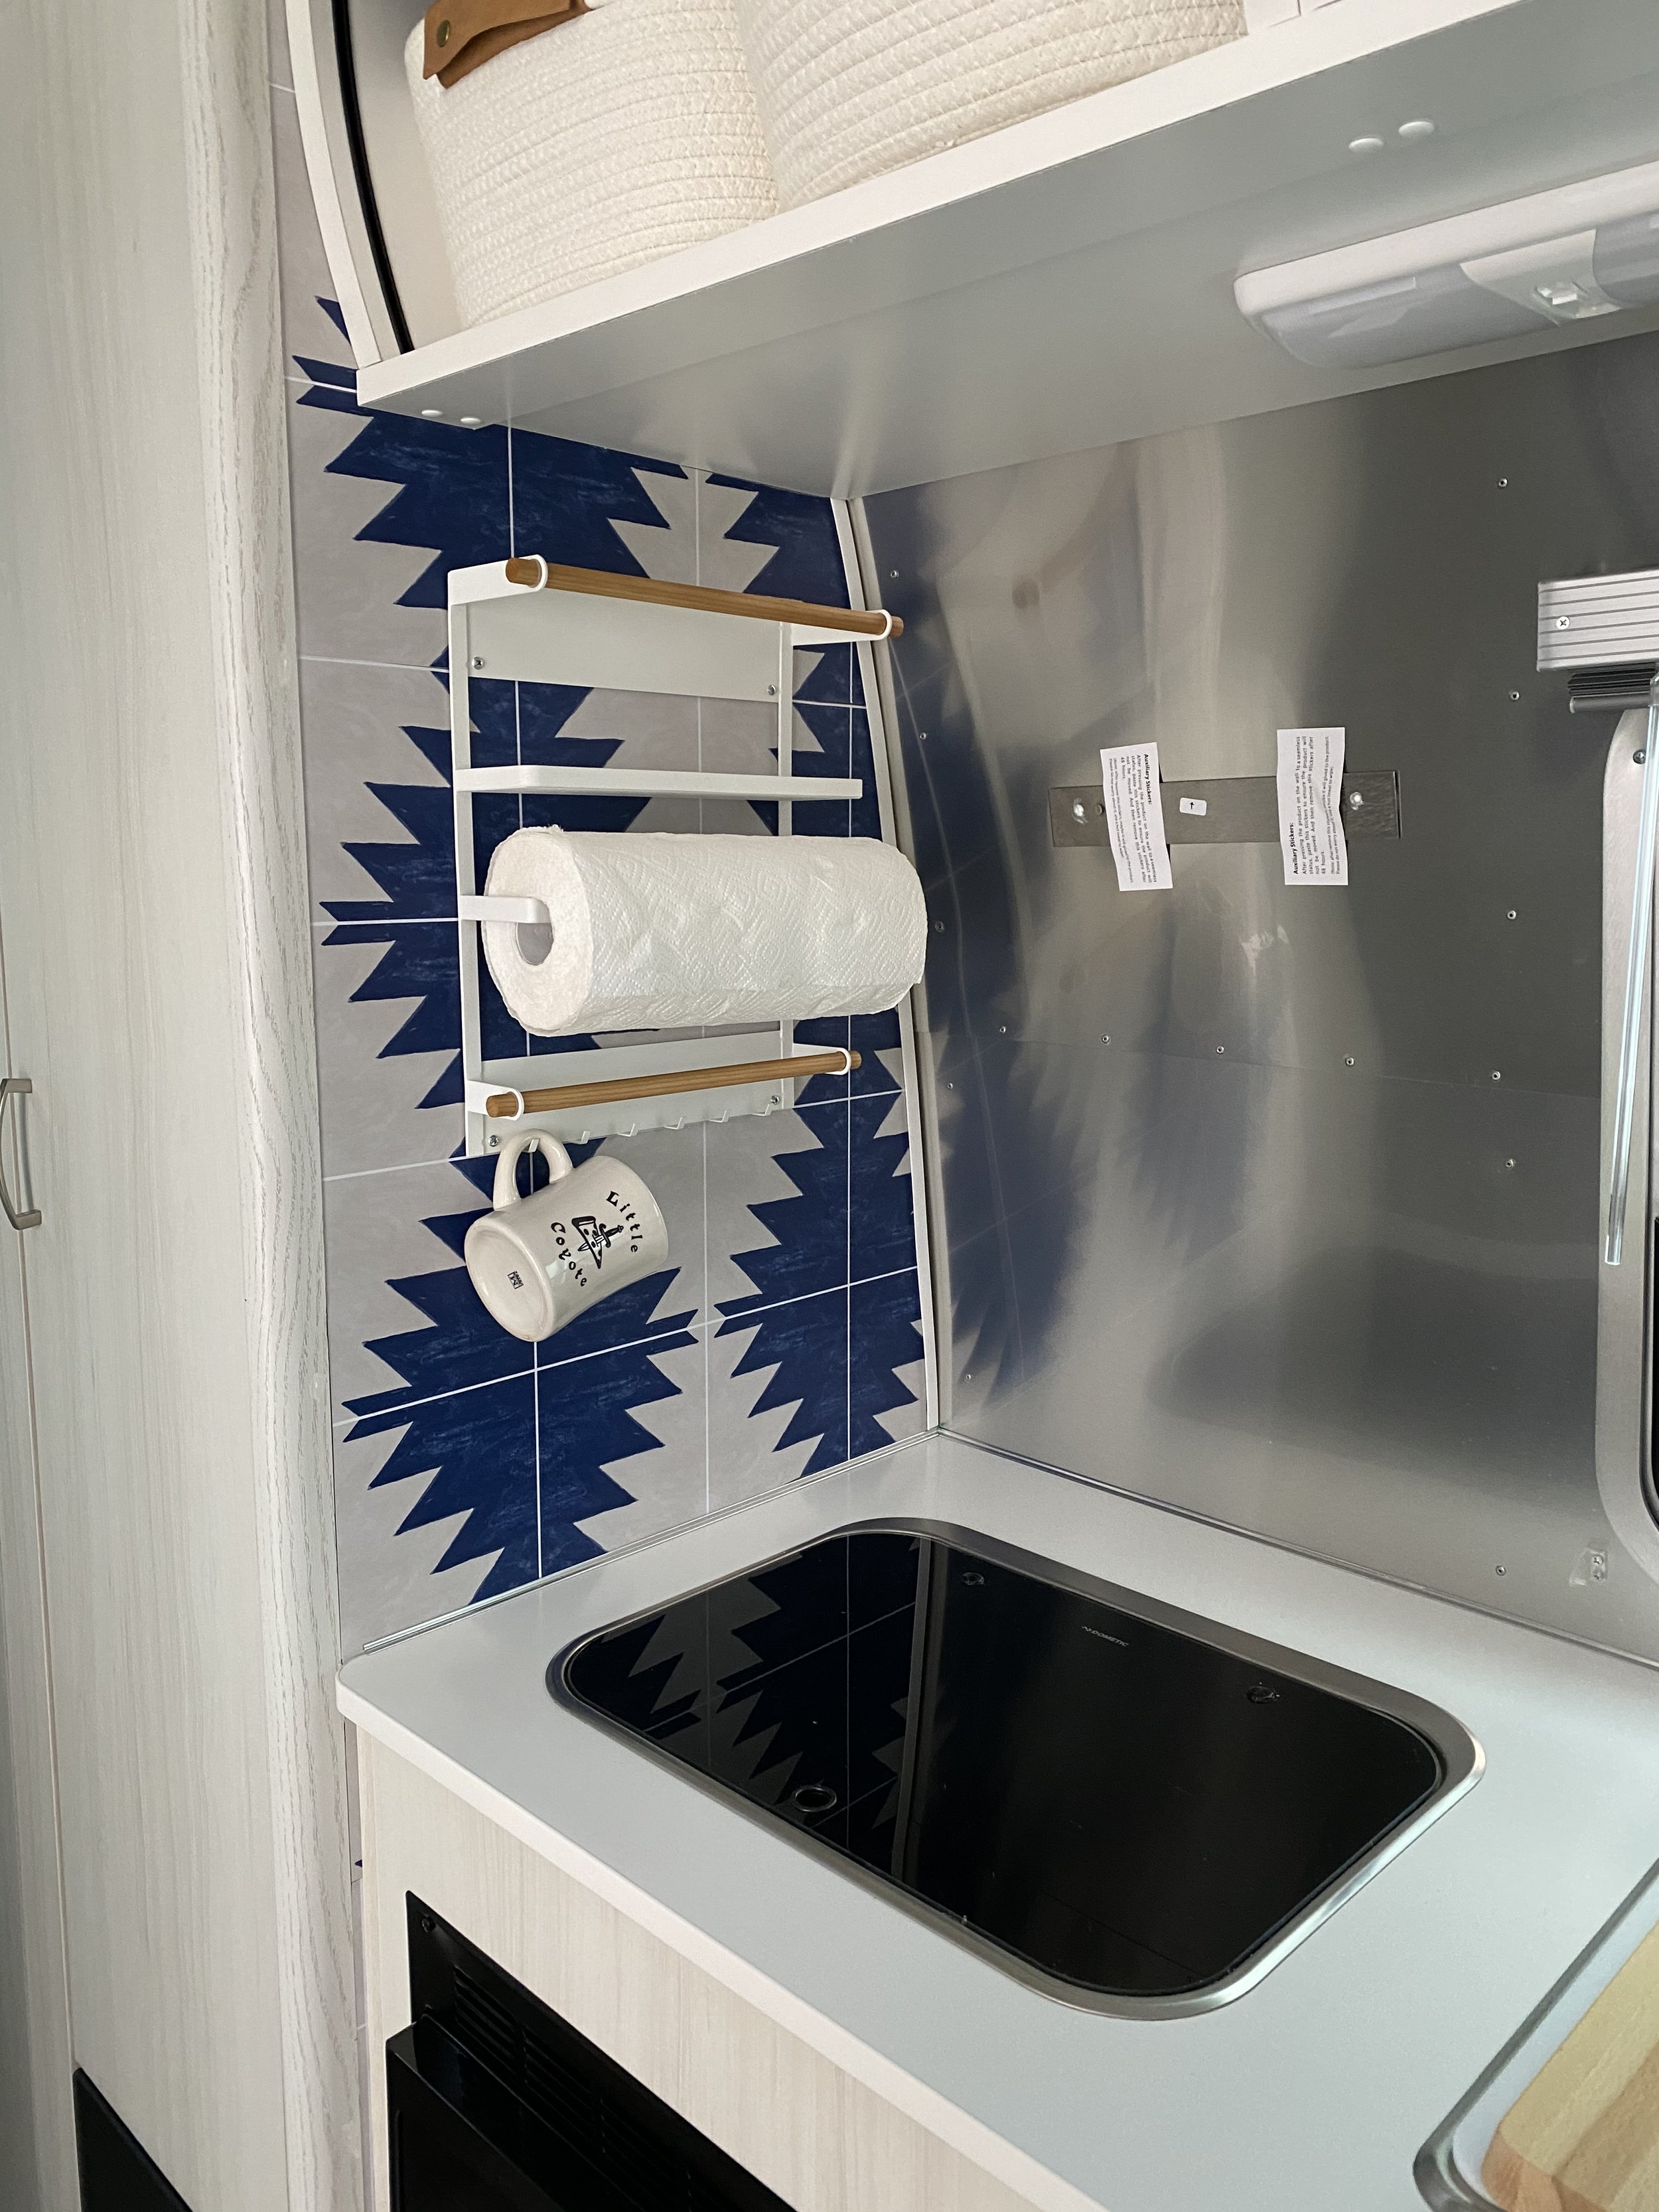
and finished!

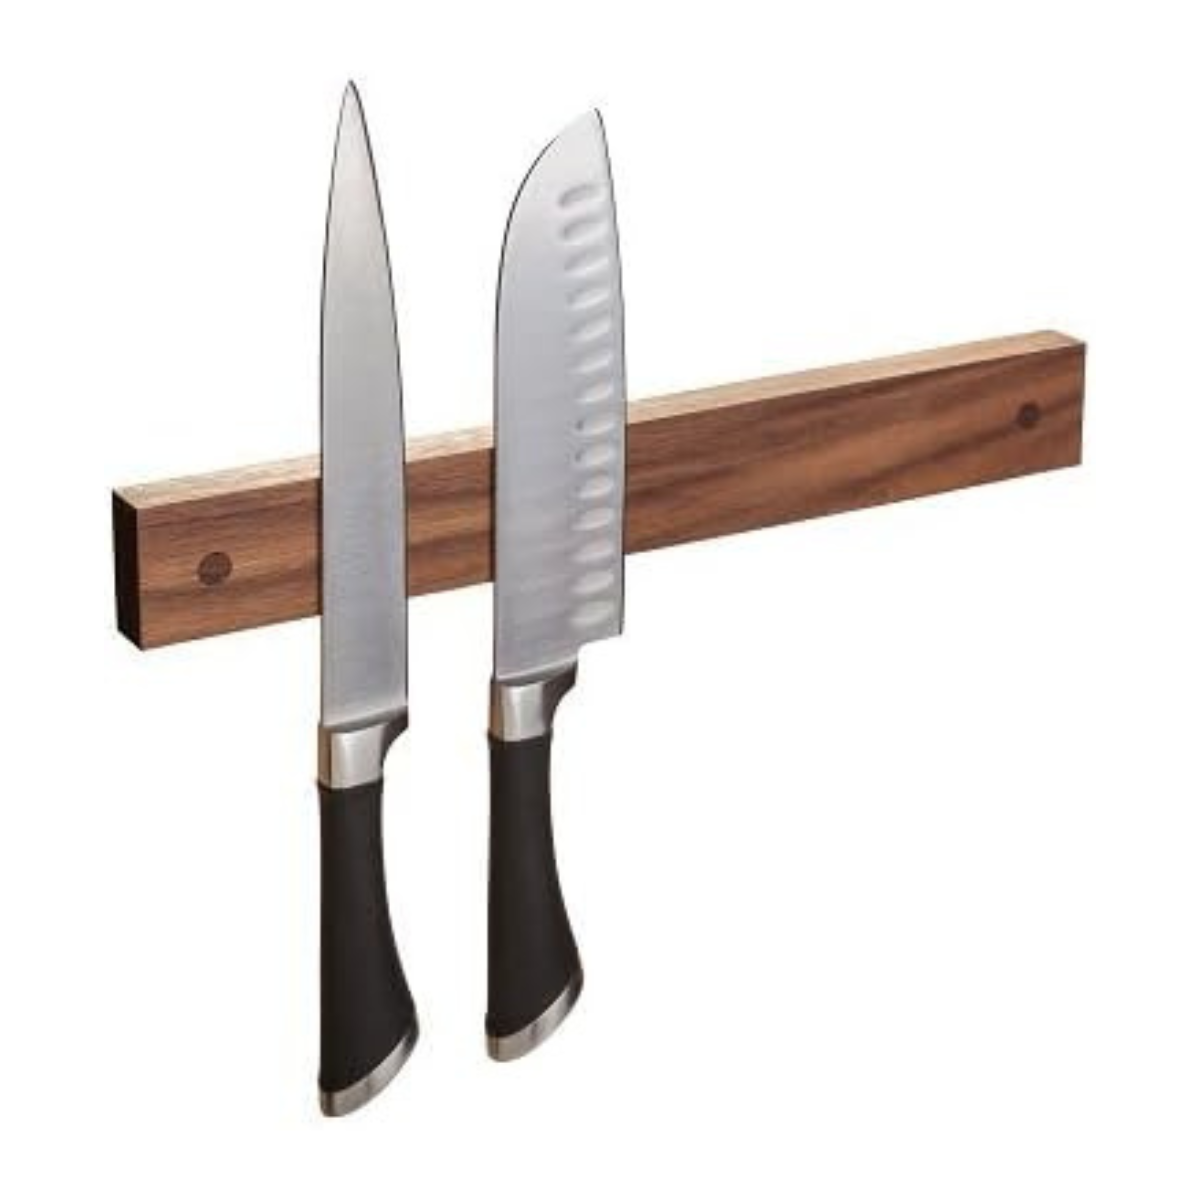
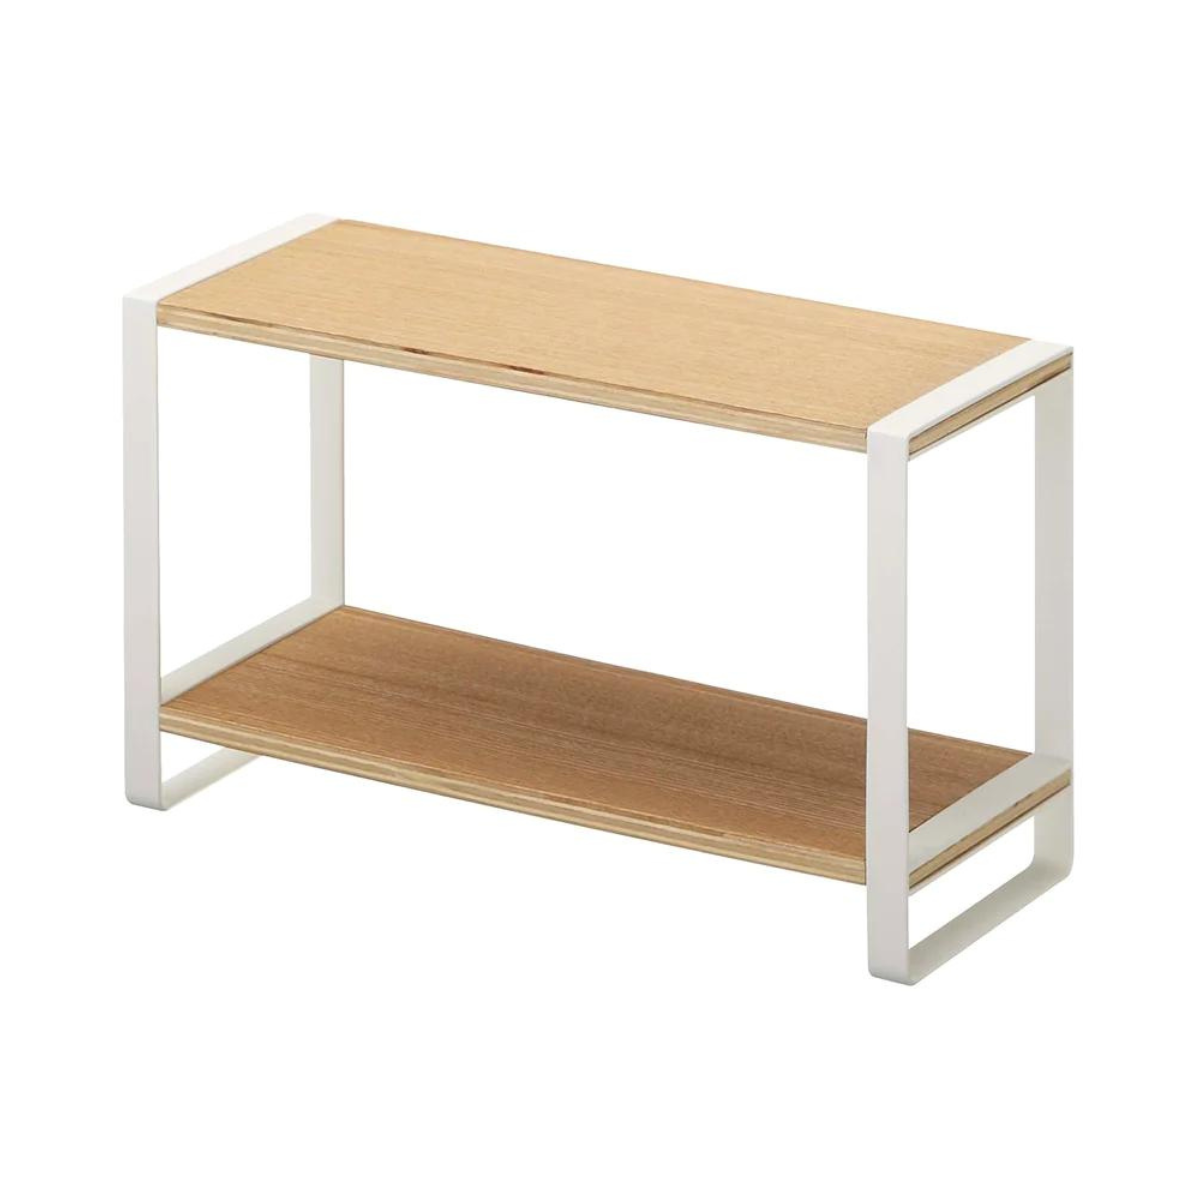
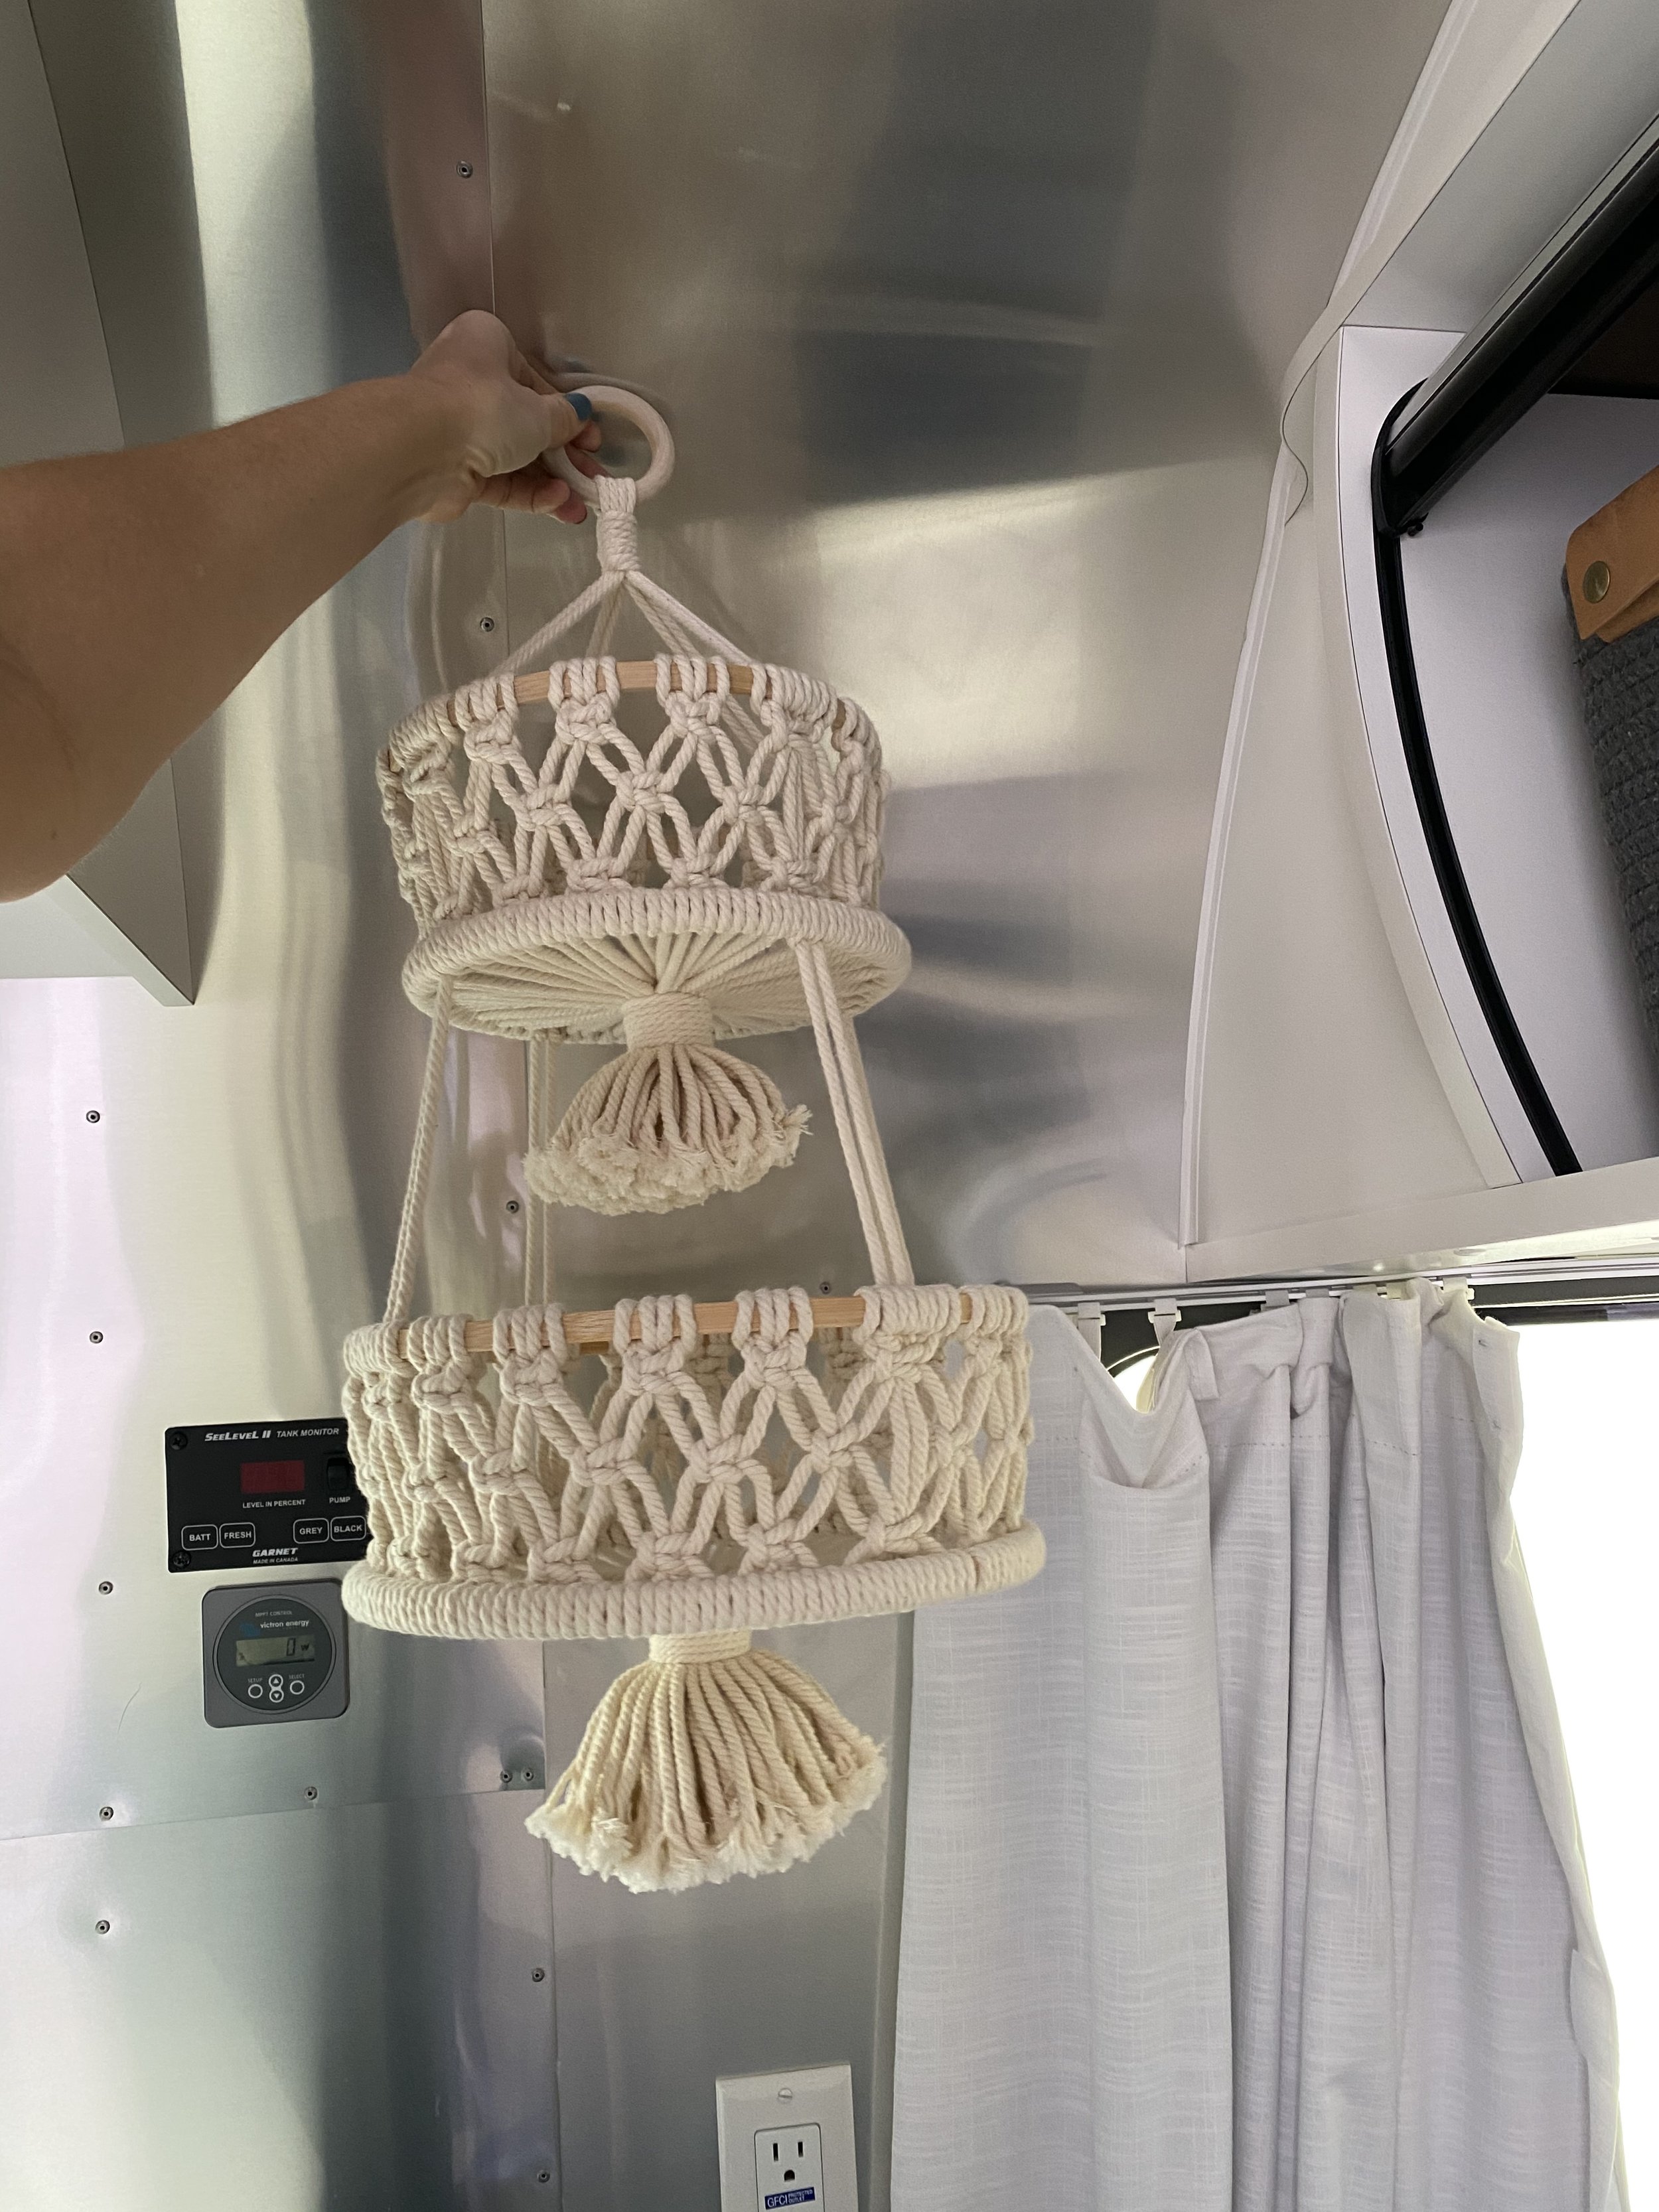
i found some other great little storage pieces like the hanging fruit basket, magnetic knife rack, and storage shelf that fits perfectly behind the cooktop.
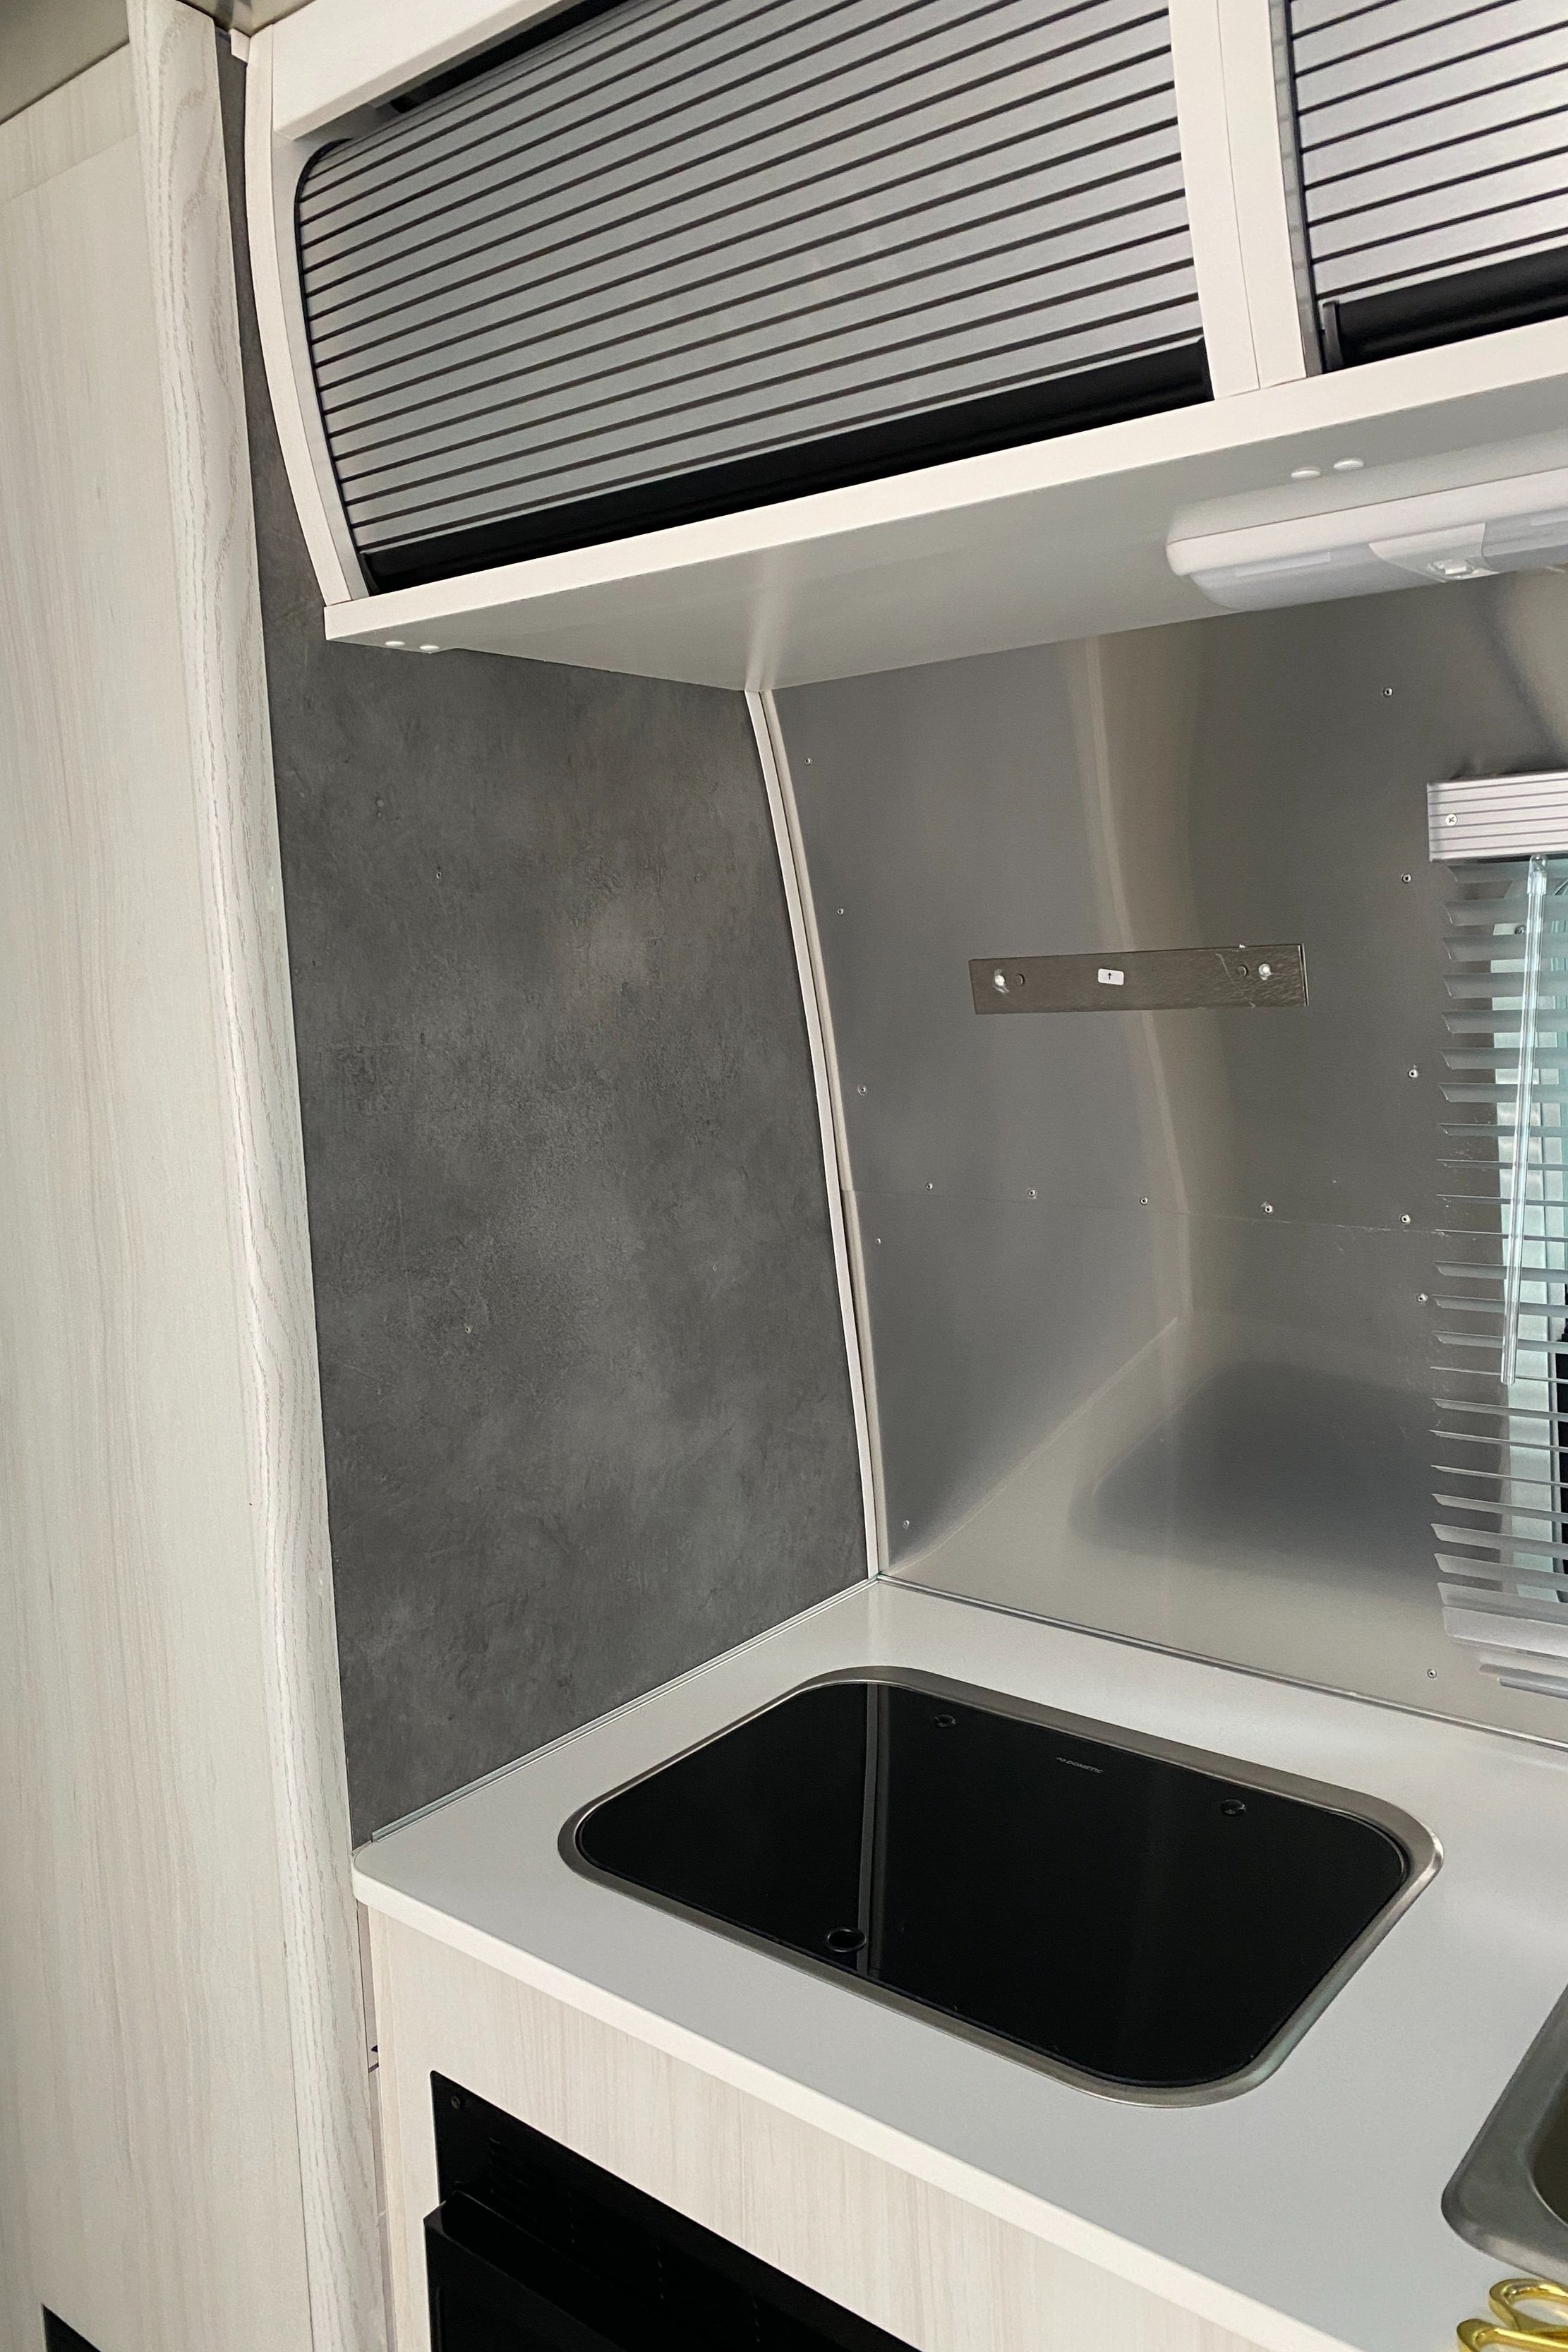
everything held up quite nicely the first year, however, after a hot summer and rainy chilly fall, the panels shrank and expanded, and eventually permanently shrunk. I think the changes in temperature and humidity and the fact that the surface had texture to begin with, it didn’t have the best chance of sticking and staying in place. plus, when I drilled holes to install the storage rack, I think that contributed to the lack of stability.
as you can see here, the panels shrunk so much, almost a quarter of an inch!

so now it’s time to replace my backsplash and restrategize. This time, I’ll install the tile panel vertically so there won’t be any cuts, and I’ll use wallpaper glue to give it extra adhesive. fingers crossed it works better this time.
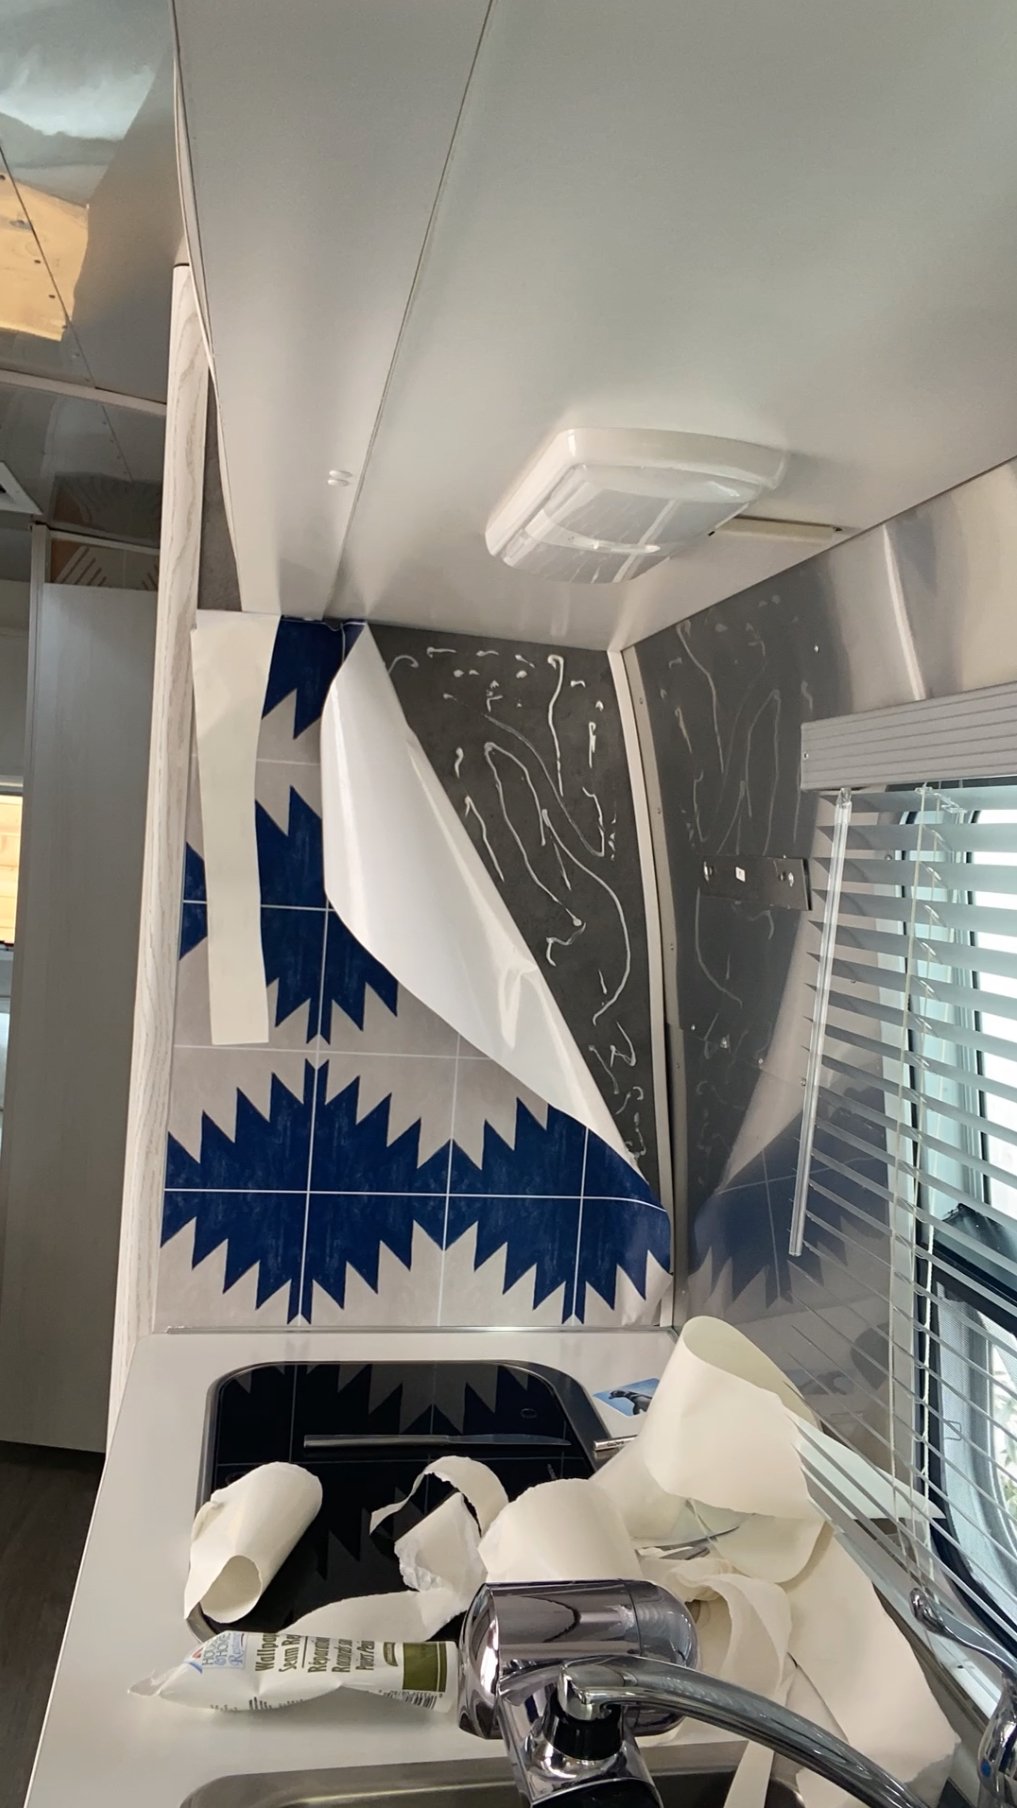
now that I have the old panels removed, it’s time to start my second install.

here are my supplies:
sharp scissors
wallpaper GLUE OR IN MY CASE WALLPAPER seam repair
credit card
exacto knife
butter knife

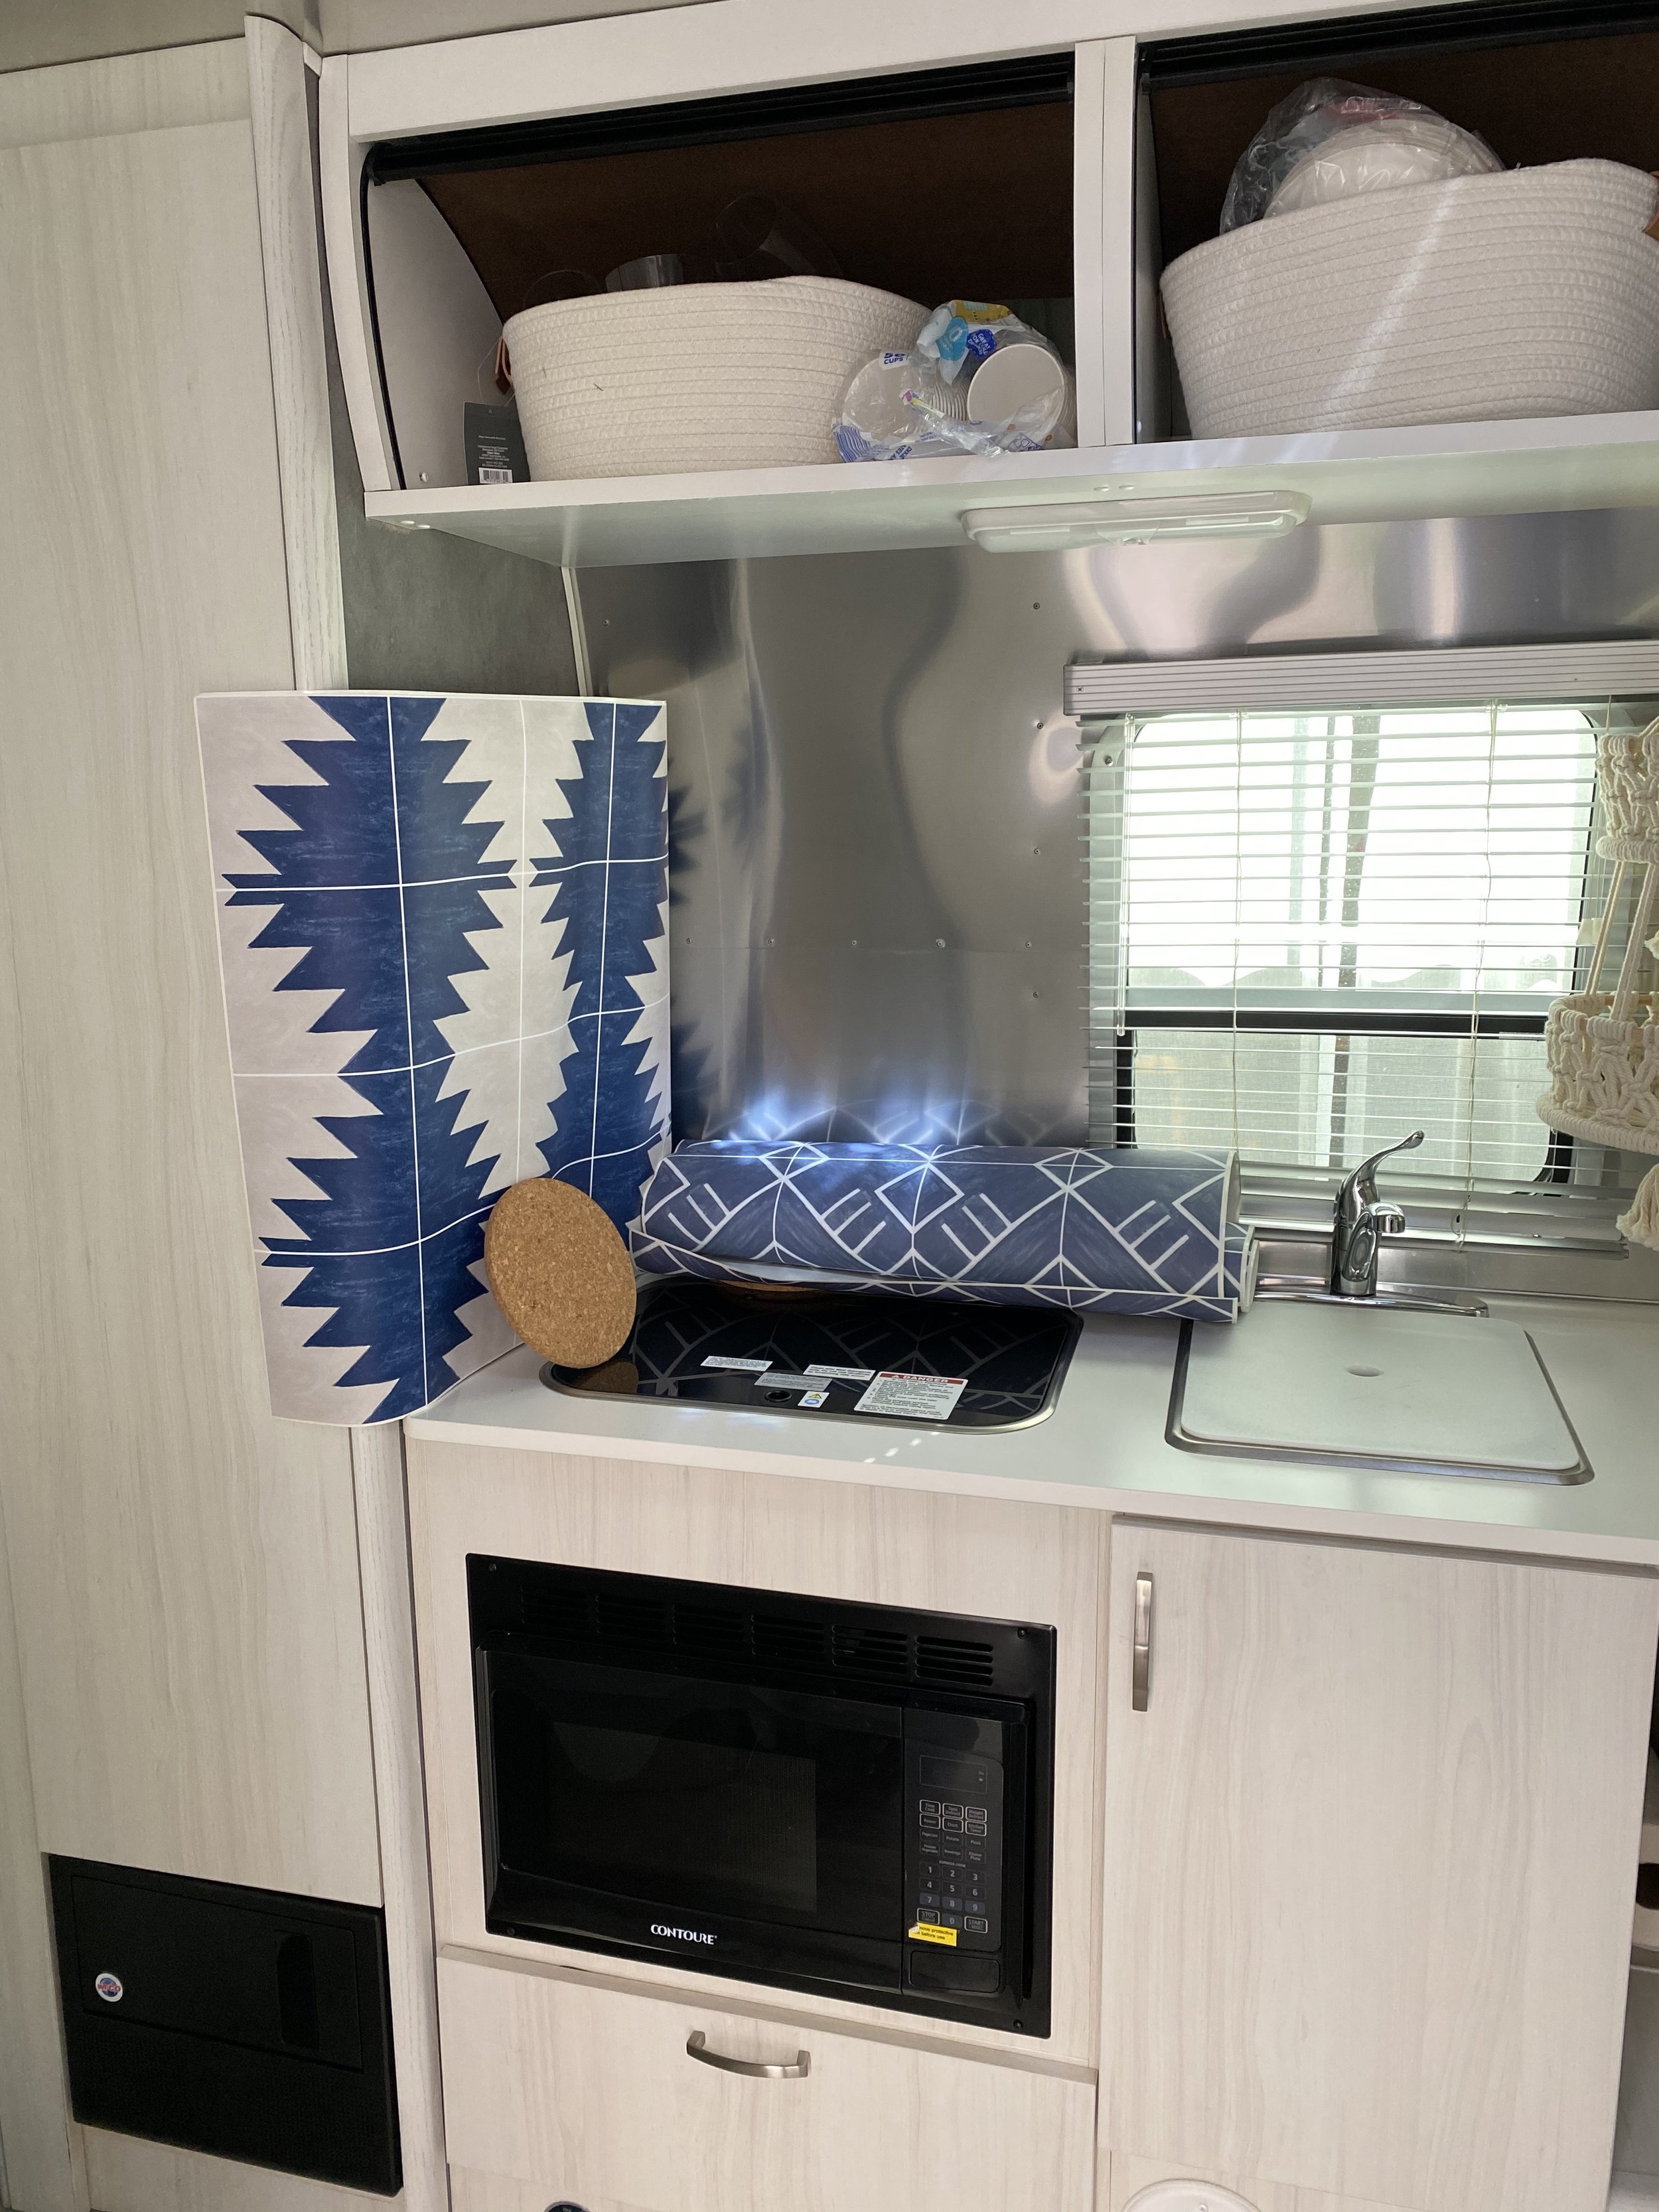
I’m installing the same Montecito panel I used before because I love it so much.

i’ve never worked with wallpaper adhesive before and to be honest, I’m not even sure I bought the correct product, but what the heck, we’ll see how this works out.
before applying the sticky panel, I applied the adhesive onto the wall.

I’m not sure if it’s easier or harder installing one single panel as opposed to smaller ones. I think they’re all hard!
this project definitely requires alot of patience and deep breaths.

I’m not sure why, but it definitely felt a bit easier the first time.
i’m using the credit card to smooth out any air bubbles. I read that you can also use a pin or the exacto knife to punch holes to let the air out, but I tried that and don’t love it as much as the classic credit card trick.
I’m using the butter knife to maneuver the wallpaper under the plastic trim piece without cutting or damaging the paper.
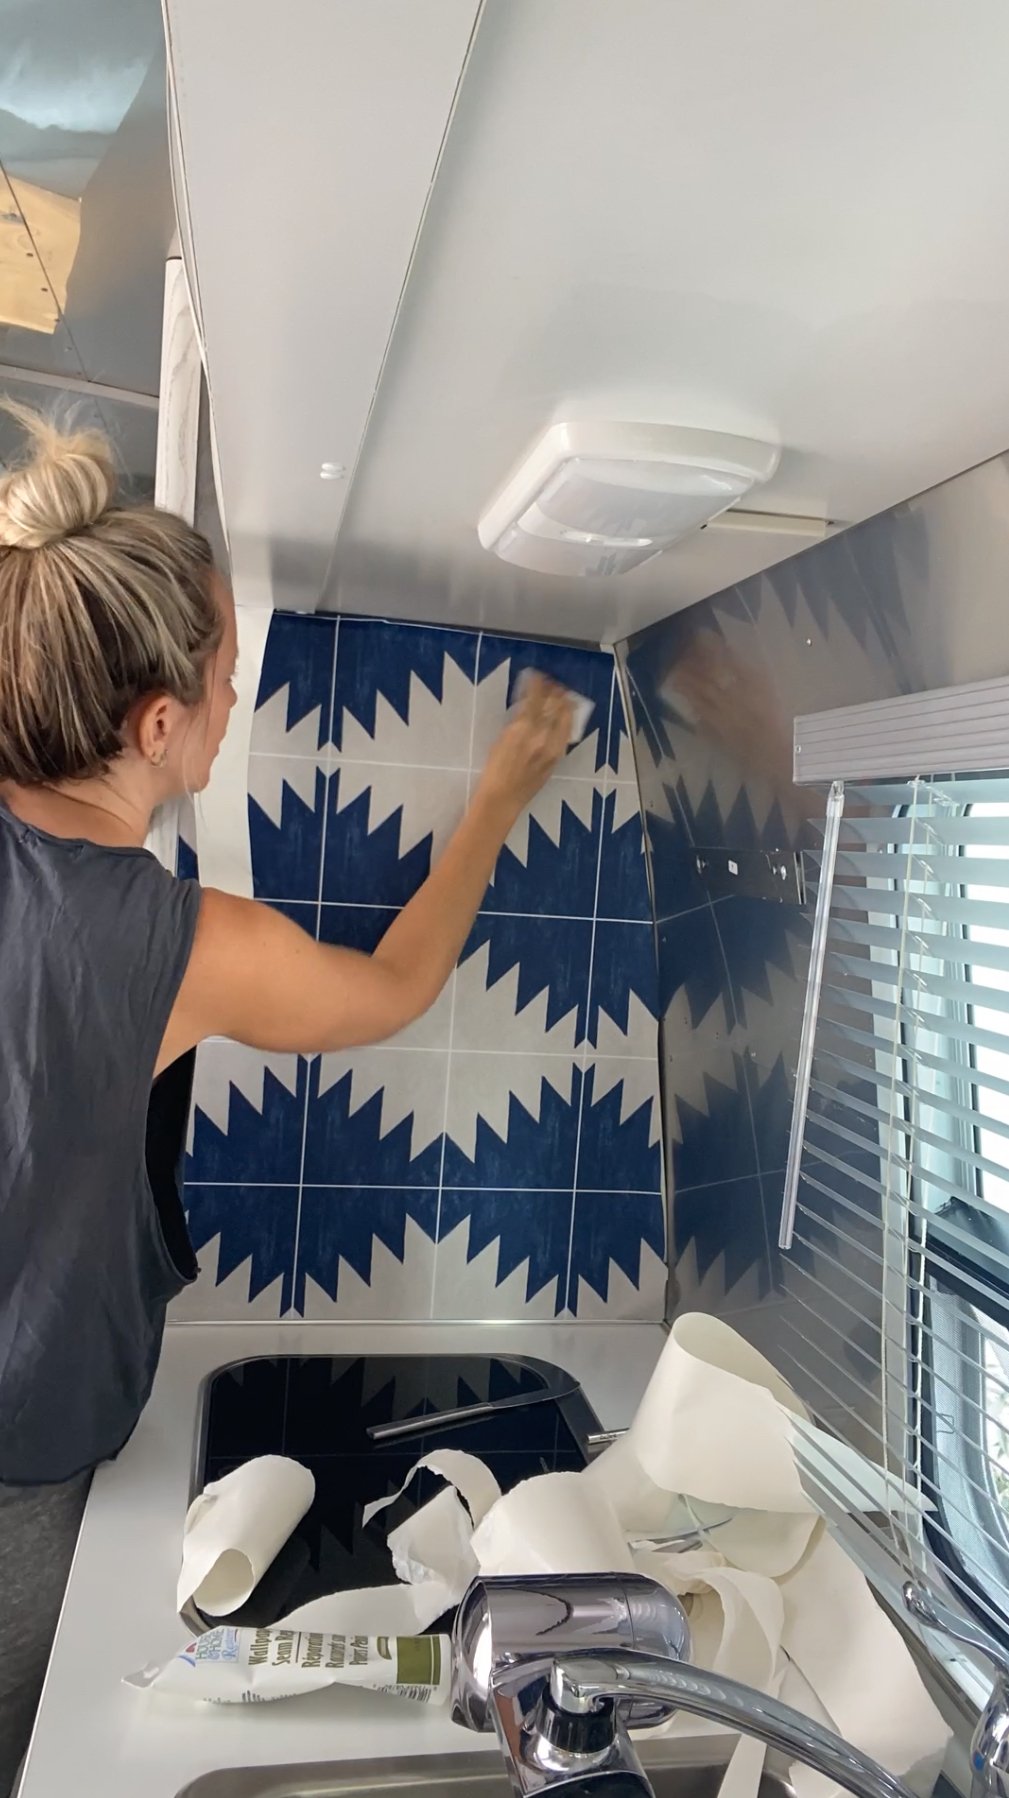
so tedious!!

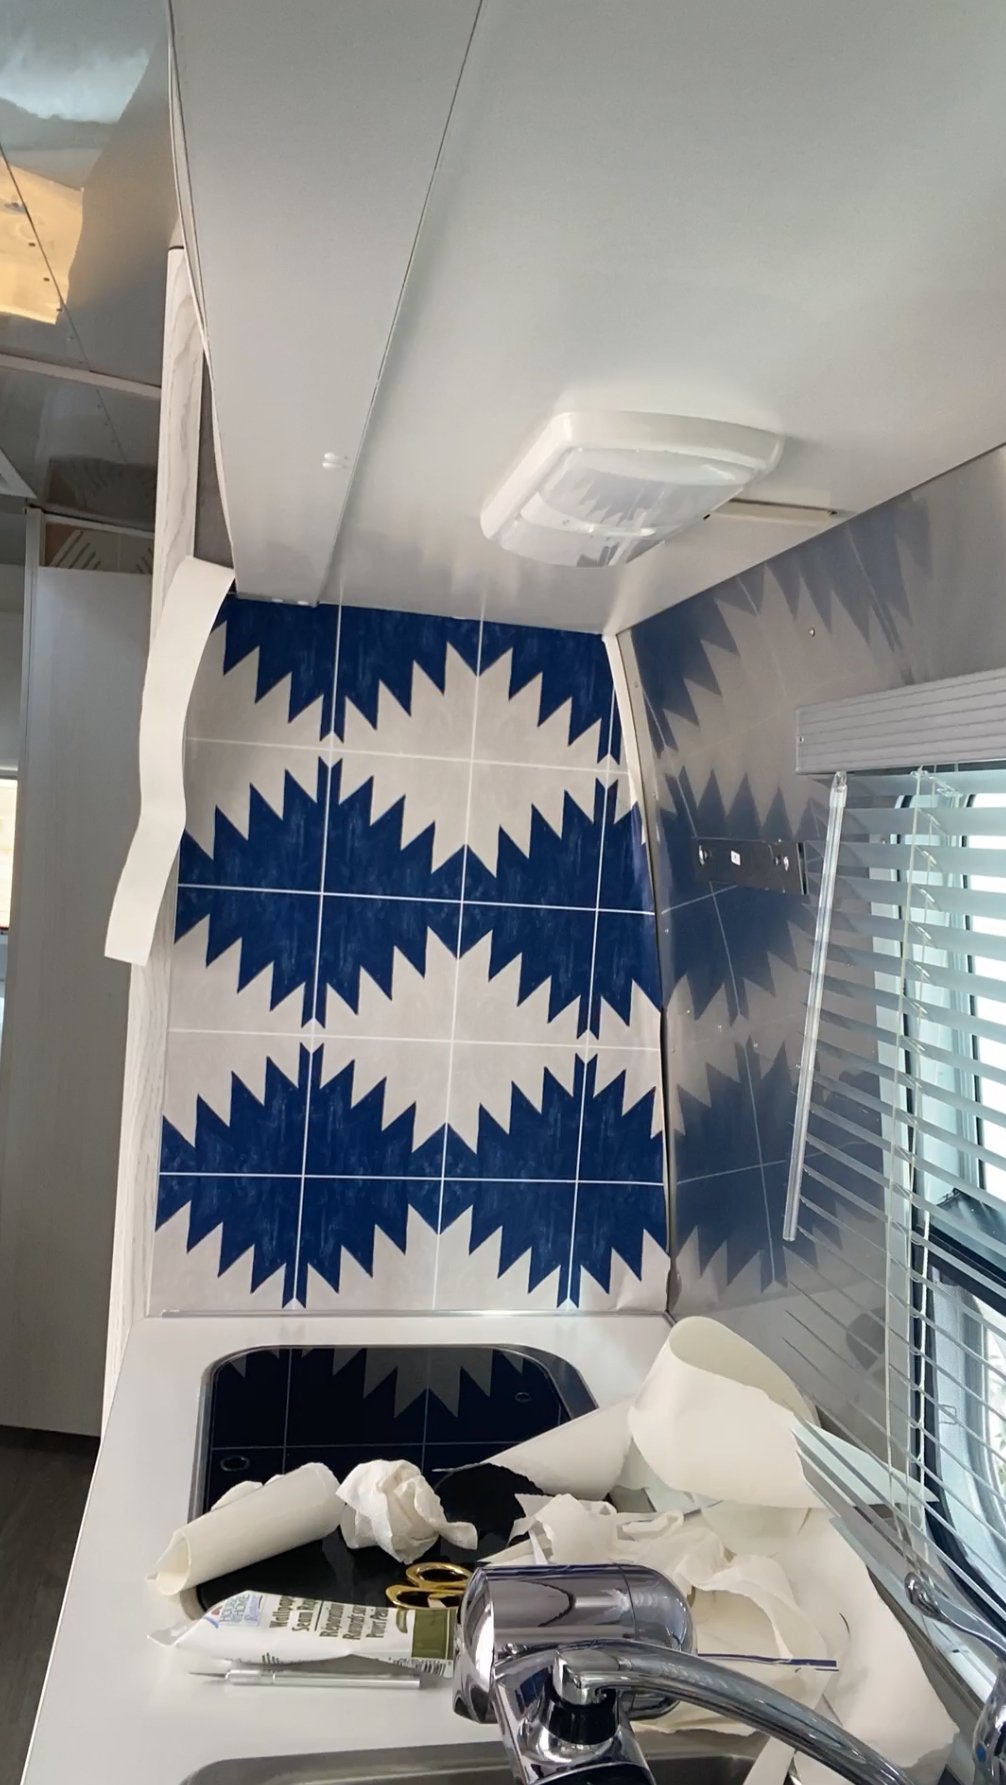
I’m running the wallpaper up next to the cubbies so there isn’t a random grey part and and an edge.
and voila!
i think this time it will hold up much better.
fingers crossed:)

what do you think?
I think it came out pretty good, I only got a few gray hairs:)
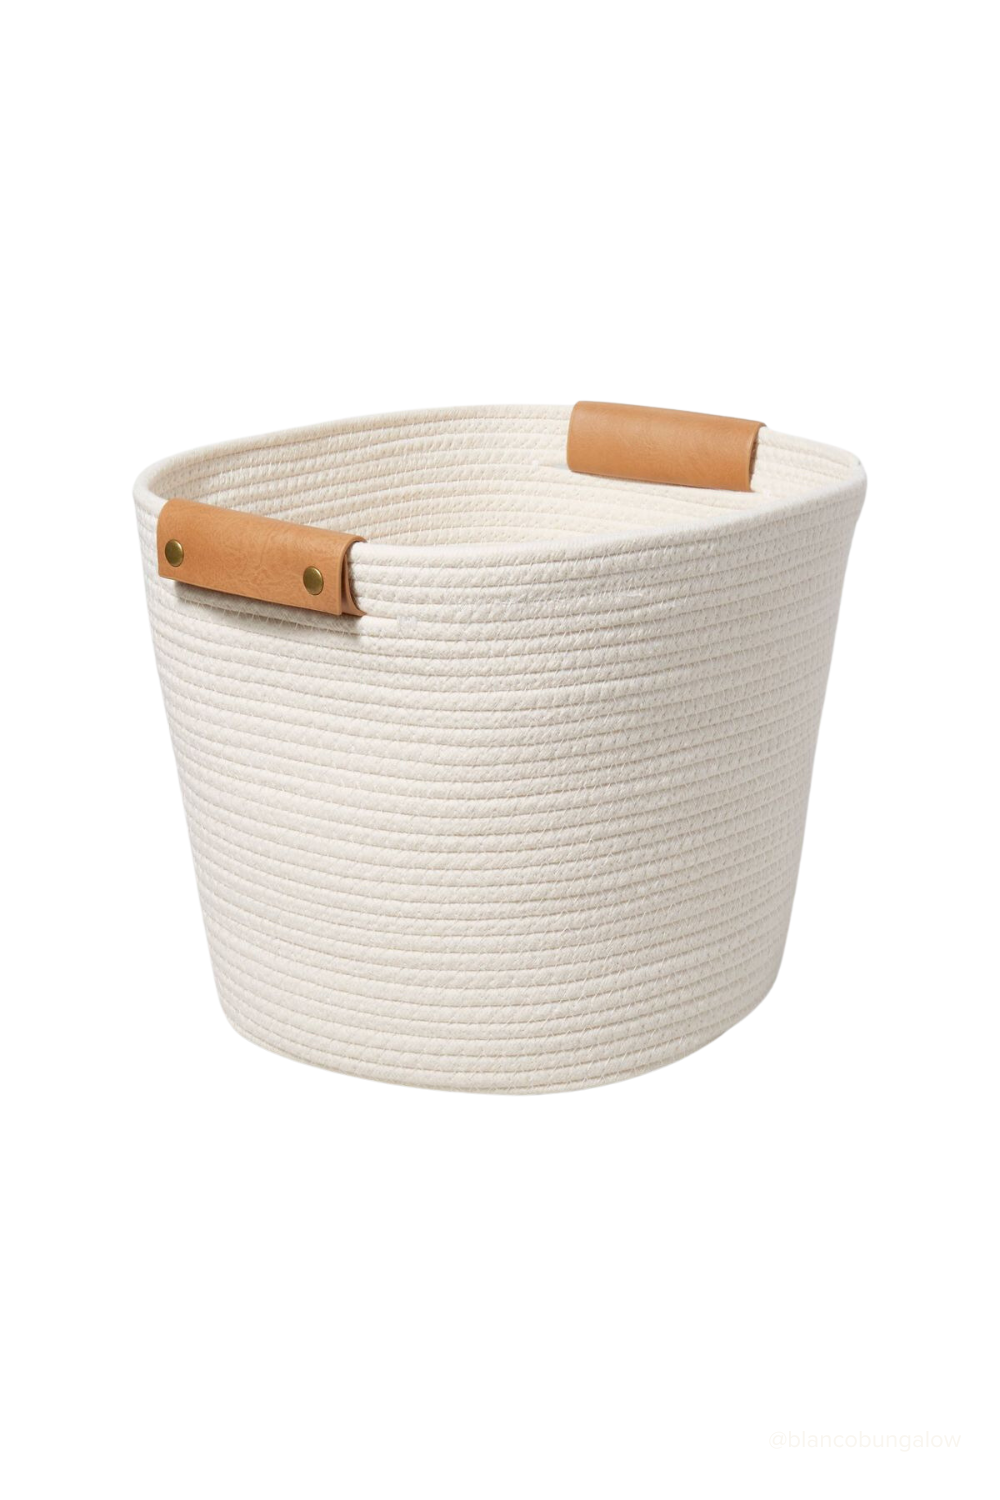
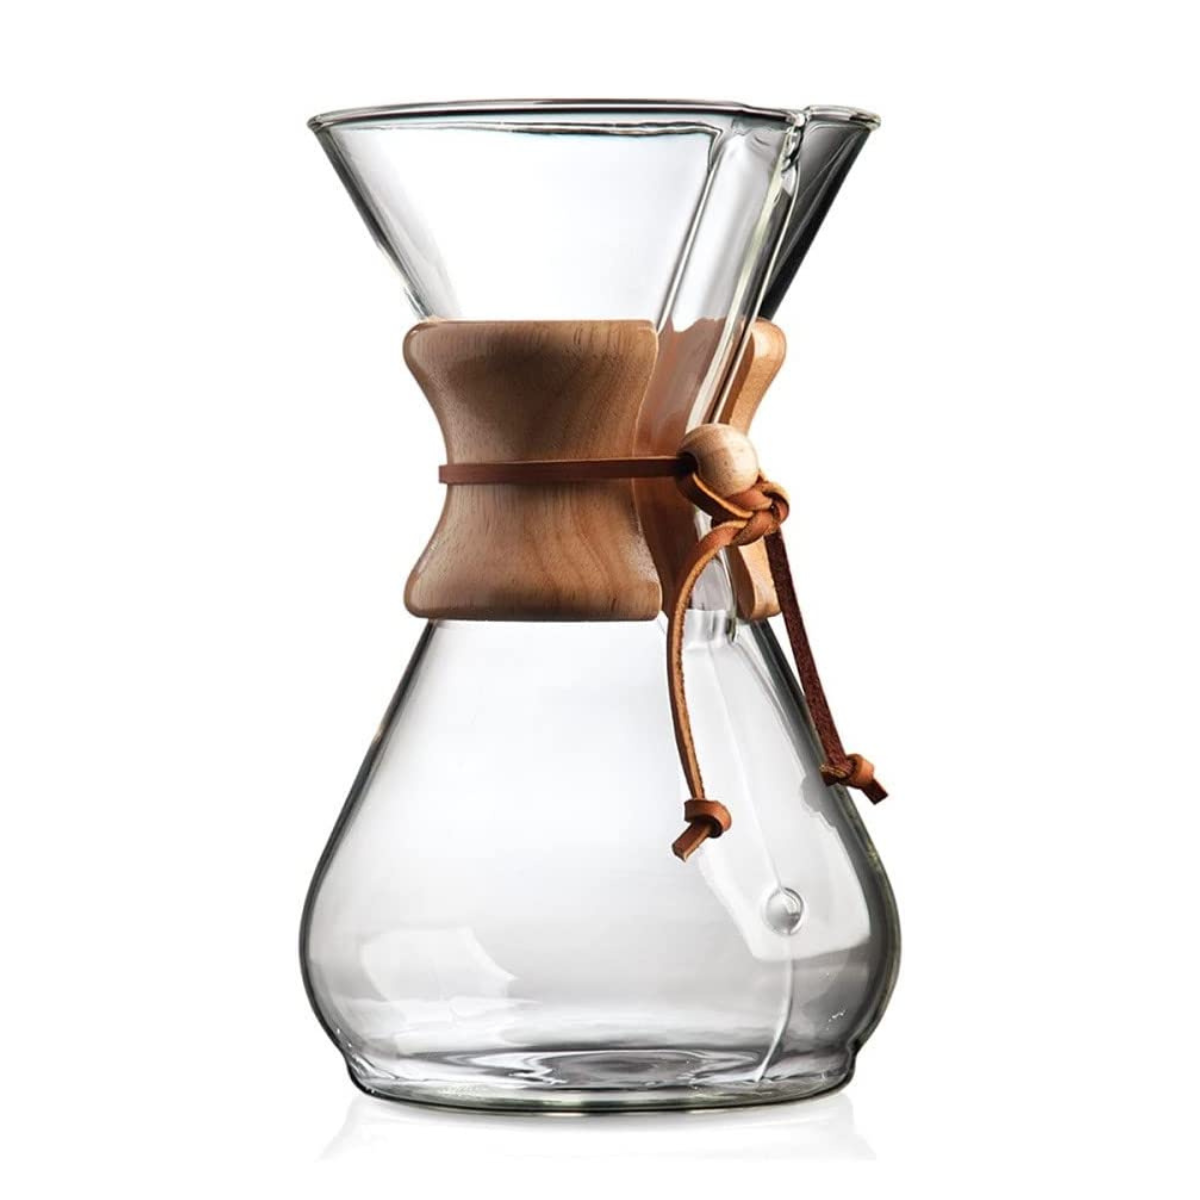
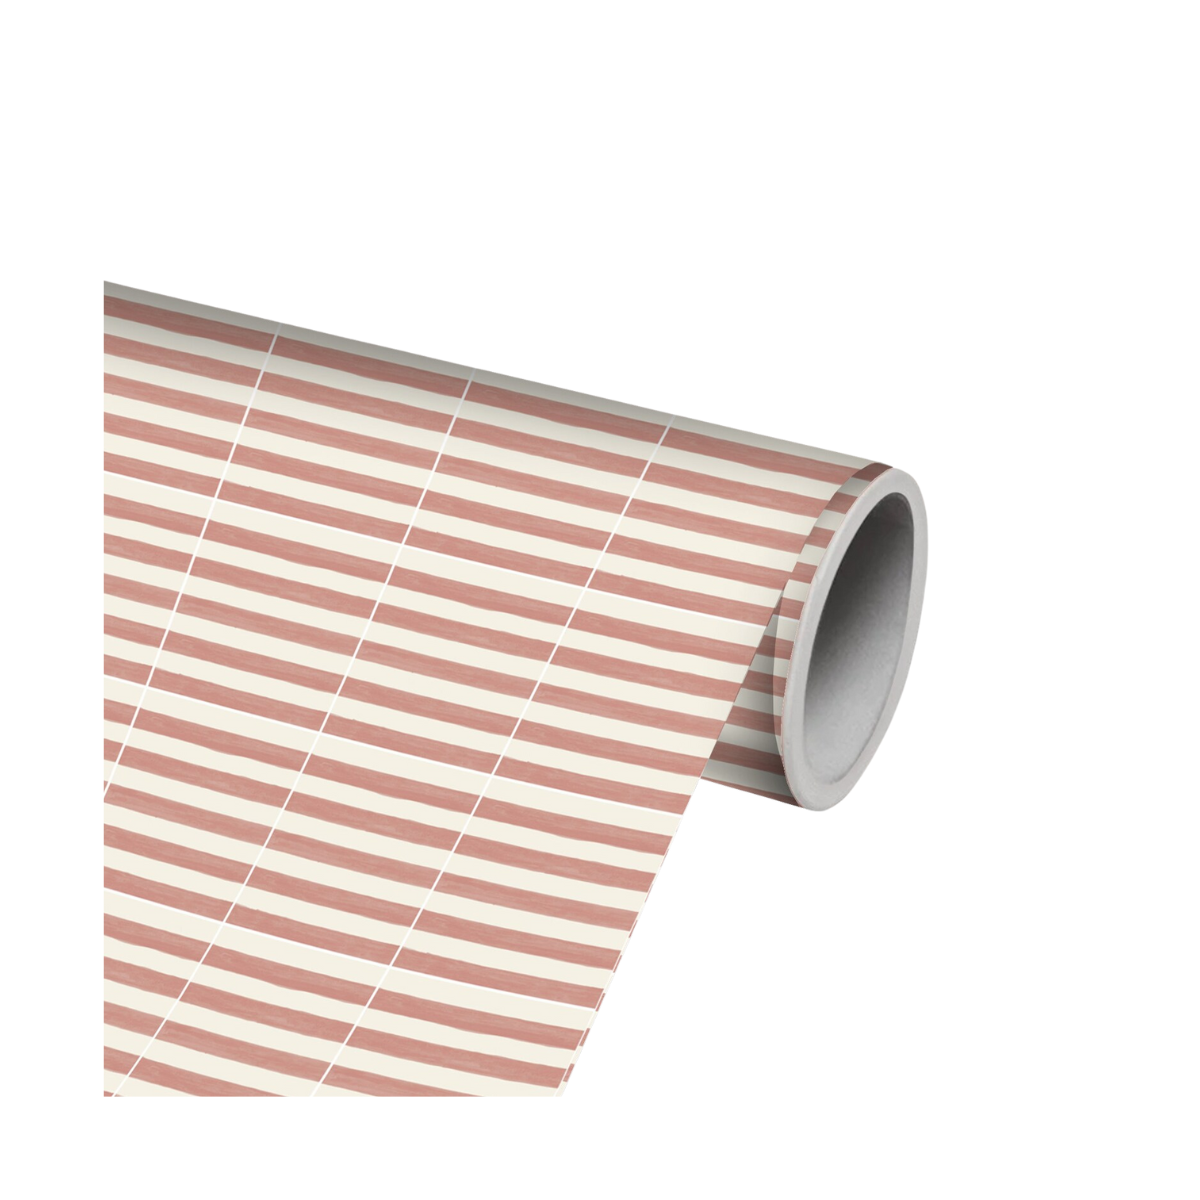
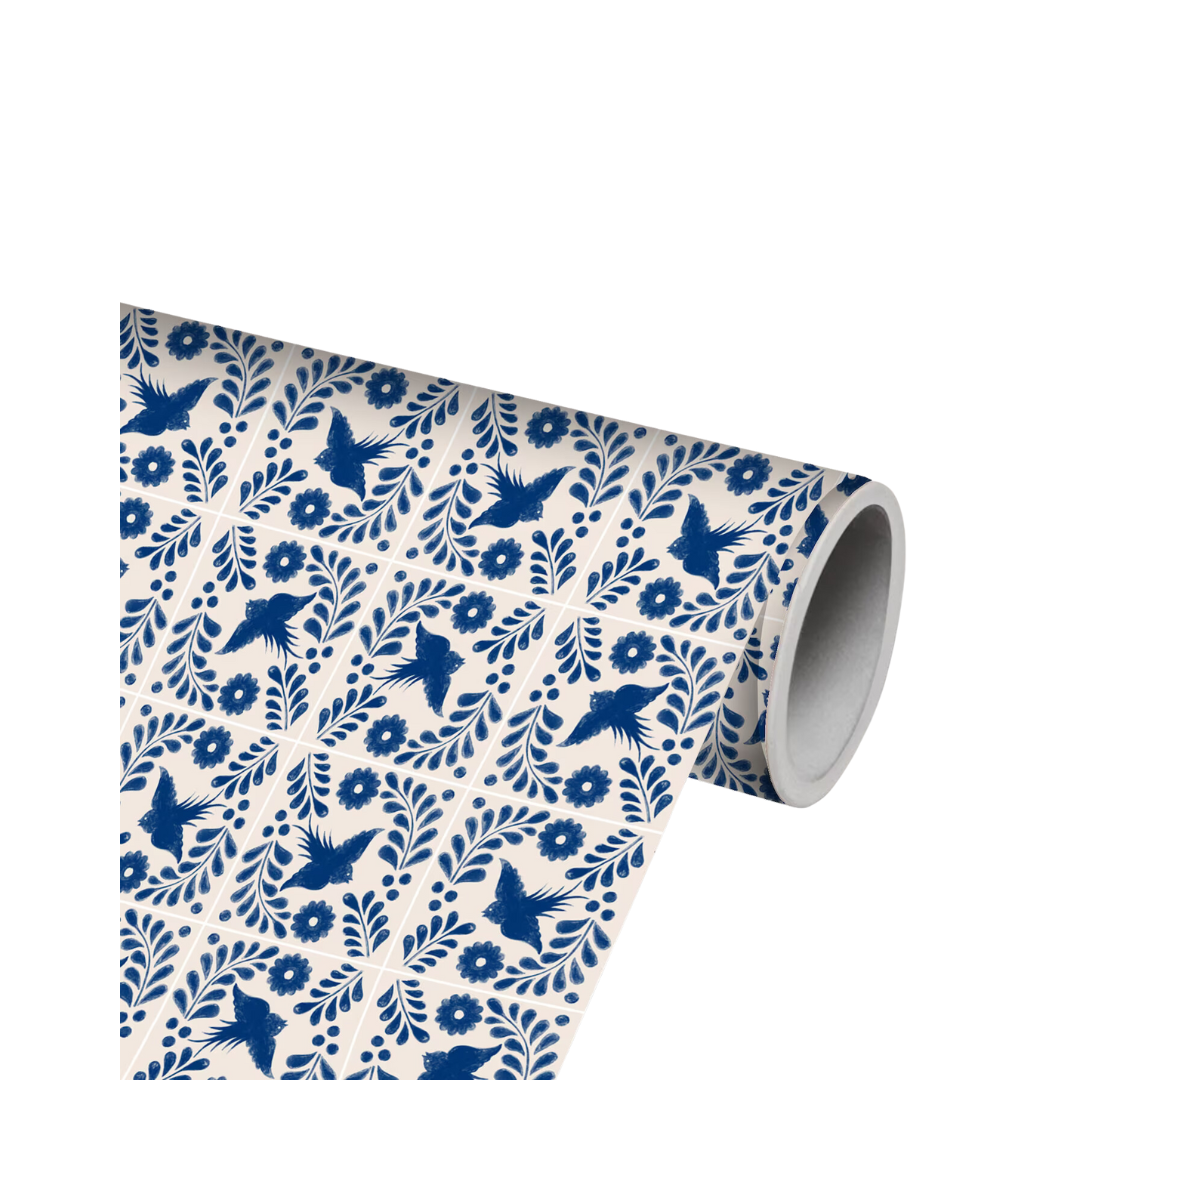
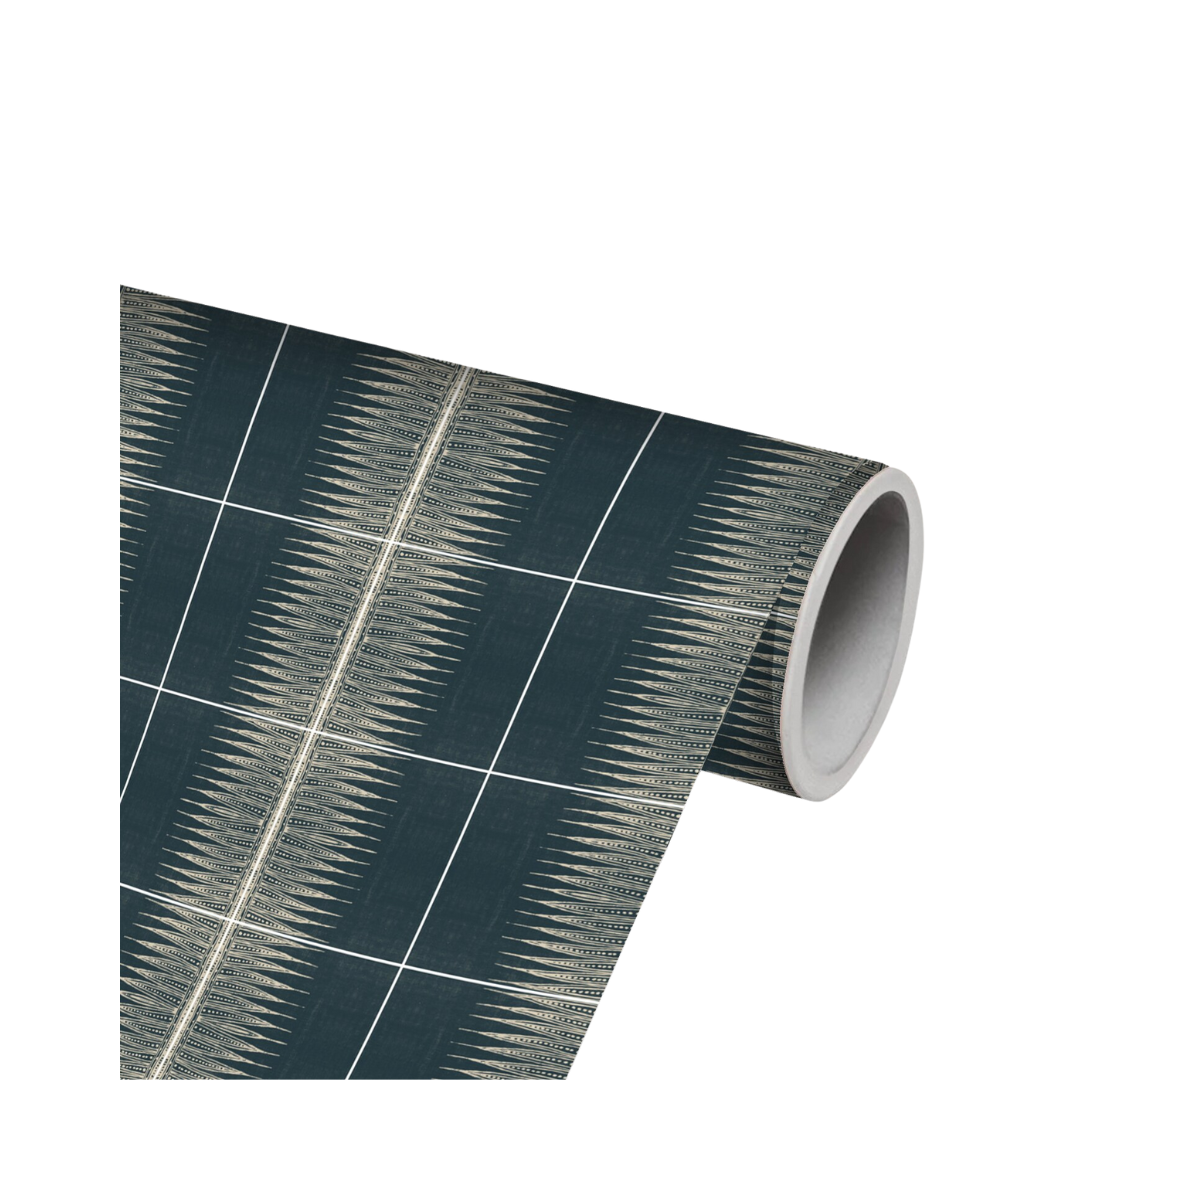
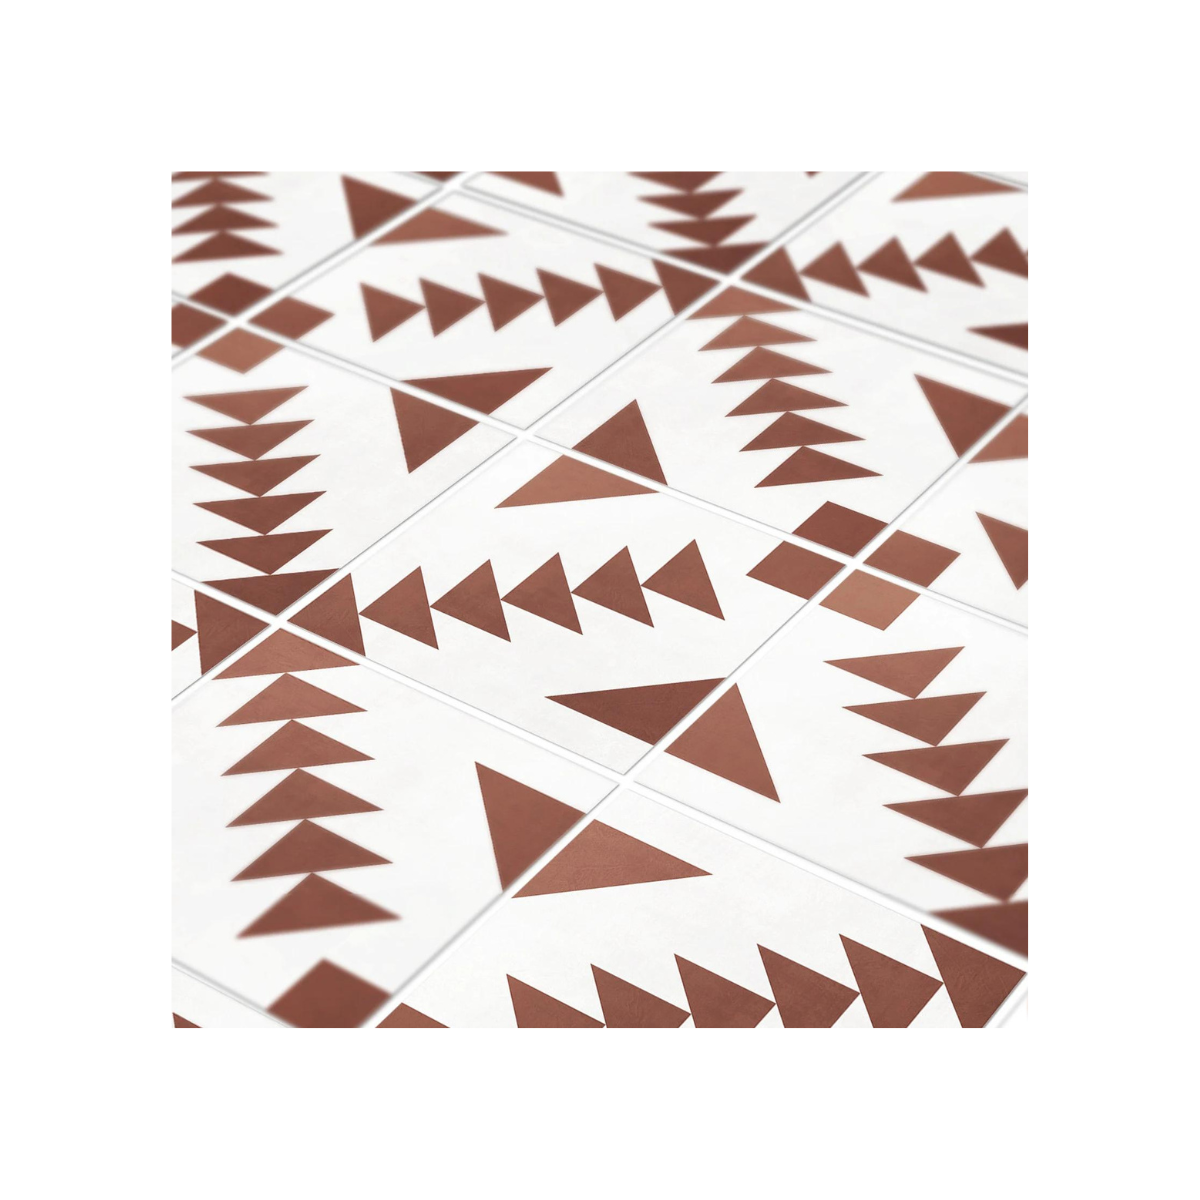
below are some more great options for stick-on tiles.
TILE STICKERS
shop the post