

DIY: Fence Topper

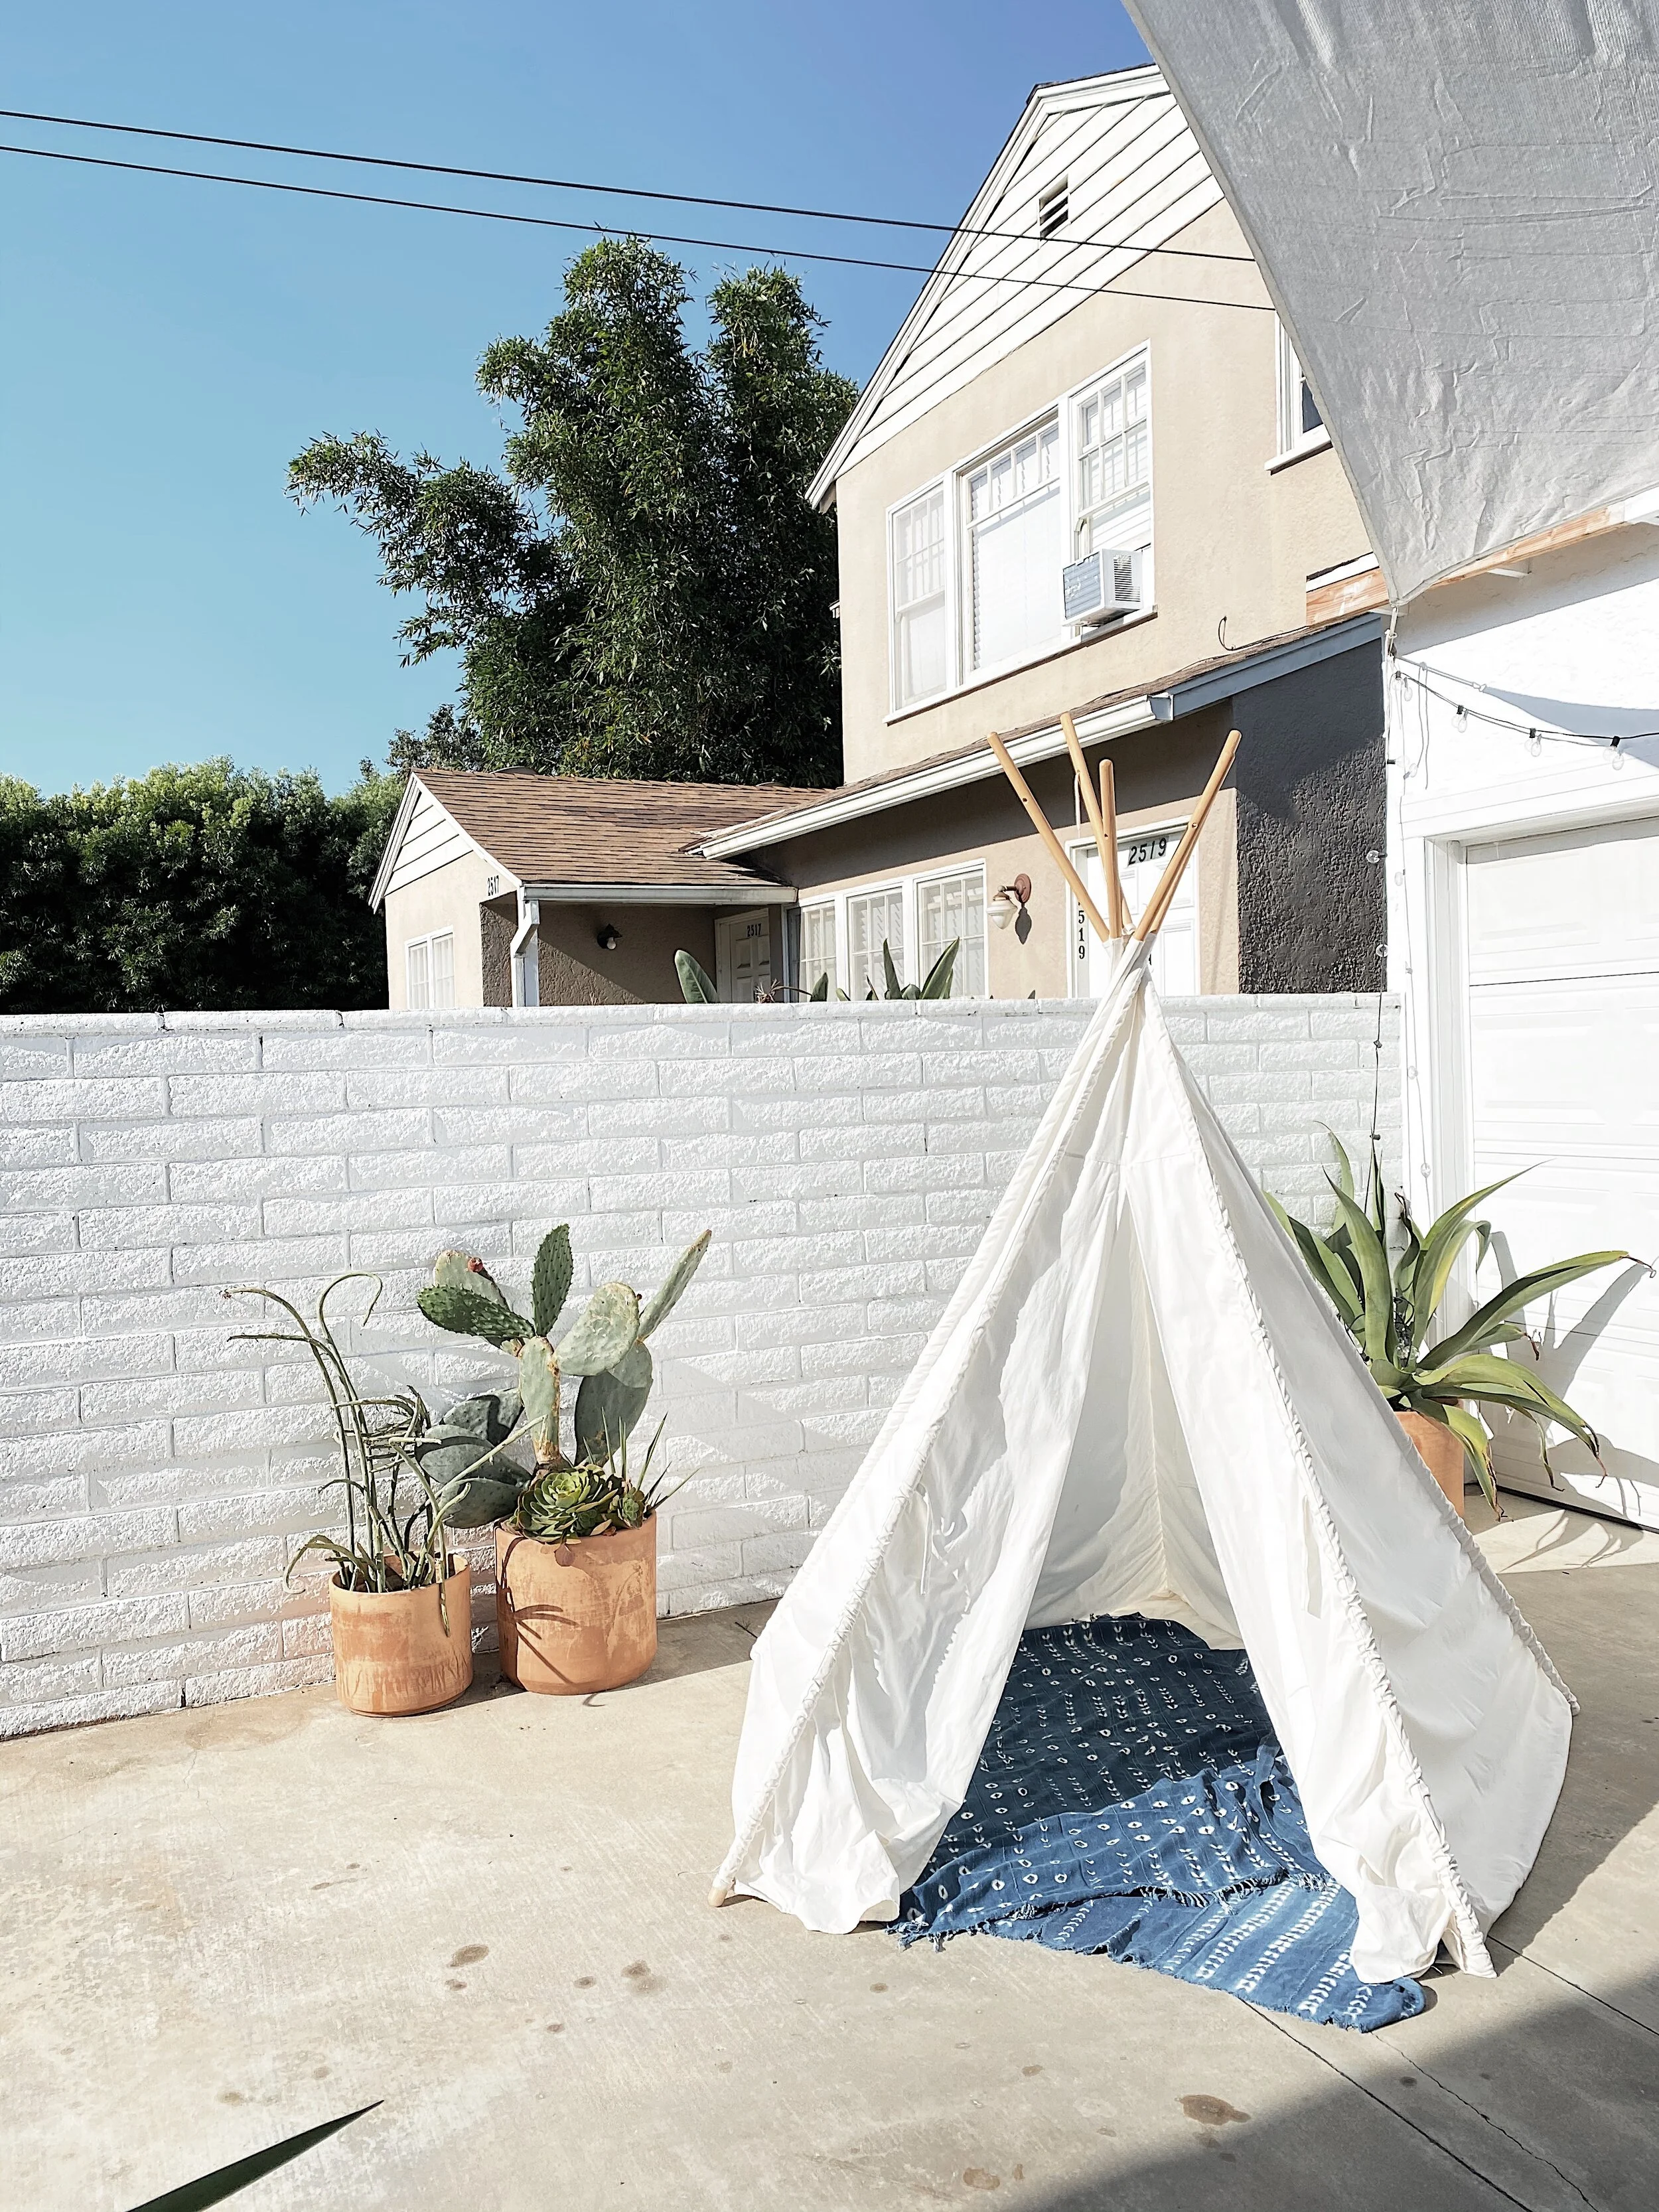
Man this has taken me forever! One, to complete the project, and two, to post about it. But I’m finally doing it. If you live in Southern California, you know that our homes are literally built on top of each other. Some so close, you could reach out and touch your neighbors window from yours. Our neighbors to our left side have a two story duplex on their back lot which looks directly into our backyard, and only a 5 foot fence separating our yards. You can stand flat footed and have a full on visual conversation. Which could be cool for some people, but they Airbnb out the bottom unit, so there’s constantly random strangers staring into our yard. I tried to create privacy with plants, but due to the fact there’s only cement along our side of the fence, they would have to be potted and I wasn’t achieving my level of privacy with this method. So we opted for a fence topper instead.
I’ll skip the part where Strader and I thought we could do this project ourselves, and skip right ahead to the part where I hired a guy off instagram who almost blew up our house! I swear, we’ve only outsourced work a couple of times, and both times have been a nightmare! After realizing that I was very over my head trying to build a fence topper myself, I posted on social to ask for referrals, and quickly got what I thought was a great one, and his work looked incredible! Since the day I met him, he was a bit “off”, I couldn’t put my finger on it, but his fence photos looked great and my friend insisted that he did great work. Ignoring my gut instinct, I decided to hire him any way and give him the benefit of the doubt. When my husband met him though, the first thing he asked was, “is this guy on drugs??”
He purchased the lumber we needed and dropped and dropped it off, but the day he came back to start working, within minutes there were flames shooting out of the back of his bus. He had endless chemicals and gas cans in his bus that easily could have exploded and burned down our house and our neighbors, and he was beyond casual about the whole incident. Never apologized or anything. Needless to say he was fired.

Part of our original agreement was that I would stain the wood, which honestly I recommend because it saved me so much money! I like staining, it’s kind of therapeutic, so I happily volunteered to stain the wood myself and saved over $1,000 in labor. We used Redwood, some of which we could purchase at Home Depot, and the rest like the 4x1’s purchased at a local lumber yard.
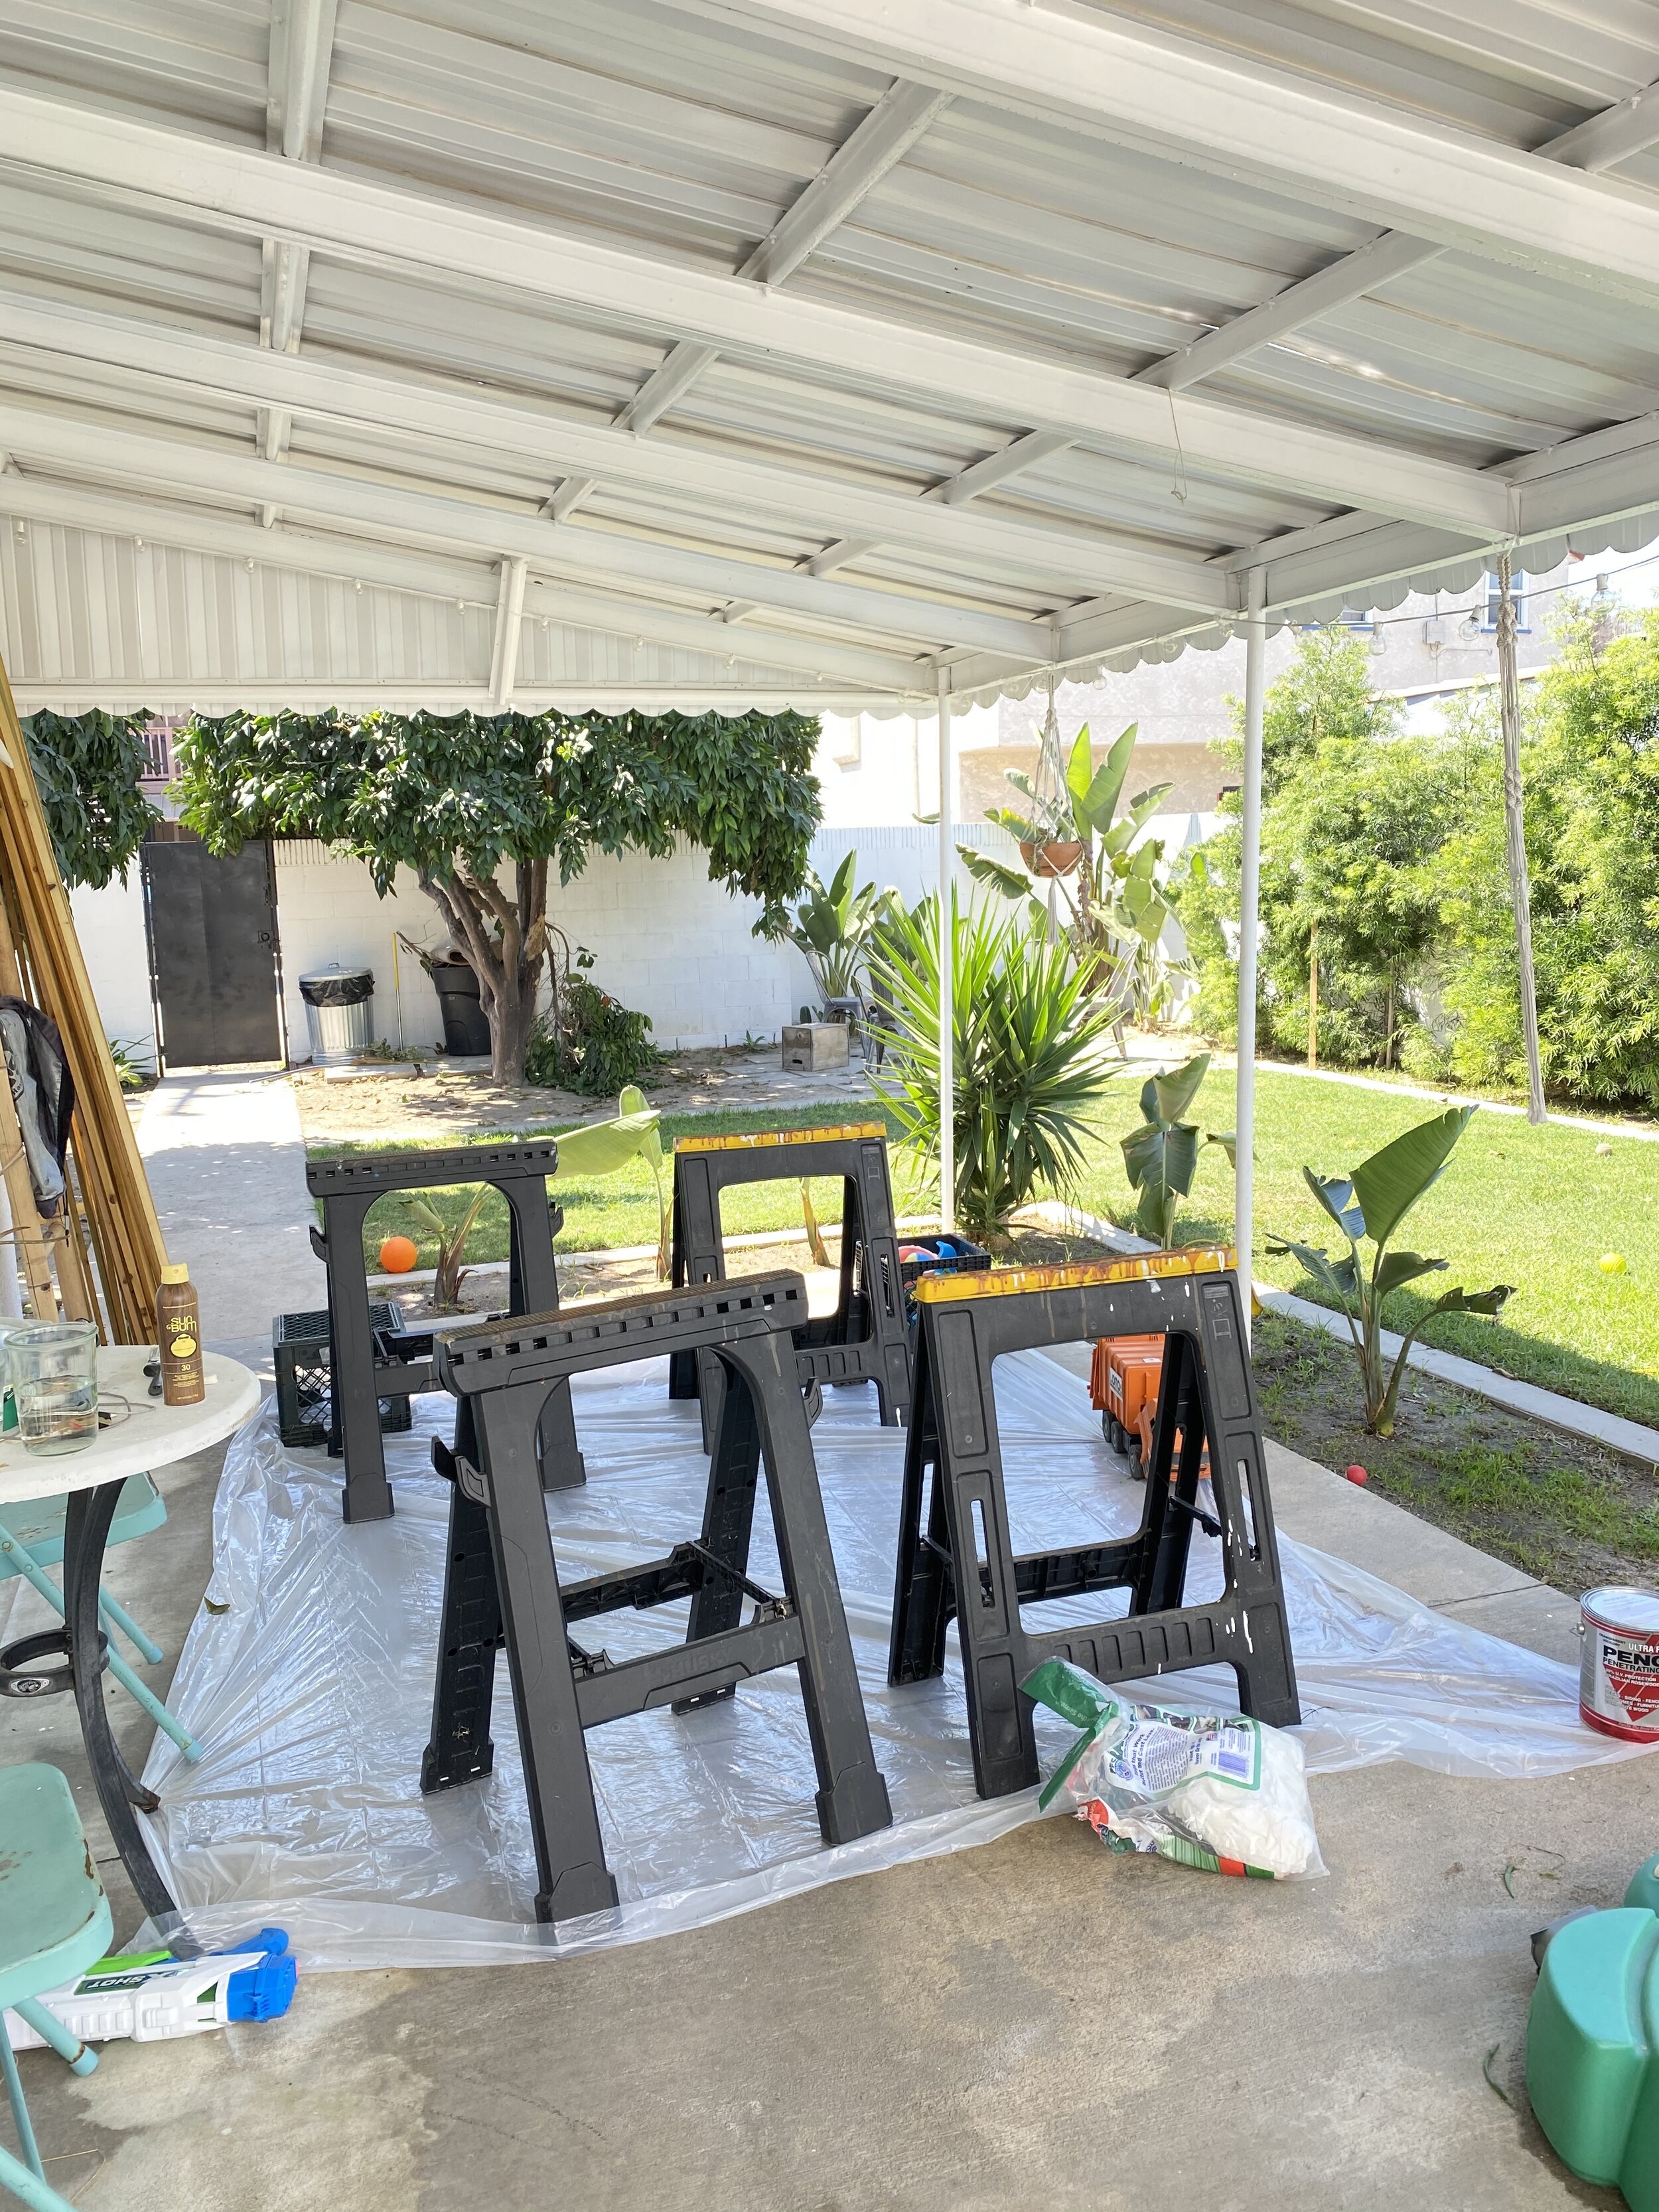
I borrowed some saw horses from my neighbor, laid down a tarp and got to work. Unfortunately I decided to start staining during one of our biggest summer heat waves and temps were ranging from 105º to 110º!!! It was so intense! My face was a tomato! I will recommend though, even if it’s not super hot, always stain under some shade, you don’t want the sun drying your stain before you can wipe it.

Another side note, Redwood is not termite proof! The sap that is in the bark of the Redwood tree is termite proof, however, the wood itself is not. Once the wood is cut, the exposed wood is totally susceptible to termites. And I’m not sure if it was all the freshly cut wood, or the insane heatwave, but I had thousands of termites swarming me as I was staining. Like they were IN. MY. HAIR.!!! WTF!!! I picked up this termite spray and thankfully it worked on contact.


Alright, so back to staining.
Supplied needed: Saw Horses, Lint Free Disposable Rags, A Wide Paintbrush, Lots of Disposable Gloves, Plastic tarp to lay down underneath, and Stain. The crazy guy I’d previously hired, sold me two cans of Penofin stain that I’m pretty sure was left over from another project, and was not at all the color we decided on. But I didn’t realize that until I had already stained about 20 boards and they dried. It was super dark and red.

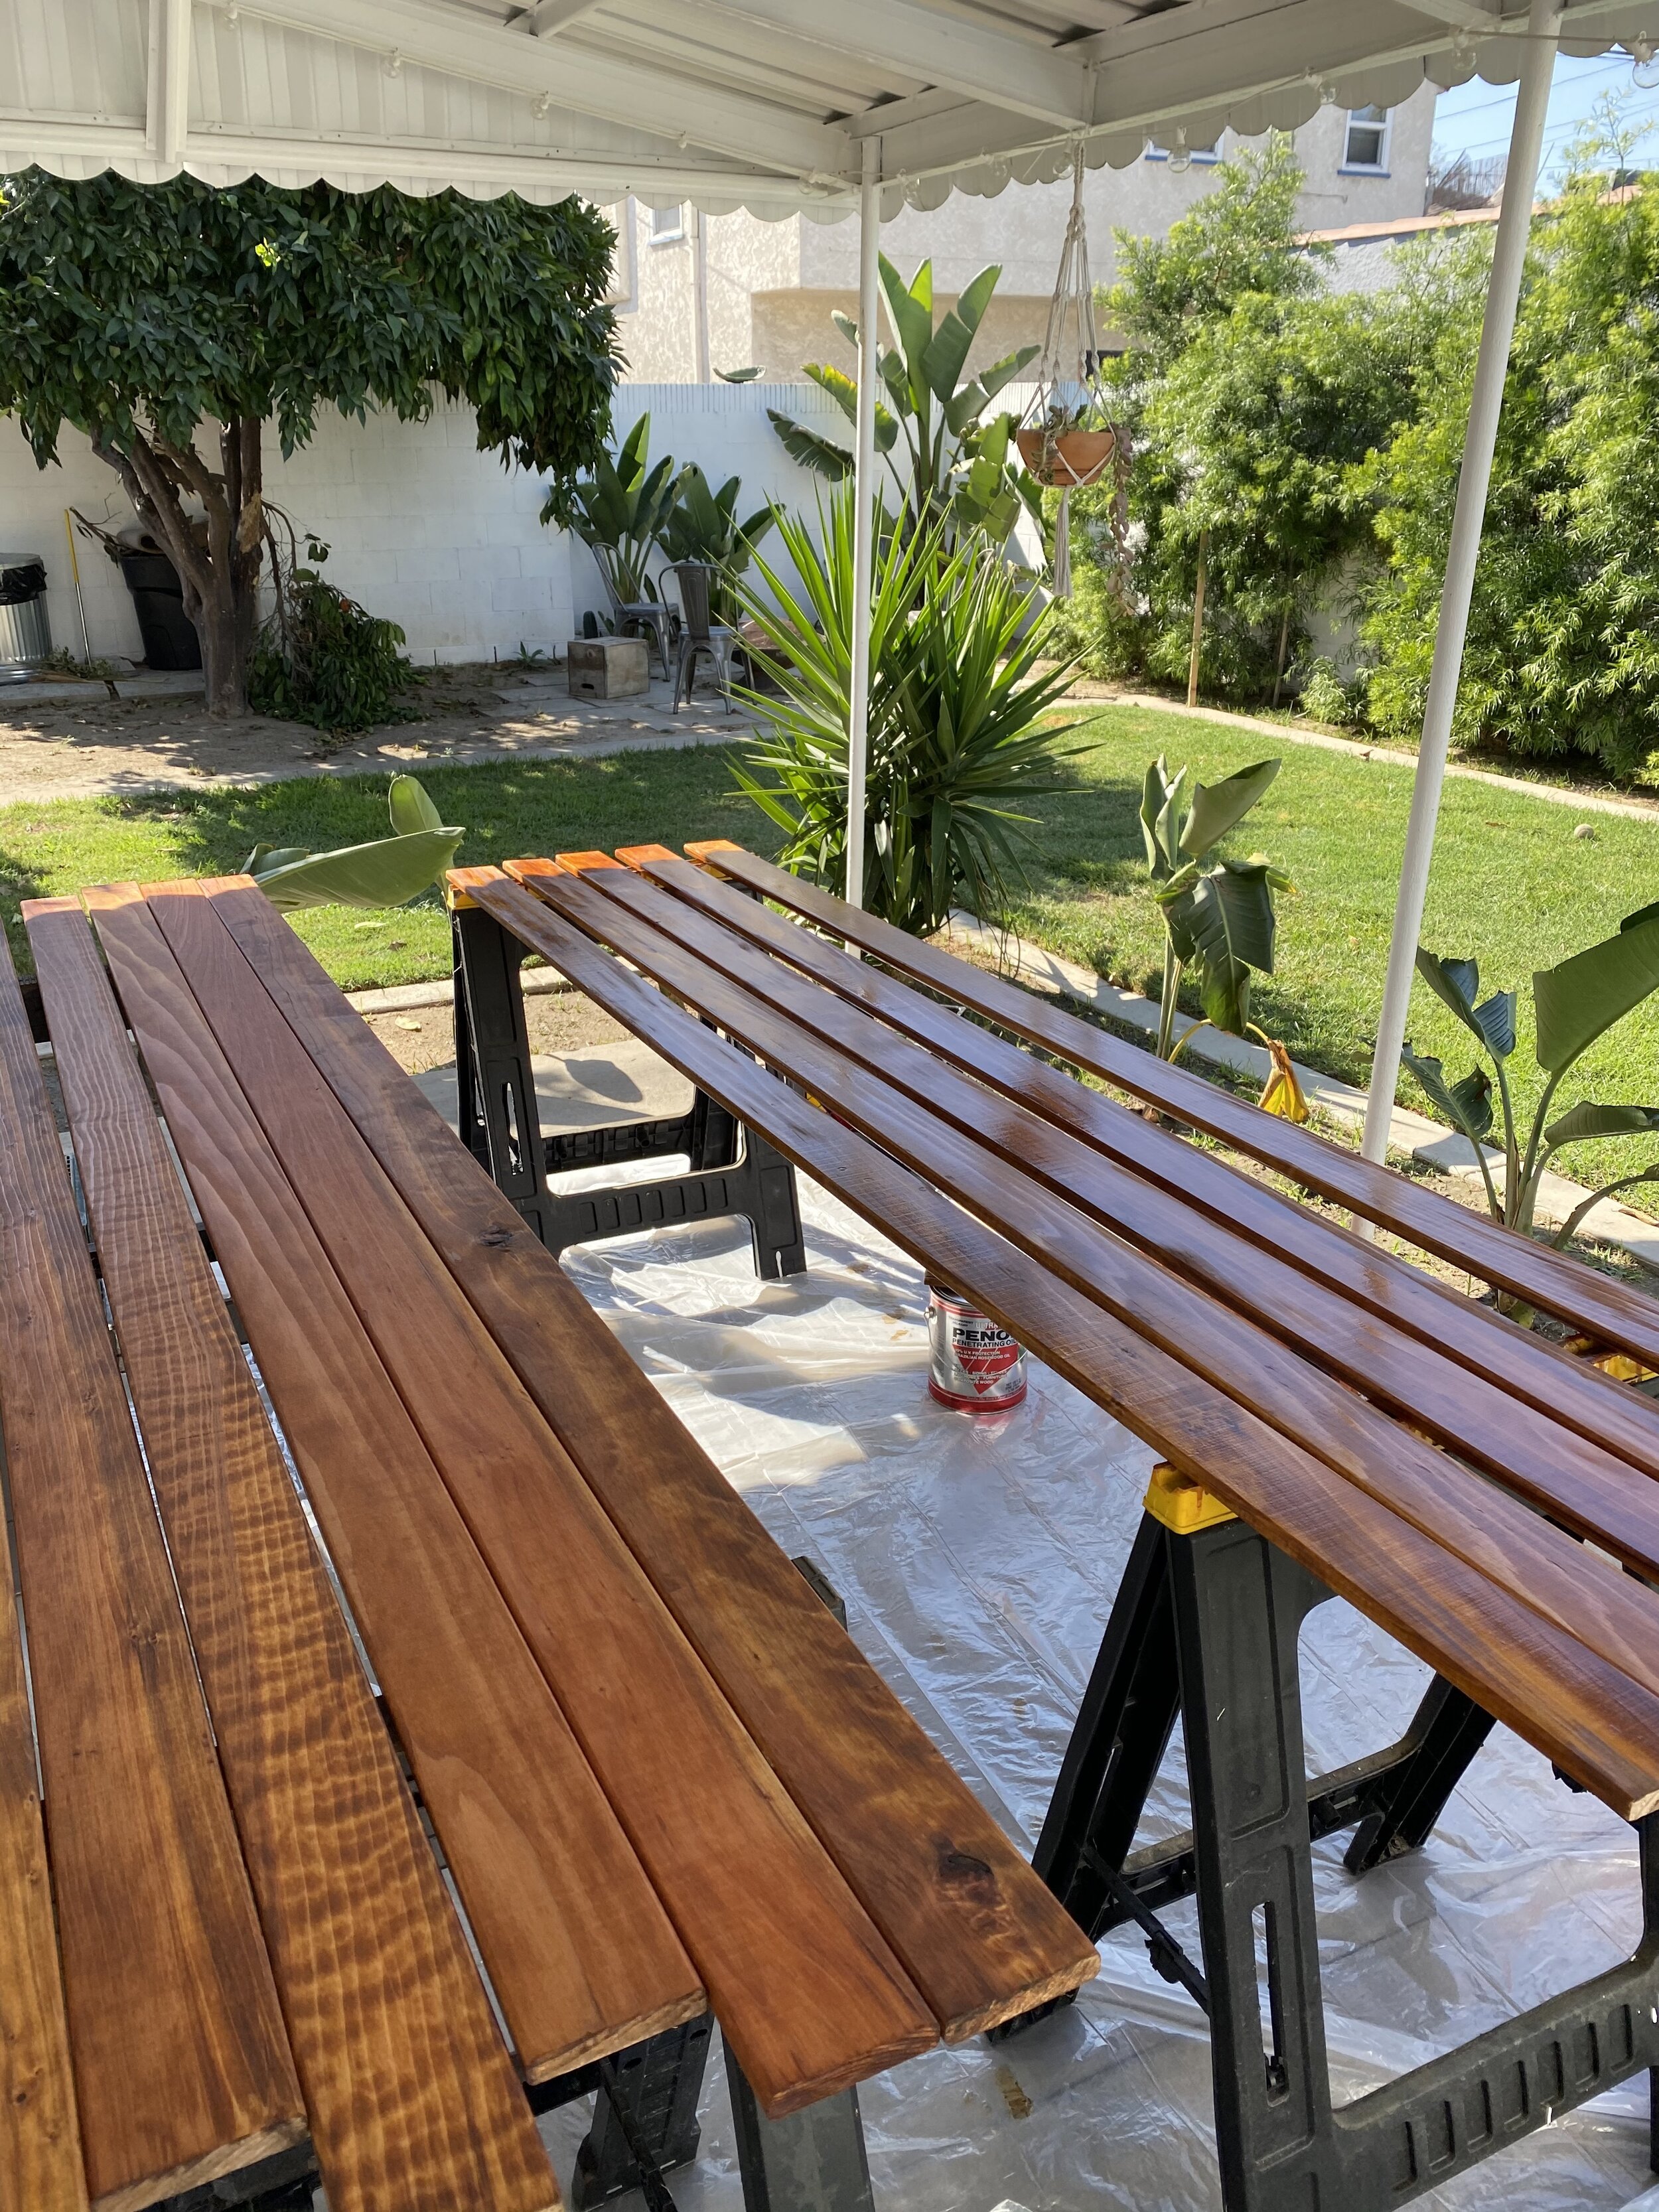
I wanted a light natural stain that hid the red tones of the Redwood.

I took a quick trip to Lowe’s and found Cabot Australian Timber Oil in Honey Teak, which was so much more the color I was envisioning in my head.

I first paint on the stain, and I like to use the cheap brushes from Home Depot that cost like $1. I get a generous even coat on the entire side of the board and get the sides too.

The wait time depends on how hot it is and how dark you want your stain. Like I said, it was hot as hell, so I let my stain stay on for 2-3 minutes and then went back and wiped it clean with the lint free cloths. Make sure you wipe underneath the edges too so you don’t get any drip marks on the back of the boards.

Here’s some finished boards in the Honey Teak. Way better!

Now to sand all the boards I messed up in the beginning….

I’m not sure if Coyote actually wanted to assist me or just steal my safety goggles:)

This had to be my least favorite part. The stain did not want to sand off, and my sander kept making all these divots in the wood and leaving swirl marks. It was pretty frustrating. I then had to wipe the boards clean with a damp cloth to remove all the saw dust, let them dry, and re-stain them.

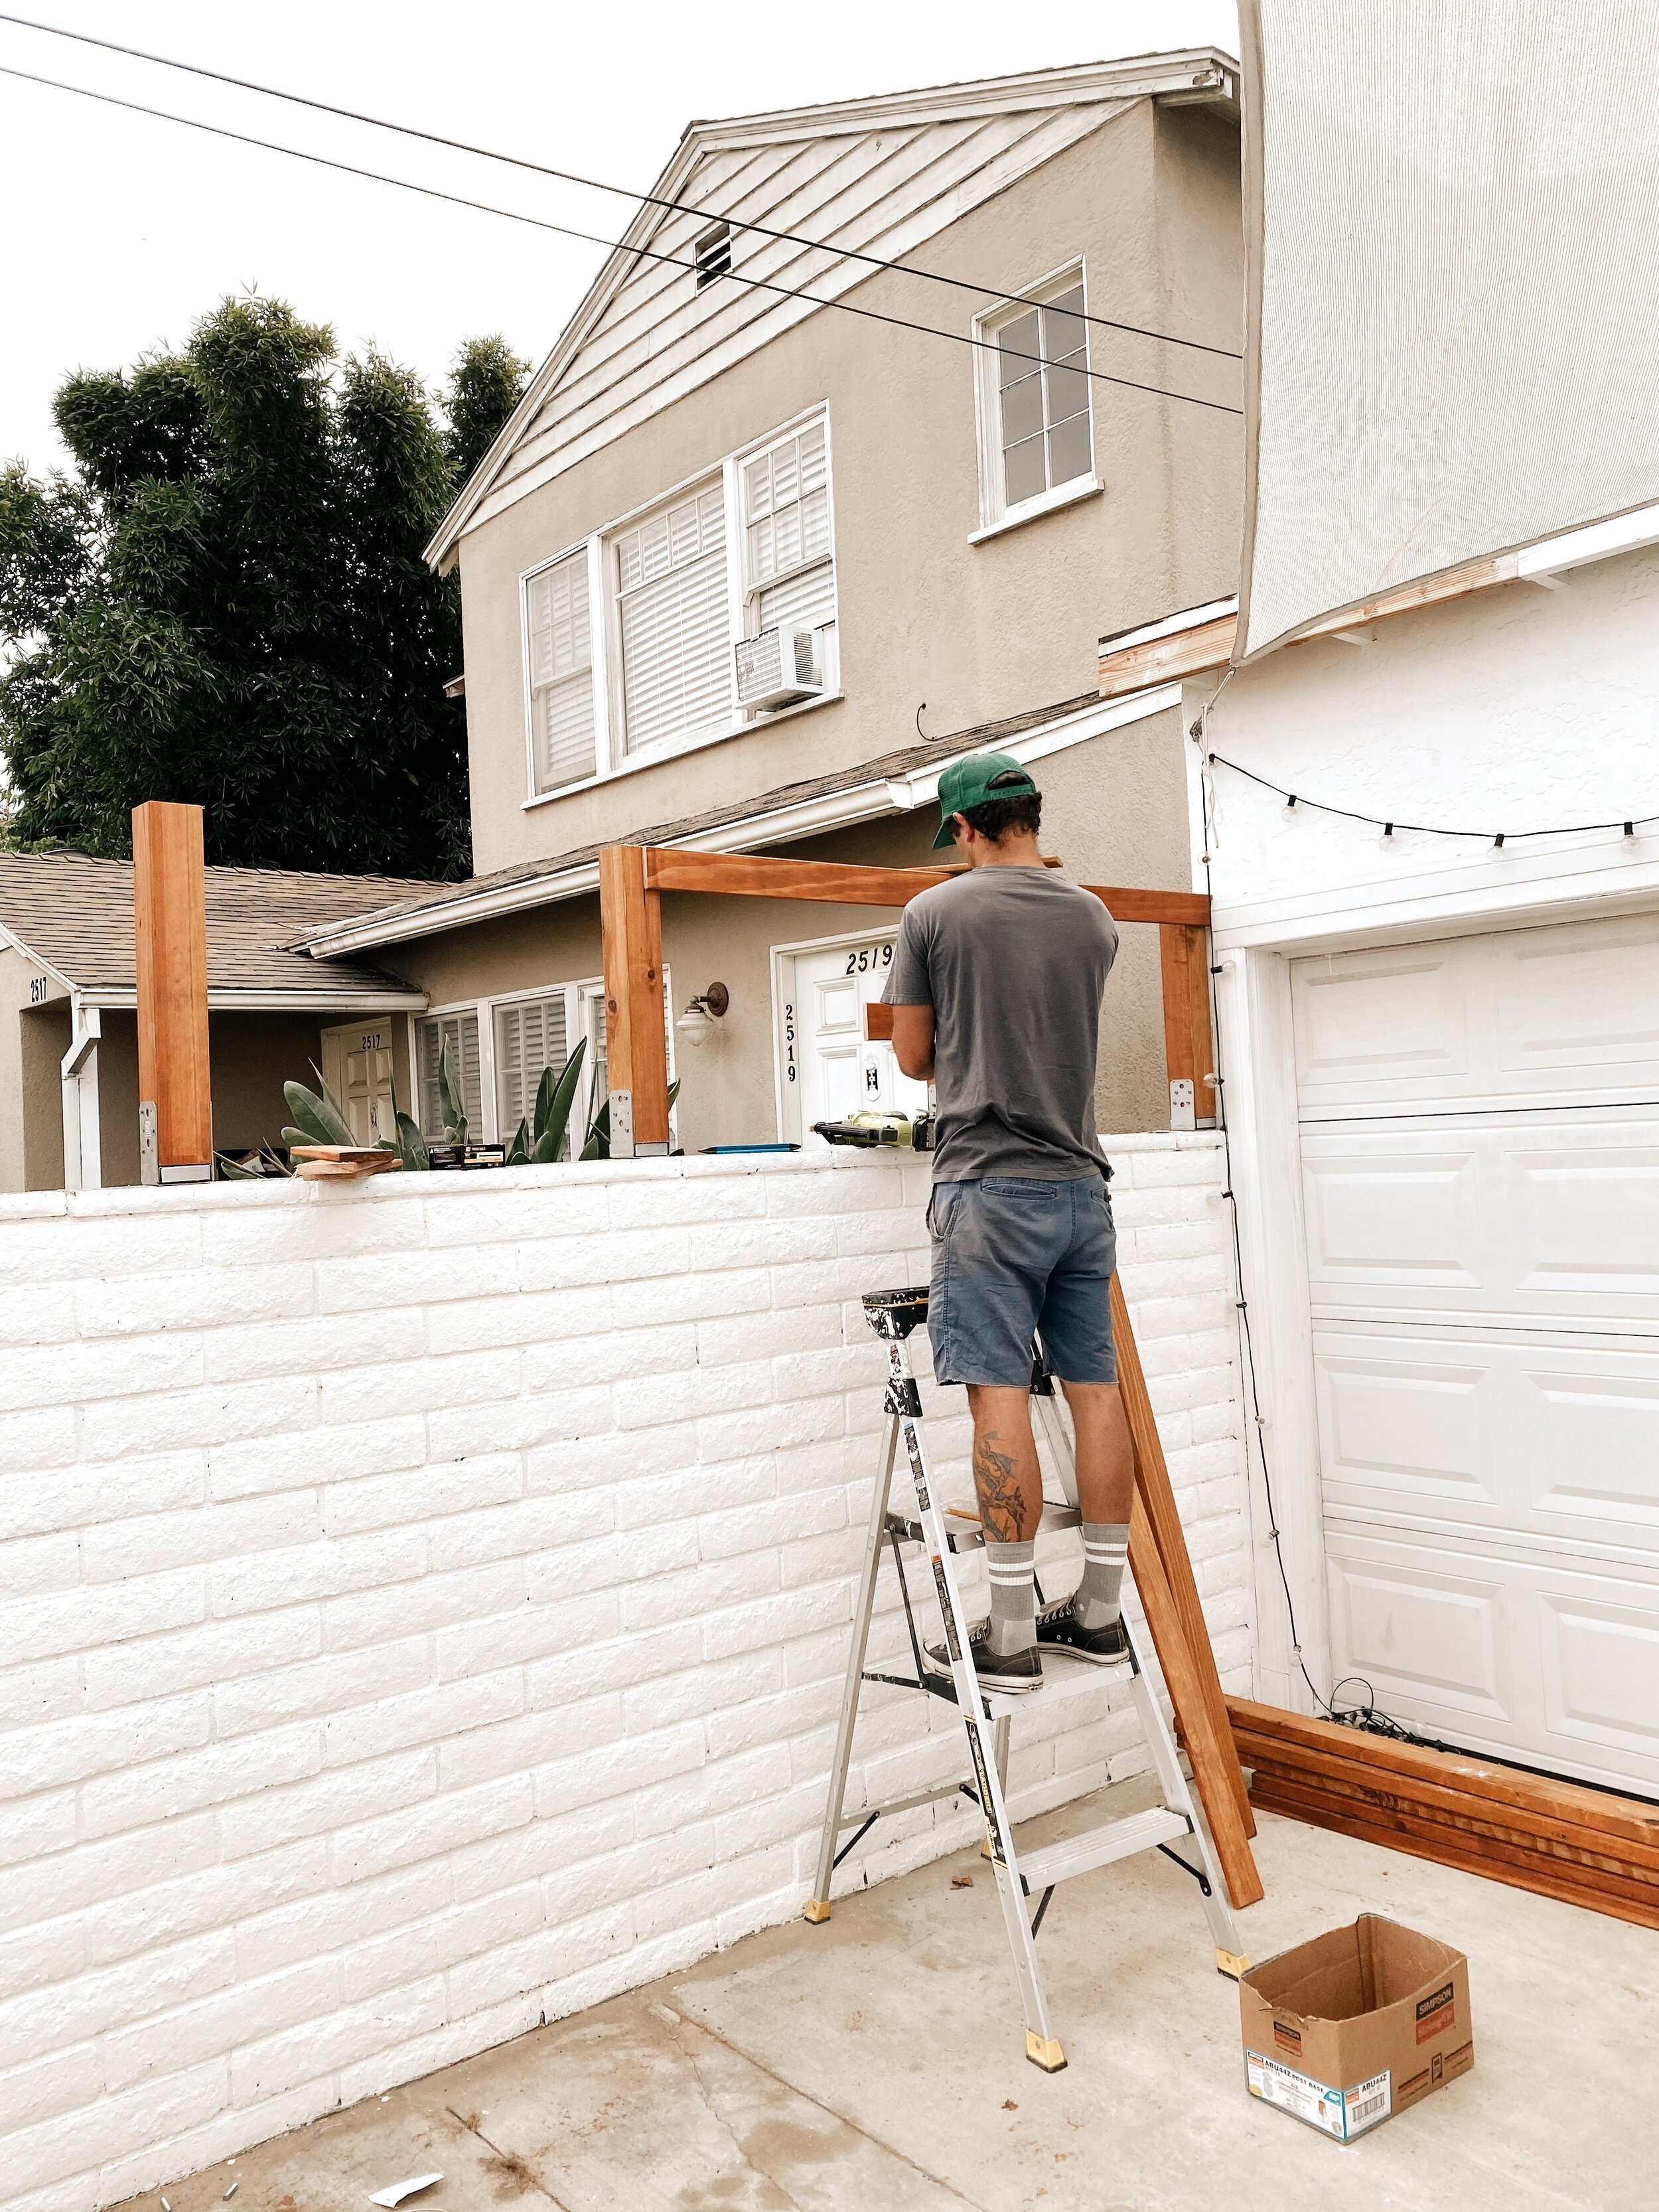
Thankfully one of our neighbors and friends, an incredible wood worker, agreed to come help me finish the project. Matt, you’re a Life saver!!
First, he cut the posts and installed them with brackets to the top of the brick wall.

Next, we used a string and ran it across the top with a level to make sure all the boards were the same length and level before anchoring them.

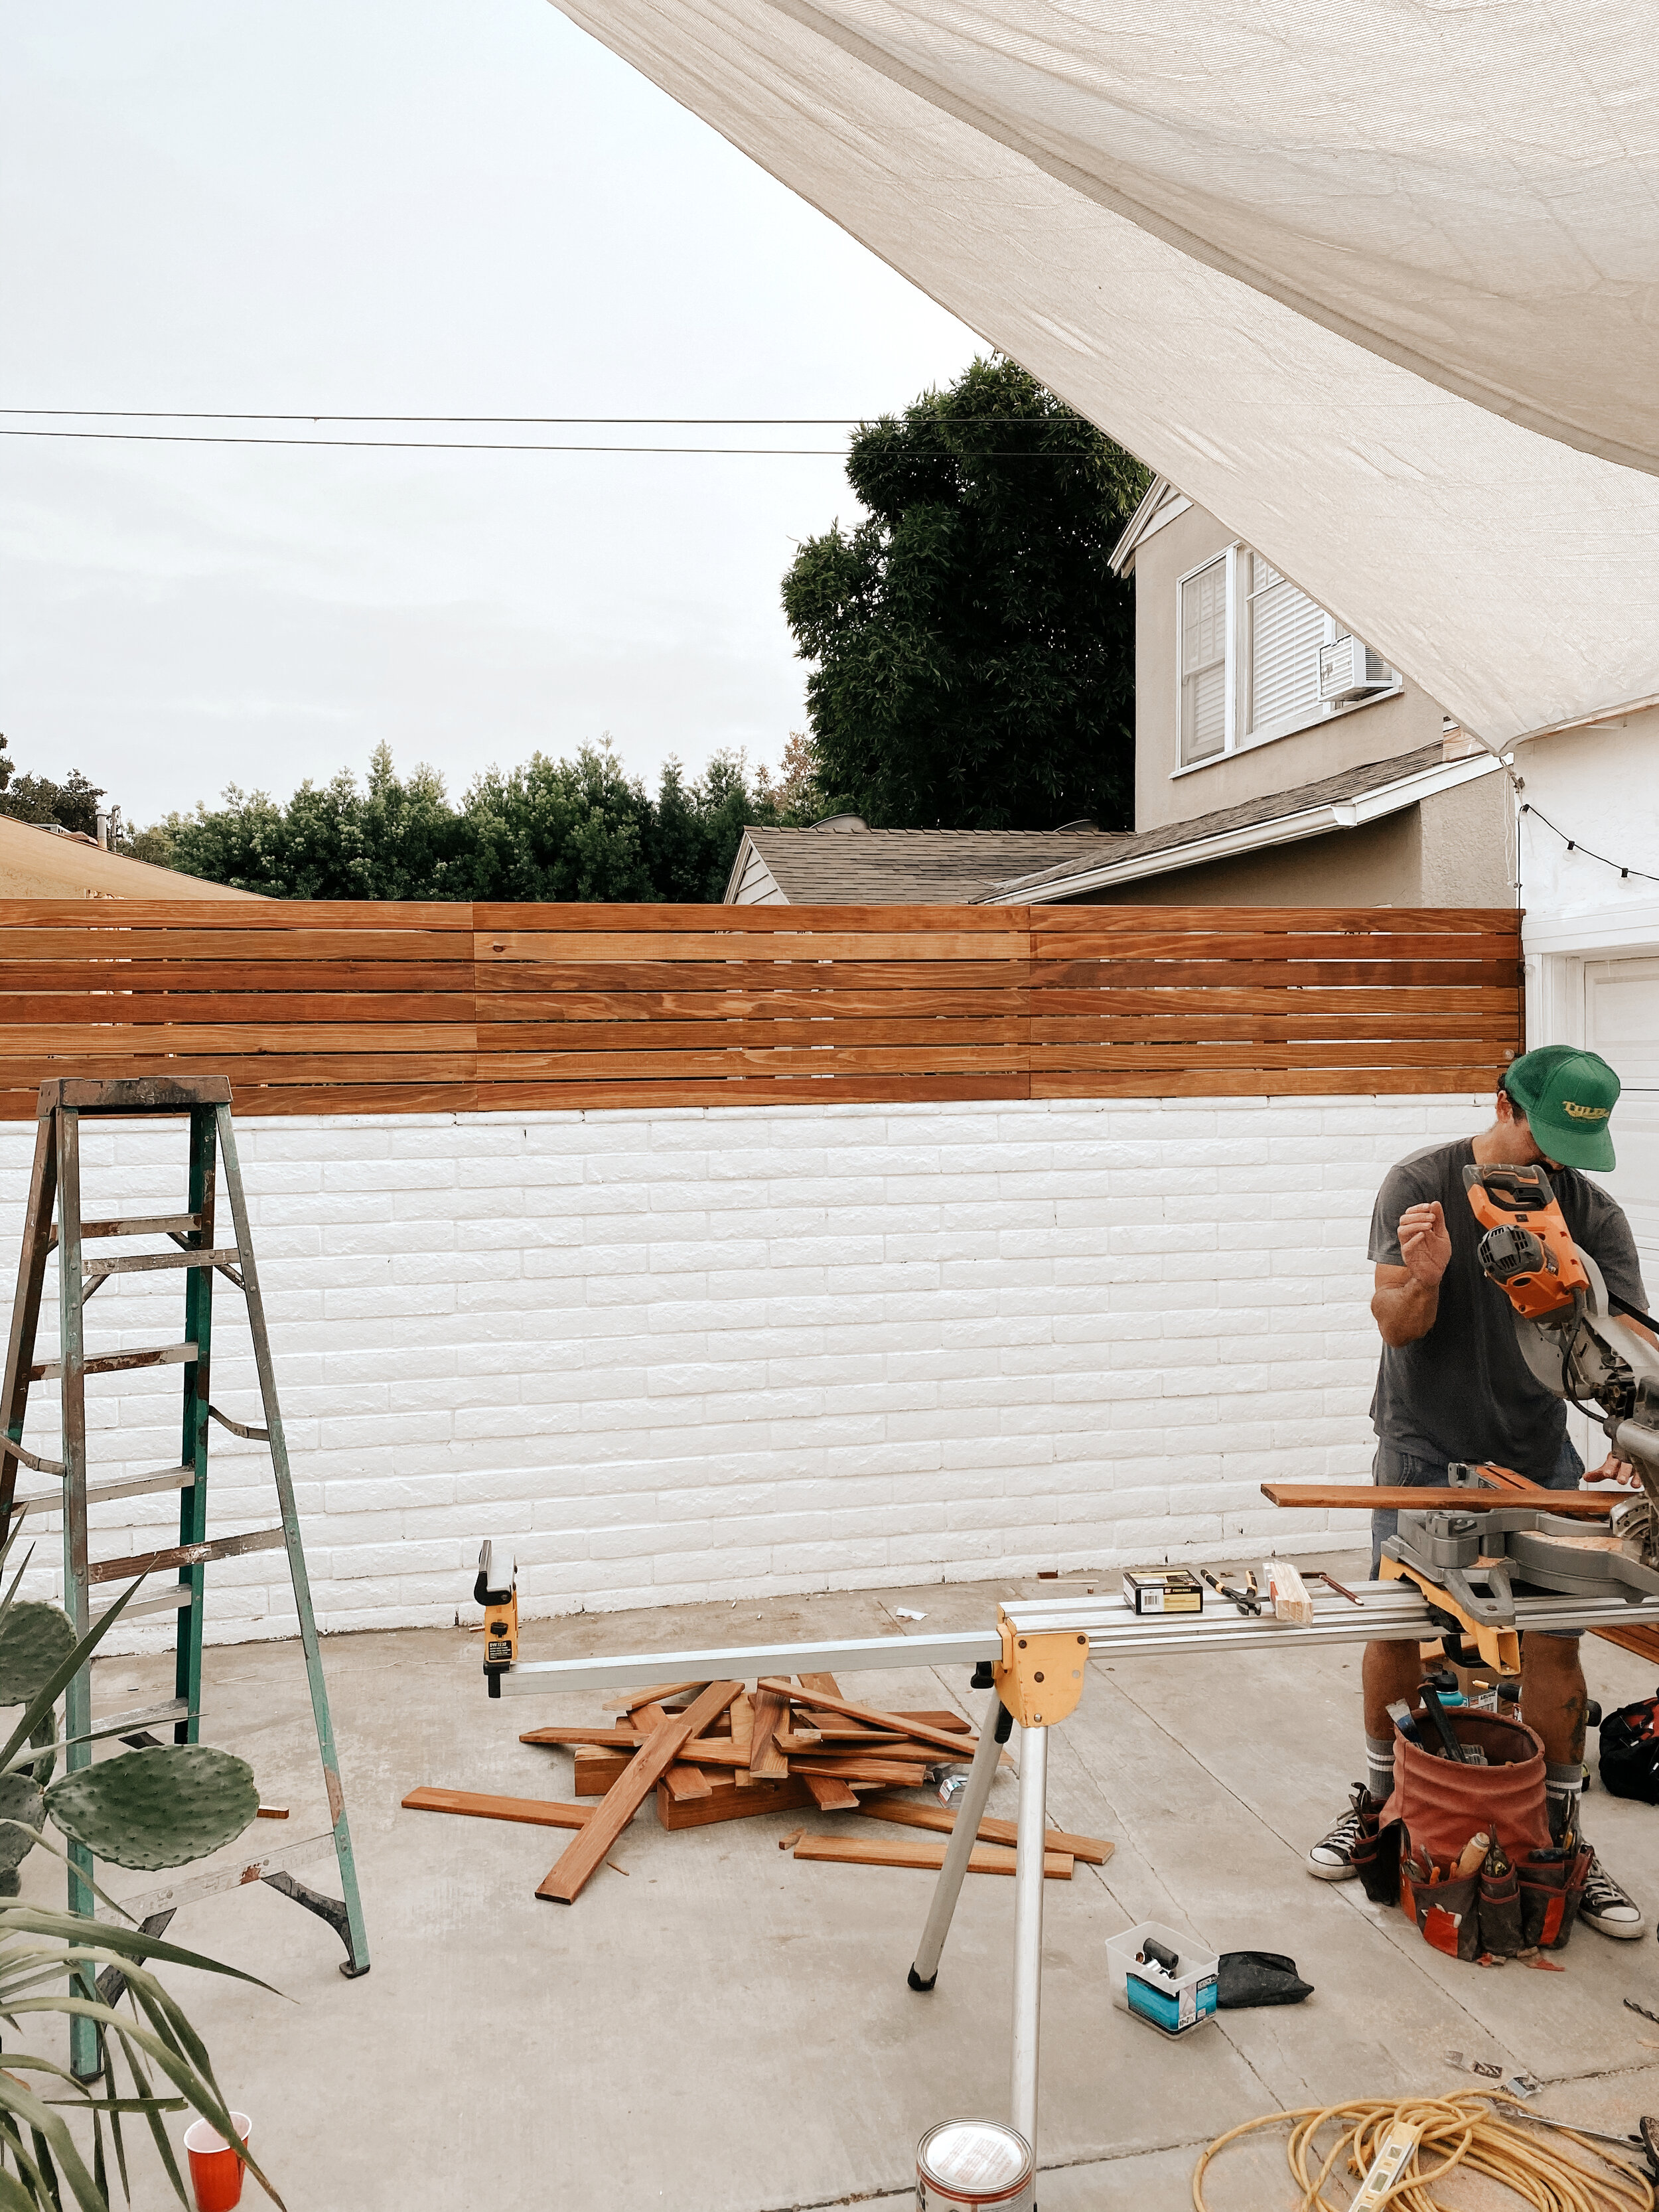
Then, we cut the 4x1 boards.
And started attaching them to the frame with a nail gun.

We had a little hiccup because I wanted them placed a “carpenters pencil” width apart from each other, but Matt did a whole section at the wrong width and the number of boards didn’t match up with the height of the frame, so he had to take all the boards off and re-space them with the carpenters pencil. I wanted a tiny gap so I didn’t see any eyes through the fence:)

Once we worked out the spacing issue, it was smooth sailing from then on. Just cutting the boards, aligning them, and attaching.

Bye Bye Airbnb-ers!!

Hello Privacy!!
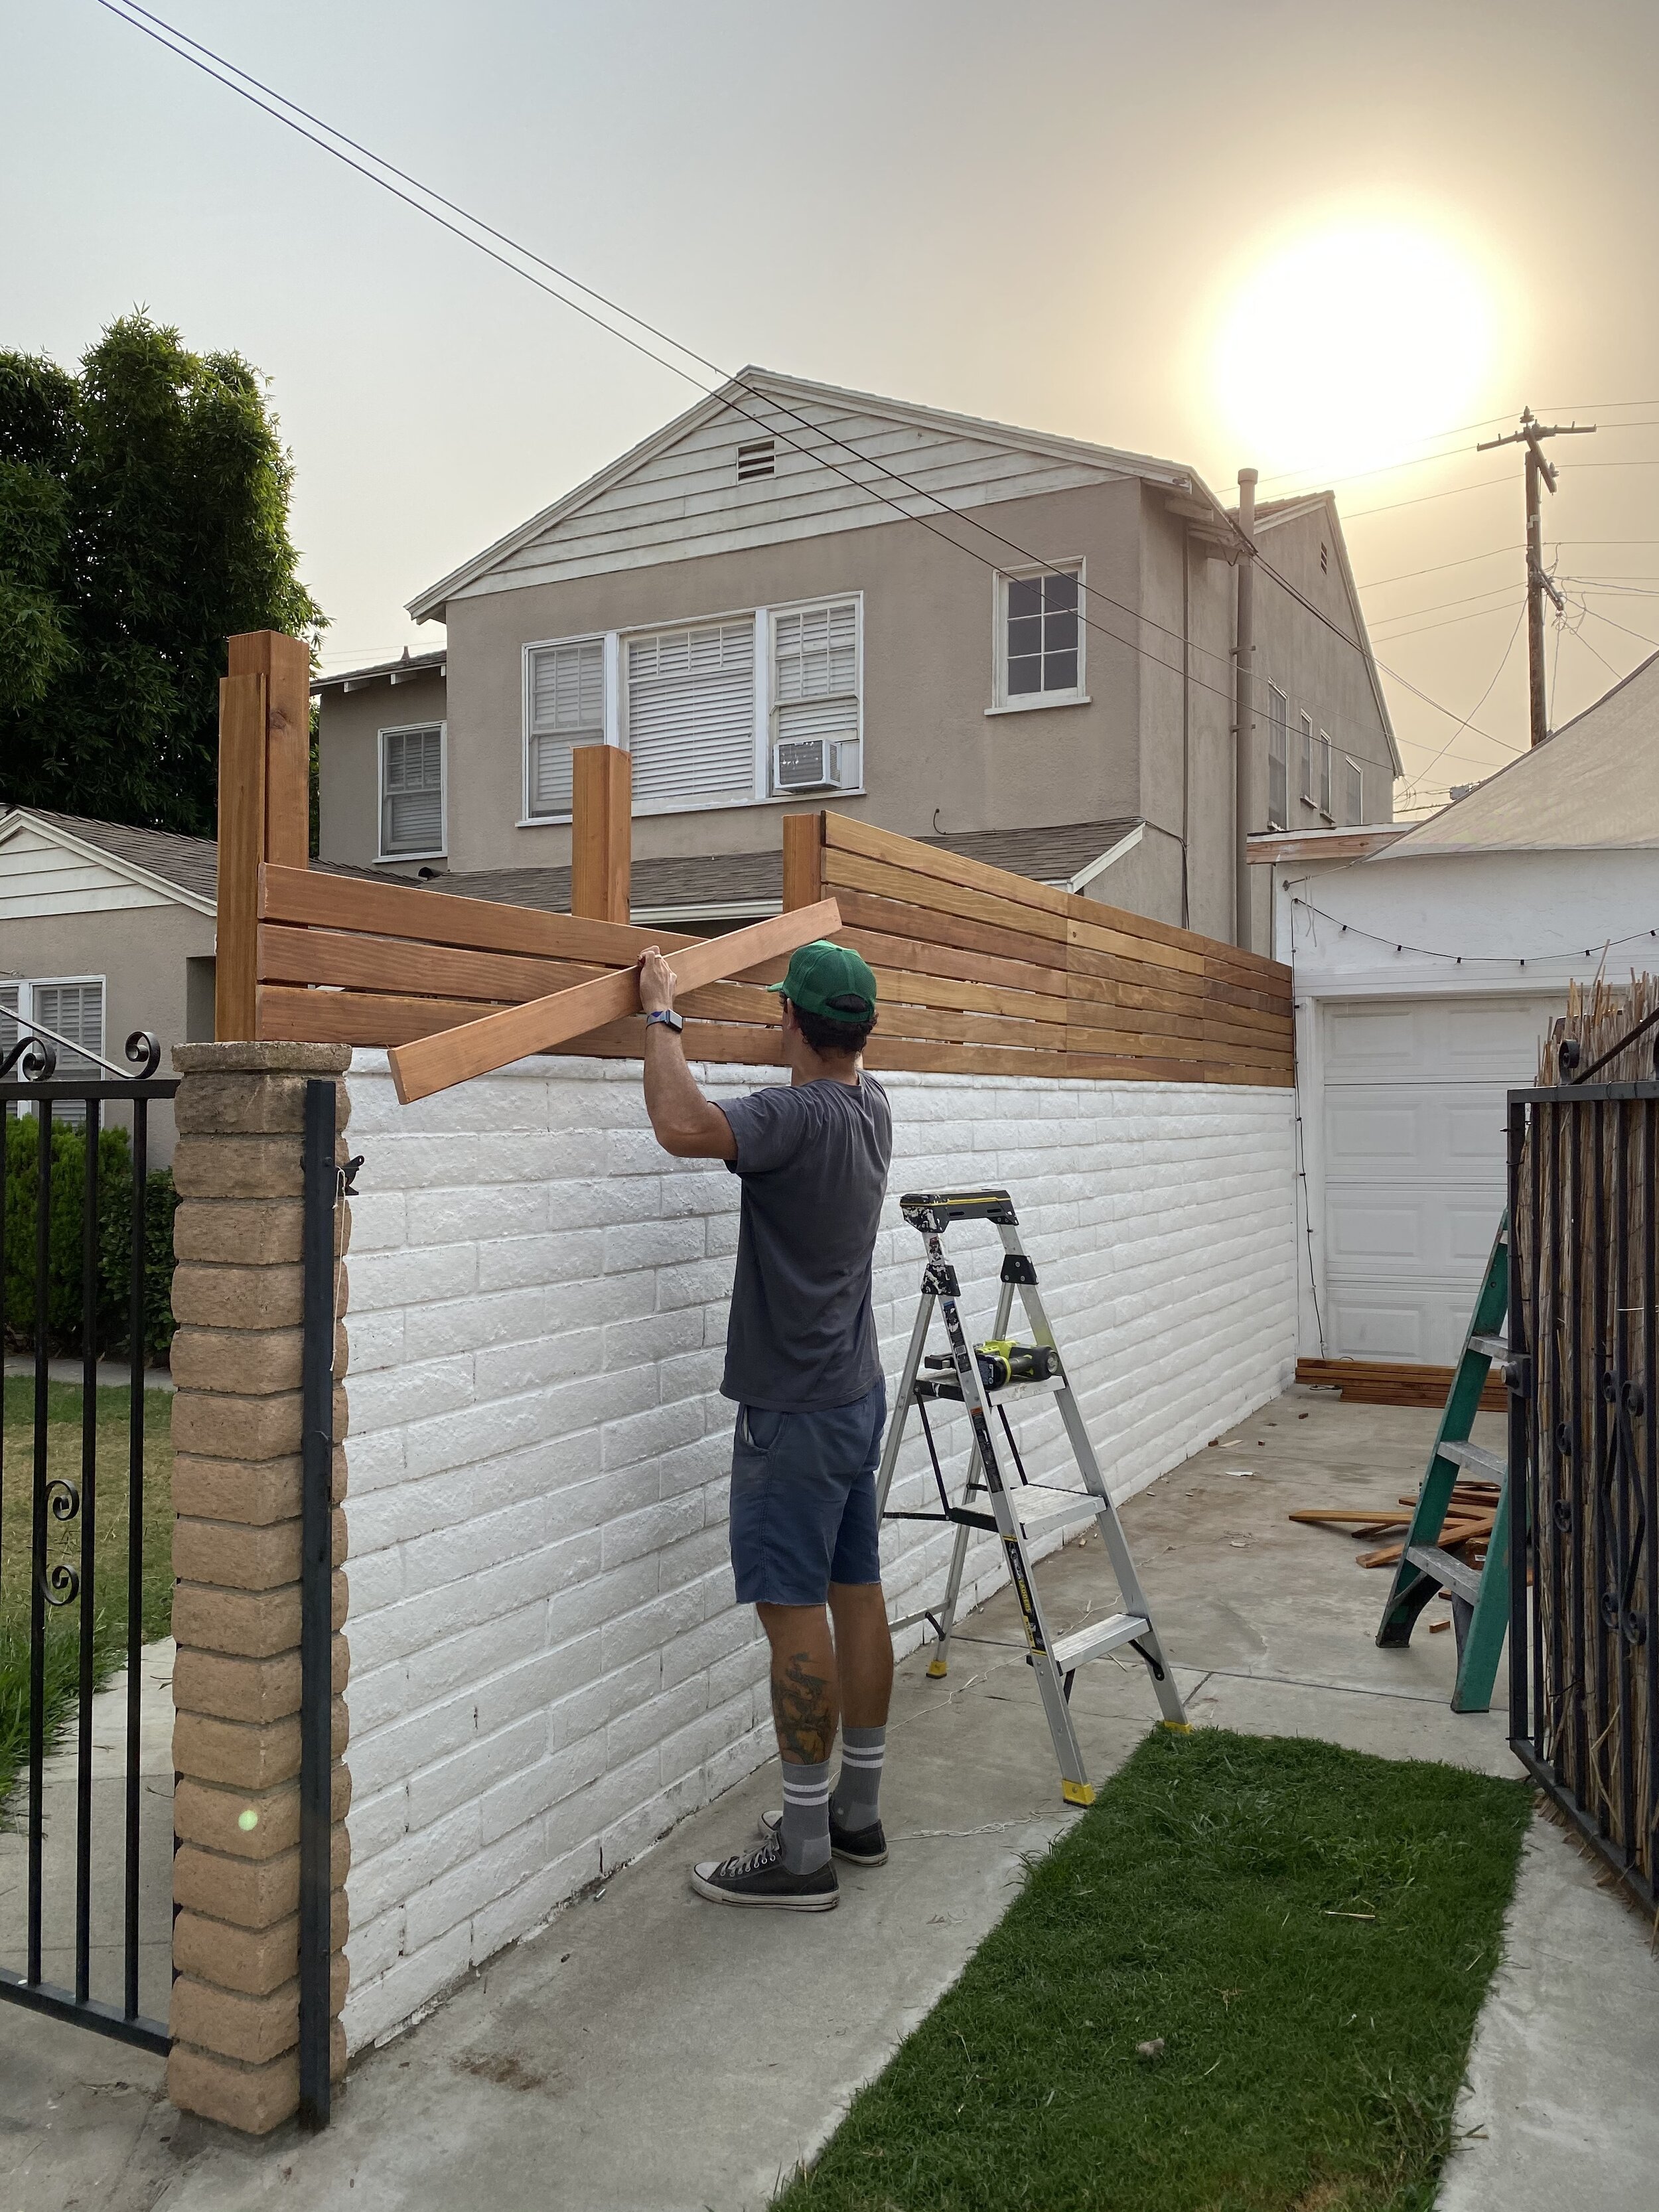
There were also crazy fires this week, it was raining ash and the skies were glowing orange. How crazy is the sun in this photo?
Almost finished…

And done! I’m SO happy with how it turned out!
Thank you Matt for coming to our rescue and building this beautiful fence topper! I would say it was a DIY, but after seeing the tools he needed to build it, Strader and I could have never “DIY’d” it without having to buy an arsenal of saws and drills. I’m so grateful that it’s finished though, and we finally have some privacy!
But what good is a project without Before & Afters? Here’s a pic from the week we moved in, before I painted the fence, the garage or did anything…
BEFORE

AFTER!

Keep in mind, this is before I got a rug and finished some details, just threw down some furniture for a pic, but I mean… Major improvement!!!

LIST OF SUPPLIES: CABOT HONEY TEAK TIMBER OIL, TABLE SAW, LINT FREE CLOTHS, ECONOMY PAINT BRUSHES, DROP CLOTH, SAW HORSES, SIMPSON STRONG TIE BRACKETS, EVERBUILT TOGGLE BOLTS, TERMITE SPRAY, REDWOOD 4x1, REDWOOD 4x4, REDWOOD 2x4, NAIL GUN, BOX OF GLOVES, HAMMER DRILL.

DESIGN SOURCES: OUTDOOR RUG, OUTDOOR SOFA,