How to Build an Outdoor Stucco Sectional Sofa and Create the Ultimate California Style Backyard Fire Pit

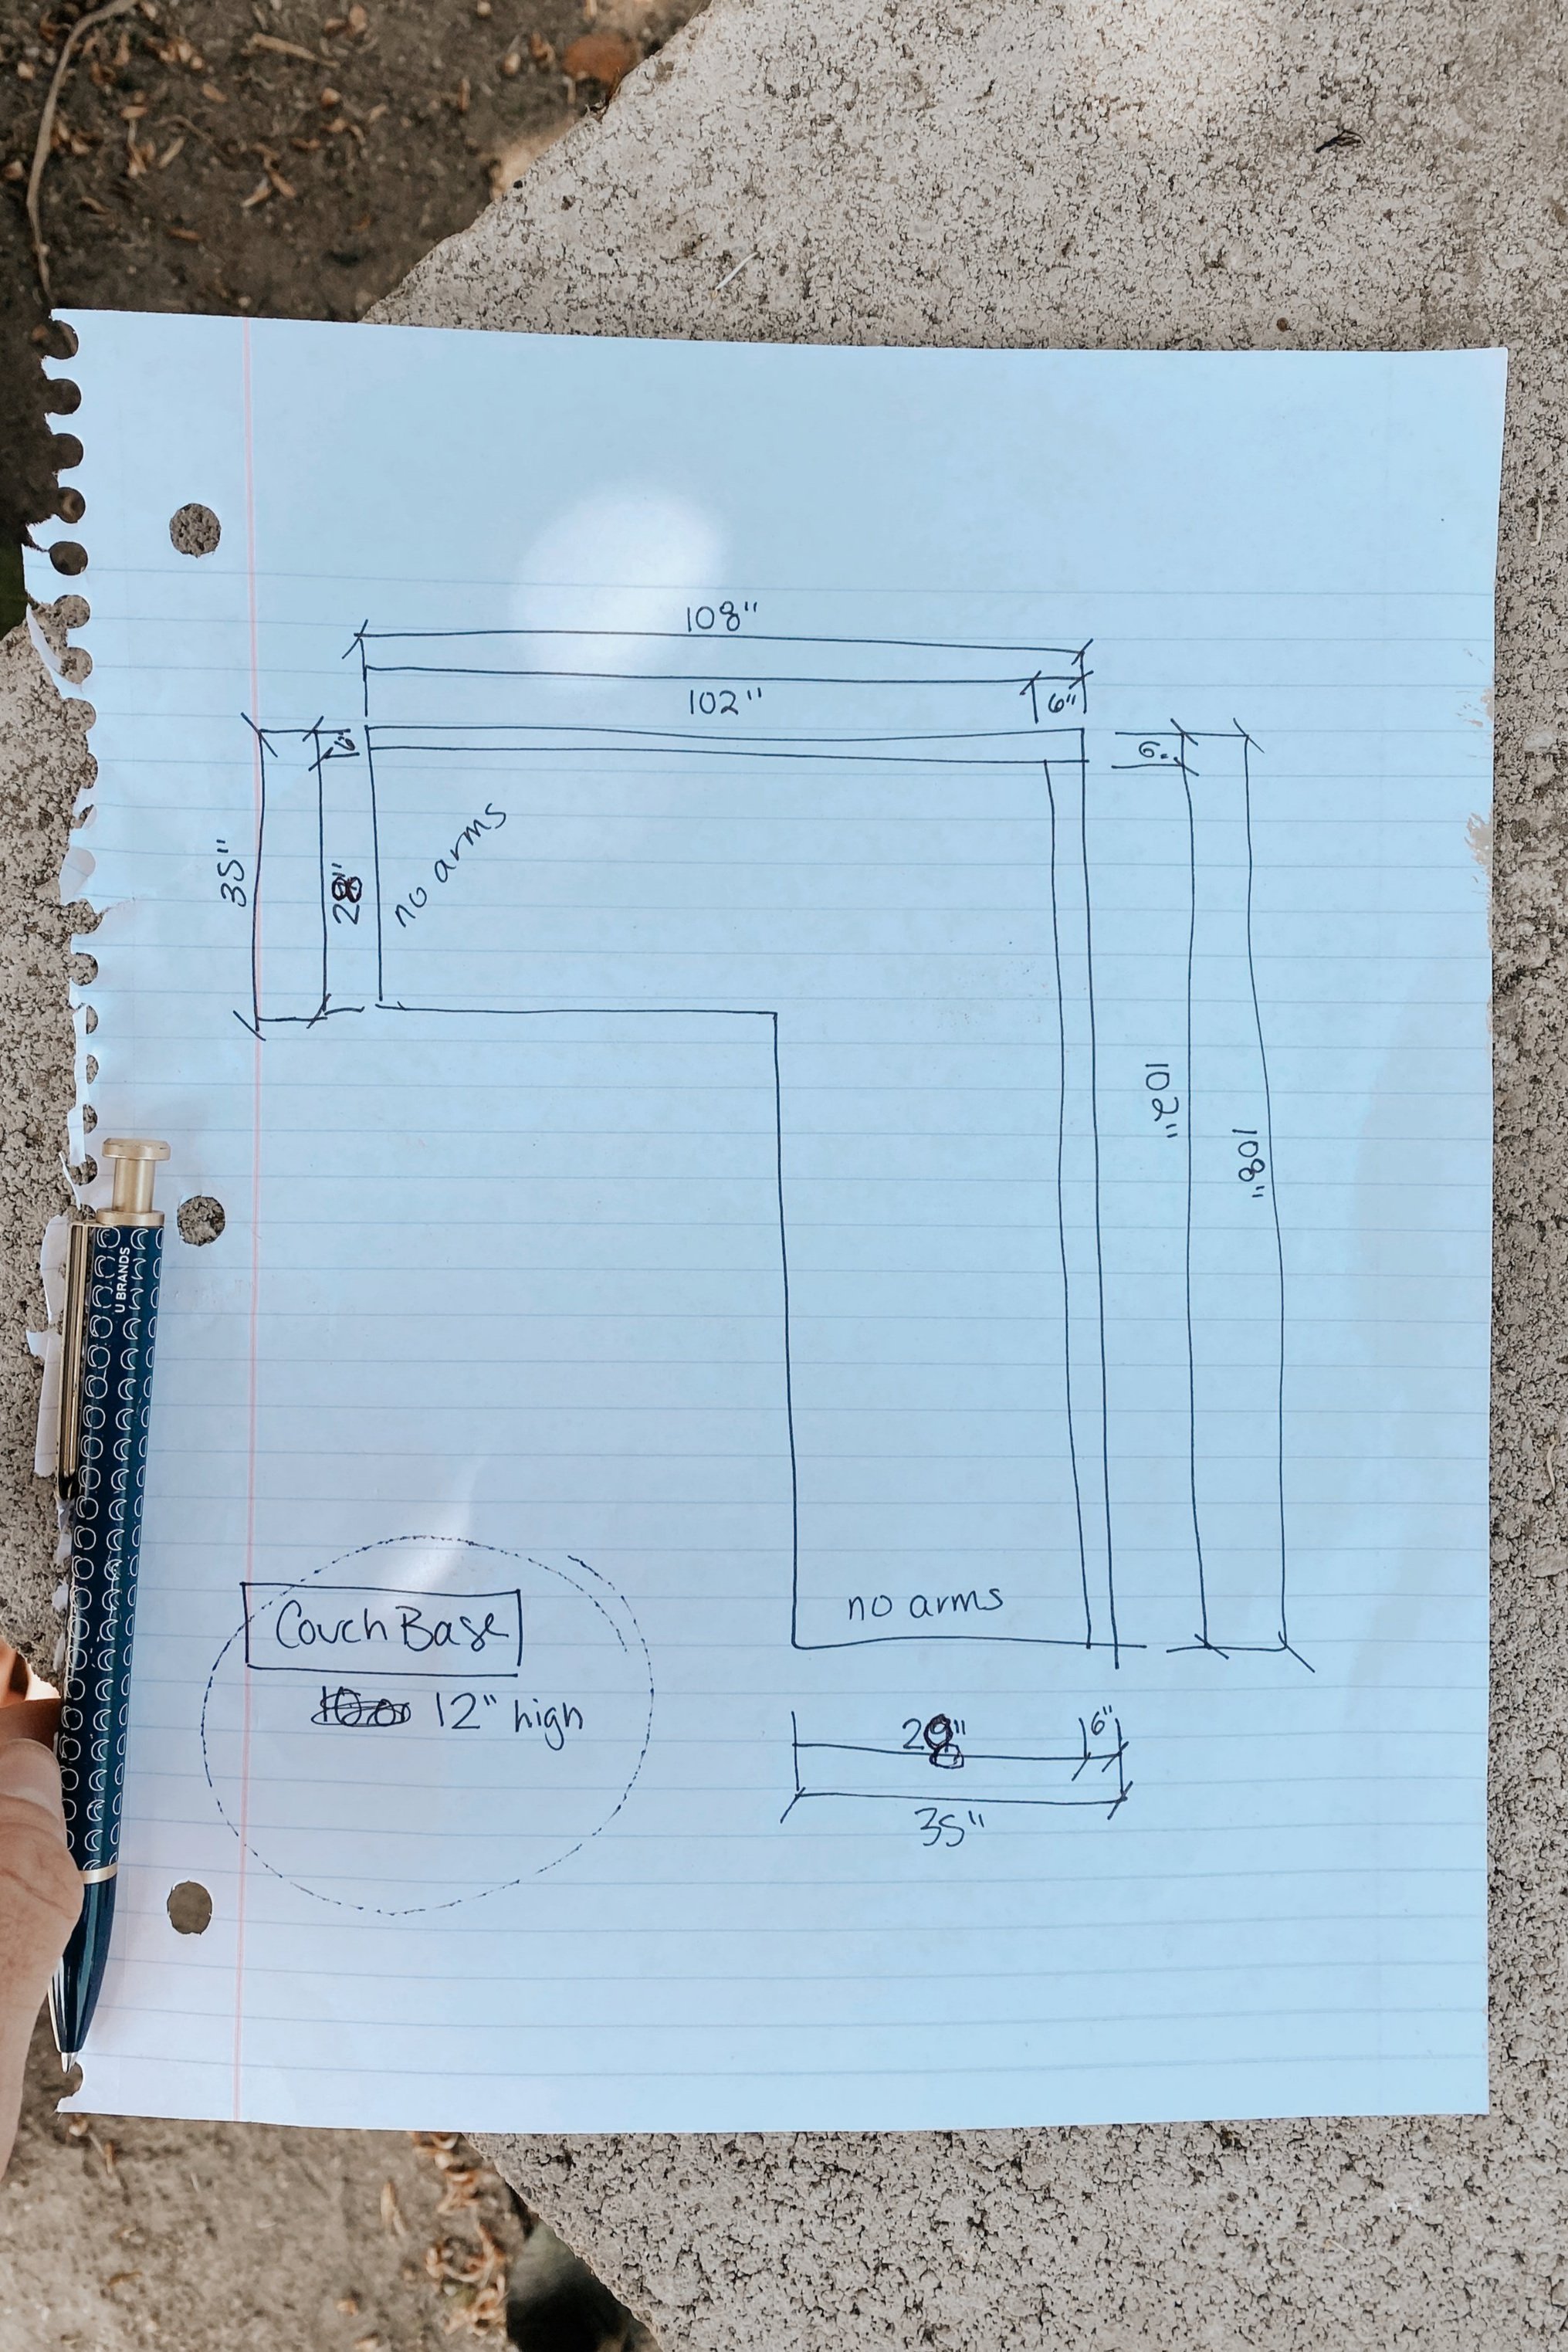
Per my usual style, I woke up the other morning and said, “I think we should build an outdoor stucco couch today”. Zero planning, extremely impulsive, just an idea in my head of what I want it to look like, and the determination to figure it out. After a quick text to my handyman, I ran outside to draw up a plan.
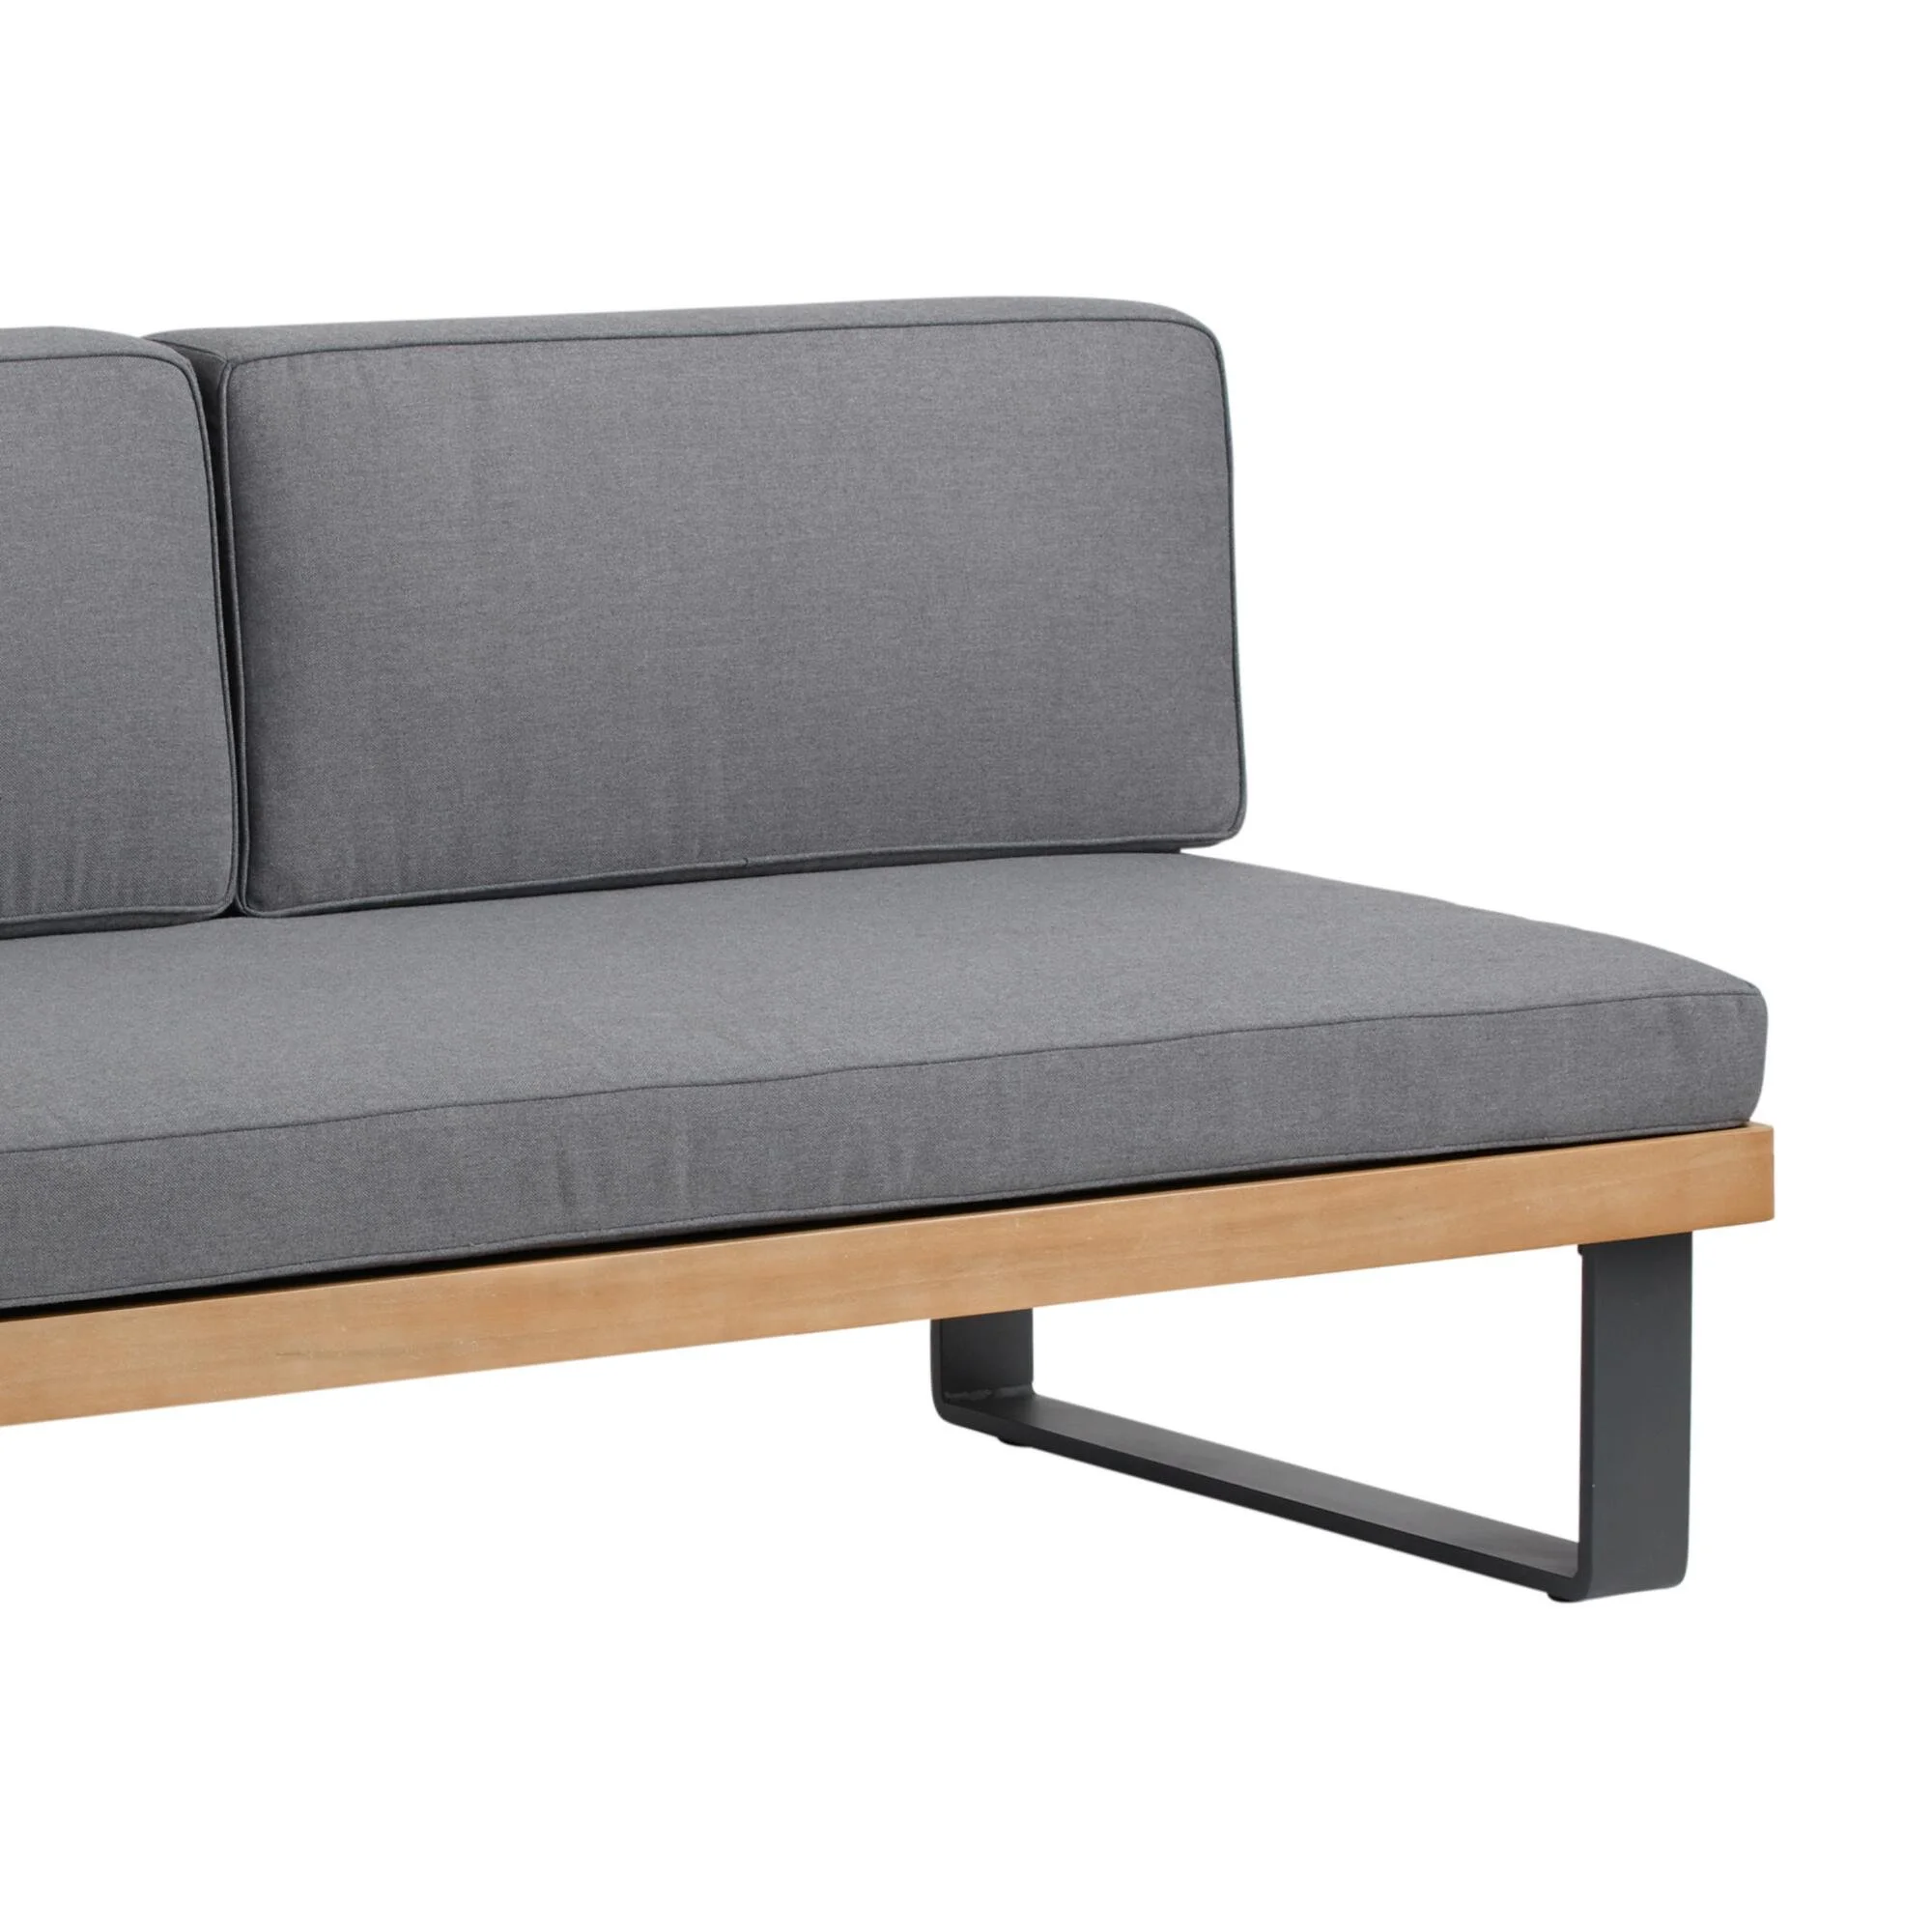
Now you may have seen other blog tutorials out there on how to build stucco couches, and so far they all seem to have wood as a common element of their design. However, wood doesn’t make a lot of sense to me. The only thing I see when I see wood, is termites, spiders, mold, water damage, and unnecessary maintenance. Am I right? So now that I’m designing ours, I definitely want a solid stucco and cement structure. One that will withstand the elements and require zero maintenance. Possibly with a slight slope as well, so any rain will drain away, eliminating any pooling of water.
Now please note, this is not a detailed step by step tutorial. I’ll point out some specifics where I can, but in complete honestly, I’m designing it and our handyman is building it. I’ll do my best to list out steps and materials, but please don’t take this as the bible.

I’m a very visual person, and I need to draw ideas on paper and then see them laid out IRL. I drew about 20 sketches with different measurements. That being so because there are alot of different cushion options out there. I could go custom, but I’m really trying to make this an affordable project, so I’d much rather buy pre-made cushions and build the couch accordingly, rather than the other way around. I love a deep seated couch so I definitely want deep cushions. However, the width of each side of the couch is pre-determined by the existing space, so that’s where it gets tricky. It’s like a tetris puzzle sketching out how cushions of different depths, heights, and lengths may or may not work with the dimensions we have. Each side will be 108” long, but I can change the depth and height of our design to really whatever I want.
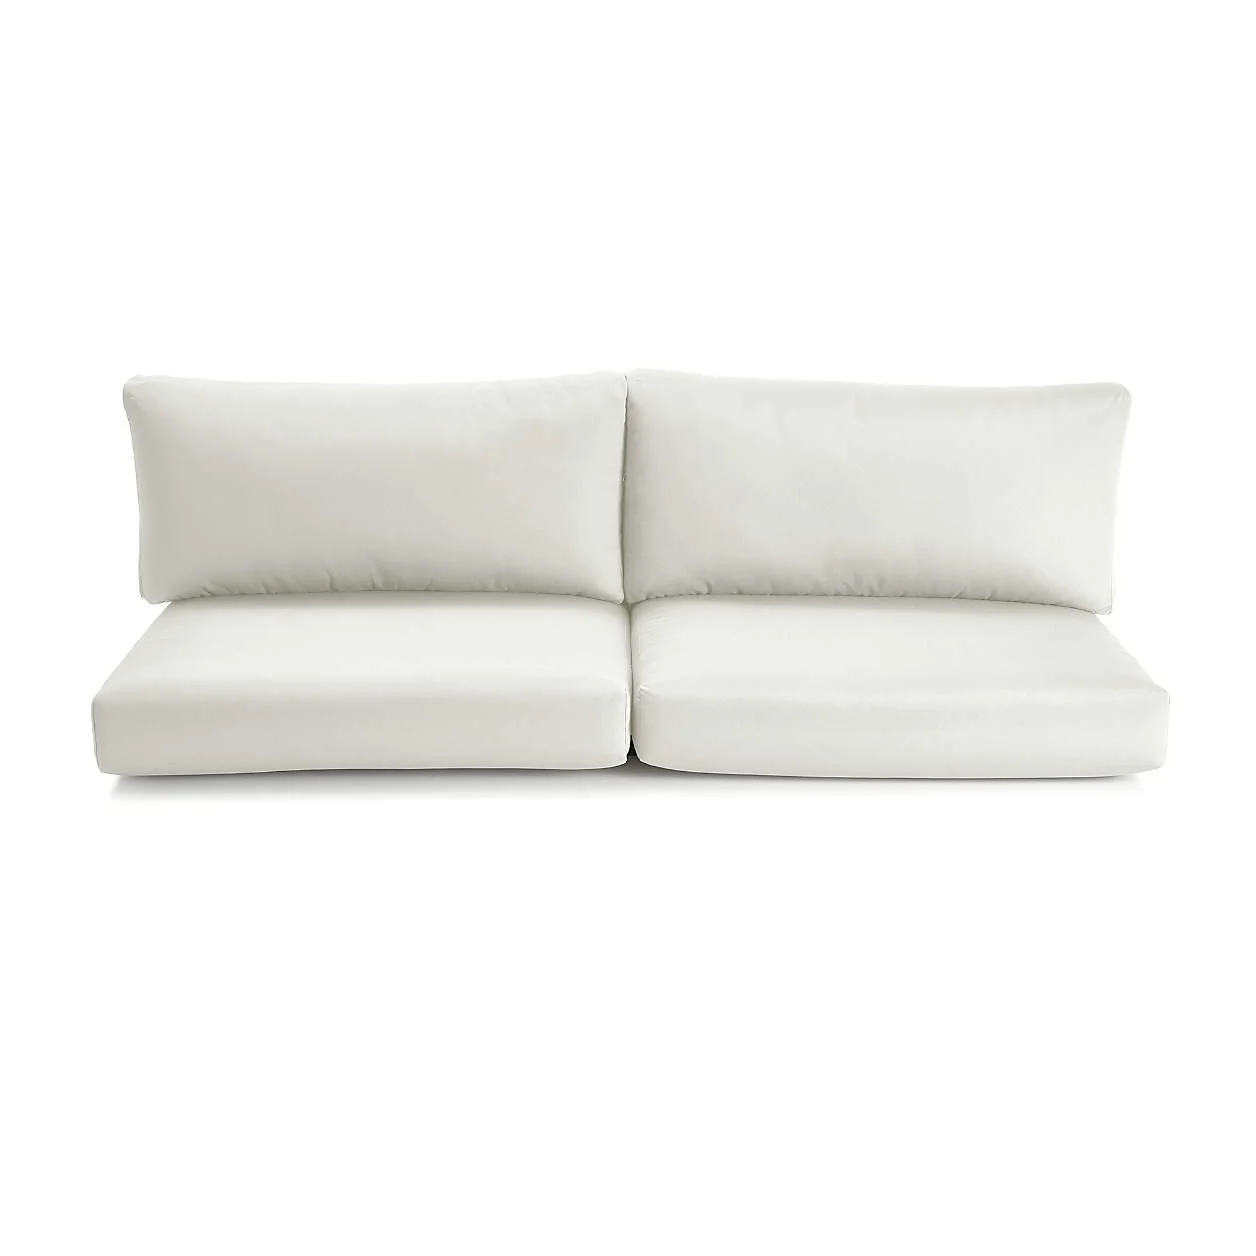
After days and days of researching cushions, I think I’ve found some pretty good options. I want them to last, so having sunbrella fabric makes me feel better about longevity. Crate and Barrel by far has the best options, plus all of their cushions are made with Sunbrella fabric, so that’s a win right there. Next best followed by World Market, Wayfair and Target.


One of the trickiest parts though figuring out the seat height. I measured all of our seating. Starting with our living room couch (minus the cushion), and some other lounge chairs around our house. I’m thinking 12” from the ground to the seat should work. Once we add the cushion, it should be the perfect height. Our cinder blocks are 6” x 8” x 16”, so I’m thinking if we lay them on their side, we can do 12” perfectly by stacking two blocks.

We laid down these existing pavers about three years ago when we did our first backyard makeover (planting the podocarpus, giant birds of paradise, and laying down DG). But as you can see, it’s seen better days. Time for a refresh. However, I never like to throw away any materials that we can repurpose. So my handyman and I have come up with this great idea to re-use the existing pavers as the base for the couch. We’ll lay them out in the shape of the couch, level them, and bond them together with quikrete concrete.

So now that the base is set, we’ll start on the back “wall” of the couch. I figured out since the blocks are 6” x 8” x 16”, if we stack four high along the back, we’ll have 32” which is pretty standard for a couch back. We’ll pour a layer of cement down for the base, and set one row of bricks, leveling and bonding them together with more cement as we go. Then, we’ll insert a piece of rebar down the center of the blocks, and fill them with quikrete, making it nice and sturdy.

More leveling…

Now we’re ready for the second row. We’re cutting a couple of the cinder blocks in half so that we can stagger the blocks along the back. Staggering makes the structure so much stronger. We’ll continue to bond the blocks together with cement, leveling them, and smoothing out the edges with a trowel.

Here’s a better view of the staggering and the smooth cement we used to bond the bricks together.

As the back wall starts to come together, now we need to figure out the seat. Bardo had a good idea that there should be a very mild slope out to each side (higher in the middle). Therefore, when it rains or we rinse it off, water will drain off the sides, and wont’ pool towards the center.

We also have a few pavers left over, so we’re going to repurpose those on the seat as well.

So I left for the day and came home to this!
I walked out to find what appears to be a puzzling game of tetris.
I have full faith that it will come together, but I’ll be honest, I’m kind of freaking out right now. In my head I thought we would stack two blocks on their sides, and use stucco to create the slope. But obviously Bardo had a different idea in his head:)
I know he’ll figure it out, but I’m a little stressed at the moment.

So as you can see above, I’m not sure what exactly the structural plan was here, but it’s coming together. In my mind, it may have been constructed in a way that was harder than it needed to be? But then again, I’m not the one building it, so don’t ask me lol.

So now that we’ve made sense of the tetris puzzle, it’s time to apply the stucco base coat. We’re using LaHabra Fastwall Concentrate Stucco Base Coat and Quikrete Plaster Sand.

The biggest trick when applying stucco is keeping it damp. We’re using a sprayer to spray it frequently so it doesn’t dry out and crack.

We’ll let this layer cure for a day, but every few hours I’ll spray it down with the hose.

And now we’re ready for the color coat. I want bright white to match the house. Our exterior paint is Ultra Pure White from Behr, so I’m not sure if this color will end up being bright enough. If it’s not, no big deal, we’ll paint it at the end.

Bardo is using a big tray to mix the stucco, and applying it with a trowel. It goes on really dark and then turns white as it cures.

The hard part is getting the edges smooth, but you can use a sponge on the detail parts.

So now we let it cure, but still spraying it every few hours for the first 24 hours or so.

It’s crazy how dark it is until it’s fully cured. It turned white, but it wasn’t bright enough for me, so we’re painting it.

Much better! Everything’s better with a little white paint:) We’re also prepping the ground for rocks. We had DG that we installed ourselves a couple of years prior, but there’s not much left. So we’re leveling out the dirt and packing it down. Prepping for rocks.

We packed and leveled the dirt, and are laying down weed blocker. We bought the most expensive one at Home Depot and I’m hoping it will hold. I also got staples this time to staple the edges down. Deciding between rocks hasn’t been the easiest either. We’re starting with California Gold 3/4”, but I have to say I’m not loving it like I thought I would. I saw it at a friends house and remembered the name, so I never went to the rock shop to get samples, just told Bardo to get California Gold. But sadly, I think it’s literally “too gold”. There isn’t much dimension and something about the tone of it, I’m not feeling.

Idk, we’ll get it all down and then see how I feel about it.


Ugh, nope! You might be able to really tell here, but it’s all one tone and looks very flat. I think if we only had DG and California Gold, it would work, but next to the turf, I’m just not loving it.

So I’m headed out to Sepulveda Building Supply, to grab some samples (which I should have done in the beginning).

Here’s what I came home with: Mojave Gold, Del Rio, and Palm Springs Gold. It’s also sooo hard to tell what they’ll actually look like on a large scale from a sandwich sized ziplock.
But after much agonizing, I’ve chosen Palm Springs Gold 3/8”. Since we’ve already put down the California Gold, we’re just going to add a layer of Palm Springs over the top. And voila!
SO MUCH BETTER!


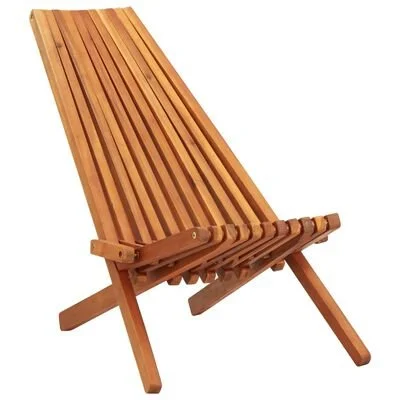
My Clevermade Tamarack Chairs
(the best fire pit chairs ever!)
Take 10% off with my code: blancobungalow
MODERN FIRE PITS

OUTDOOR PILLOWS
FIRE PIT CHAIRS
PROJECT SUPPLIES